Just like its predecessors, Monster Hunter Wilds is supported by huge updates, seasonal events, and collaborations with other franchises. The first series to crossover into the Forbidden Lands is Capcom’s own Street Fighter 6. In addition to being able to dress your hunter up as the Raging Demon-user Akuma, more cosmetics are available for your Palico and Alma.
The bad news is that most of this content requires different and specific methods to acquire. Using Akuma’s armor will also give your hunter a selection of attacks straight from the fighter himself, but it’s not as easy as picking up a Great Sword. Don’t worry, we’re here to explain how to get all the new collab content and just how Akuma works.
How to Unlock All Street Fighter 6 Collab Cosmetics
Who wouldn’t want to dress up their hunter and a couple of other characters as fan-favorites from Capcom’s renowned fighting game series? Here’s how to unlock all the Street Fighter 6 armor and skins in Monster Hunter Wilds:
Akuma Armor: This full hunter armor set is unlocked for forging by completing the Ultimate Strength Side Mission. It requires five SF6 Tickets, three Ajarakan Scale+, and one Ajarakan Jewel+ to forge
Blanka-Chan Palico Armor: This full armor set for your Palico is also unlocked by completing the Ultimate Strength Side Mission. It requires two SF6 Tickets and two Ajarakan Scale+ to forge
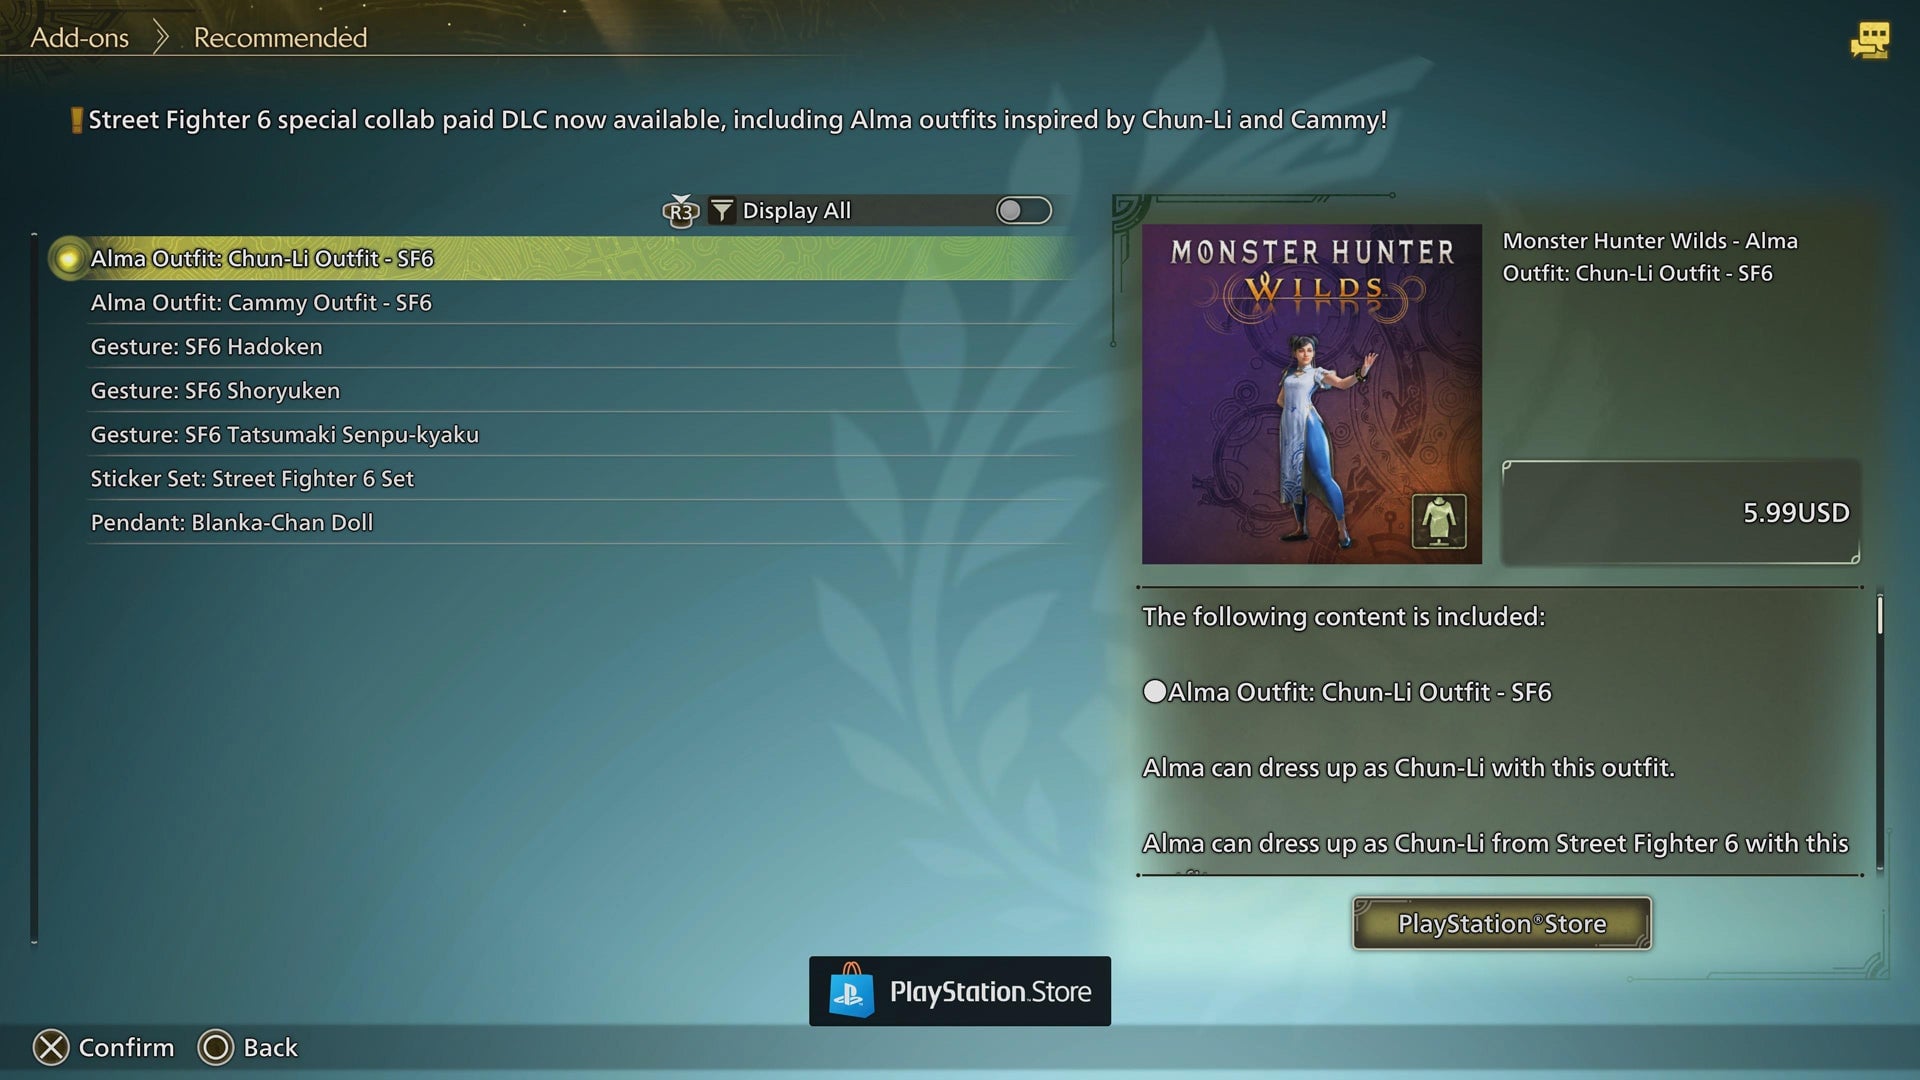
Cammy Handler Outfit: A skin for Alma that can be purchased for $5.99
Chun-Li Handler Outfit: A skin for Alma that can be purchased for $5.99
There are also some miscellaneous things you can snag too, such as a few gestures and a pendant. I can confirm that the gestures do inflict damage when they hit a monster, but it’s a pretty negligible amount. They also all require real money to unlock. Here are the remaining items and how much they cost:
SF6 Hadoken Gesture: $3.99
SF6 Shoryuken Gesture: $3.99
SF6 Tatsumaki Senpu-Kyaku Gesture: $3.99
Street Fighter 6 Sticker Set: $1.99
Blanka-Chan Doll Pendant: $1.49
How to Get SF6 Tickets
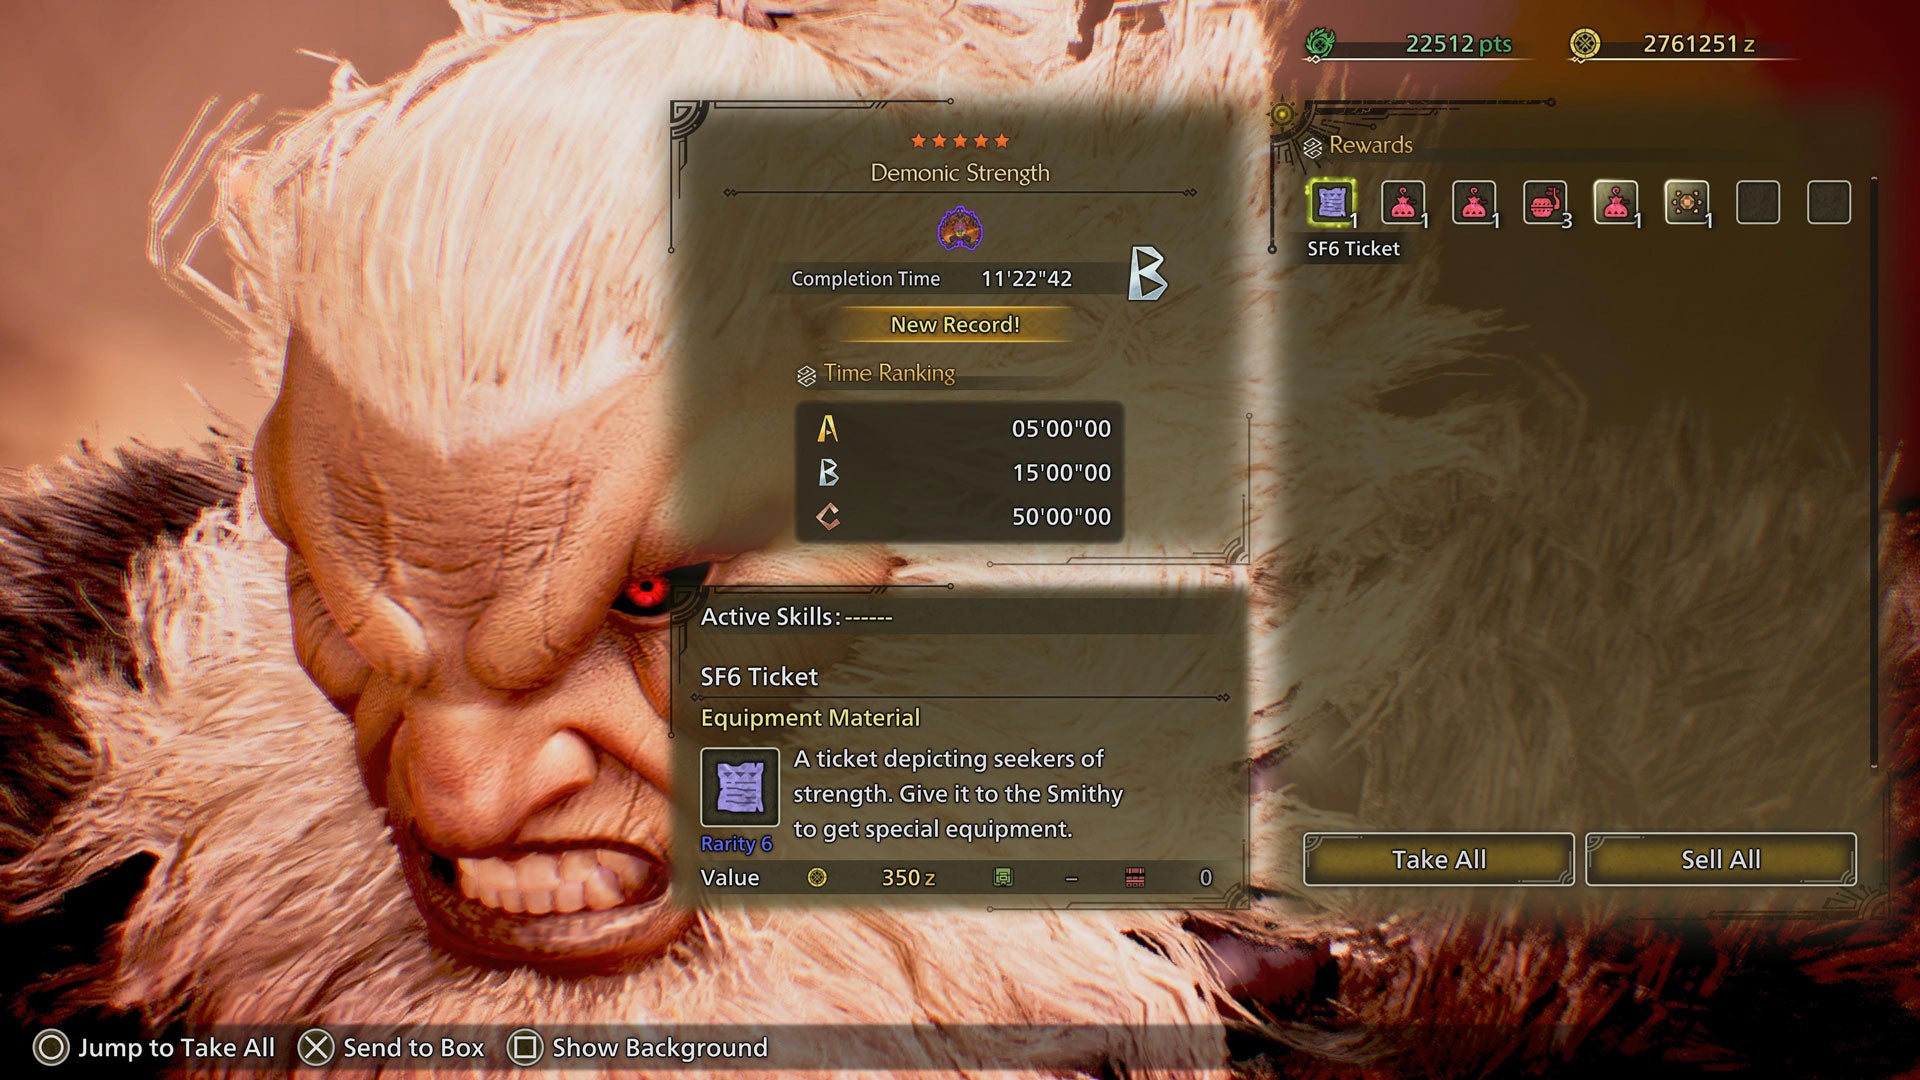
Just like with the Blossomdance Festival event and the Arch-Tempered Rey Dau equipment, the new forgeable items from this collaboration require a new material. Appropriately, that material is called SF6 Ticket. The only way to get SF6 Tickets are as rewards from the Demonic Strength and True Strength Arena Quests. Both of these are unlocked as you complete the Ultimate Strength side mission in the Oilwell Basin. Akuma will give you the first of these after you find him in the small cave near the Area 14 Mining Cave Tent pop-up camp. You’ll unlock True Strength after finishing the side mission.
These Arena Quests are pretty similar. You’ll face off against a Tempered Ajarakan while wearing Akuma armor. Demonic Strength is a solo run against a three-star Ajarakan, while True Strength allows for two hunters to take on a five-star Ajarakan. Farming the easier Demonic Strength quest is the best way to get SF6 Tickets fast. I was able to breeze through it with A-rank speed and almost solely using the Akuma armor attacks.
You need ten total SF6 Tickets to forge all the related items. The Akuma armor set requires five; the Blanka-Chan palico armor set requires two; and the new Mighty Charm III requires three. Keep in mind that any other required materials will have to be gathered from other hunts.
How to play as Akuma

Breaking the head of a Mizutsune with an uppercut is a satisfying experience, and you can live that dream too by wearing the Akuma armor. However, this unique mechanic sadly isn’t without some key downsides. You’ll be given the following three Item Bar options when you wear the Akuma armor set or use the Layered Armor version:
Assisted Combo: Akuma: Leaving your Item Bar centered over this option is how you gain access to most of the fighter’s moves. You always have to press Square/X to begin Assisted Combo 1, but you can then switch over to Triangle/Y or Circle/B for Assisted Combos 2 and 3. Pressing X/A during a combo will change your roll into an Ashura Senku teleport
Gou Hadoken: Equipping this provides you with a special Hadoken projectile that functions like Slinger ammo
Drive Impact: This action only works if the green six-bar Drive Gauge above the Item Bar is full. Landing a Drive Impact against a monster’s wound will destroy it with a Shun Goku Satsu. Drive Impact can also gain Offset Attack priorities if the full Akuma armor is equipped
Additionally, Akuma armor allows the use of the Gou Shoryuken gesture that’s awarded after completing the Ultimate Strength side mission. This gesture inflicts a bit more damage than the paid ones, but more importantly, it enhances into an OD Gou Shoryuken when performed after a combo.
I can’t deny that this sounds awkward and overly complicated. The trick is to make use of the various button shortcuts. Although assigning these actions to a Radial Menu is great for quicker access, relying on the following button shortcuts will allow you to fight with only the Assisted Combo option equipped:
Drive Impact Shortcut: Activated with a Focus Strike input (L2+R1/LT+RB) during an Assisted Combo
Raging Demon Shortcut: An offshoot of his Drive Impact that you can cancel animations into and begins with an Ashura Senku teleport. Activated by very quickly pressing Square, Square, Triangle+Circle or X, X, Y+B
OD Gou Shoryuken: Activated during or after combos by inputting right, down, right, and then any of the attack buttons. Those directional inputs have to be done with the stick and not a Directional pad.
Many of Akuma’s attacks are short-range with limited movement. His iconic hurricane kick is ideal for repositioning, which is performed by pressing Circle/B three times for a full Assisted Combo 3 string. Akuma’s best combo connects the entire strings from all three of his Assisted Combos. That means pressing Square/X three times, Triangle/Y three times, and then Circle/B three times. Throwing out an OD Gou Shoryuken is a nice way to round it out. This should be the go-to when monsters are knocked down, since they won’t be able to interrupt you.
All of the above covers Akuma’s actions, but it means nothing without a good base. All of his techniques scale with your primary weapon’s raw damage and affinity. Equipping something with significant base damage will result in stronger Akuma attacks. Armor selection also makes a difference. Compared to Layered armor, having the full Akuma armor equipped provides a big attack boost, stun properties, and the Offset Effect for Drive Impact. You should use the full armor if you want all of his tools at your disposal.
Even though Akuma was also featured in the previous game, his inclusion in Wilds is a lot more fleshed out. Here’s hoping the next collaborations are just as deep and feature crossovers with some fun franchises.
Or Capcom could just make me happier and throw in some love for Dragon’s Dogma 2