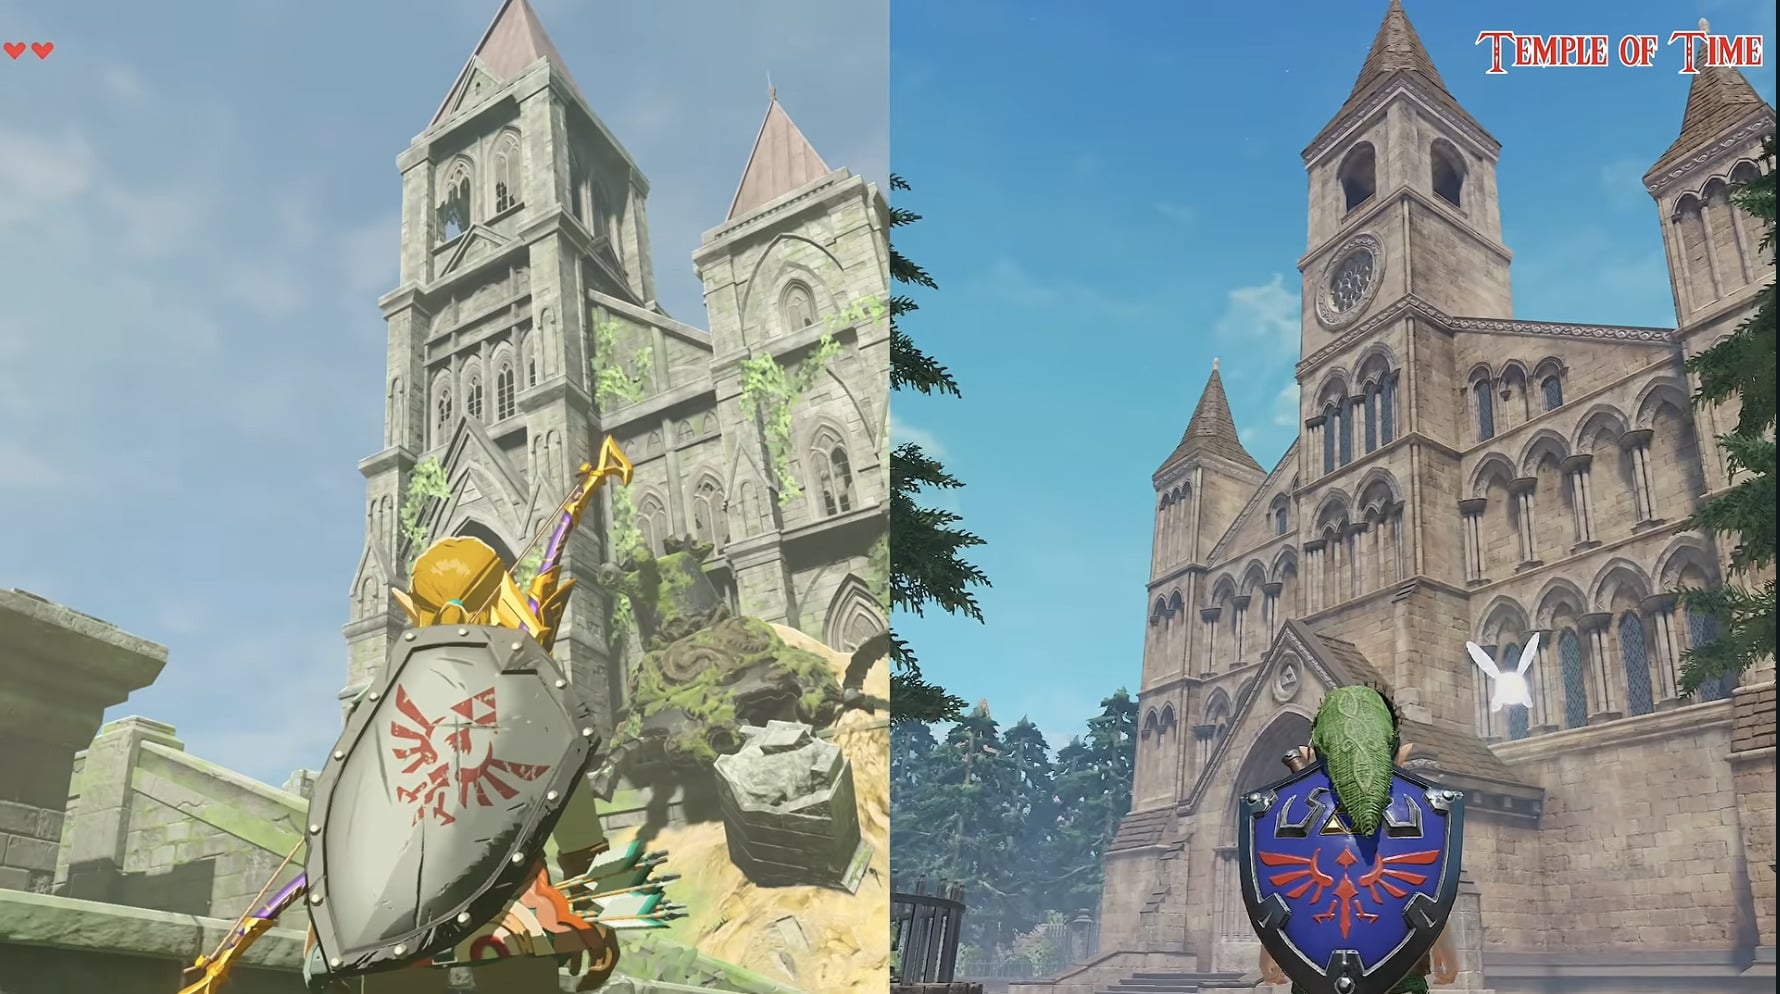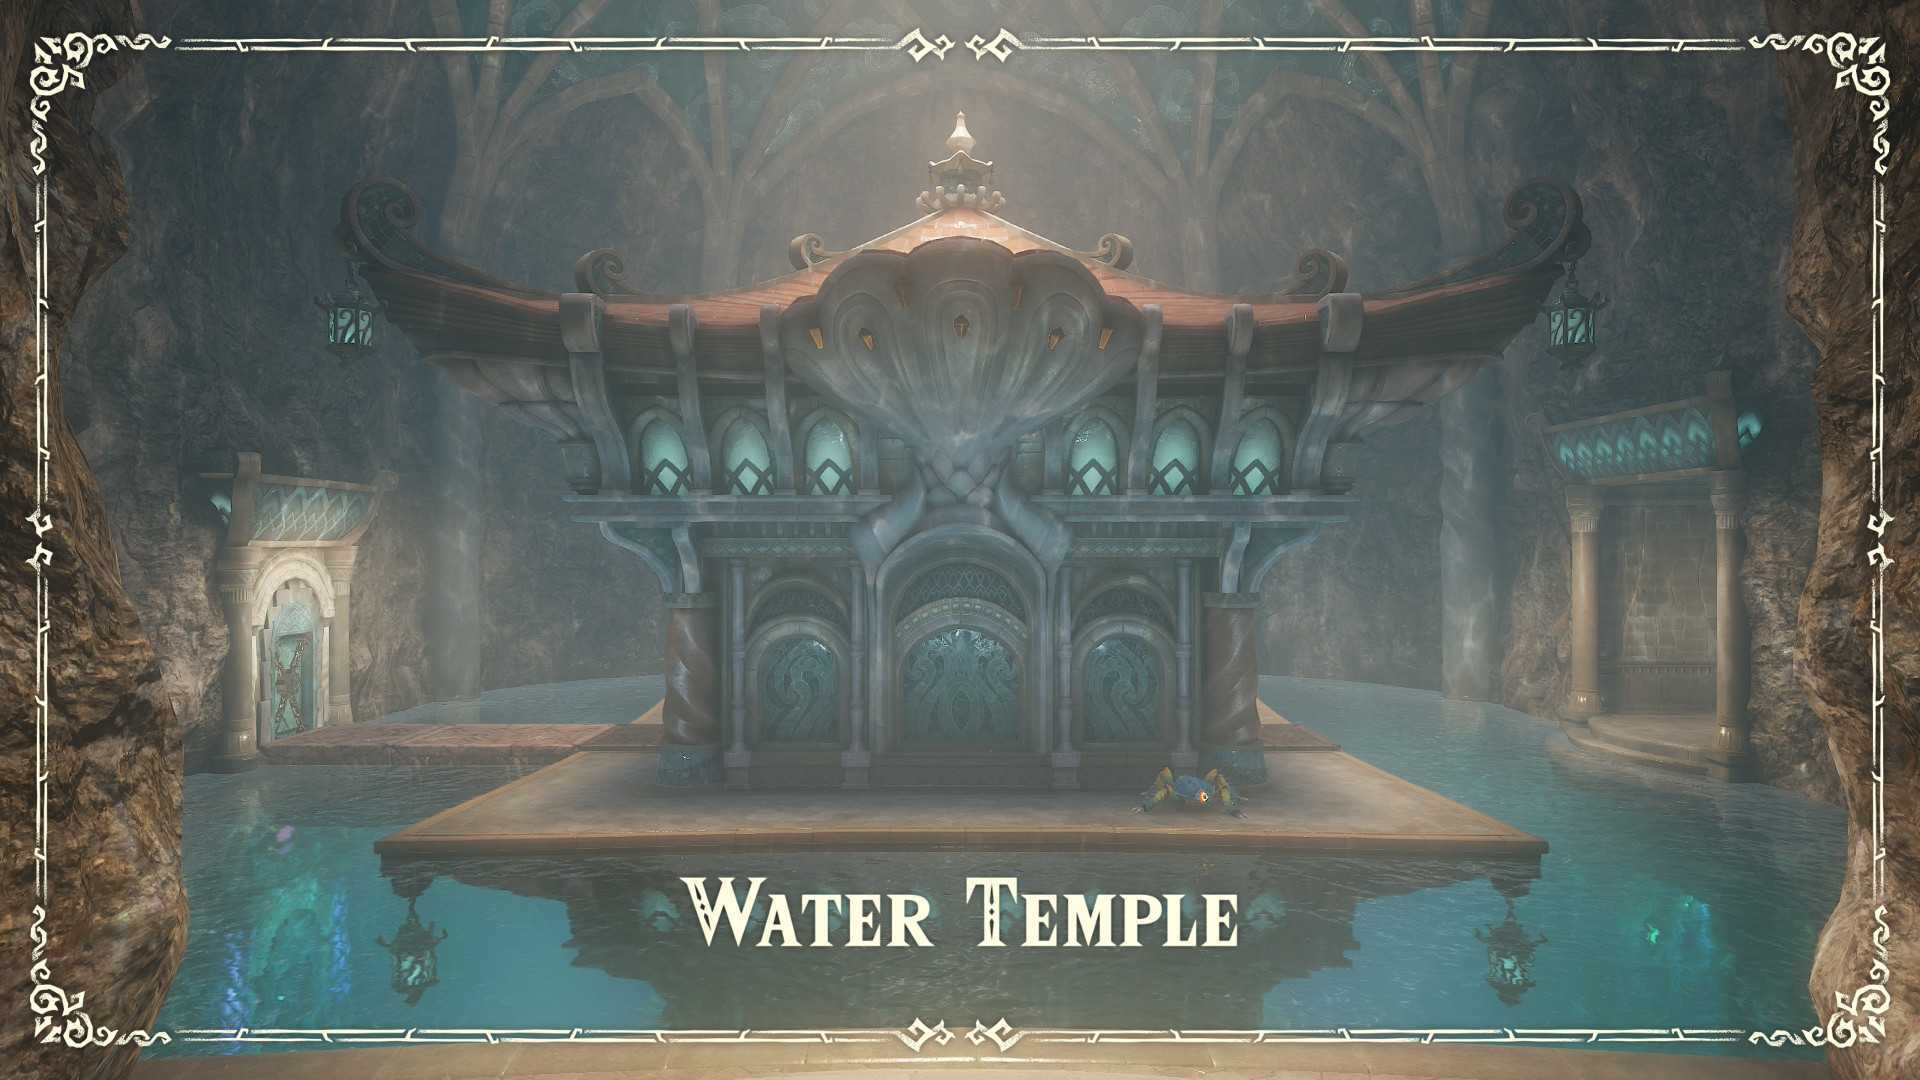
Well, you’ve made it. You’re finally at the most infamous dungeon in all of Zelda-dom, the Water Temple of Ocarina of Time. Good news for you: In the remake, this dungeon is far, far easier than it’s ever been. A few of the edges have been sanded down, the rooms all look far more distinct and memorable so it’s less of a mental maze, and the iron boots can be equipped and de-equipped simply by pressing down on the gamepad. Compared to the original, it’s a smooth ride. But still, this is one of the most involved dungeons in the game, so buckle on that Zora Tunic and let’s get swimming.
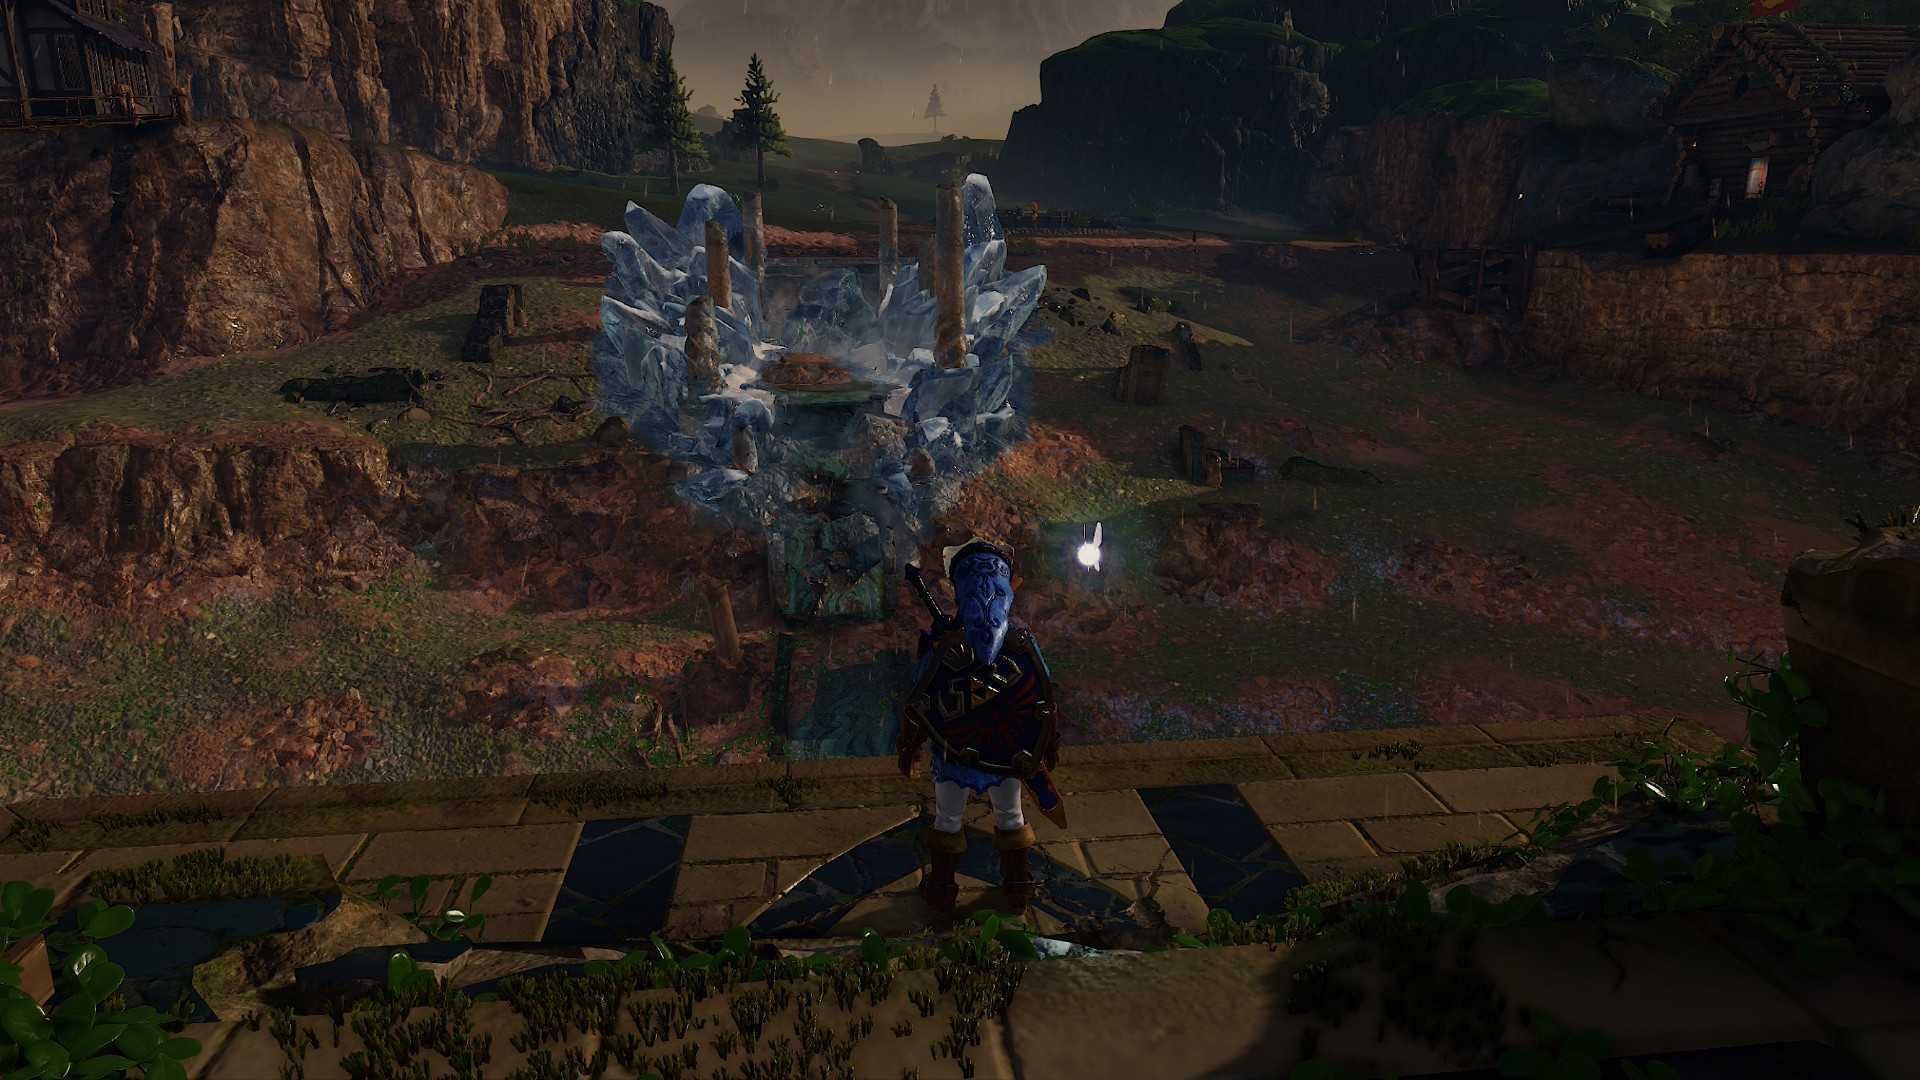
To enter the Water Temple, you need to be wearing (no, I wasn’t joking) the Zora Tunic, which you get by freeing King Zora from his ice block back in Zora Domain. To do that, you need Blue Fire in a bottle, which you obtain in the Ice Cavern as an adult. You’ll also need the Iron Boots from that same cavern. If you haven’t gotten that far yet, back yourself up and come back to this guide later.
Raising and Lowering the Water Level
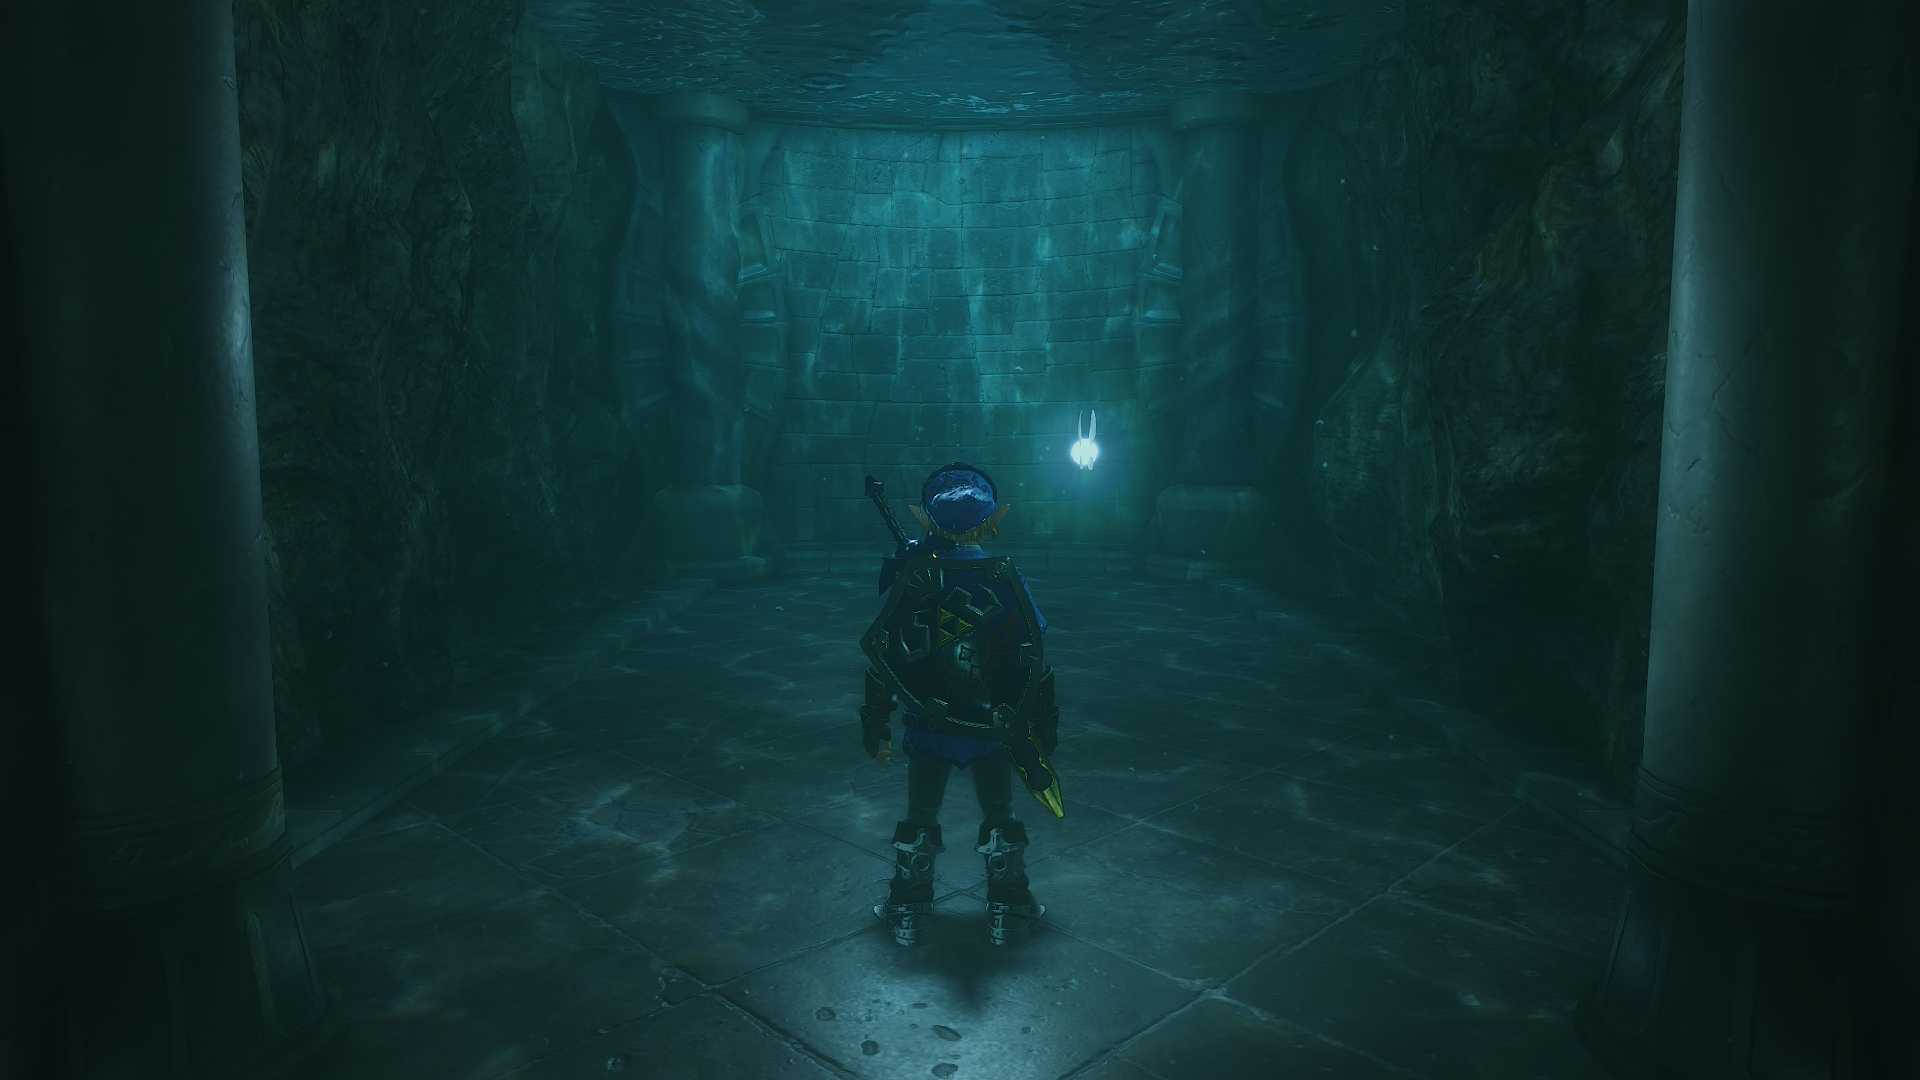
Once you’re in the temple, remove your iron boots and float to the top. Run forward, and you’ll be in a big, open room with a bunch of doors on all four sides across four different floors, and water below you. I’m going to be referring to this as the “main hall” going forward. We’re going to be here a lot. I’ll also be referring to doors by floor and cardinal direction, so if you’re ever confused about what I’m talking about, open that map.
The first thing you’re going to do is slay that Blue Tektite in front of you. Sword, hookshot, whatever you like, just get it out of the way.
Next, you’re going to equip those Iron Boots, descend to the first floor, and head through the east door. Once you’re inside, remove the boots to float upward for a cutscene with your fiancee, Ruto. When it’s over, grab the Dungeon Map from the chest in front of you, and then stand on the platform with the Triforce symbol and play Zelda’s Lullaby to lower the water level.
Real quick tip: There are three different spots to mess with the water level in this dungeon, and each one will raise it to a different spot. This one brings it down to the first floor, and is marked by glowy blue pillars. It might be good to make a note somewhere of which color results in which water level, just in case you ever get turned around or confused and the water level is in the wrong place.
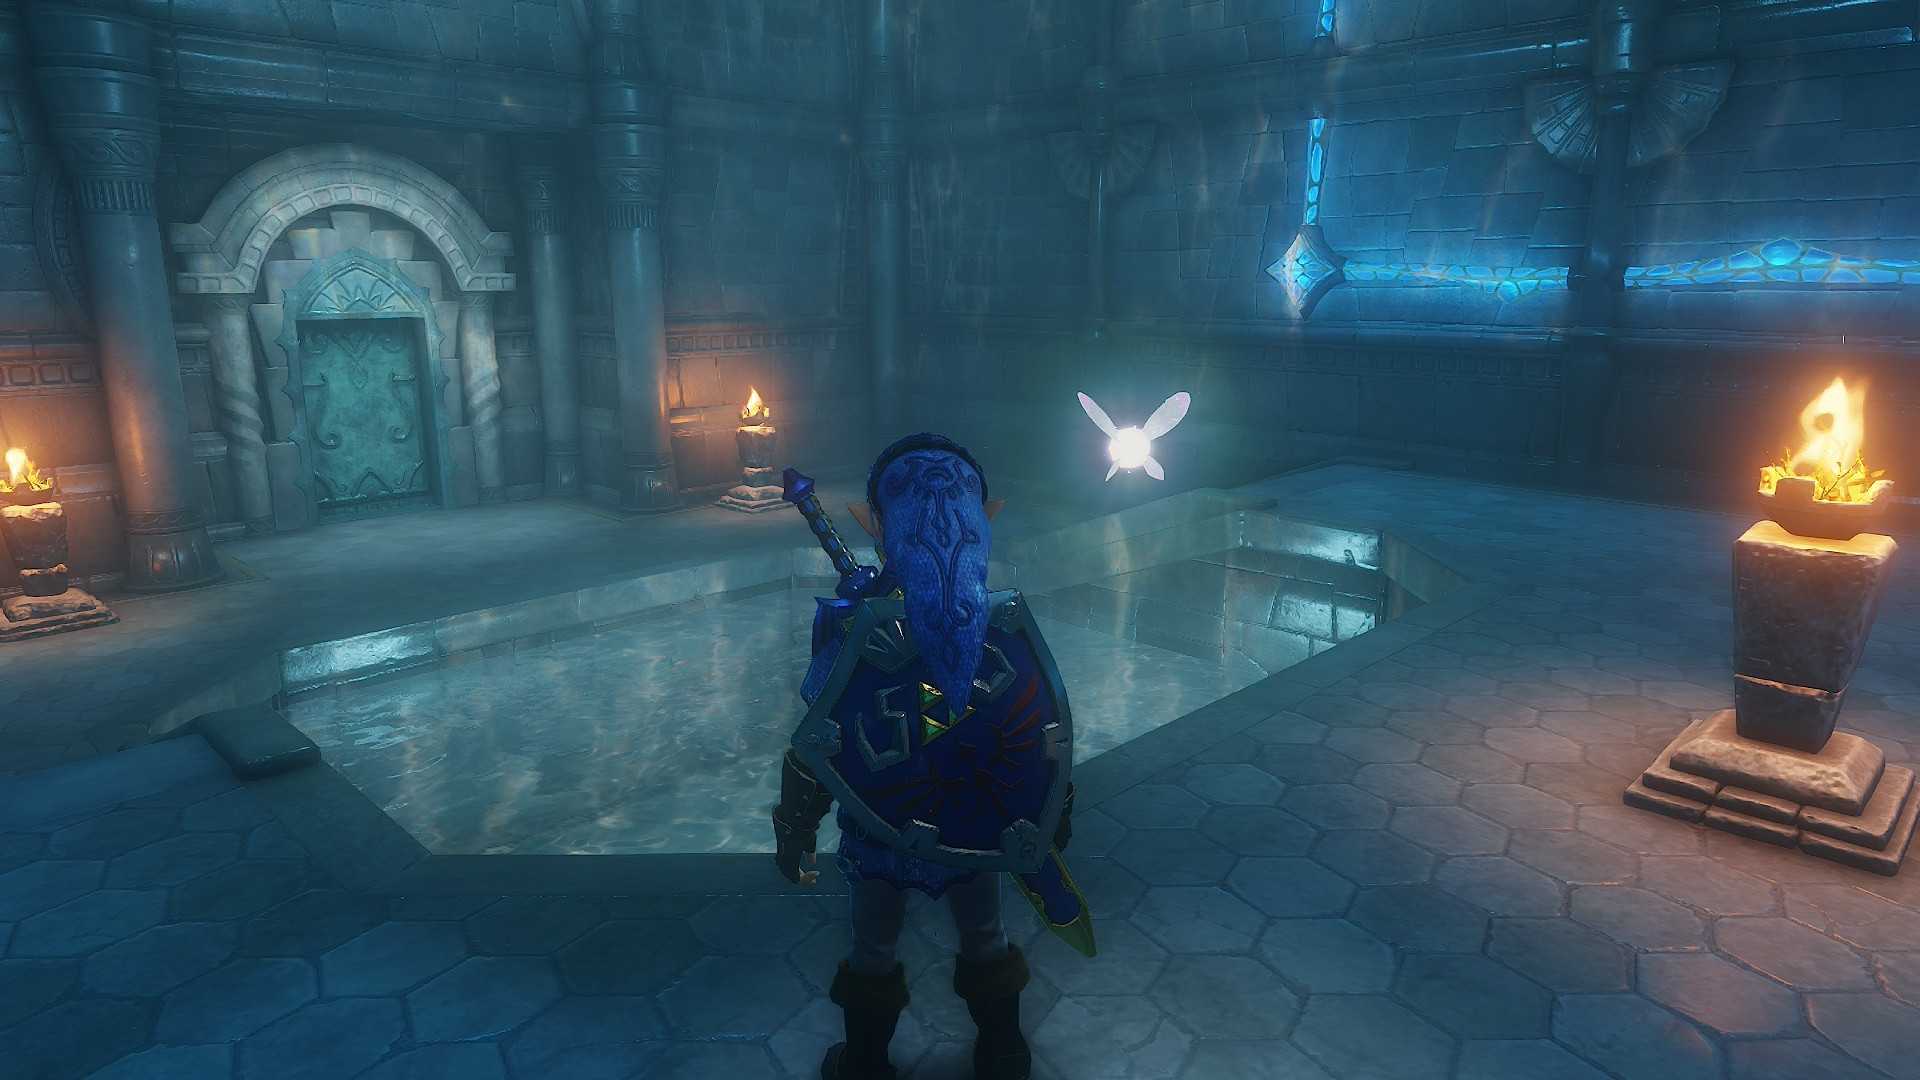
Once the water has dropped, fearlessly jump down the hole, landing in the water below so it doesn’t damage you. Now, with the water taken care of, note that one of the torches in here is lit. Stand behind it with your bow equipped and aim an arrow through the fire to each of the two torches on the other end of the room to open the door in front of you, then enter. Defeat the three Spikes by blocking their attacks with your shield and swinging your sword when they’re vulnerable to obtain a Small Key. (Din’s Fire is also usable for this puzzle).
Backtrack the way you came in and head out into the main hall. There are two more aptly named Spikes out here waiting for you; get rid of them. To your left (west side, 1F) is a bombable/breakable wall. Knock that out, and use your Iron Boots to sink, sink, sink. Head down the underwater corridor and take care of the Shell Blade by hitting it with your hookshot when its mouth is all the way open. At the end of the corridor, take off the boots and rise up.
In here, climb the platform jutting out of the water and use the hookshot to grapple onto the pillars ahead of you. Take down the Tektites and the Like Like (Hookshot is great here), and you’ll be rewarded with the Compass. Now, all the way back to the main hall!
To the west (1F) is a block you can push forward until it drops in the water. Do that, then use the boots to sink again. Look out for the Shell Blade in the way, then rise back up at the end of the hall. You’ll find yourself in a room with a whirlpool and some statues underwater, and a chest on the other side.
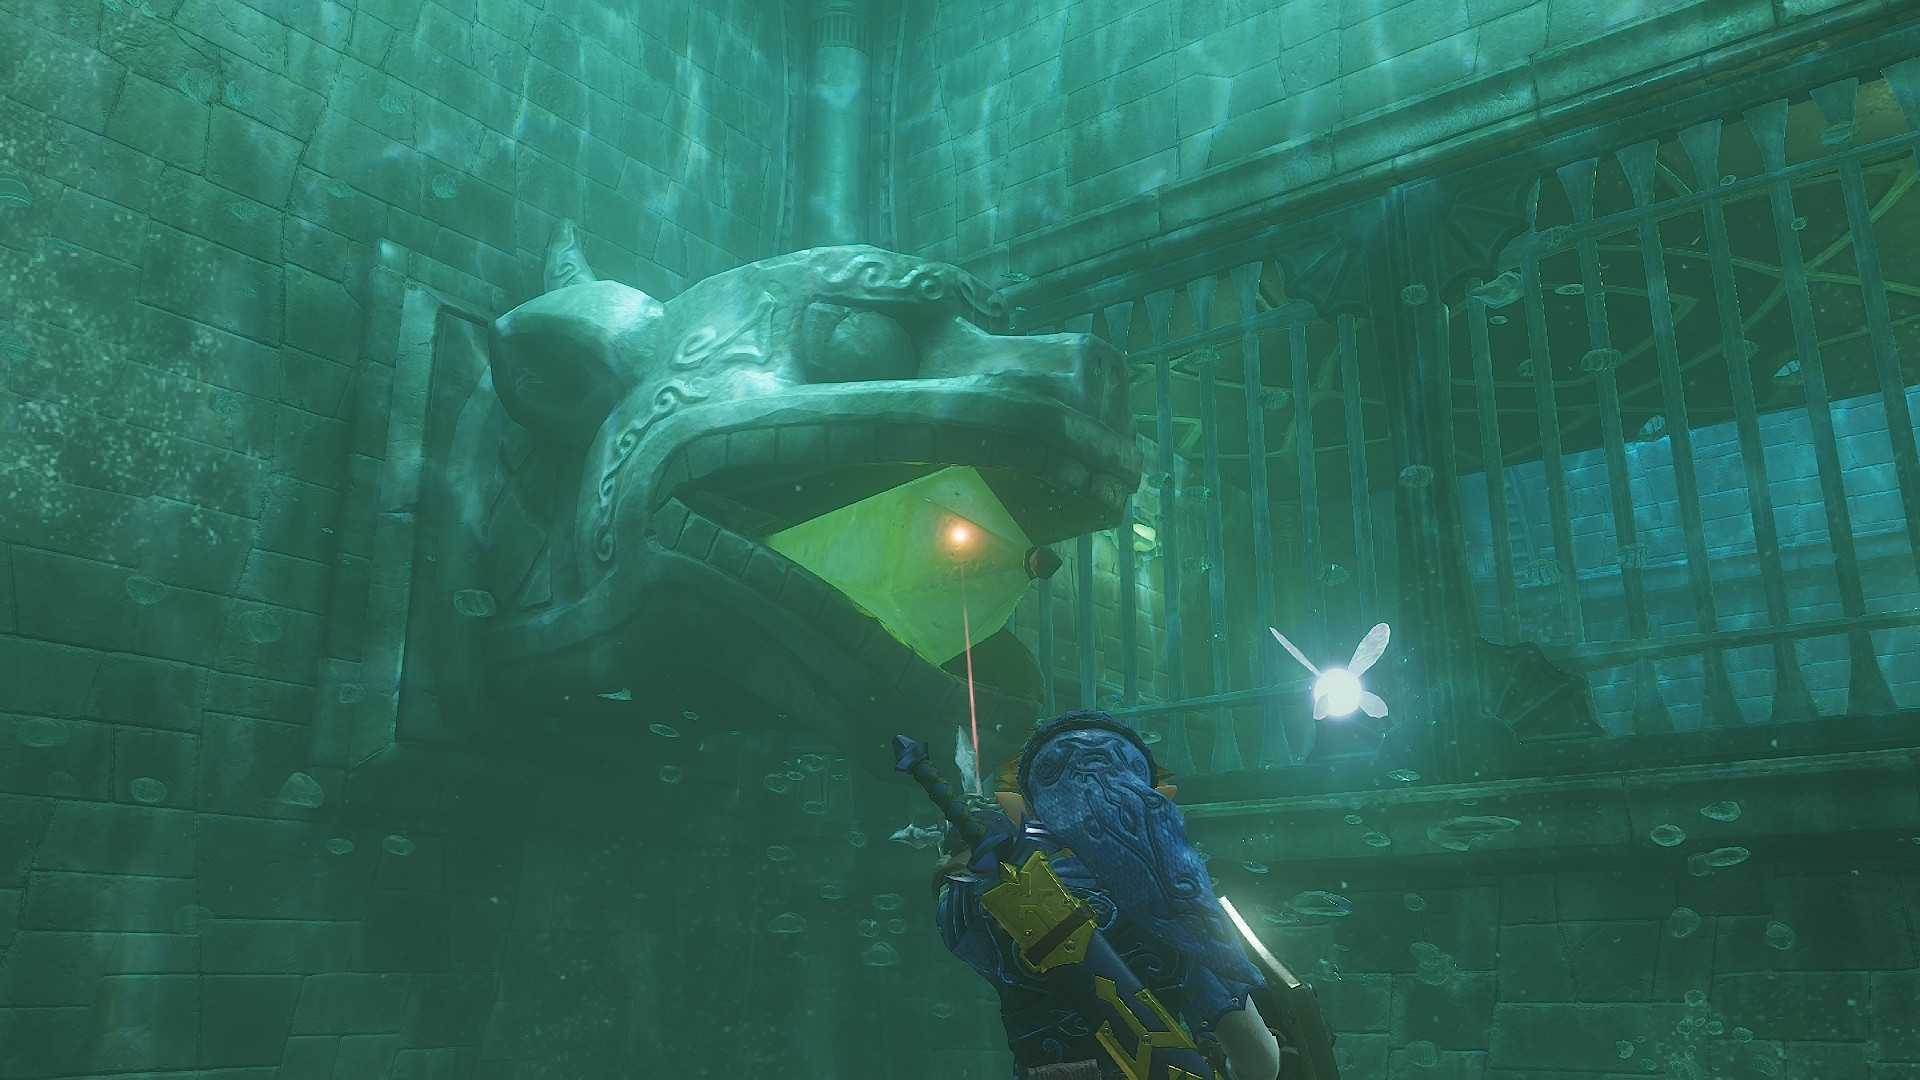
This looks trickier than it is. Use the iron boots to drop into the whirlpool, aiming for the center platform (the serpent’s body) stretched down the middle of the pool. Stand on the platform and use your hookshot to smack the weird gem thing in the serpent’s mouth. This will unlock the underwater grate, allowing you to enter. You might need to don and doff the iron boots a few times to swim over properly, but with some careful aiming it’s very doable. There are two more Shell Blades to fight inside, after which you’re free to take off the boots, rise to the surface, and grab the small key.
Back across the whirlpool, out the door, into the main hall again. There’s a locked door on the central pillar here, directly in front of you, and you now have a key. Head inside.
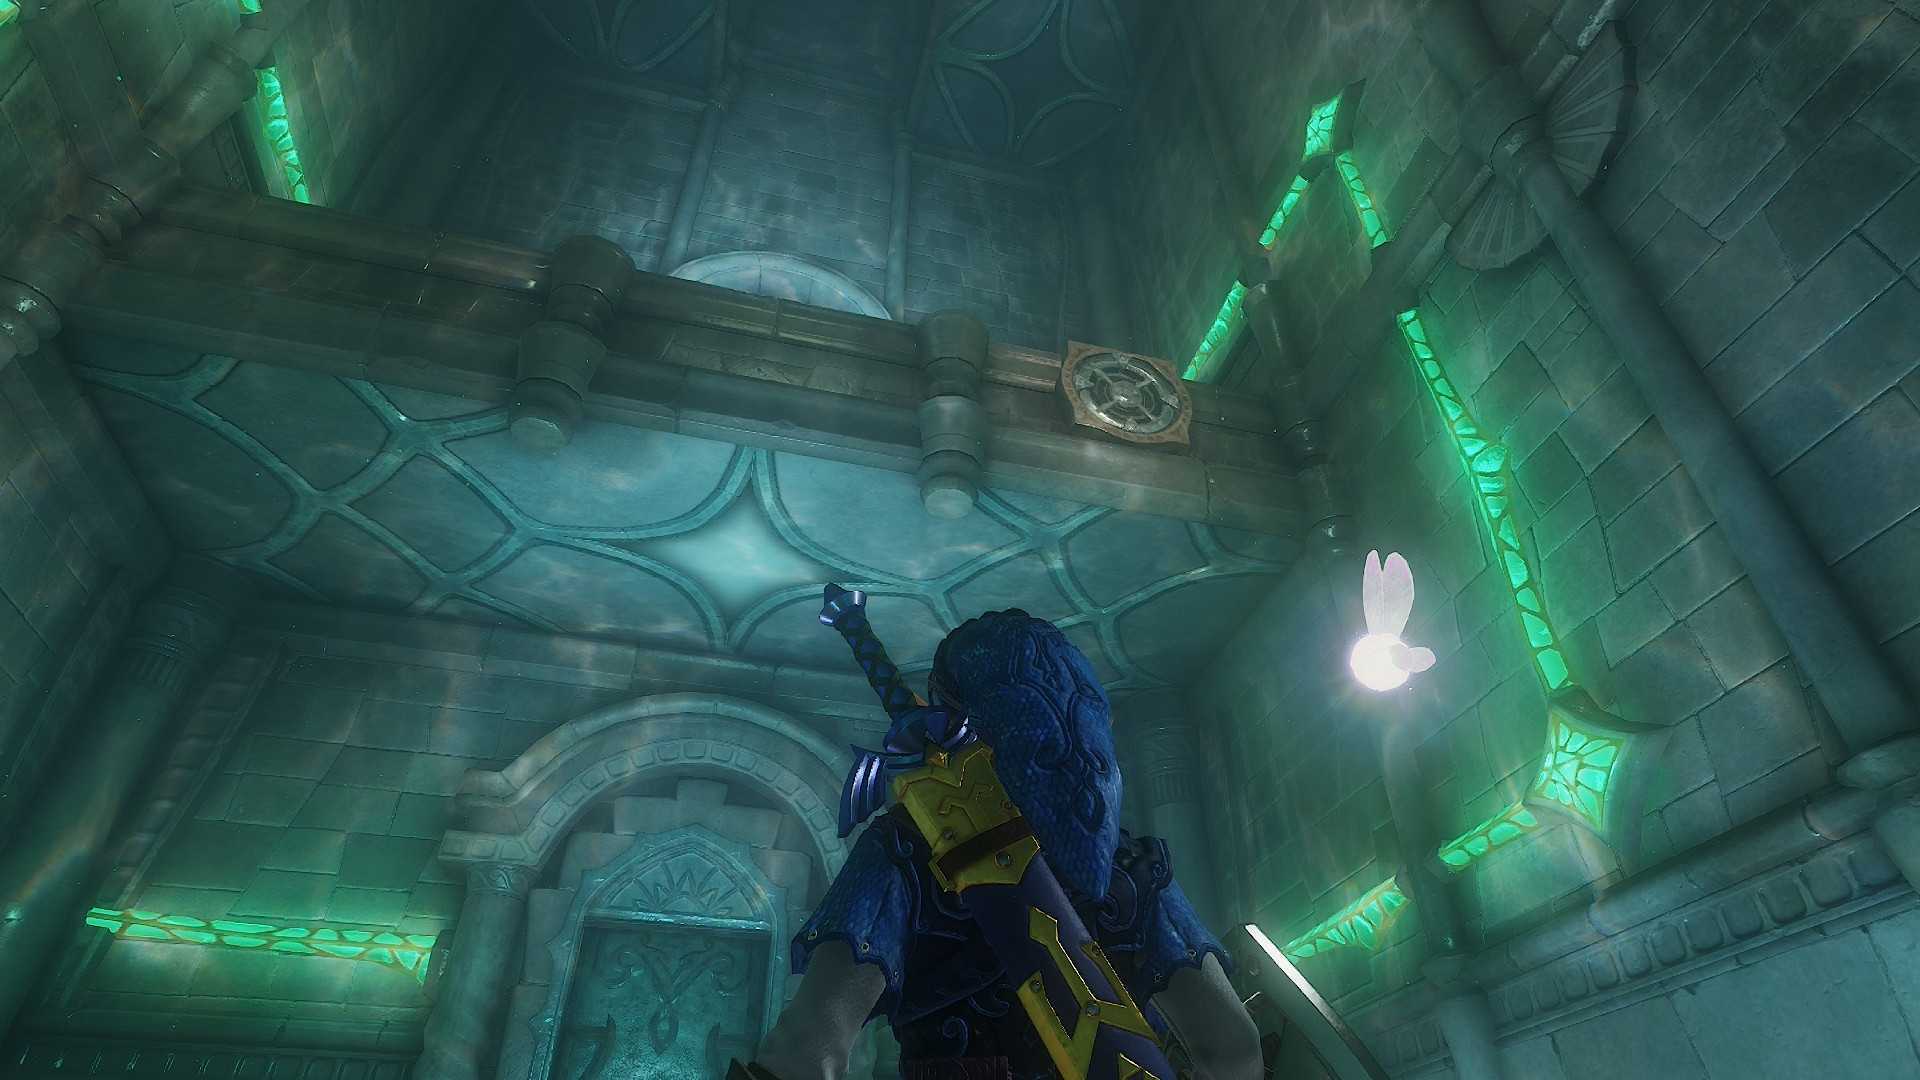
Once inside, step forward, turn around, and look up for a grapple point. Use your hookshot to get on the platform above. Right in front of you is a spot to stand and play Zelda’s Lullaby to raise the water back up. (Note: the columns here are green, green brings the water to 2F! Write it down if you need to!) Before you leave this inside pillar, though, jump in the water and look down: a new gap has opened up with the water level rising.
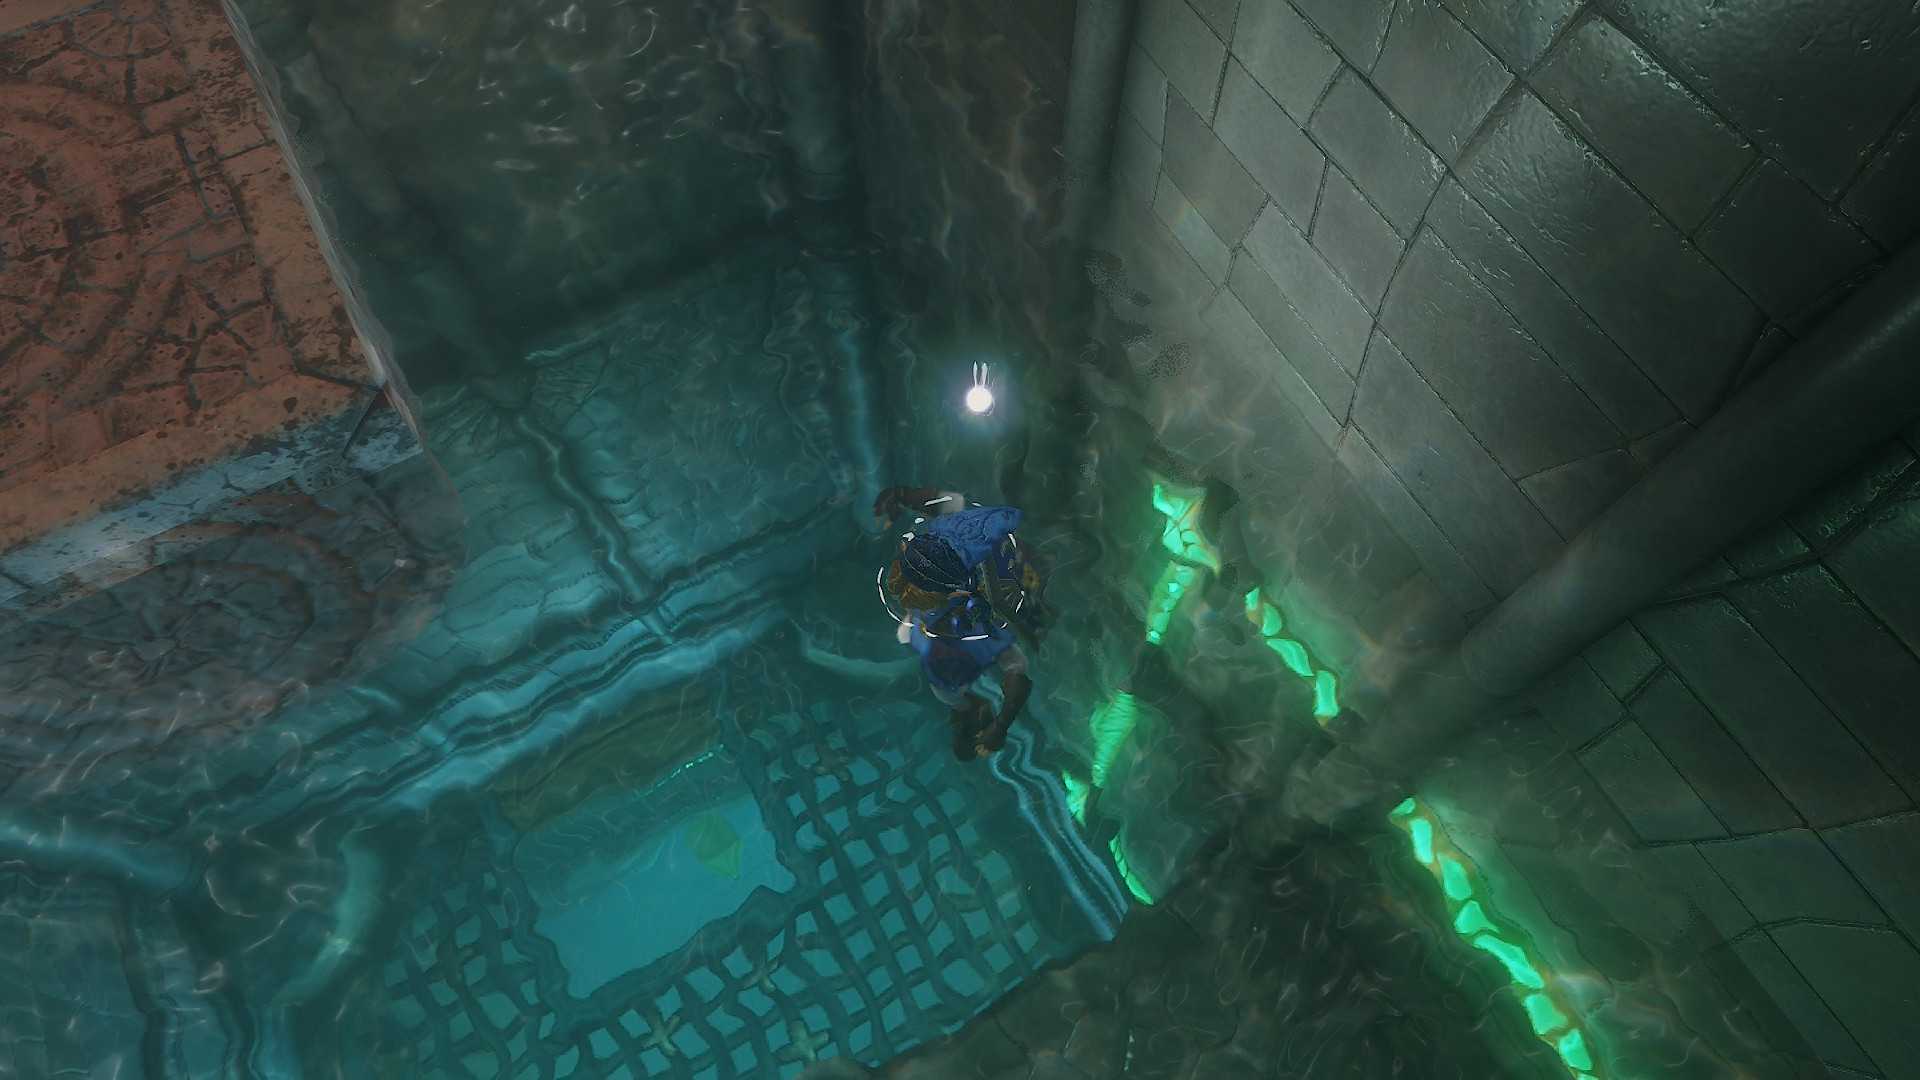
Use iron boots to drop down, where three Spikes are waiting for you. Kill them with the hookshot, then use the hookshot to hit the green switch above your head, releasing a Shell Blade. Kill that too, then remove the iron boots where it was standing to rise up into the now-open area. There’s a red rupee in a chest on the way up, as well as a gold skulltula on the wall opposite. Funny, I feel like something else used to be here in the original game…anyway, grab these, backtrack the way you came in, and take off the boots to rise back up into the middle of the pillar. Then swim out the door into the main hall.
Directly in front of you across the water (2F, east side) is a bombable/hammerable wall in an alcove. You know what to do. Smash the pots for bombs if needed, otherwise use the Megaton Hammer if you’ve cleared the Fire Temple already, and head on through.
Be cautious as you head into the water and equip the Iron Boots. There are four Stingers waiting for you. Your hookshot will take care of them, but it’s easy to get overwhelmed, so take it slow (not that you can do otherwise with those boots on). Once they’re dead, proceed to the end of the underwater hallway and unequip the boots to rise to the surface.
In front of you is a pool of water with a switch in it, and a round platform being lifted by a fountain. Use your hookshot to hit the switch to lower the platform, stand on the platform, then use hookshot again on the same switch to raise yourself up to the floor above. Your reward is a Small Key. Take it, then backtrack all the way to the main hall again.
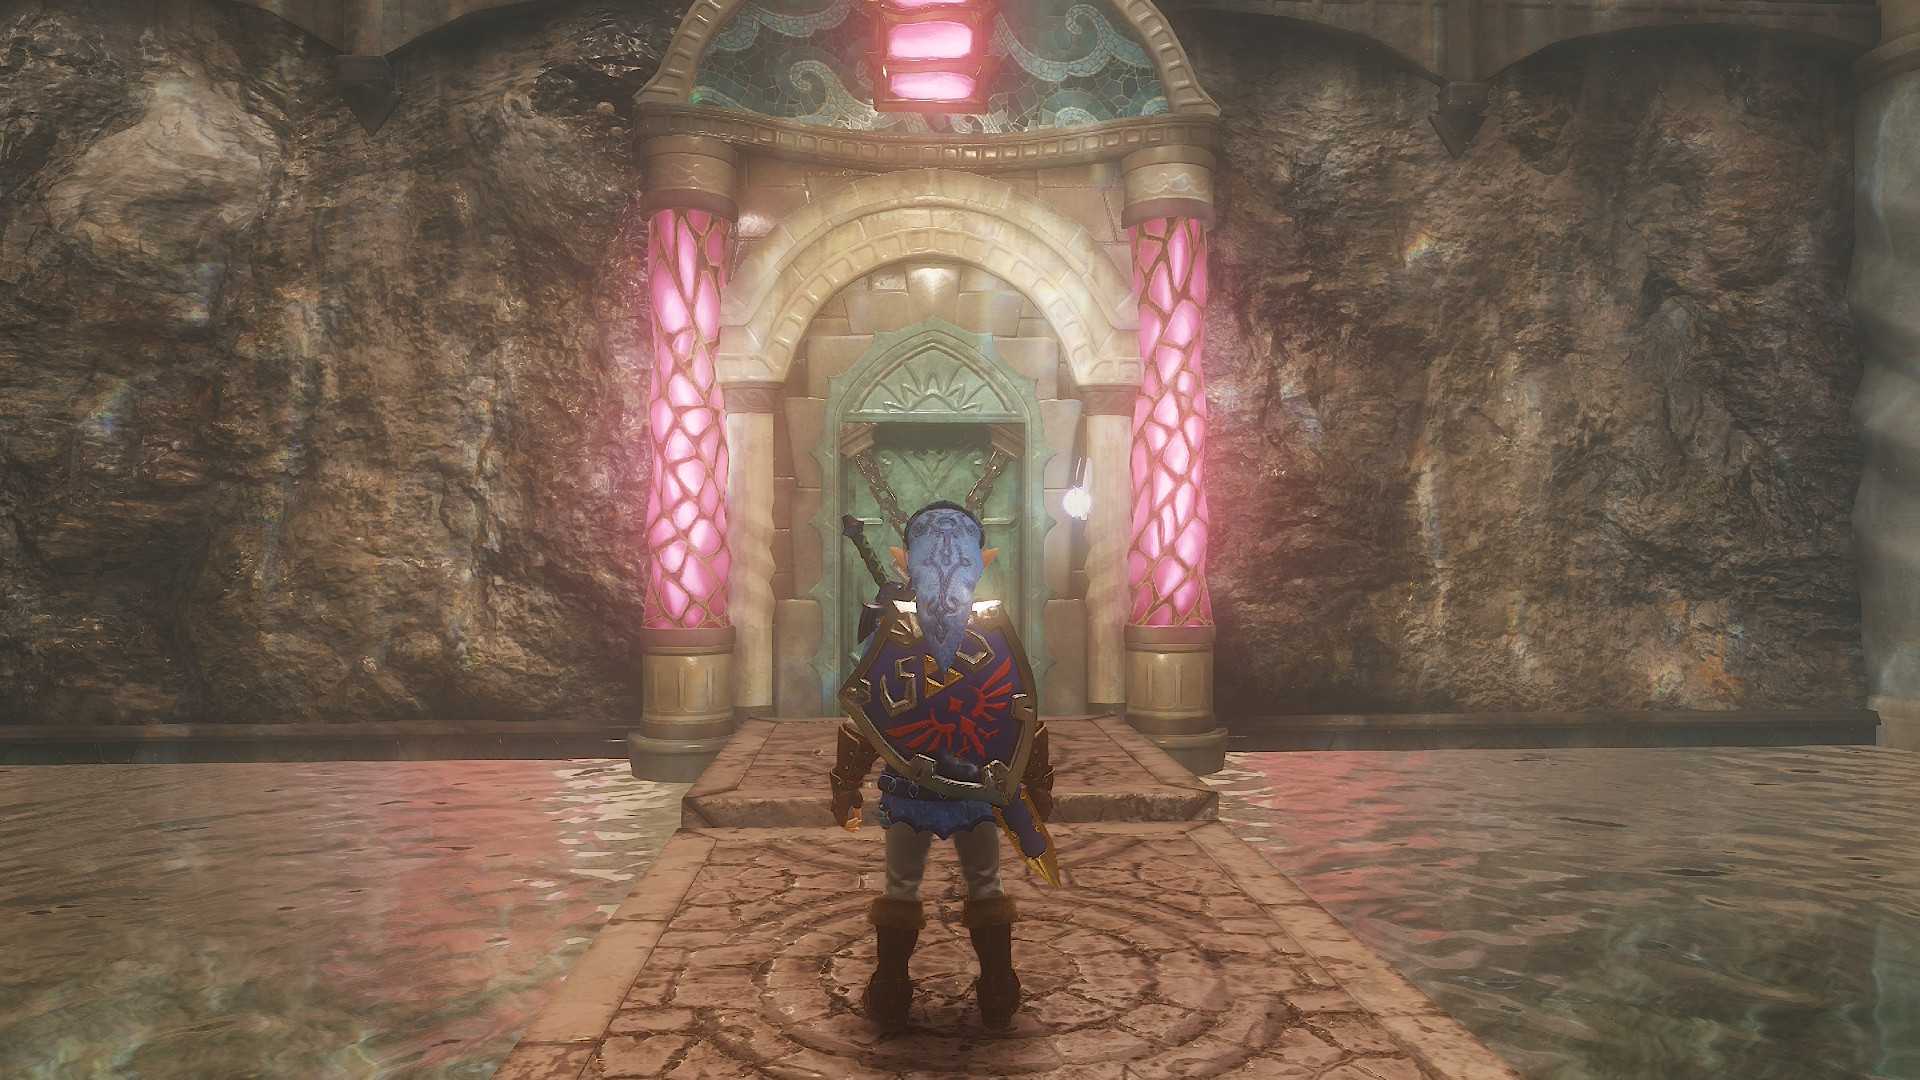
In the main hall, hop in the water and swim around the central pillar to the locked door directly across from where you just entered. It’s got glowing red columns around it—can’t miss it. Use the Small Key and head inside. Smack the switch and ready yourself; a blue Tektite will descend and try to fight you. Once it’s dispatched, stand on the lowered platform and use your hookshot to hit the switch again and rise up.
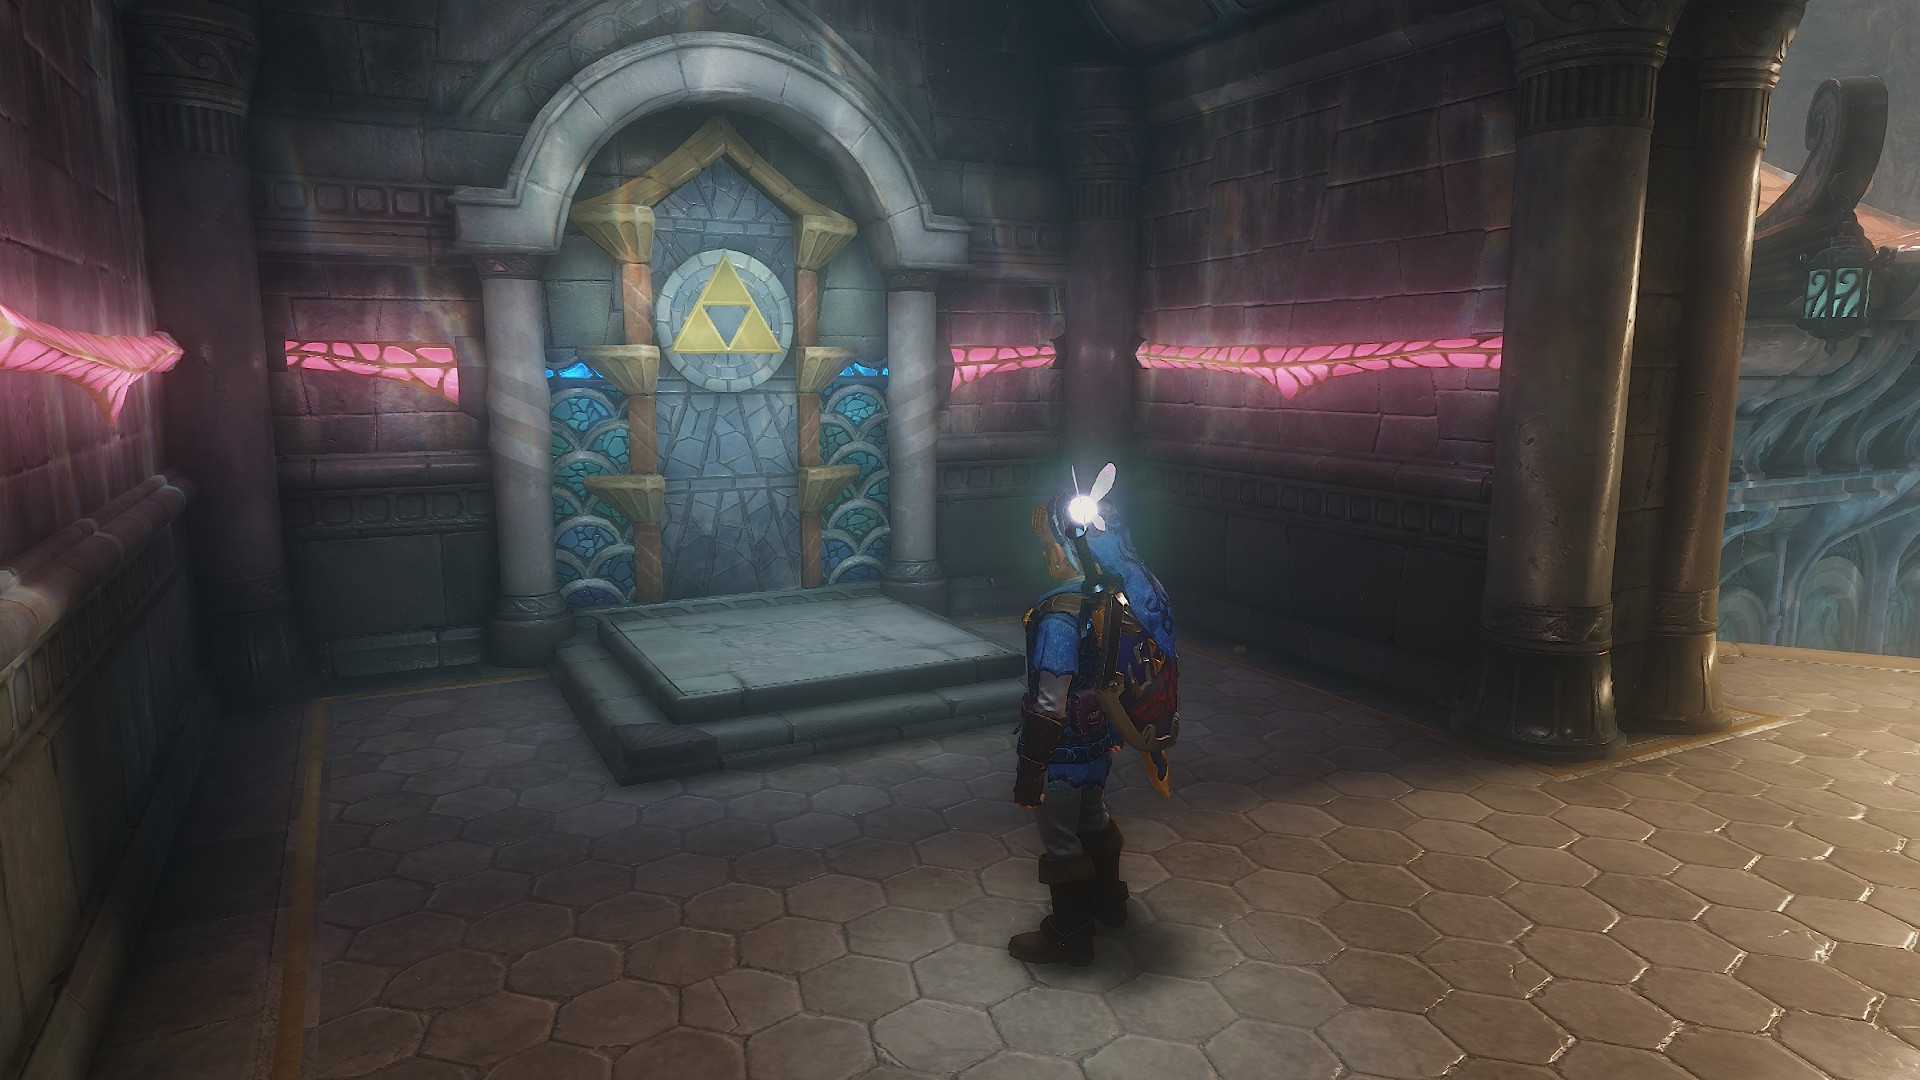
It’s another Zelda’s Lullaby spot, this time with red lights, that will bring the water to 3F! Play that same song! Up goes the water. Jump down from the ledge next to the Triforce symbol and back into the water of the main room.
The Longshot
Mind any Tektites you haven’t dispatched already and swim on over to 3F, west side, for another locked door for which you conveniently have a key.
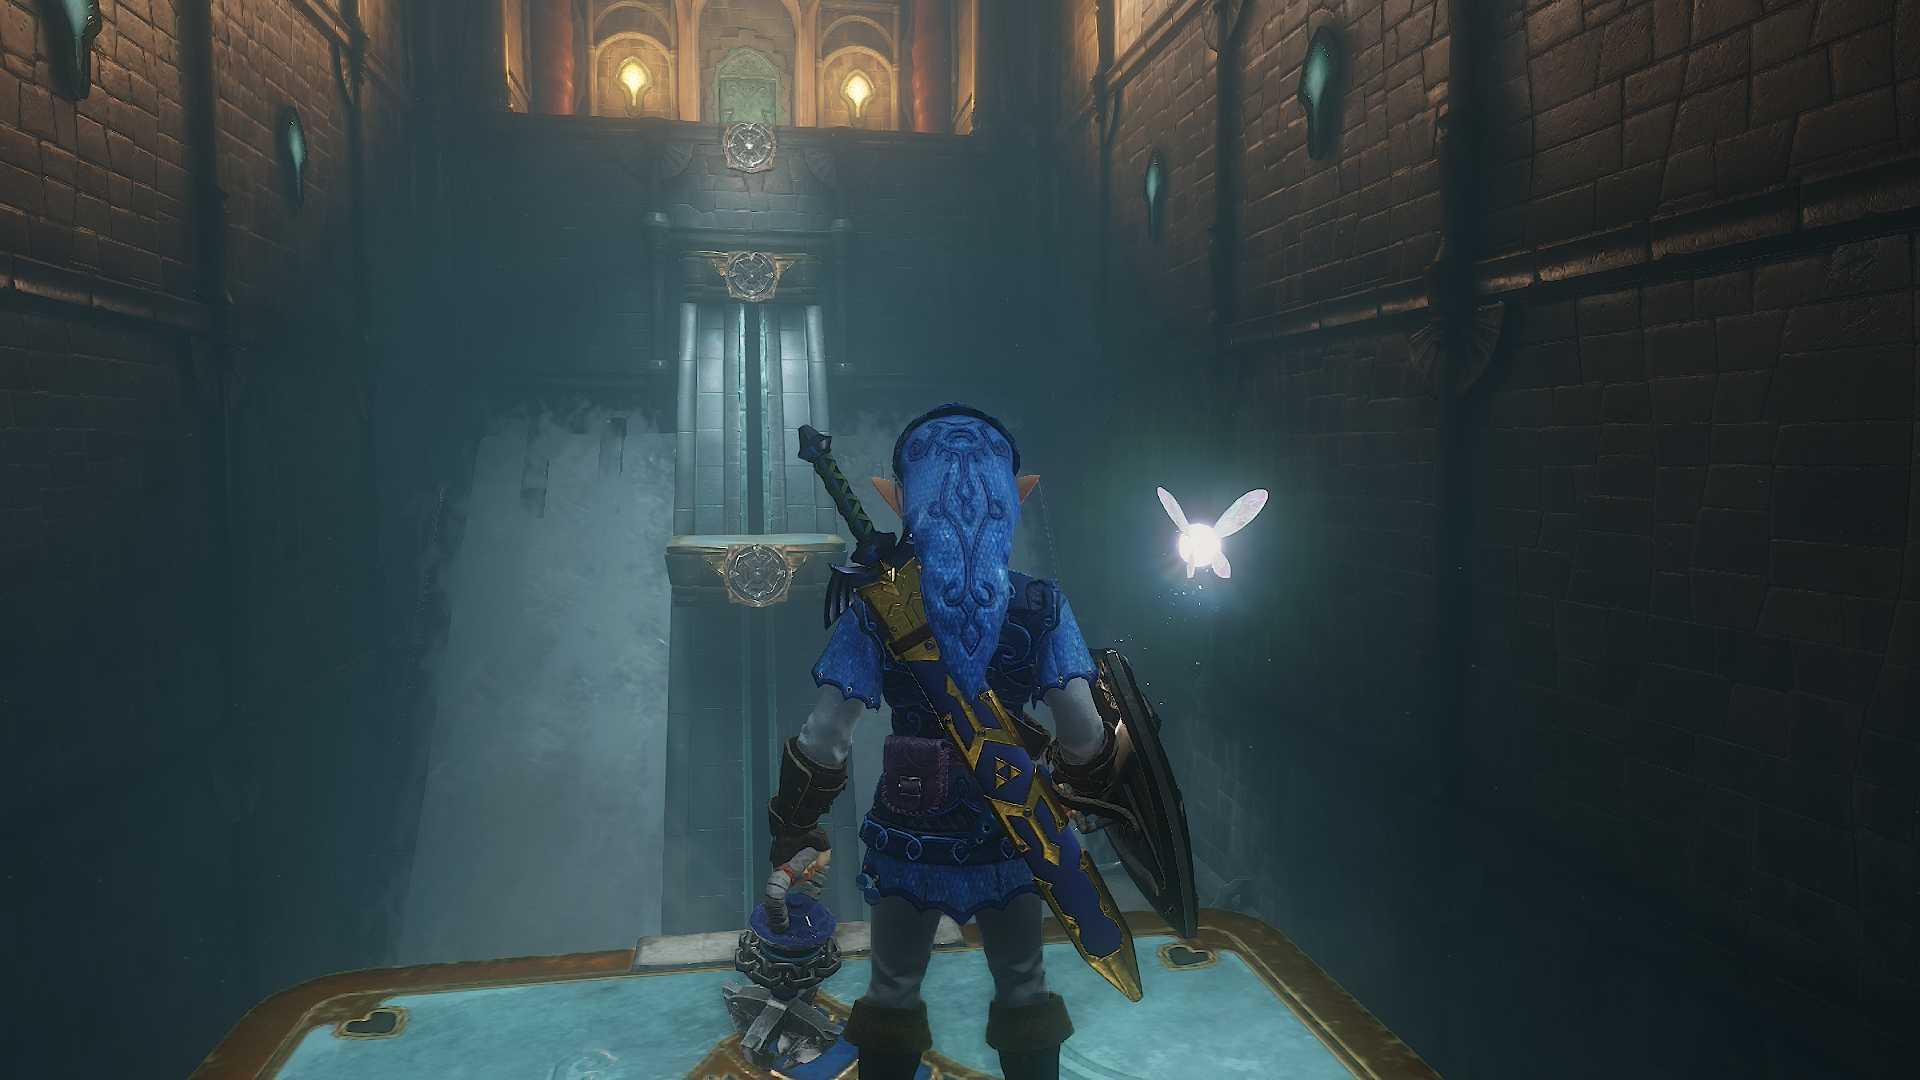
A couple of Keese will be waiting for you to slash them up. Take stock of your surroundings before you proceed. You’ll want to use the hookshot to grapple your way up these moving platforms to the top, one by one. Start by dropping down to the platform below the one you start on, and it’ll descend until you can grapple across. Then just work your way up, one by one. Don’t panic, it’s very doable, and there’s a stable platform to the side you can jump to if you need a second to collect yourself. Head through the door at the top once you reach it.
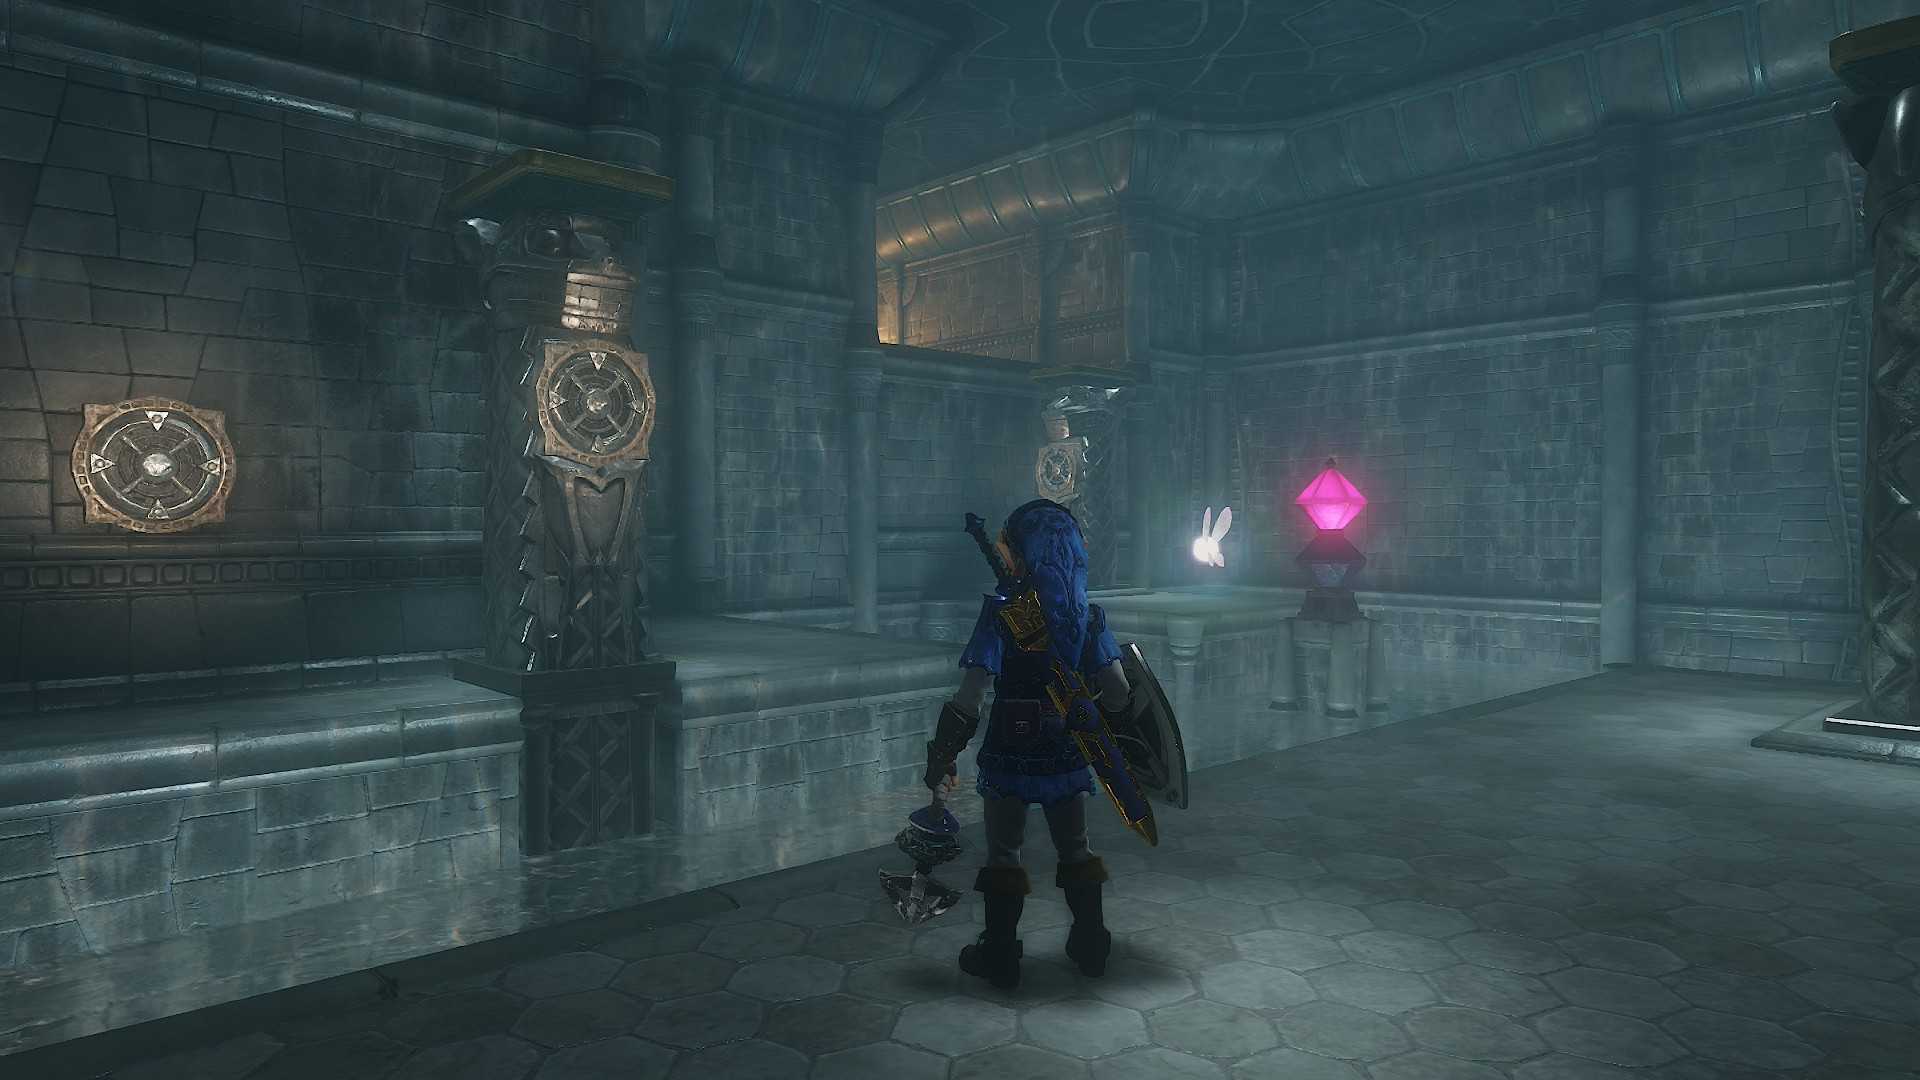
In this next room, I started by hitting all the Tektites below with my arrows just to get them out of the way. Then, use your hookshot to hit the switch at the center of the room and make the grapple points raise up. You’ll want to grapple to the first point directly in front of you, then (counterintuitively) hit the switch again to lower the points. Use the grapple point on the next wall to cross—you’ll be able to continue along the ledge only if the grapple point pillars are lowered. Hit the switch yet again and grapple to the final pillar, hit the switch again to lower the pillars. Climb atop the one next to you, then hit the switch one final time to raise the pillar and lift you within reach of the next floor.
Hit those pots for health, arrows, whatever before you go through the door, it’s time for one of the best bosses in the game!
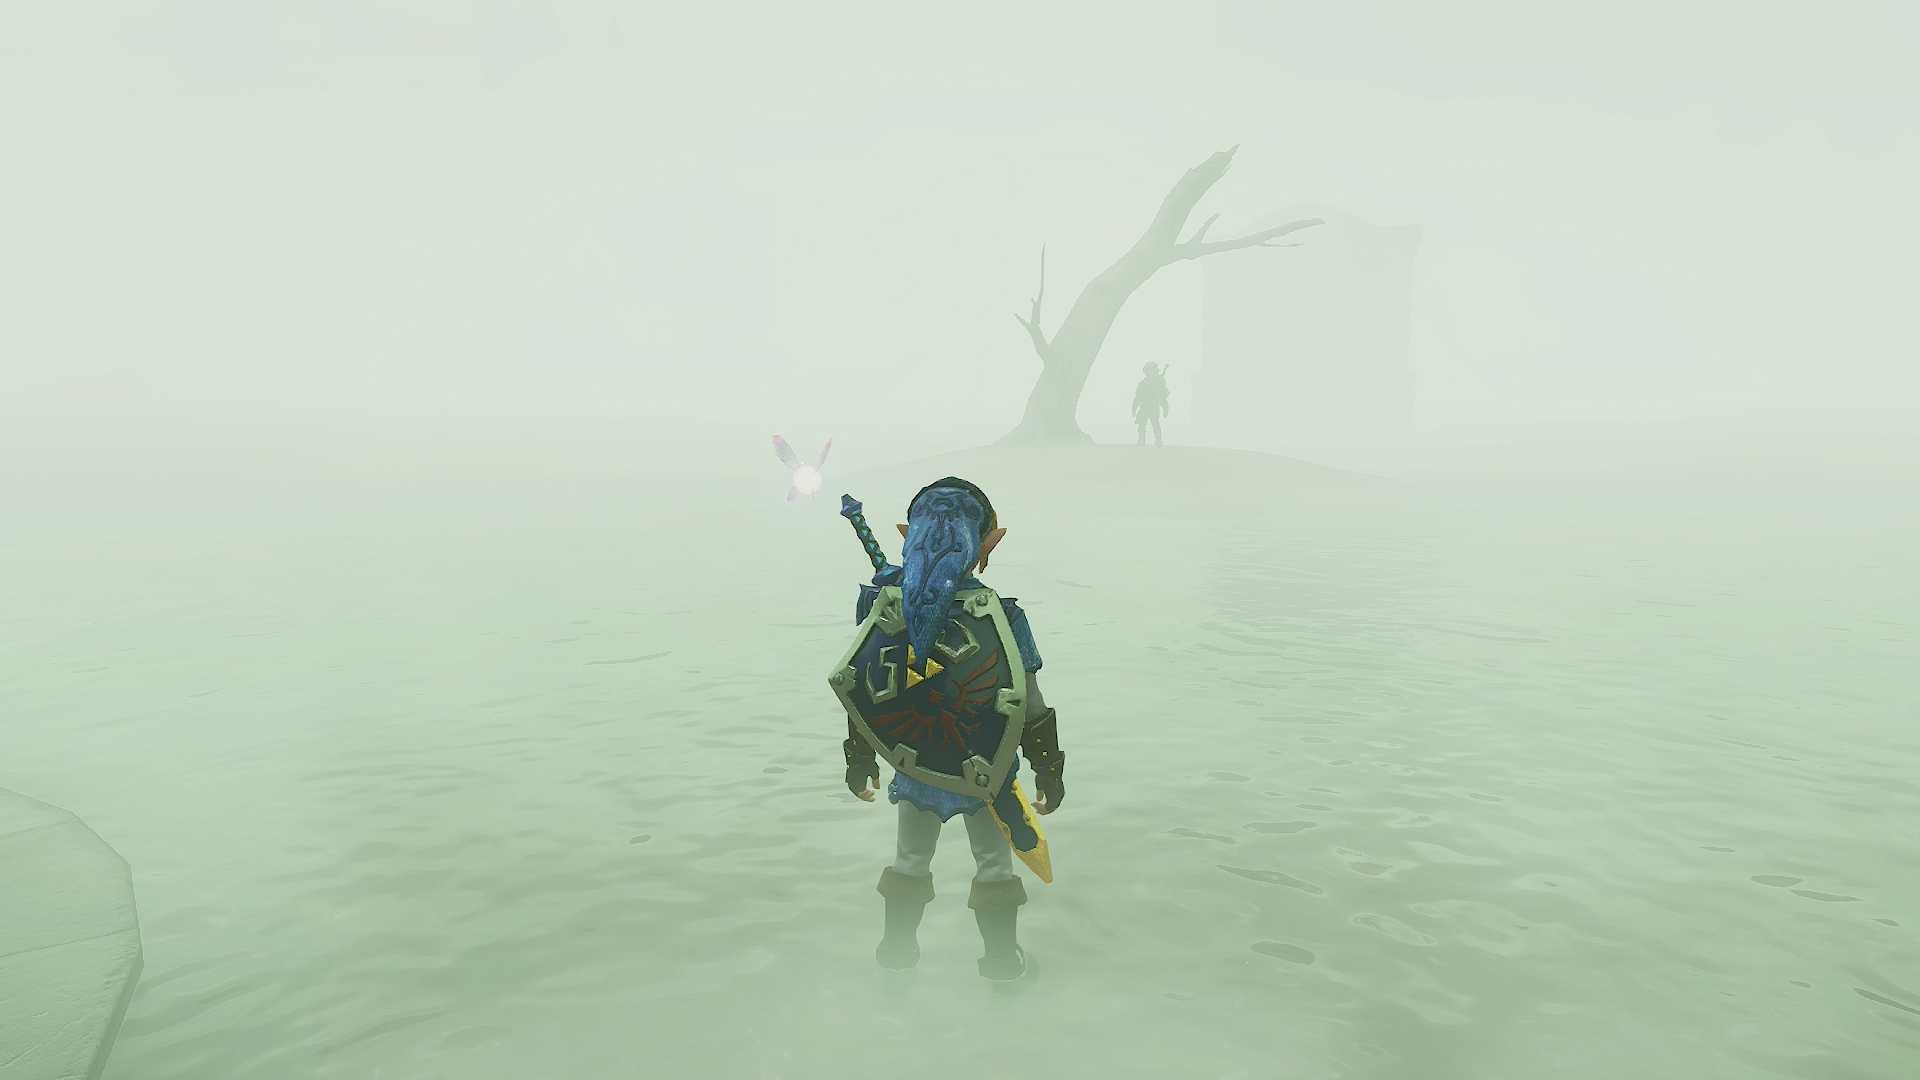
Shadow Link is tough; he mirrors your moves! Don’t attack him head-on while his shield is up or he’ll do something I hear the kids call “aura farming.” I was able to beat him pretty easily by keeping my guard up and dodging his combos, waiting for an opening. In the first phase of the fight, I would dodge to the left side twice whenever he swung, then would come in for a combo toward his exposed back. In the second phase, this was trickier, but still very doable if I dodged backwards twice and then threw out the hookshot to stun him. Make sure you dodge backwards far enough when he gears up for a spin attack, and don’t let yourself get pushed too close to the arena walls, or he can pin you down for some big damage.
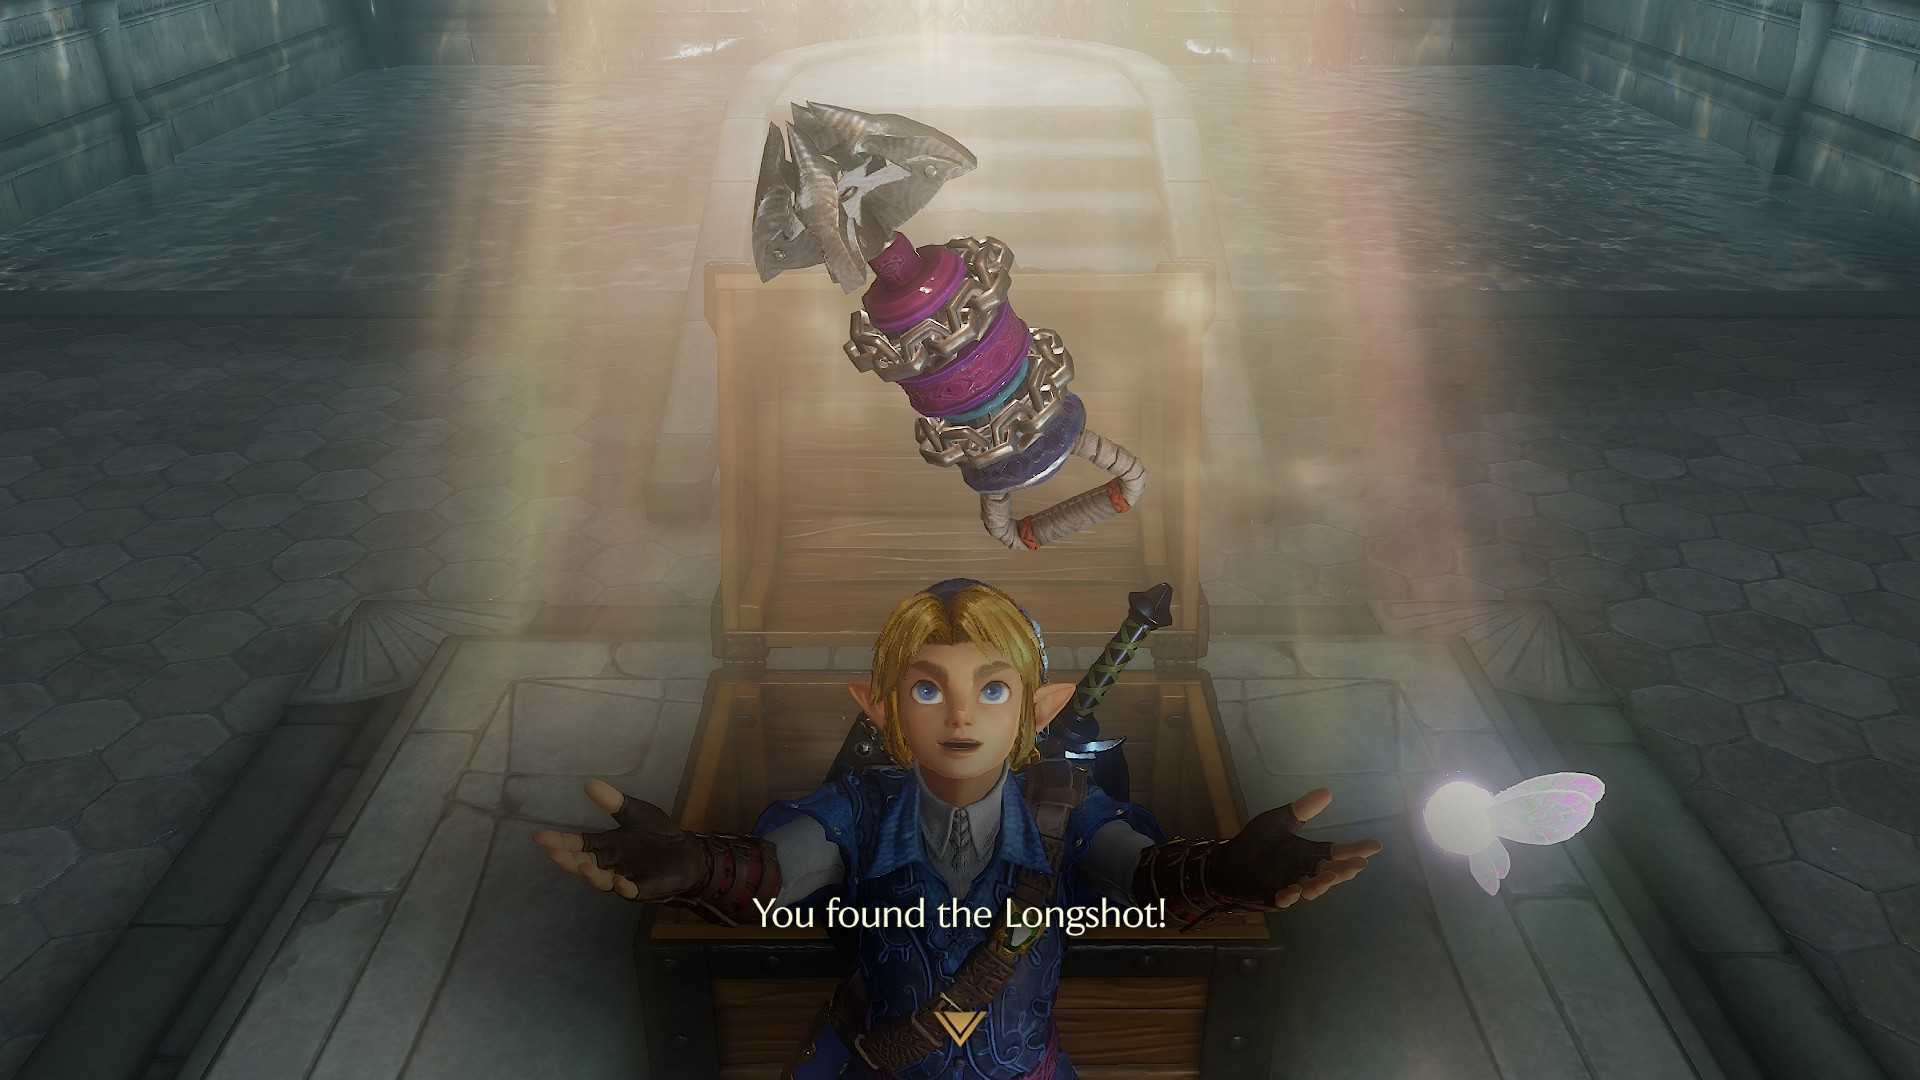
With Shadow Link down, head through the door opposite where you came in (use your map if you got turned around) to finally obtain the Longshot, which will let you hookshot targets even farther away than before! To escape this room, aim for the very far away targets above you, then drop down the waterfall into the cavern below. Let yourself float down the river, but mind the whirlpools—you can use the iron boots to just walk between them underwater. About three-quarters of the way down the river, there’s a gold skulltula on a wall above you. Make sure you’re firmly iron-booted underwater, then use the longshot to smack it once to defeat it, and then again to collect the token.
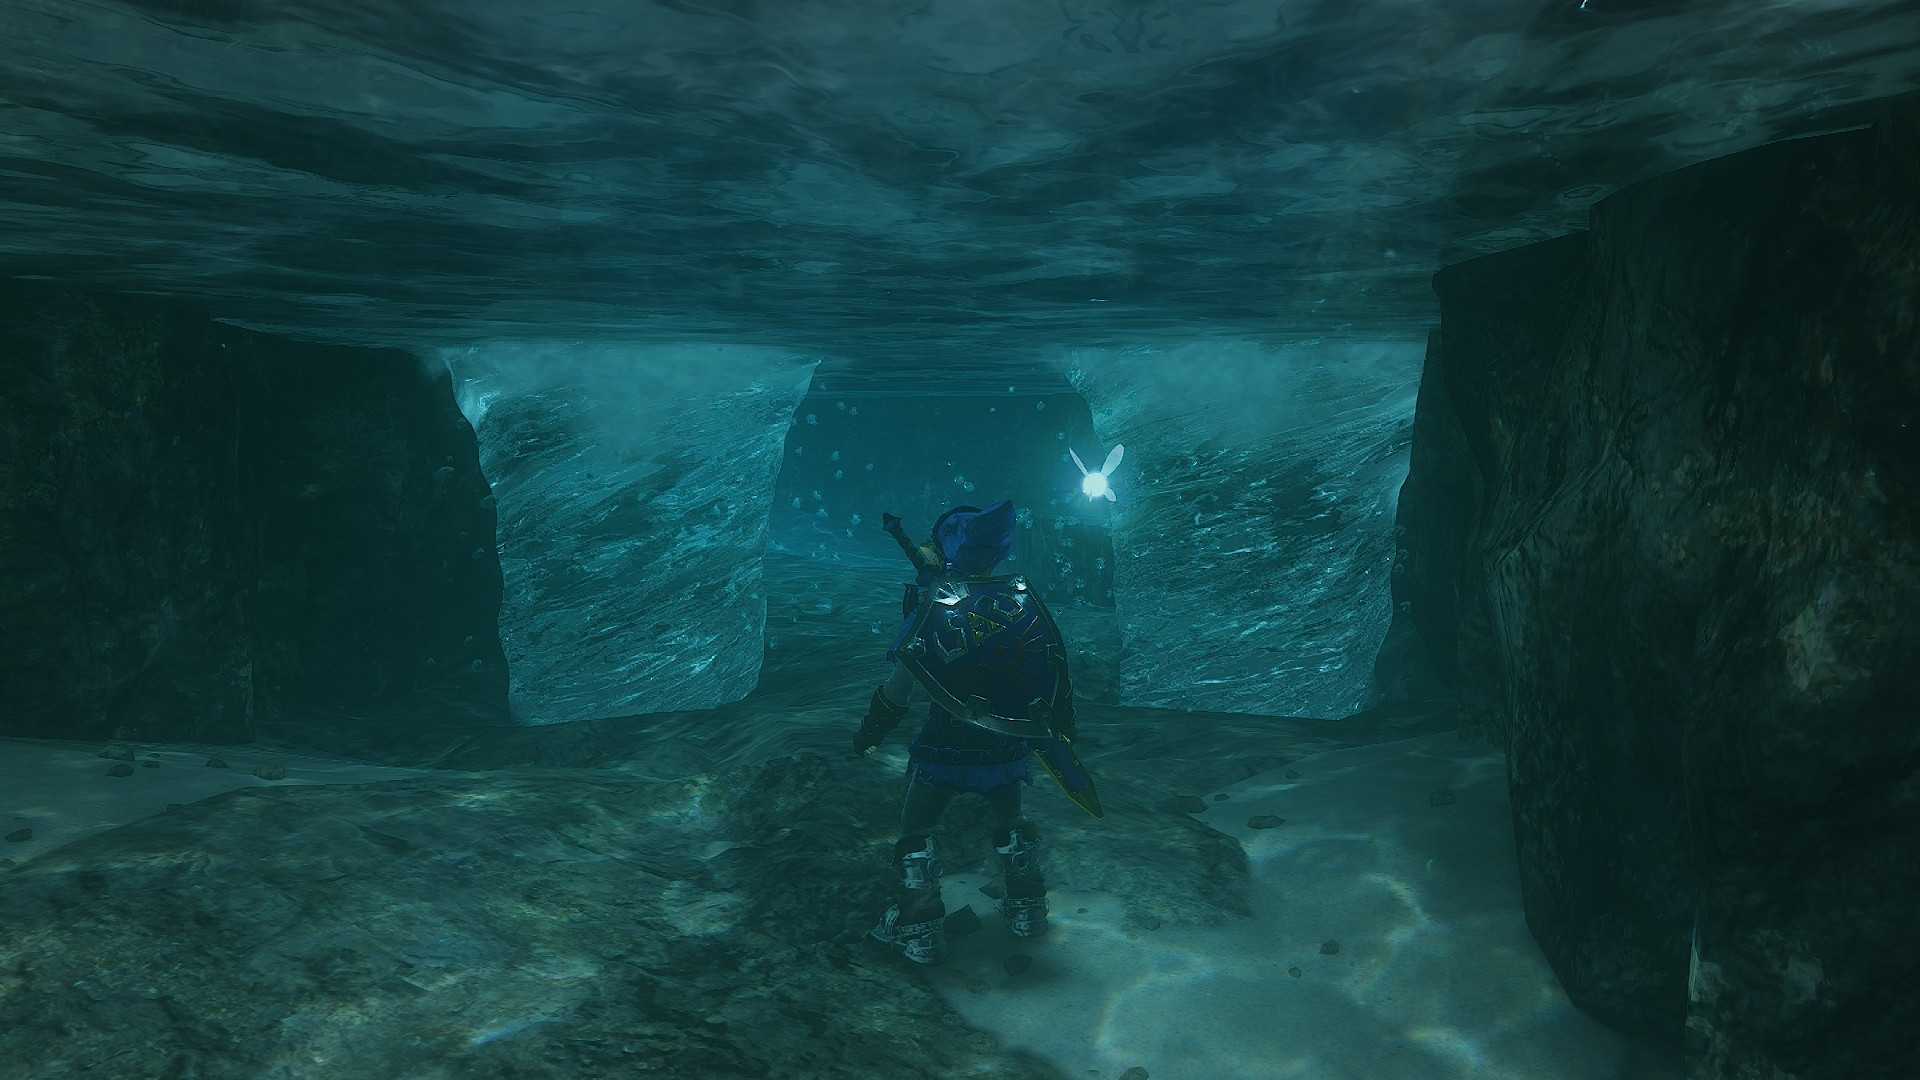
Climb atop the stone outcropping on the end of the river and use the longshot again, once to hit the eye above the gates and open them, and again to grapple to the grapple point on the other side of the gates before they close on you.
The Boss Key
We’re back in familiar territory, so head out to the main hall once again. We’ve still got some work to do, and we’re sorely in want of a boss key right about now. First, we need to get the water level down. Get those boots on and drop down to 1F east, the room where you first ran into Ruto. Swim up to the Triforce and play Zelda’s Lullaby to drop the water, then head back into the main hall. Then, you want to enter the central pillar again from the door on 1F. We’re here to raise the water level, but hold up. Grapple to the Triforce stand, then look at the ceiling for a grapple point you can now reach with the longshot. Fly on up there, then look across to the other side of the ceiling for another gold skulltula. Once you have that, drop back down and play Zelda’s Lullaby.
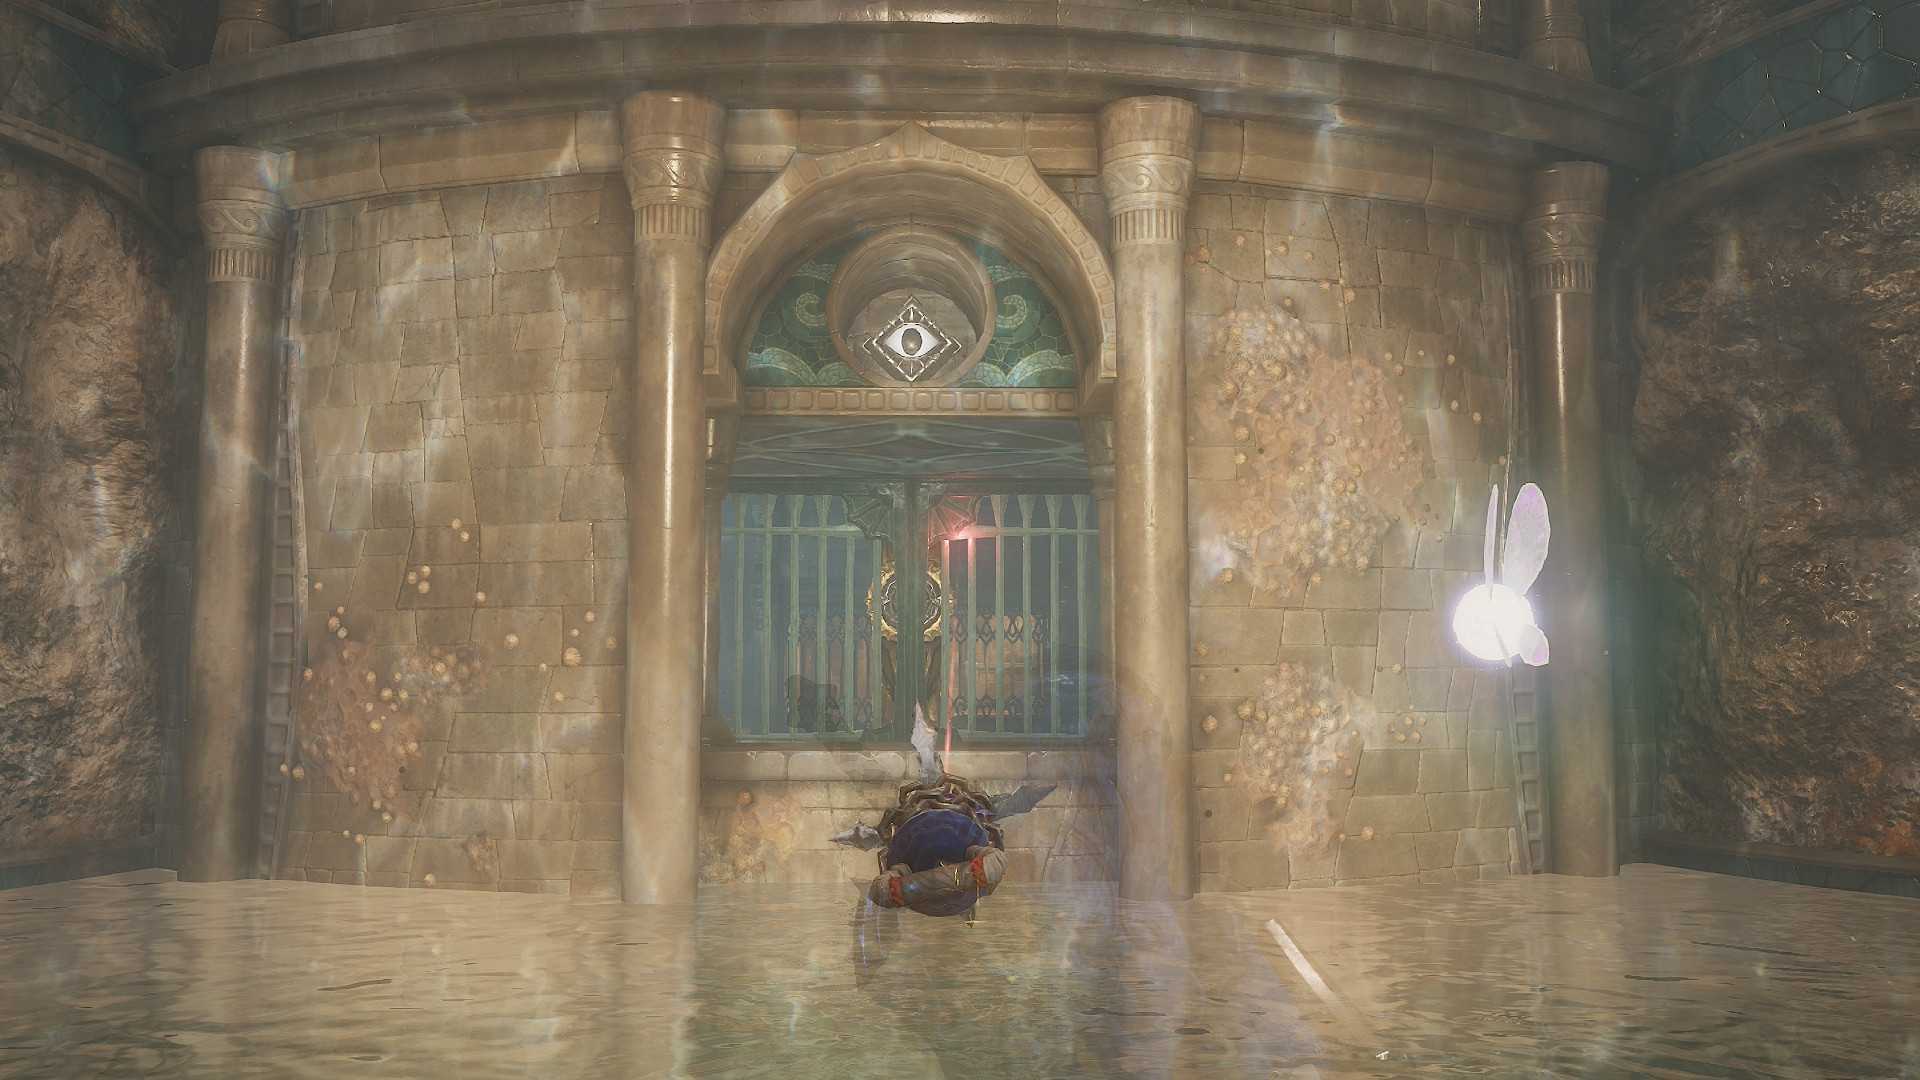
Everything’s in place! Exit the pillar and run around the central platform to stand on the floating block, looking across at the outer wall. You should see a gate with a grapple point on the other side, and an eye switch above. Once again, use the longshot to hit the eye, then immediately use it again on the grapple to get through. Drop into the pool and equip the iron boots, then walk into the hallway. There’s a movable block wedged into the wall here—pull it out as far as you can, blocking off the hallway, then take off the boots and swim up and out of the pool. You should be able to see a fence ahead of you with a waterfall on the other side, and a grapple point on the ceiling. Grapple to it with the longshot, use the iron boots to sink into the water, then head down the hallway and push the block out of your way to clear a path to the chest with yet another small key.
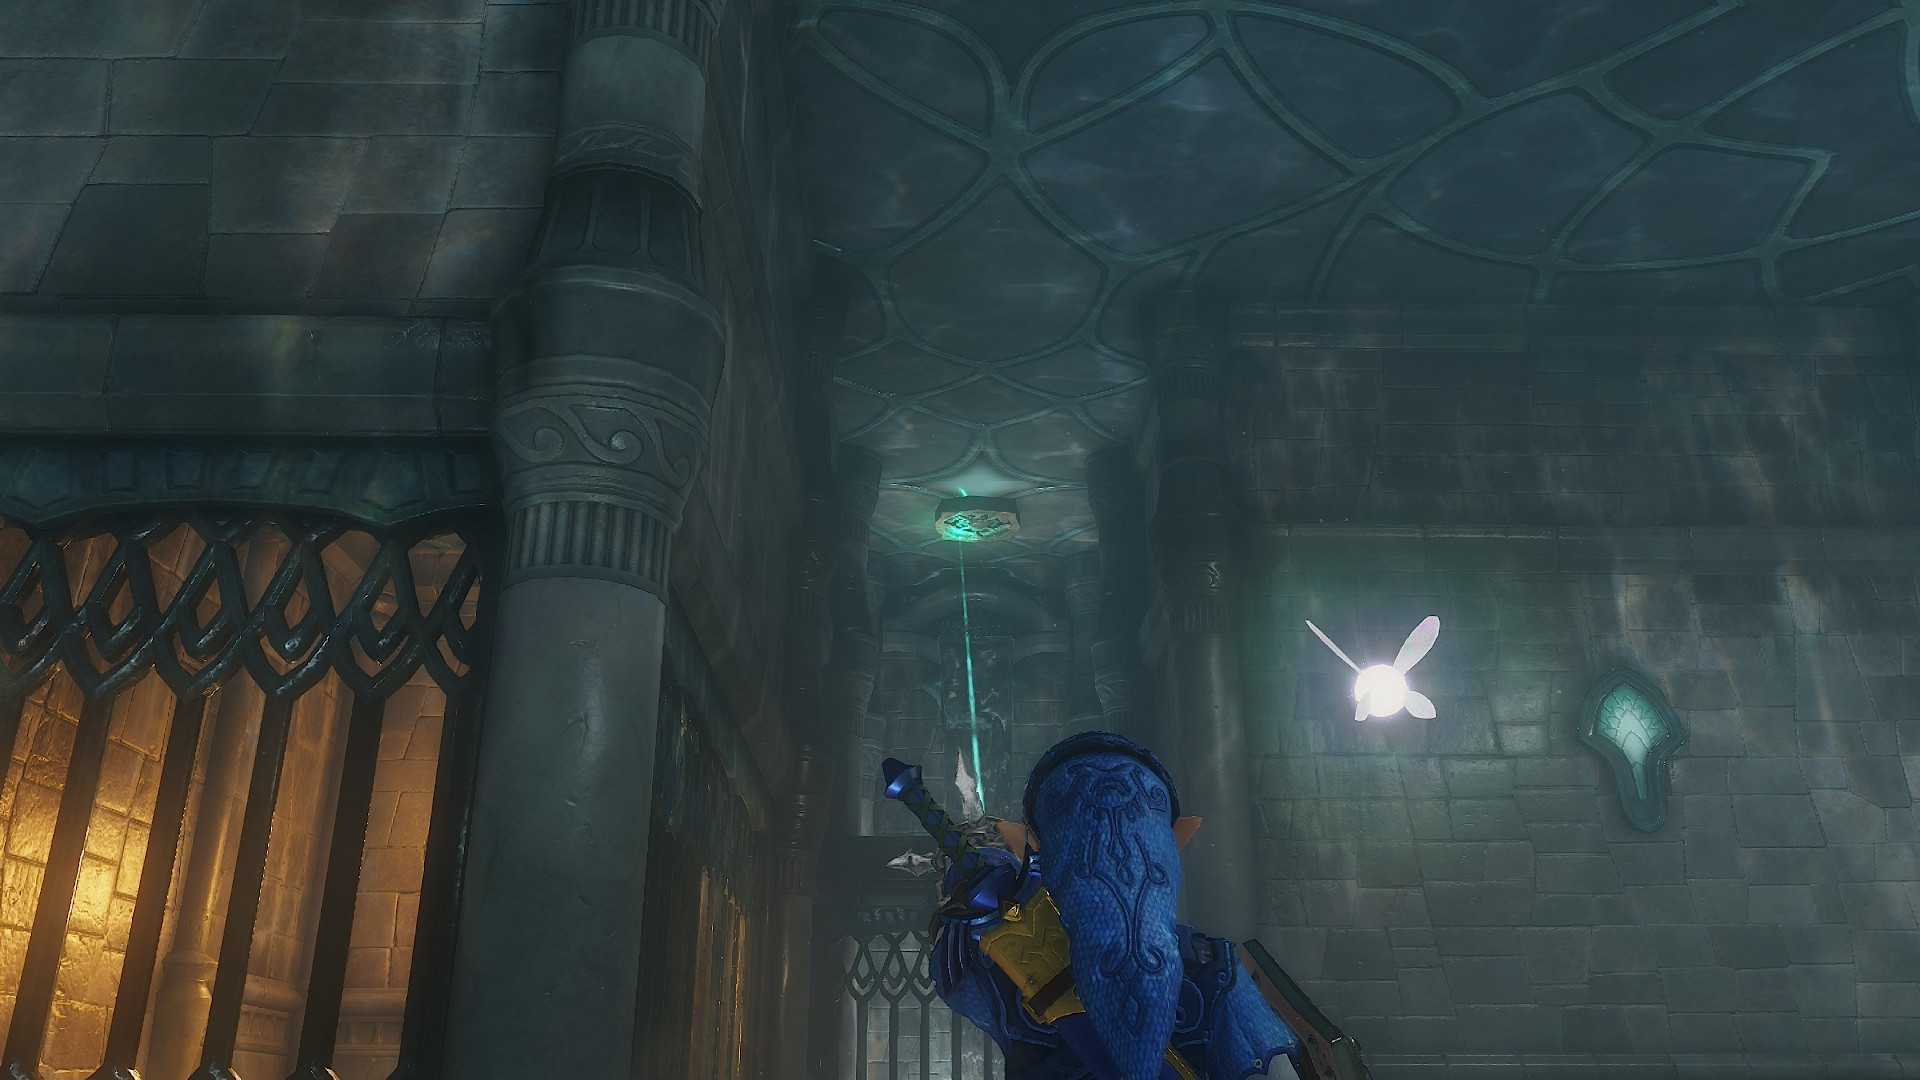
Back to the main hall again, equipping the iron boots again and sinking down to 1F, north. Grapple across the gap and use your small key on the door. Inside, there are a lot of tektites in the way. Use your sword, shield, bow, whatever, to get them out of the way (seriously, they will knock you into whirlpools otherwise). Carefully cross the room, avoiding the boulders, using the iron boots as needed to stay out of whirlpools, and go through the door. In here, use the longshot to dispatch all the stingers, then smash the rock walls (with bombs or the megaton hammer) to reveal a block that can be pushed into the water to hit a switch. The switch will raise the water level for you to head out the door in the wall above.
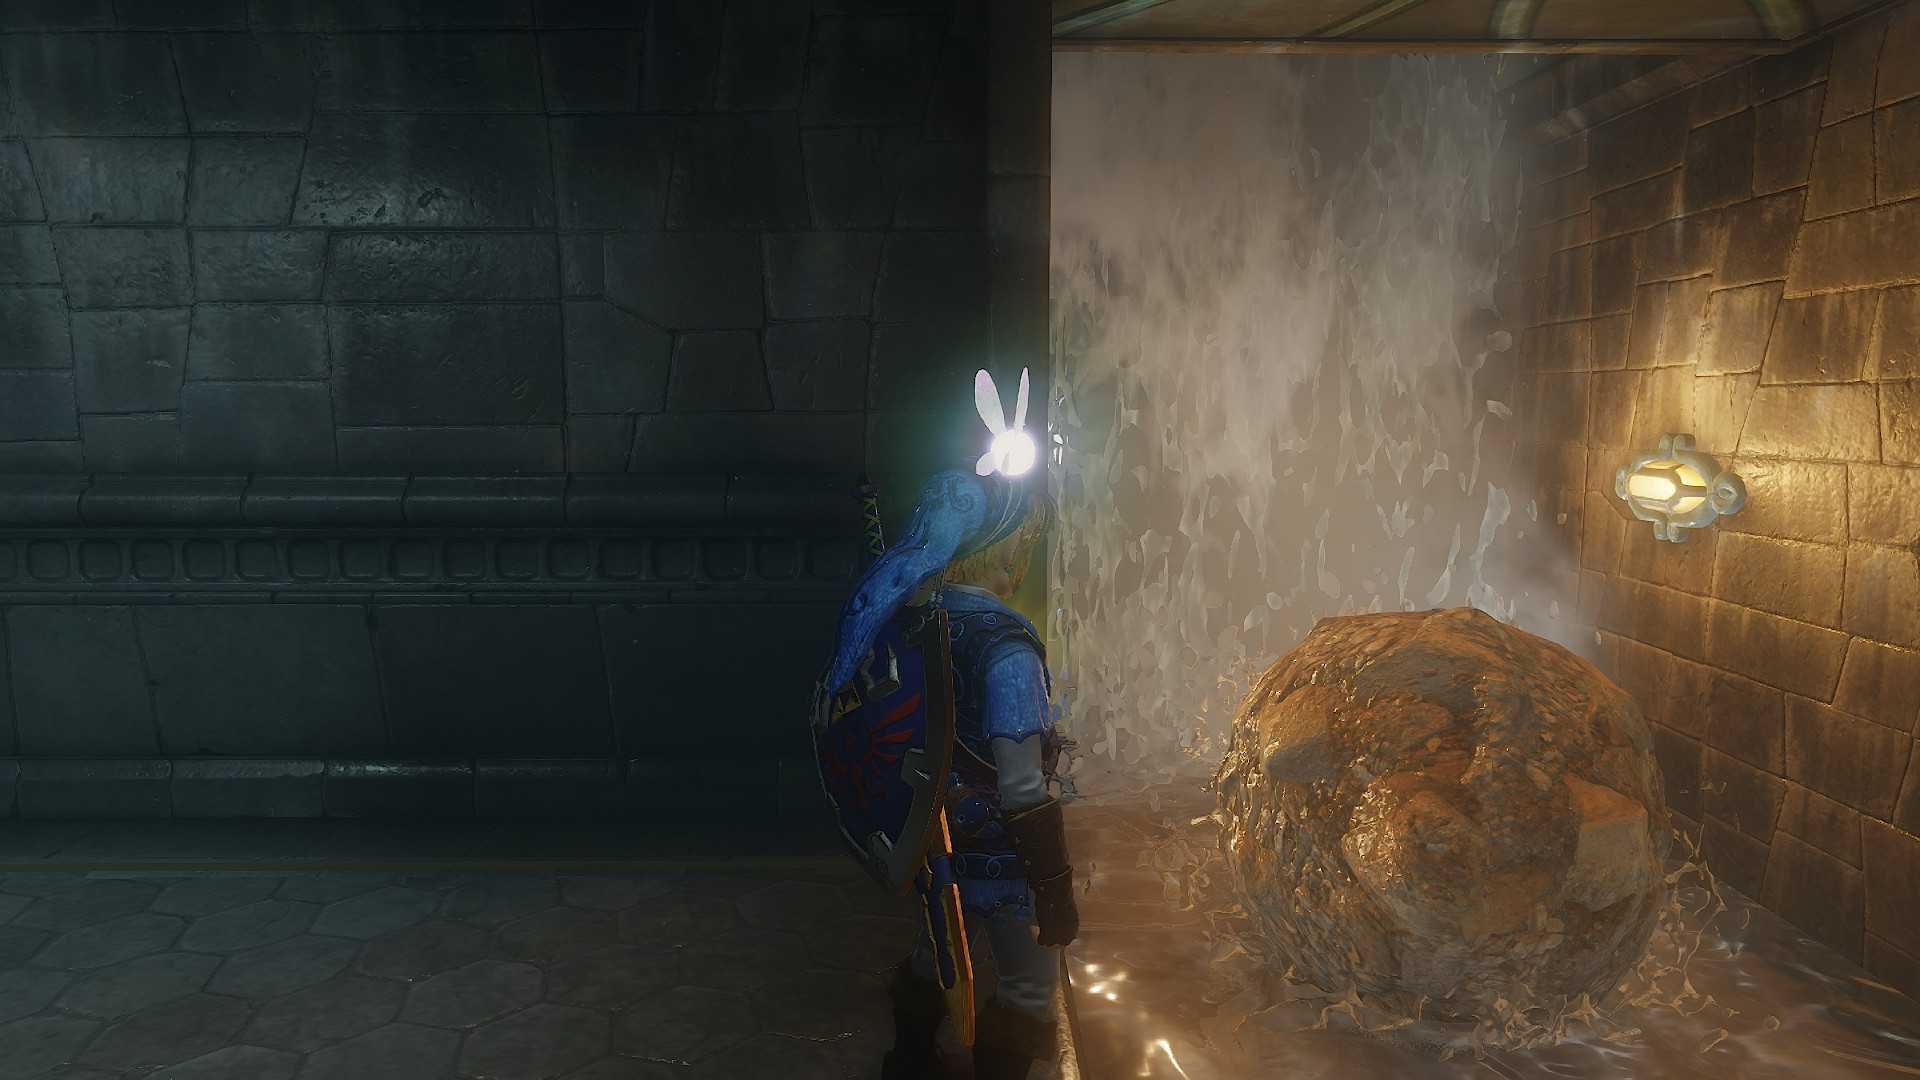
Whew. Almost done. In here, step on the switch to raise platforms you can jump across, and a tektite with them. Get rid of it (and the other tektite on the other side of the room) as you see fit, then cross and go through the opening. On the other side, be careful. Boulders are rolling down this stream and will run you over if you step in at the wrong time. Wait for one to pass, then go under the waterfall and immediately turn to the left to jump into the alcove. There’s a shell blade waiting, so get that out of the way. Before you head through the door, turn back, wait for the boulder to pass, then jump back in the stream, through the waterfall, and look up—there’s another gold skulltula near the ceiling. Grab it fast, then turn back and head through the door to, at long last, claim the boss key.
Great work, folks! Turn back, follow the boulders down the stream and into the room you were in earlier with the boulders and whirlpools, then back into the main hall. I’m sorry to say we’ve got to mess with the water levels one more time. You’ll need to go back into 2F west, head up the fountain, and play Zelda’s Lullaby one last time to raise the water and open a path up the big stairs to the north on 2F (technically 3F). Drop down, and head that direction. You’ll have to stand on the platform of the central pillar and longshot your way over. Load up on hearts from the pots before you go in, and get ready to fight.
Okay, not yet. Use your iron boots in this room to climb the waterfall and avoid the spiky things spinning back and forth. Now get ready to fight!
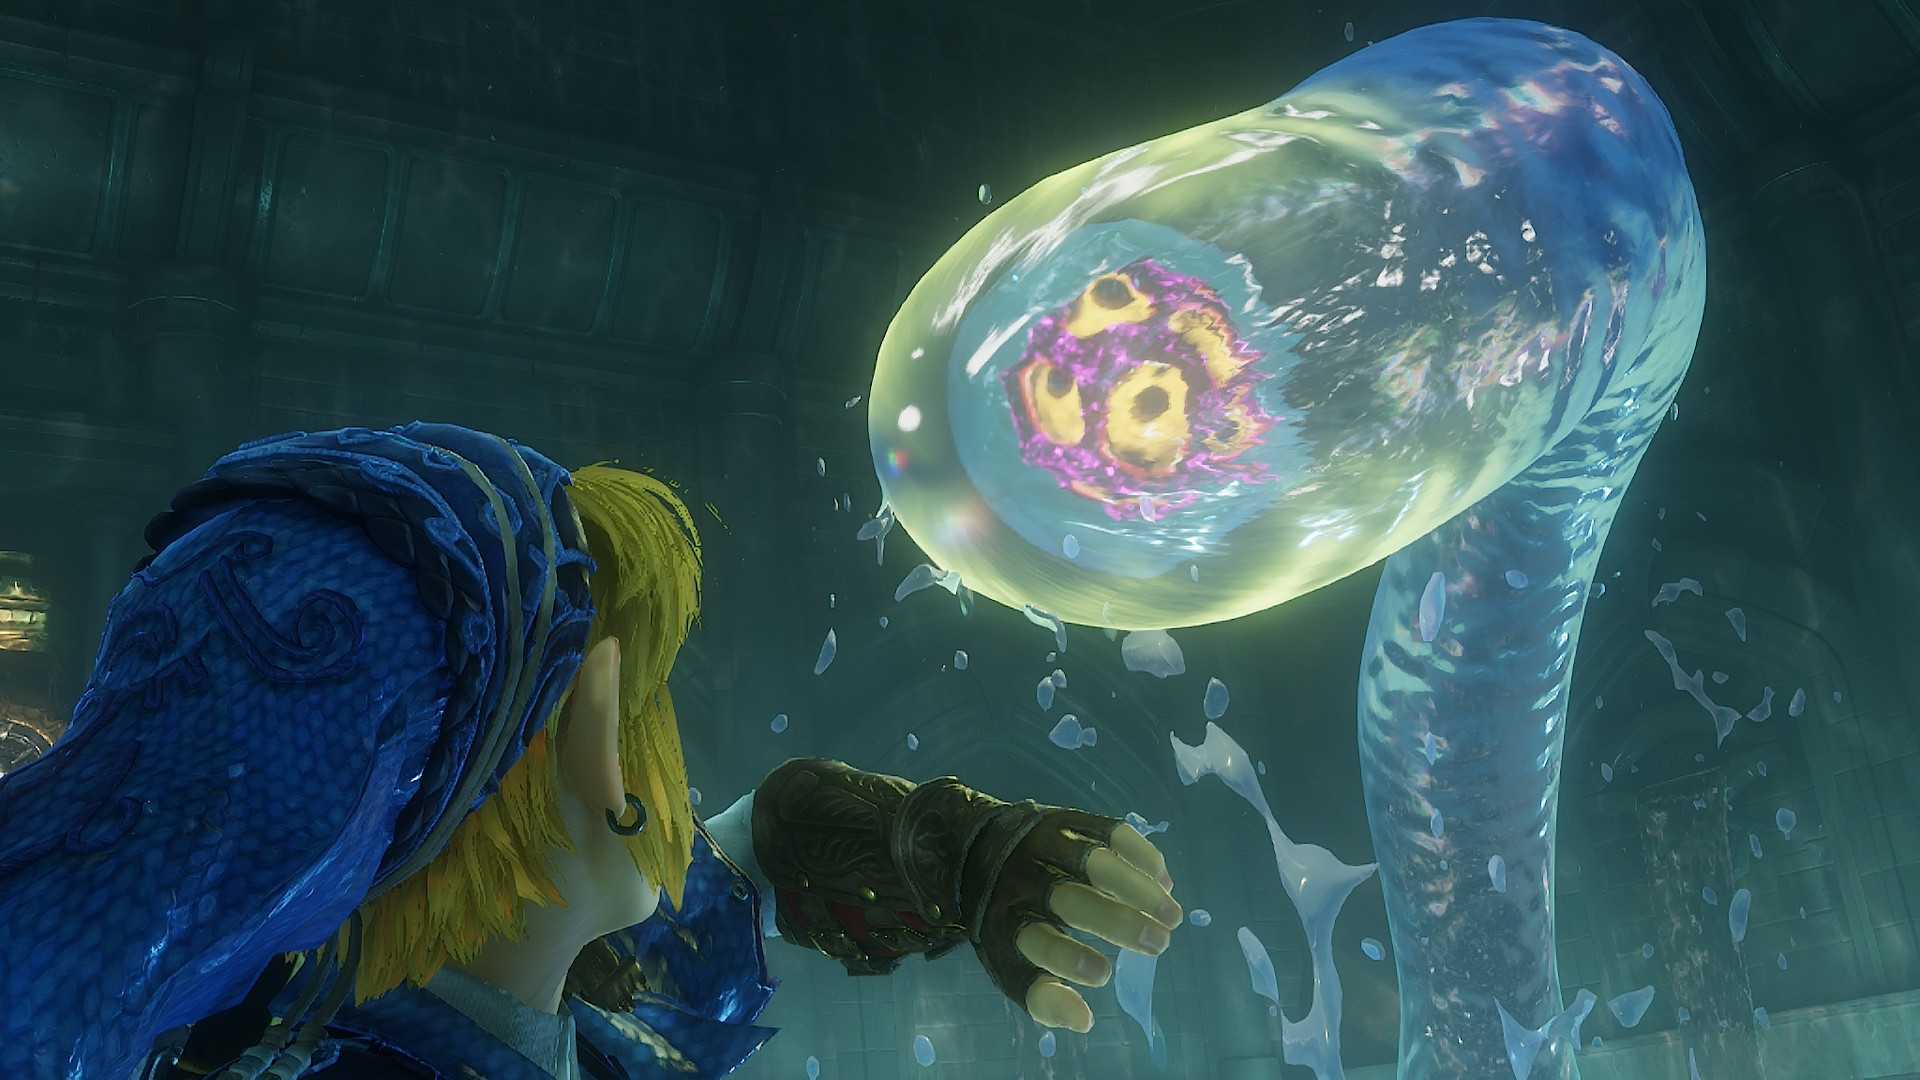
Morpha
Morpha isn’t too bad, as bosses go. The boss itself is the weird red Metroid-looking ball thingie that’s hiding in the tentacles. Your main goal is to use the longshot to rip it out of its watery protection and whack it a bunch with your sword. This is pretty easy with Navi’s targeting; the main thing you need to worry about is getting hit by water tentacles. Morpha will manifest these out of the water and try and slam them on the ground near you. Early on, they’ll be pretty spread out, but later in the fight they’ll form a big wall that’s harder to avoid. If you get trapped you can also use the grapple points on the sides of the room to fly out of danger. I tried to stay on the edges as much as possible; you never really want to be in the water with Morpha. But you can use the central platforms to bait Morpha into an easier spot for you to longshot the ball out, or just to cross out of the way of attacks. Try to be aware of where Morpha the Ball is at all times, as this fight can get annoying if it’s always all the way across the room, just out of range. Use those grapple points!
That’s the Water Temple done, folks! Enjoy the cutscenes, and get the heck outta there to see how the Zora are doing.
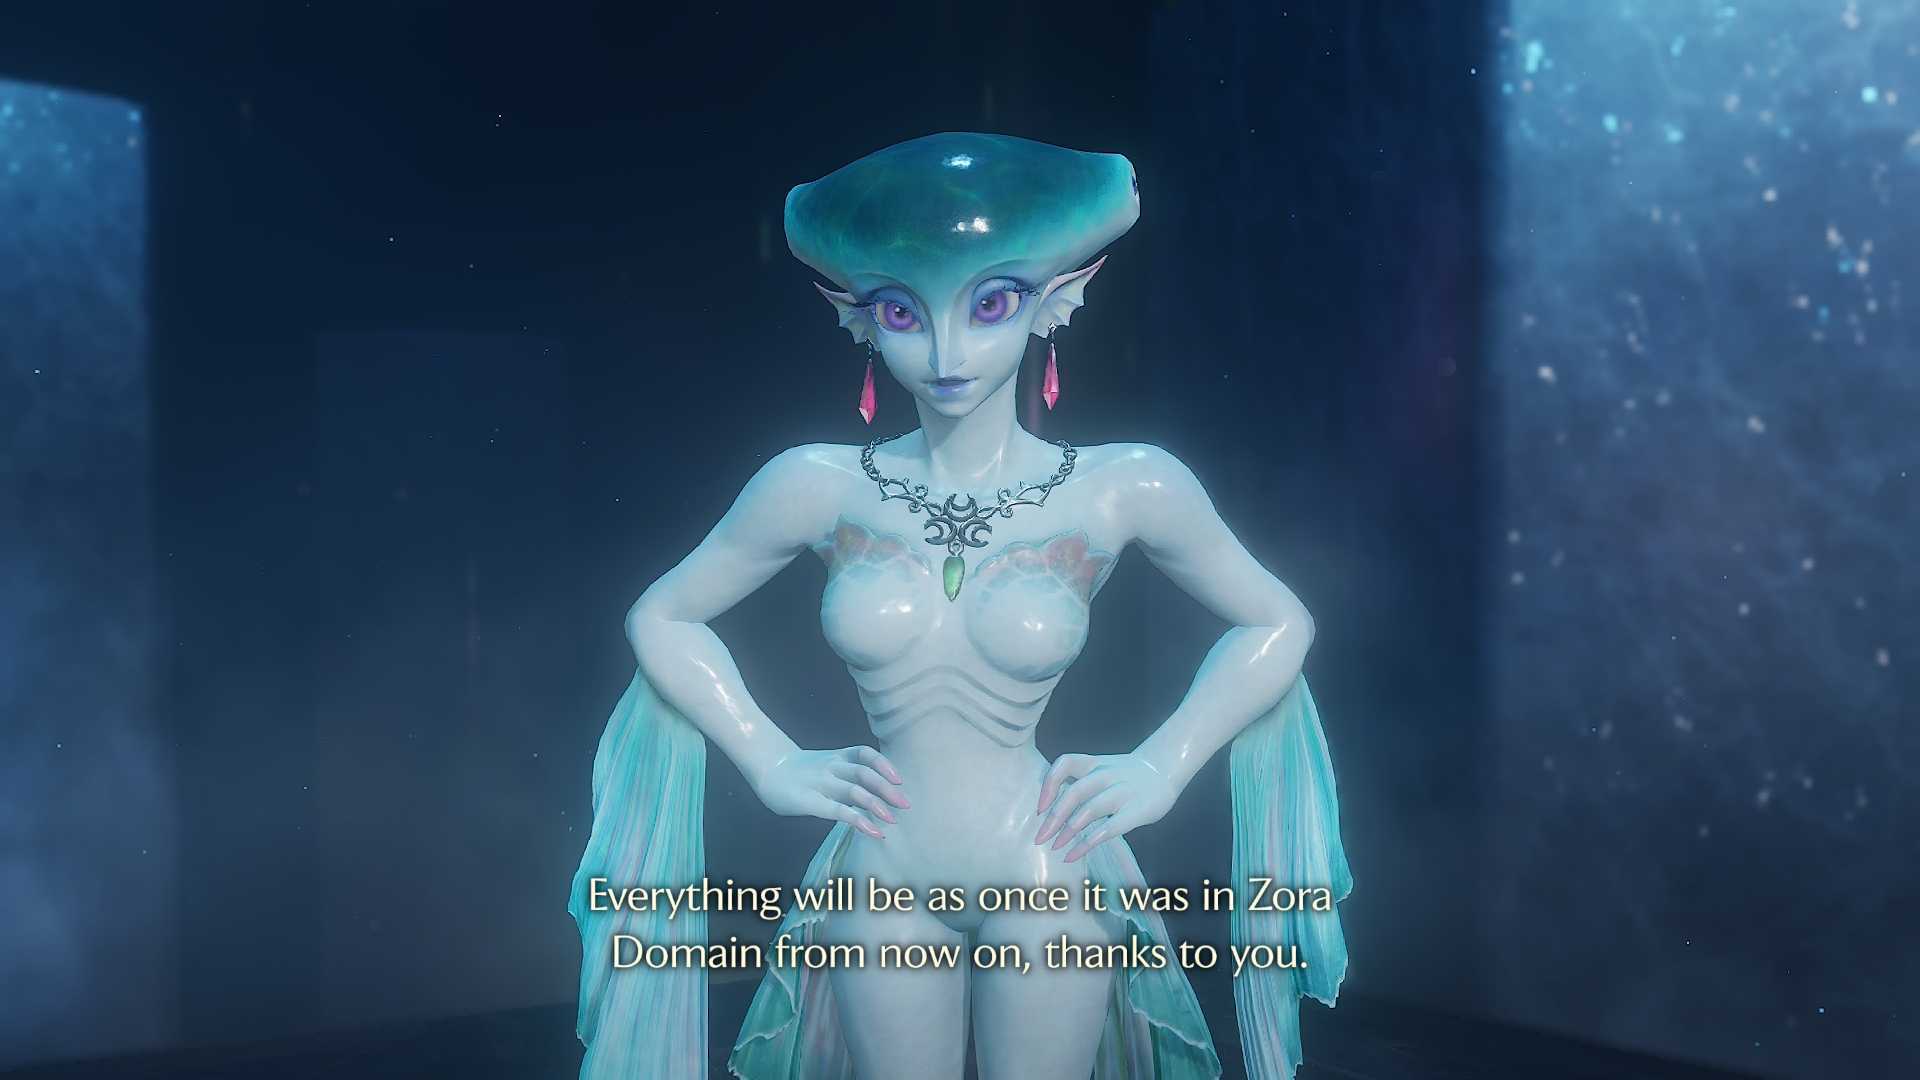
Oh, psst. Once the cutscenes are over, you’ll be at Lake Hylia, just before sunrise. Check out the stone monument in front of you to make good use of that timing. You’re welcome!