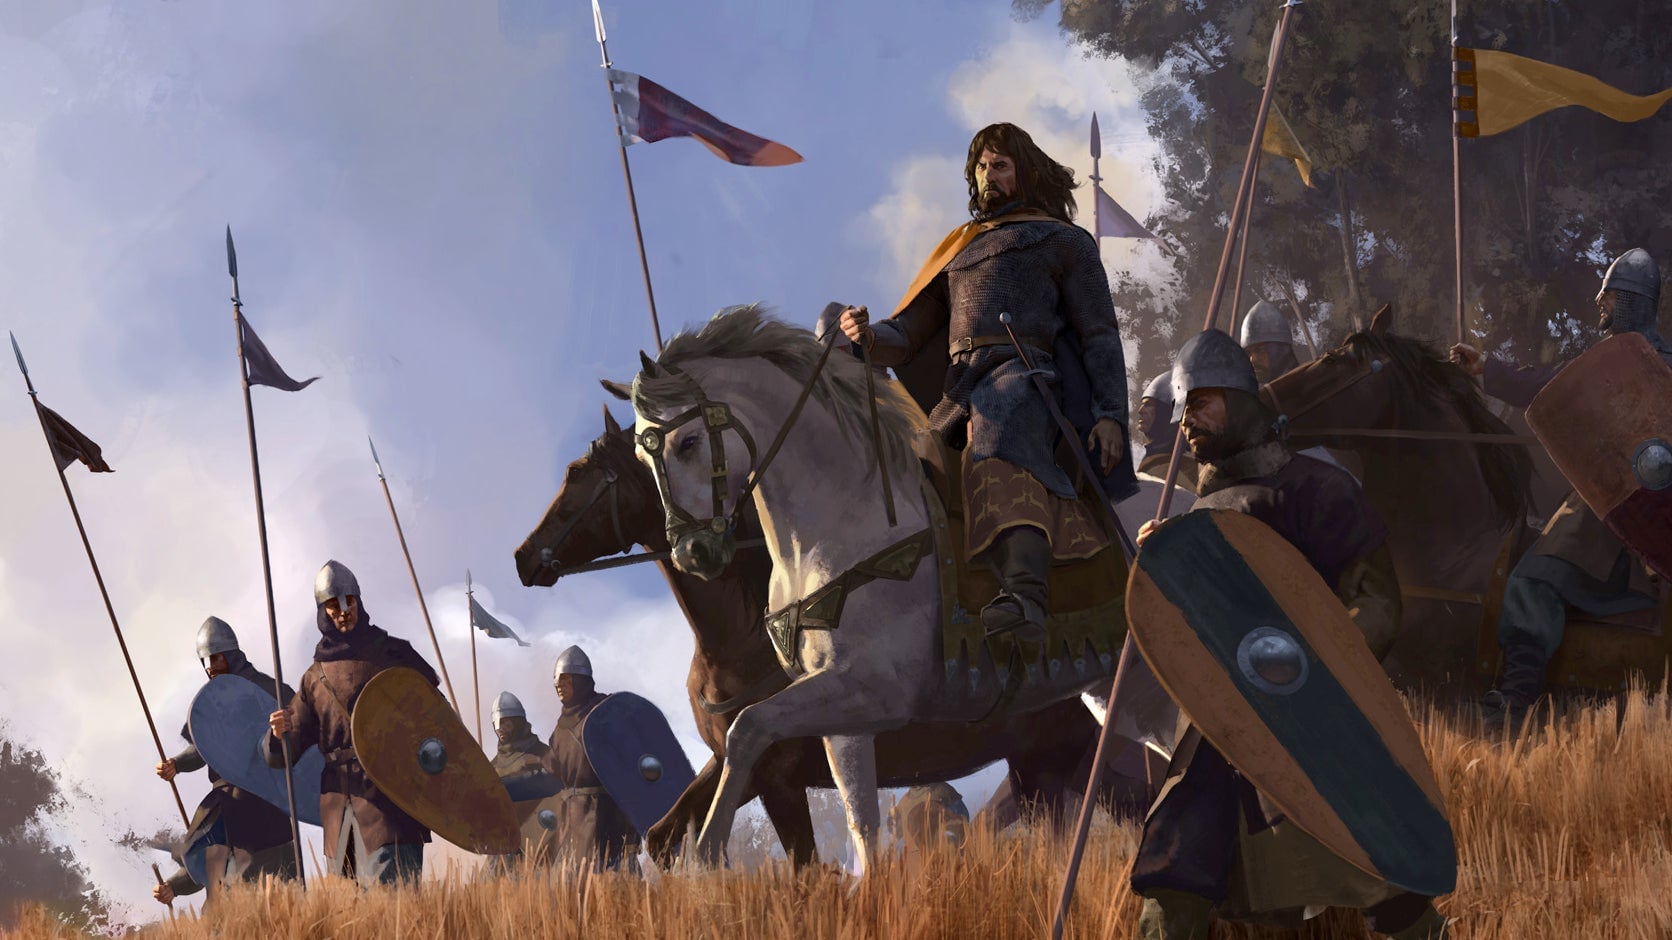
Mount & Blade II: Bannerlord can be an extremely overwhelming game. While it only just came out in Early Access and it still has plenty of aspects that need fleshed out or fixed, it already offers a ton of medieval role-playing possibilities in which to lose yourself, from managing large-scale battles to cementing political alliances through marriage. It’s a lot to grapple with at first, but totally worthwhile for anyone who’s ever wanted to micromanage the birth of their own kingdom like some Elder Scrolls NPC. Here are (quite) a few tips to help you kickstart your own medieval empire.
Start playing on easy.
Bannerlord has only three difficulty settings, so “easy” is actually the game’s normal mode. “Realistic” is the hard difficulty, and while it’s fine once you understand the intricacies of combat, it’s also needlessly frustrating early on. You’ll die in just a hit or two, as you would on a real medieval battlefield, which is simply not fun. Good news, though: You can change the difficulty any time you like, even after you’ve started playing.
Don’t skip the combat tutorial.
It’s terribly boring, but spending a extra few minutes learning each weapon on the combat range will go a long way. This is especially true early on when battles consist of just a couple dozen units, leaving you to do a lot of the heavy lifting. Practice until you can beat each trainer. Your future kingdom will thank you.
Do the main quests.
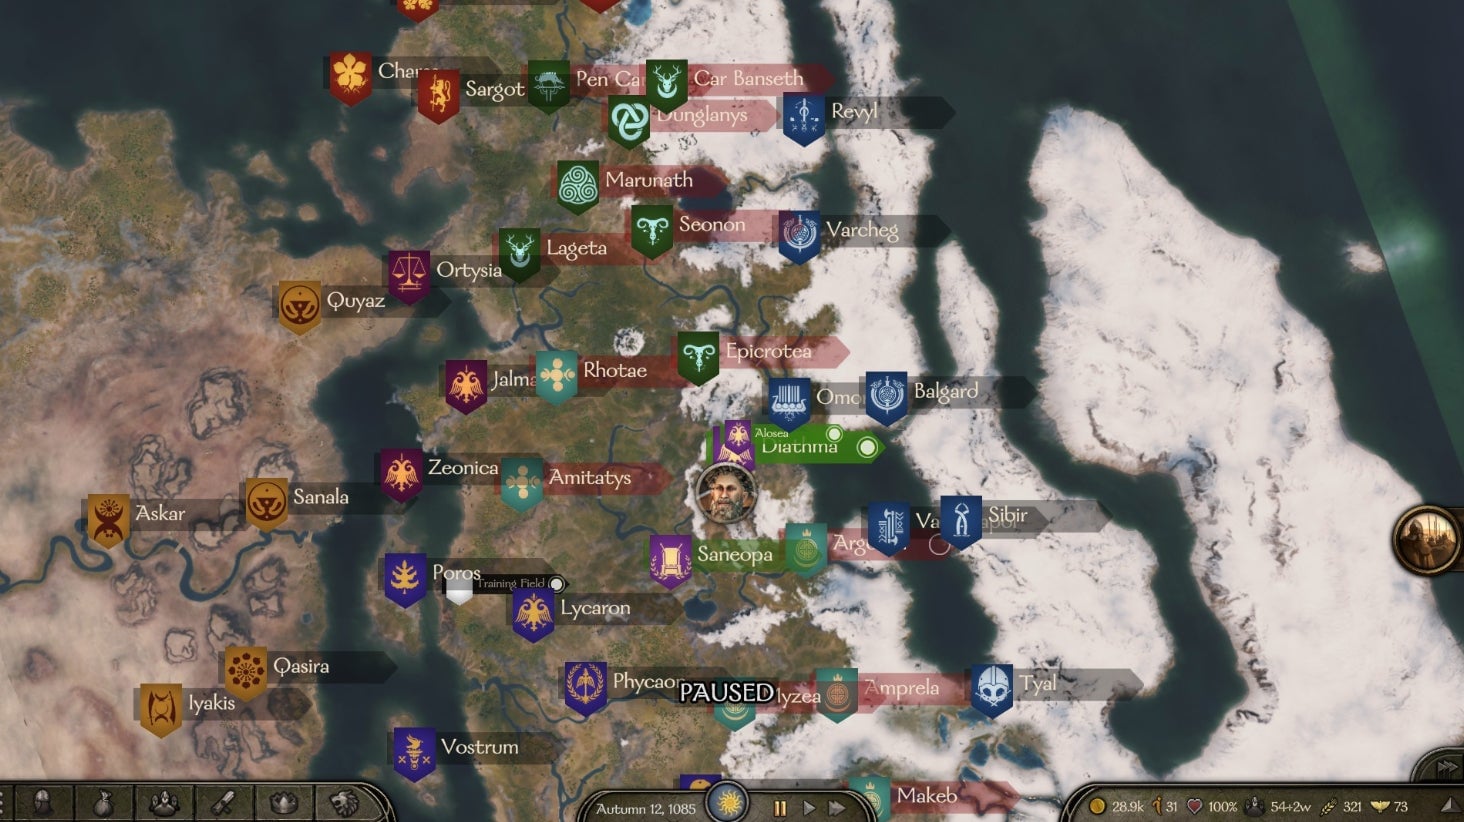
This sounds like a no-brainer, but the big appeal of Bannerlord is how its open world pulls you in a hundred different directions at once. You start off chasing one group of bandits and before you know it you’ve spent an hour clearing the nearby hills of brigands and selling your hard-won loot to nearby villages. But both of the two main starting quests—increasing your clan’s renown, and finding information about an ancient artifact—have big payoffs that will help your clan grow bigger and more powerful much faster than anything else in the game, as well as unlock the more interesting management sim aspects, like high-level policy making and intra-kingdom diplomacy.
Find a companion as soon as possible.
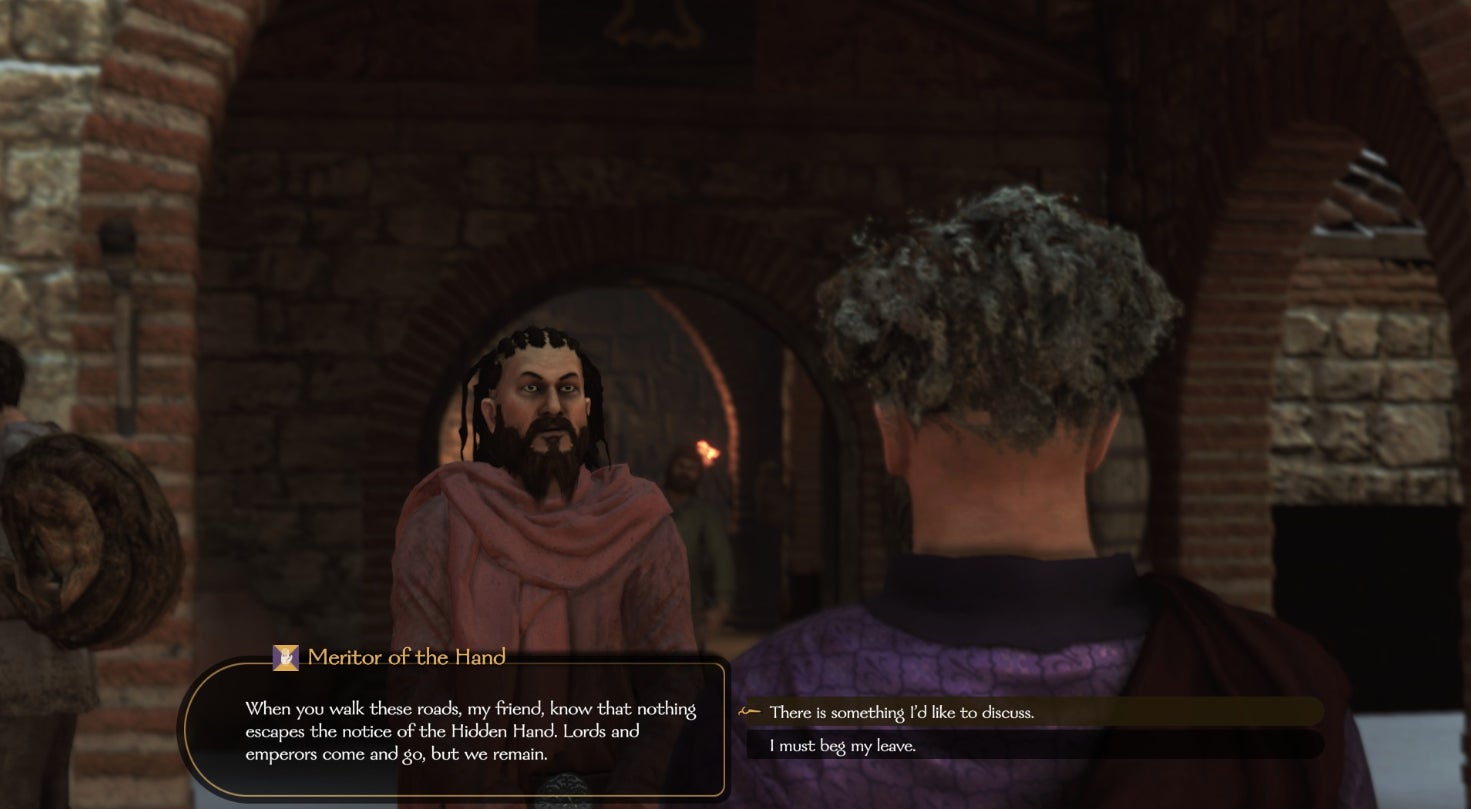
You can enlist named characters who hang out in taverns to join your cause. Each has different specialities—some might help you heal more quickly after battles, others will better wield certain weapons—and they’re all stronger in combat than regular units. Grab the max number allowed early on. You can always part ways with some later, replacing them with other fighters more suited to your playstyle; in the meantime they’ll be a huge help.
Not all side-quests are created equal.
You can acquire a small handful of rotating quests from each settlement, but some are a lot more worth your time than others. “Kill the poachers” is always a good one because you can try to talk your way out of it. Helping villagers with nearby bandits also tends to be pretty straightforward and quickly accomplished. Others, like “Family Feud” or helping merchants break the law to sell stolen goods, usually aren’t worth the effort, and have a higher chance of hurting your relationships with local leaders.
Don’t take on quests you can’t accomplish.
Every quest has a timer. They all sound manageable until you lose half your army in a bad battle and then need to spend time healing up and finding green recruits. Quests like protecting caravans, meanwhile, are extremely lucrative but also very dangerous. Some trips might go fine and net easy gold, but others could find you taking on an evenly matched force of bandits that nearly wipes you out. You’re better off waiting until you have a party of over 50 well-trained soldiers before taking on such tasks.
Always keep your army at max capacity.
You can buy recruits from nearby villages and cities and there’s no reason to be frugal about it. Troops are pretty cheap and don’t add a ton of upkeep costs until you’ve upgraded them a bunch. Meanwhile, having the largest party possible will help you take on stronger enemies, win better loot in the process, and reduce your number of casualties. You might feel precious about parting ways with your hard-earned gold early on, but don’t. It’s simply a means to an end, and that end is power.
Make sure your speed is higher than whomever you’re chasing.
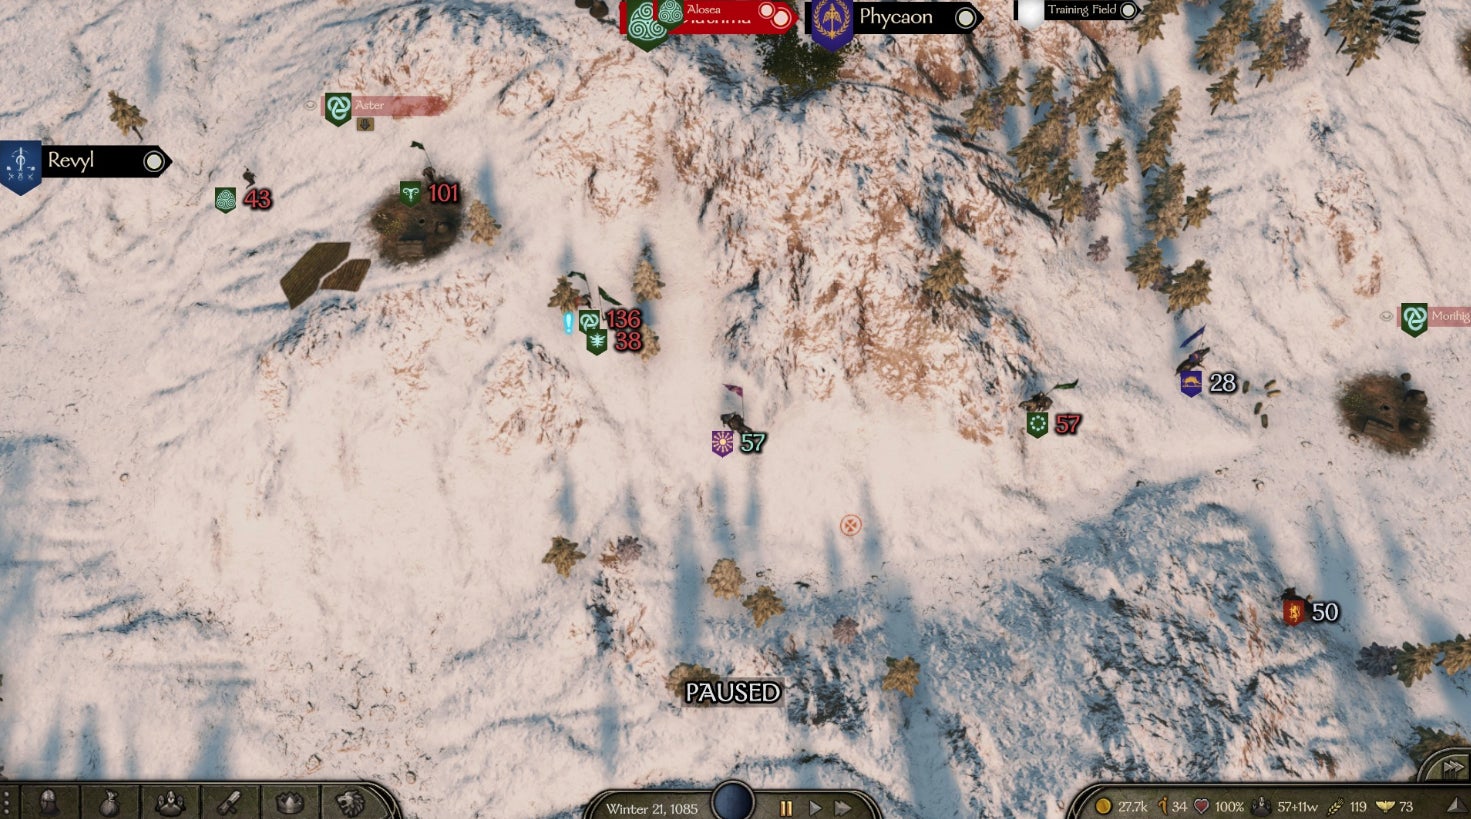
How fast you move across the overworld map is based on a number of factors, including how many horses you have, what they’re carrying, and how many prisoners you’ve captured. If the number this results in is equal to or less than whatever you’re chasing, be they wealthy caravans, hostile looters, or a rival army, you will waste a ton of time and never catch up to your quarry.
Bows are your best friend.
Every battle in Bannerlord starts with two sides on opposing ends of a large open area. Usually your opponents will charge, giving you plenty of time to snipe at them from afar as they run across the battlefield. In this way you can usually take out at least a few enemies all by yourself while staying (mostly) out of harm’s way. Even once the two sides collide, you’re better off keeping your distance so you can stay alive and keep issuing orders to your troops, at least until you really know your way around the battlefield.
Lances are your second-best friend.
The next best thing after firing arrows from afar is diving in and out of enemy waves with your horse, spearing a combatant or two each time you make a pass. Lancing enemies is often a one-hit kill, and even if you miss, your horse will deal a slight amount of charging damage. It’s another great way to thin enemy ranks without giving them much of a chance to strike back.
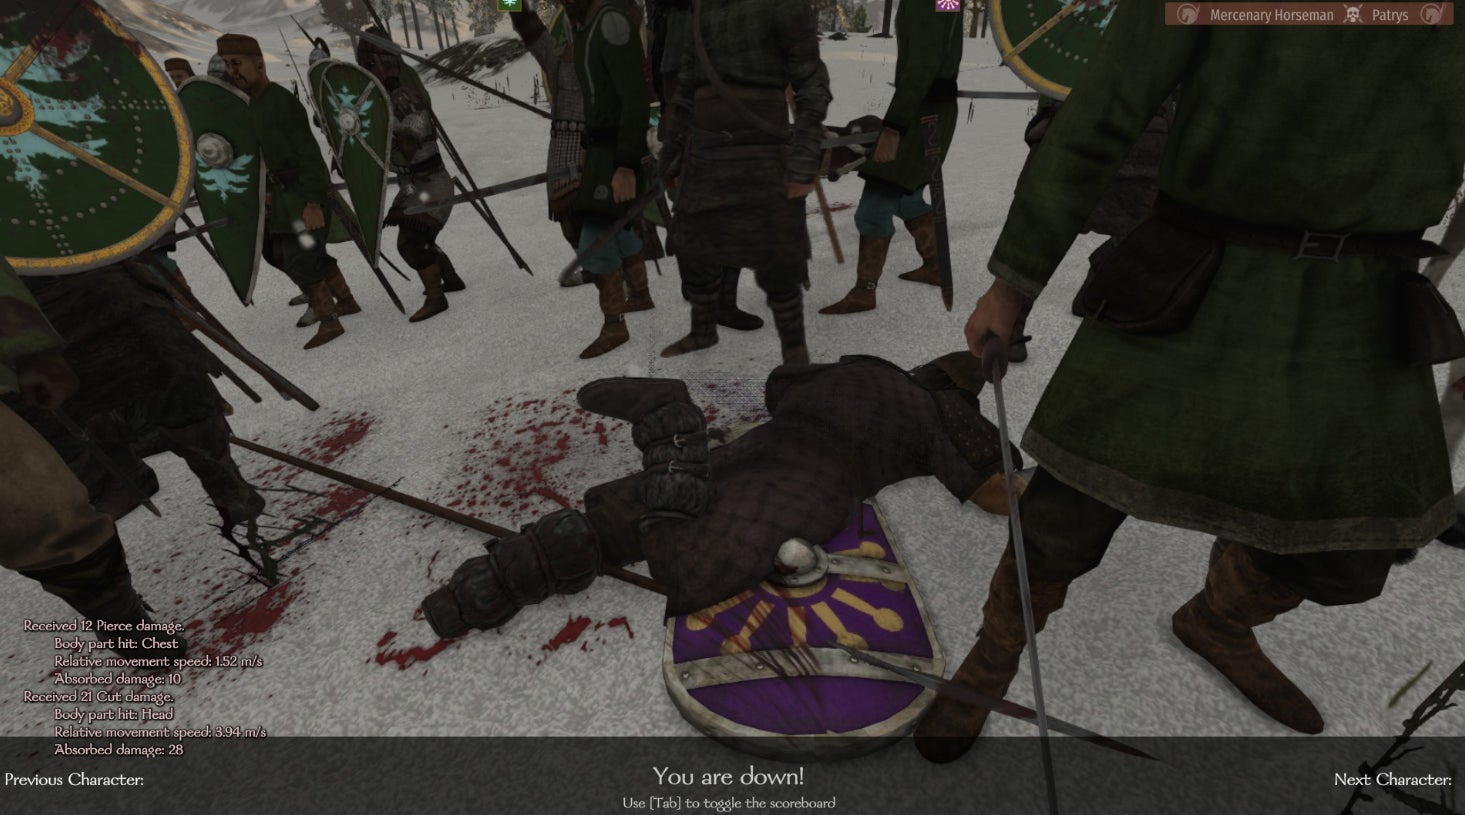
When in doubt: Tank with your shield.
Sword-to-sword combat can be an extremely time-intensive and fraught endeavor, and no matter how good you’re getting with the blade it’s probably no substitute for ganging up on your foes. Rather than take a few swings and open yourself up to counterattacks, tanking enemies with your shield and letting your surrounding troops swipe at them from the sides is often a much quicker and more efficient strategy. By leveraging your better stats and gear you’ll take more heat off your allies while also limiting your chances of getting prematurely gutted.
Archers are OP.
You only need a small contingent of close-combat fighters to buy enough time for a large row of archers to mow down most of an opposing enemy’s forces. While later fights will be bigger and a lot more complicated, early on you can get a lot of mileage out of letting enemies come to you and shooting most of them in the face. But by the same token, beware of enemy forces made up of lots of archers, because they will tear you apart if you don’t have the right mix of tactics or enough cavalry to outmaneuver the death they rain down from above.
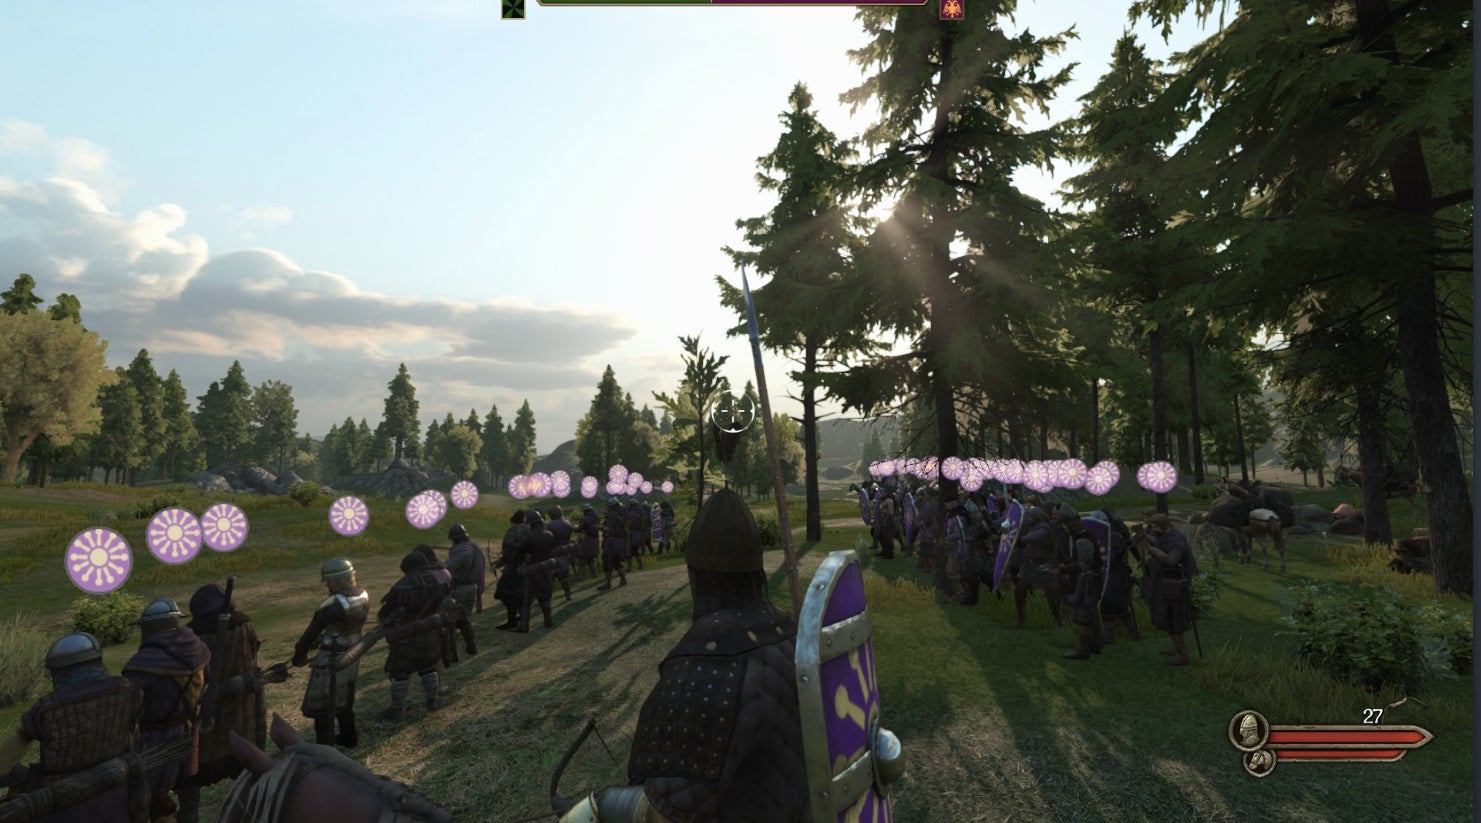
When all else fails press F6.
You can give your units all sorts of orders in combat. Most of them will be bad or wrong though, at least early on, as it’s extremely hard to fight for your life while also reminding your archers to regroup on a nearby hill. F6, however, makes all your troops execute their own orders automatically based on the situation. Most often this will consist of taking some nearby high ground, letting archers go to work, and then having them fall back so infantry can rush forward as the enemy draws near.
Save, save, save.
Bannerlord has an extremely rigorous auto-saving feature to prevent save-scumming, so in order to get around that you should save as often as possible, creating new files where necessary. You never know when you’ll get ambushed by a way more powerful army and taken prisoner. This is technically all part of the game, but having all of your forces obliterated, your companions scattered across the globe, and your wallet mostly depleted of gold as you try to buy your freedom is a huge, debilitating step backward. Always retain the option for a redo.
Buy workshops, not caravans.
Once you have around 15,000 gold you can spend it on caravans or workshops. The former will travel between cities selling goods for a profit, but will always be open to attack. The latter is based in a particular city and will make money for you daily based on what it sells, how easily it can source its raw materials, and what its finished products go for locally. This makes workshops a much safer and more secure investment, at least as long as you don’t end up at war with the kingdom in which it’s based.
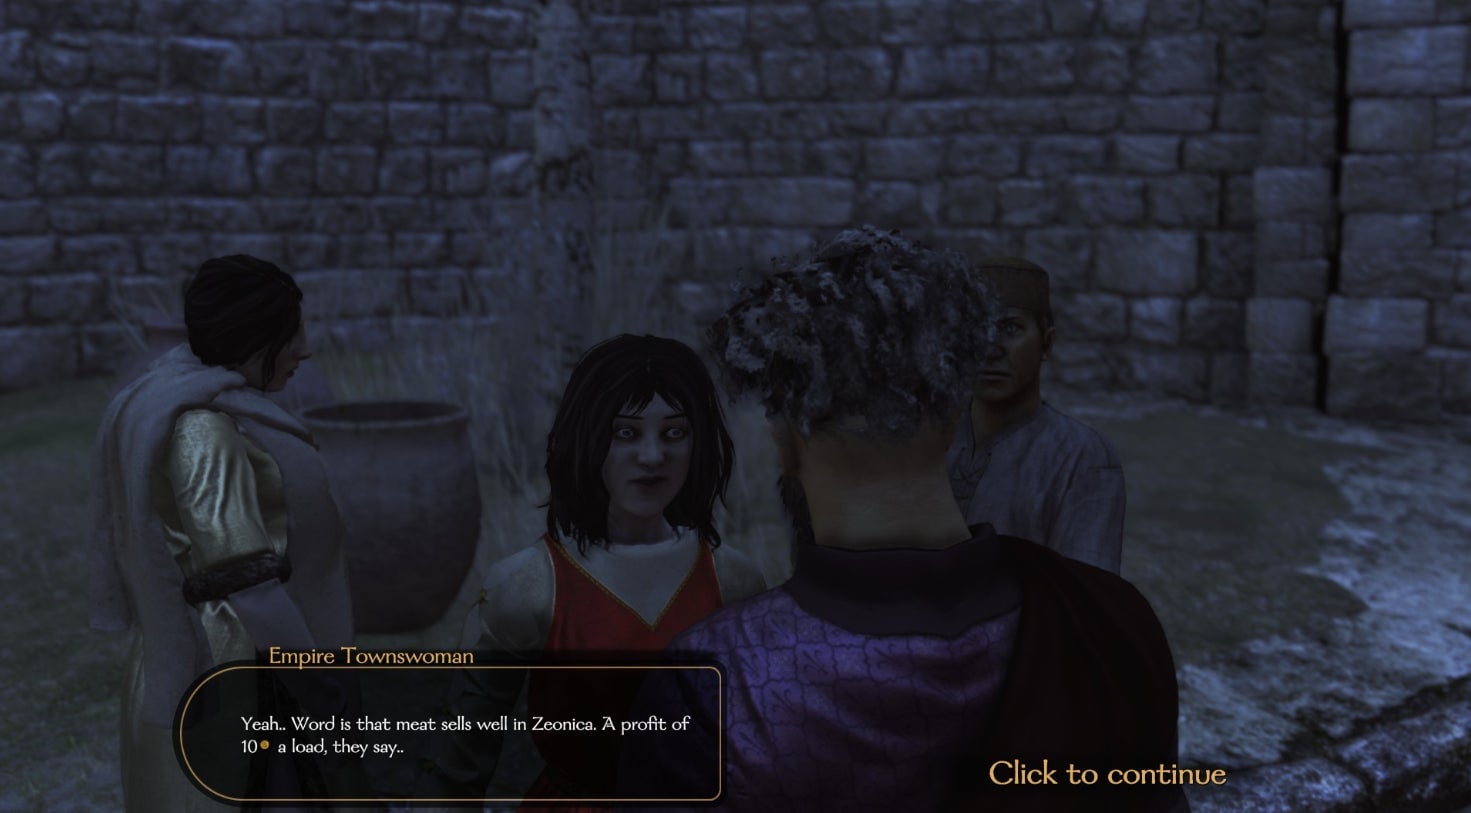
Check out what’s for trade everywhere you go, even if you’re not buying.
You can learn how much different goods sell for in different places by clicking on the trade option of each place you visit. Foods like cheese and meat can go for double in cities just a few days’ travel away, and if you’re already headed back there to complete a quest, the resale business can be an easy way to make extra gold without going out of your way.
Find the leader of a strong kingdom and pledge your loyalty.
Once you’ve completed the first main quest to build up your renown you’re in a good position to become a vassal of a kingdom. Not all kingdoms are created equal, though. Some have more prosperous economies. Some have stronger militaries. Some might be on the verge of getting taken over, in which case you’ll have promised your services to someone with no lands to (eventually) offer you in return. Be choosey.
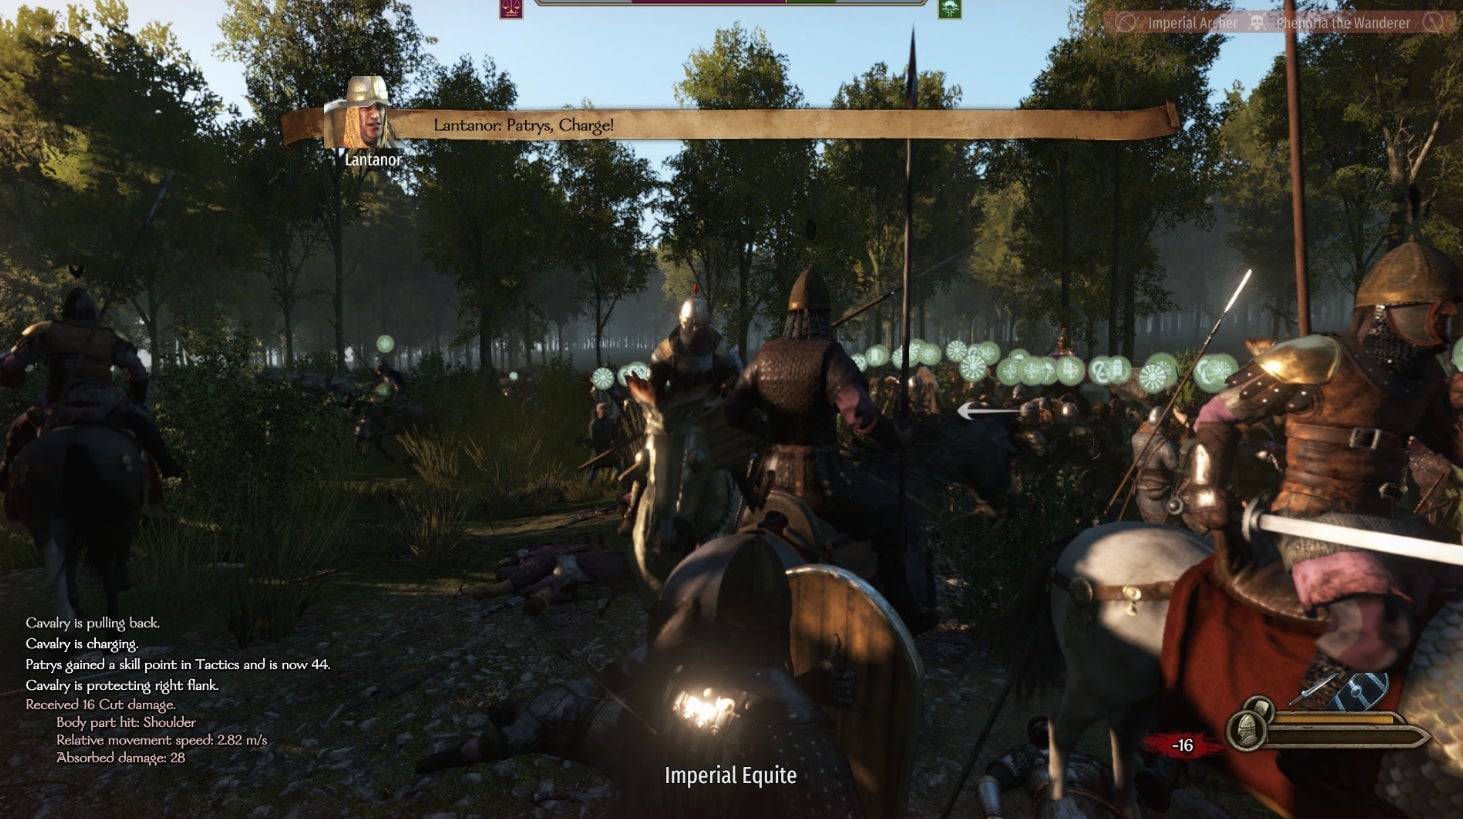
Join a war.
It’s a ton of fun to join in huge battles between multiple armies and lay siege to castles, and a nice change of pace to take orders from another general instead of being responsible for giving them yourself. Joining one of your kingdom’s armies lets you go do all of this stuff, and is a great way to catch a glimpse of the dazzling scope of Bannerlord’s large-scale, third-person battles. You’ll also make some bank. Even if you don’t want to put your neck on the line in some of the riskier military campaigns, you can always spend a war raiding enemy caravans and cleaning up in the process. Plus, if the tides of war eventually go south, you can always bail, freelance for a bit, and then find a new kingdom on the rise to join.
