Thank Goodness You’re Here by Coal Supper is a relentlessly British adventure game where, over the course of a single day, you’re dragged into various shenanigans throughout the small town of Barnsworth. If you’re stuck at any point, fear not, because this guide will get you through every punch-filled situation from start to finish.
While TGYH is technically broken up into several sub-stories, most of them are interconnected and dependent upon one another. The game is made less as a series of vignettes or chapters, and more like a constant process of suddenly Mr. Beaning into people’s lives.
As a result, there are several parts of the game where it’s not immediately obvious what you’re supposed to do next. If you’re stuck and need a quick hint to get to the next story beat, that’s what this guide is for.
While some of the steps in this guide can be taken out of order, TGYH is a lot more linear than it initially appears. As you progress through the game, various background elements like the student driver are used to block off certain areas, which quietly funnels you in the right direction. Remember: when in doubt, revisit another part of Barnsworth and see if anything’s changed.
Thank Goodness You’re Here Complete Guide
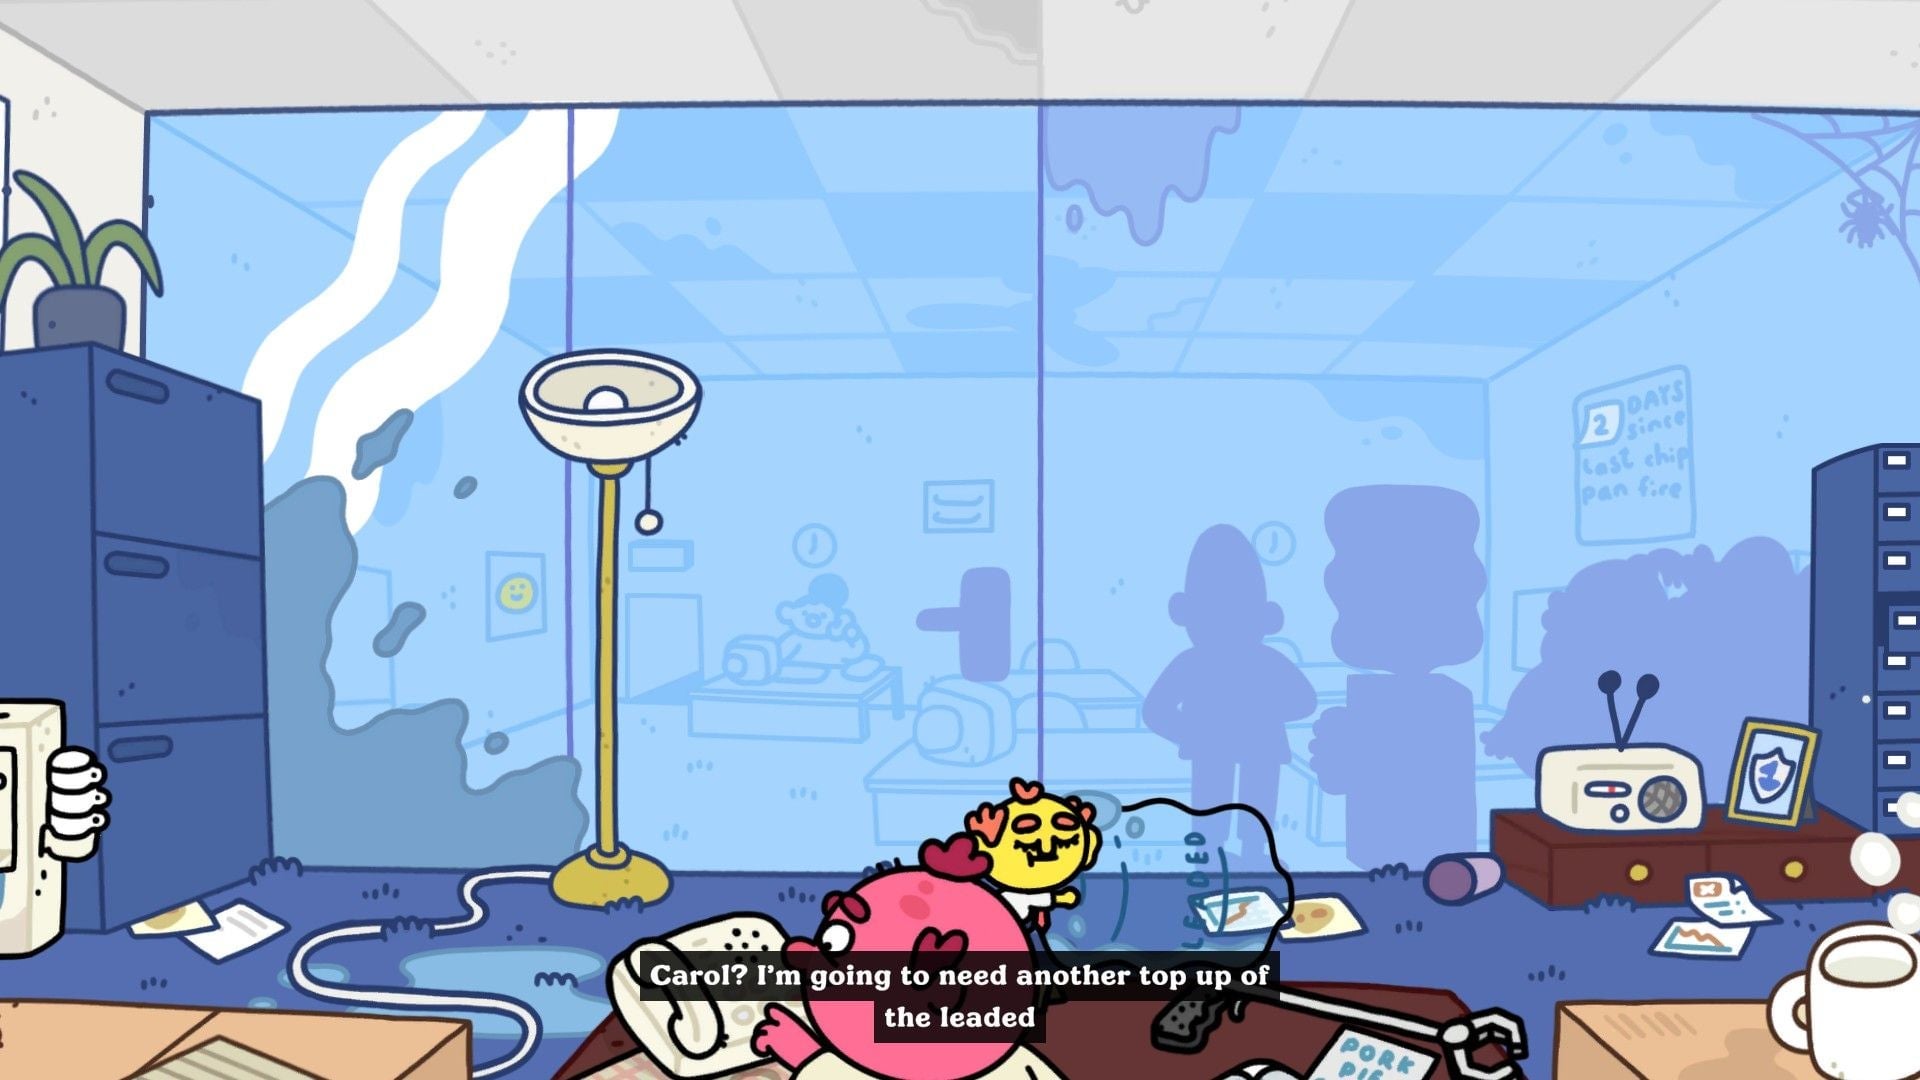
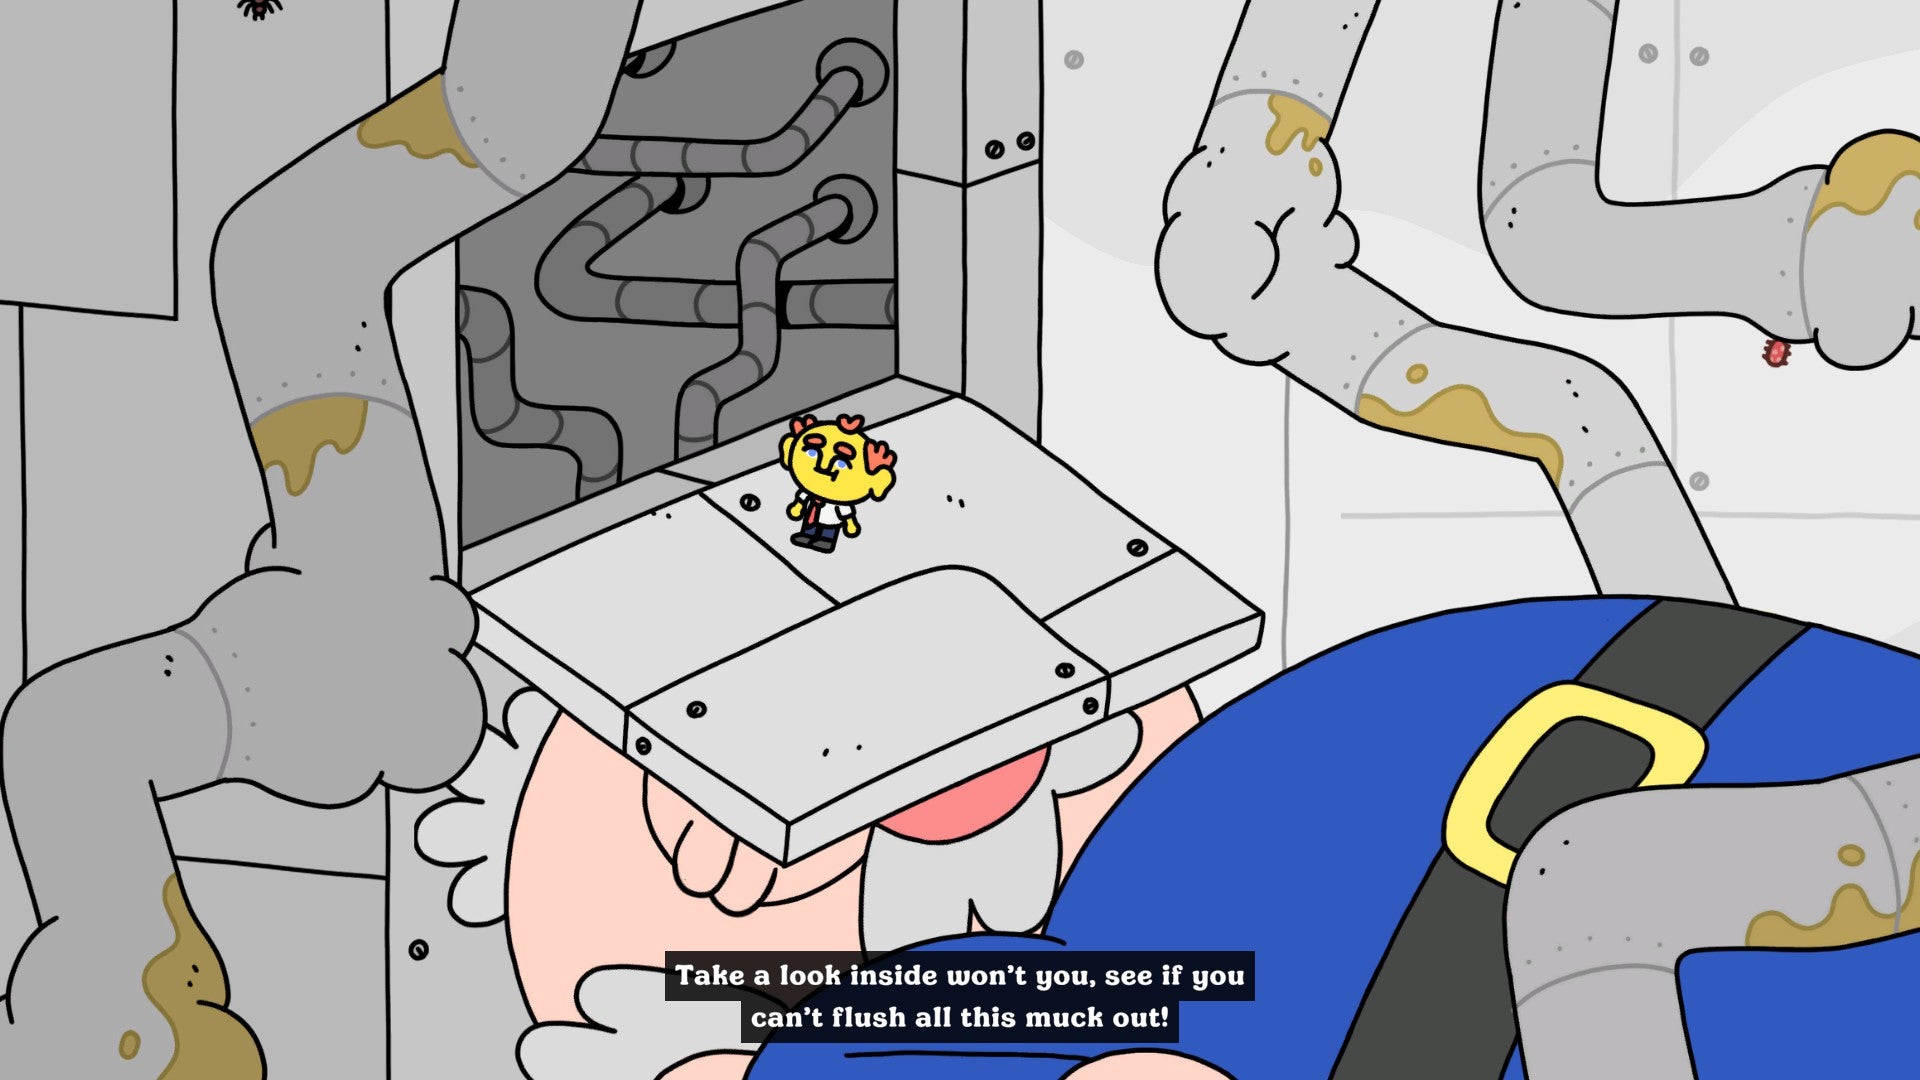
At the start of the game, you’re initially stuck in your supervisor’s office. Punch his water cooler until the tank lands in the center of the room. You can now push it up to the window on the right and use it to jump out.
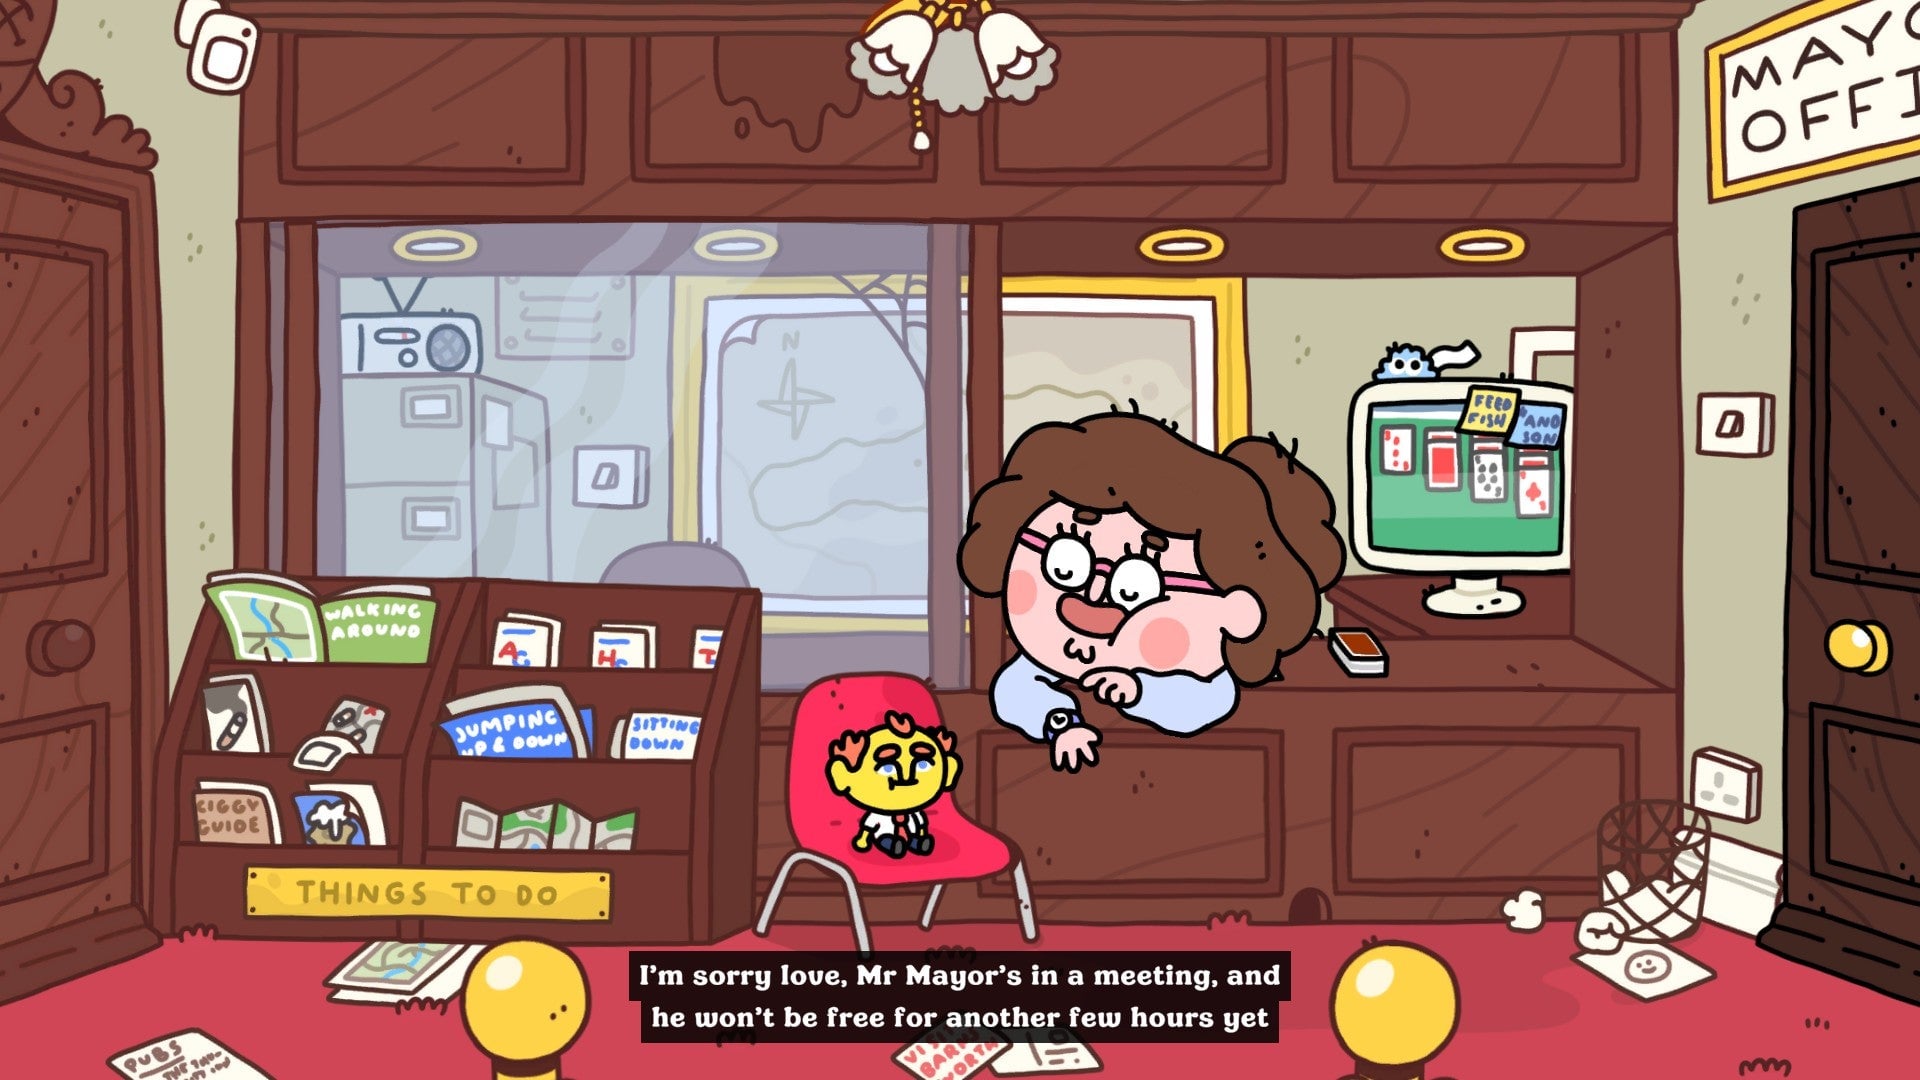
The opening credits drop you off in the waiting room in Barnsworth’s City Hall. You have a choice here; you can either go left and begin the game proper, or stay in this room for a full 15 minutes in real time. The latter approach ends the game early and unlocks the Patience is a Virtue achievement.
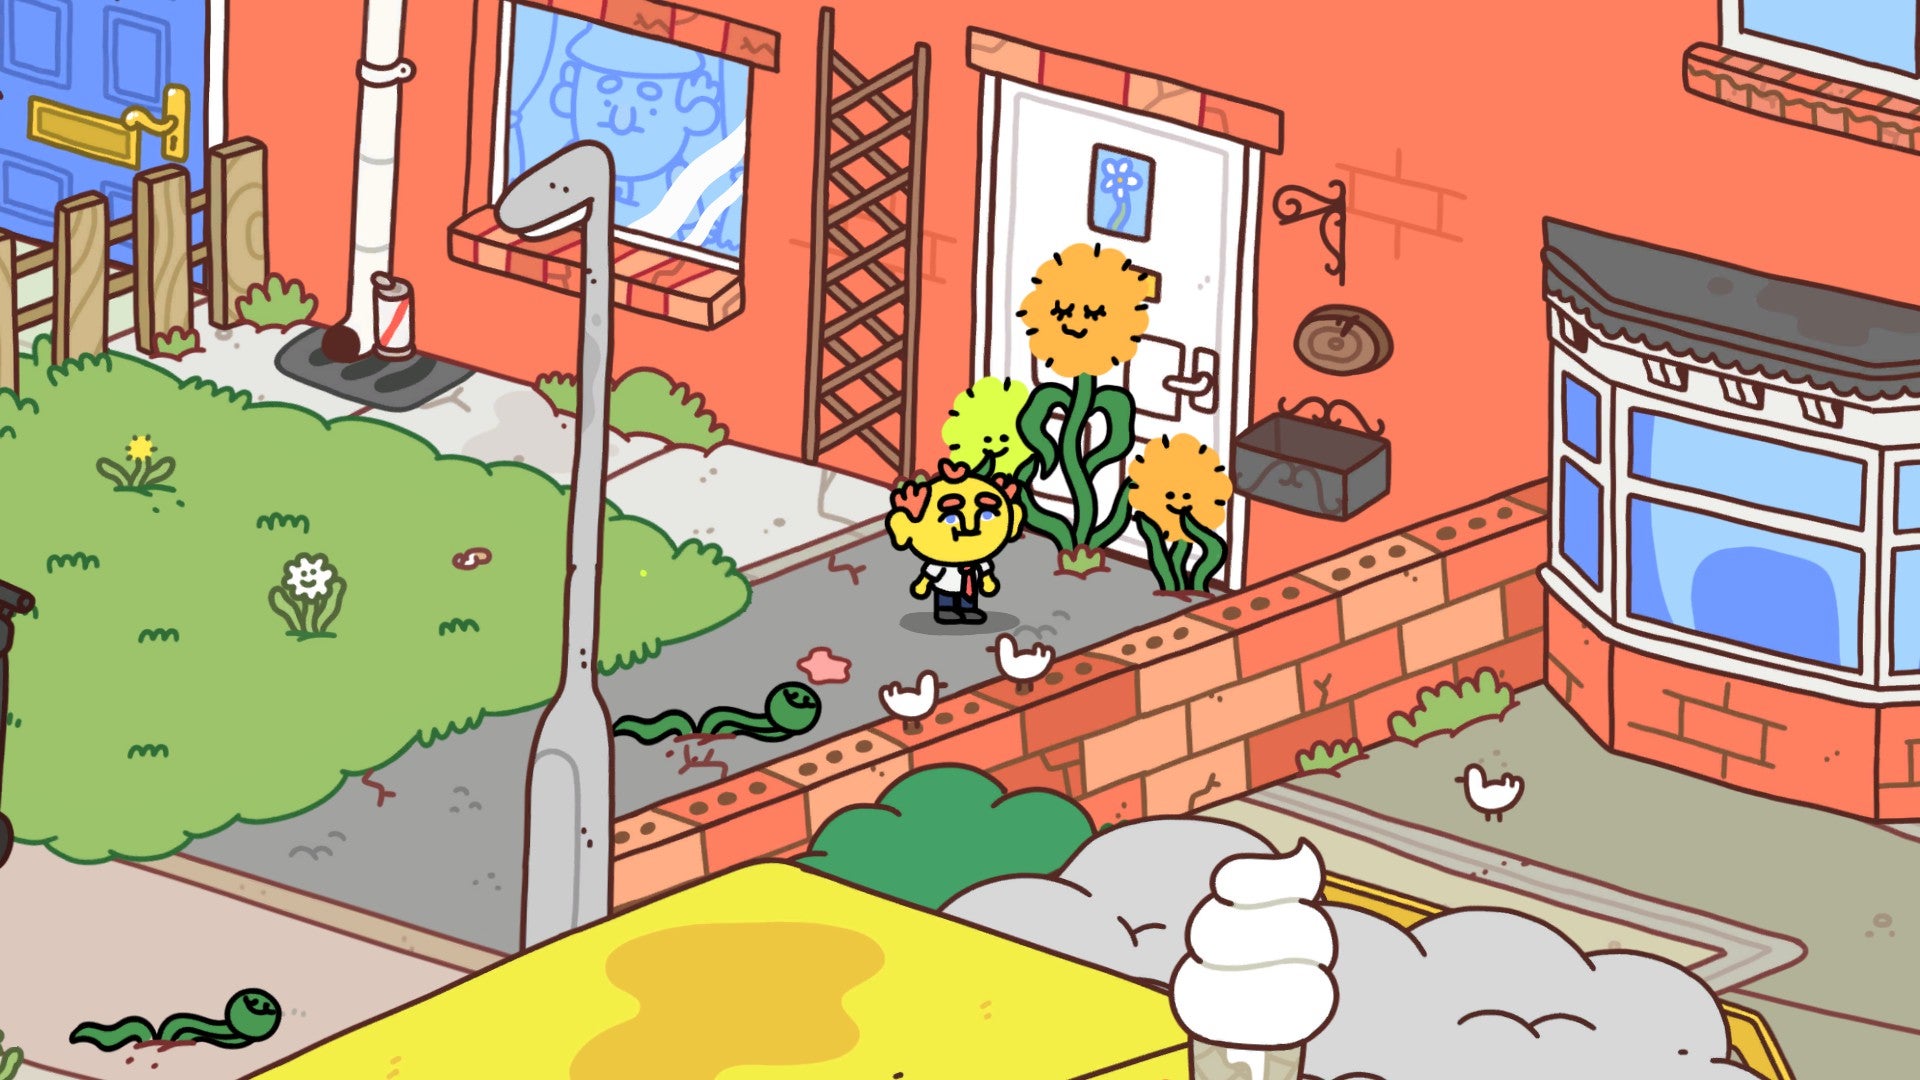
Otherwise, you’ll end up in Barnsworth’s town square. There are two things that you can do here right out of the gate.
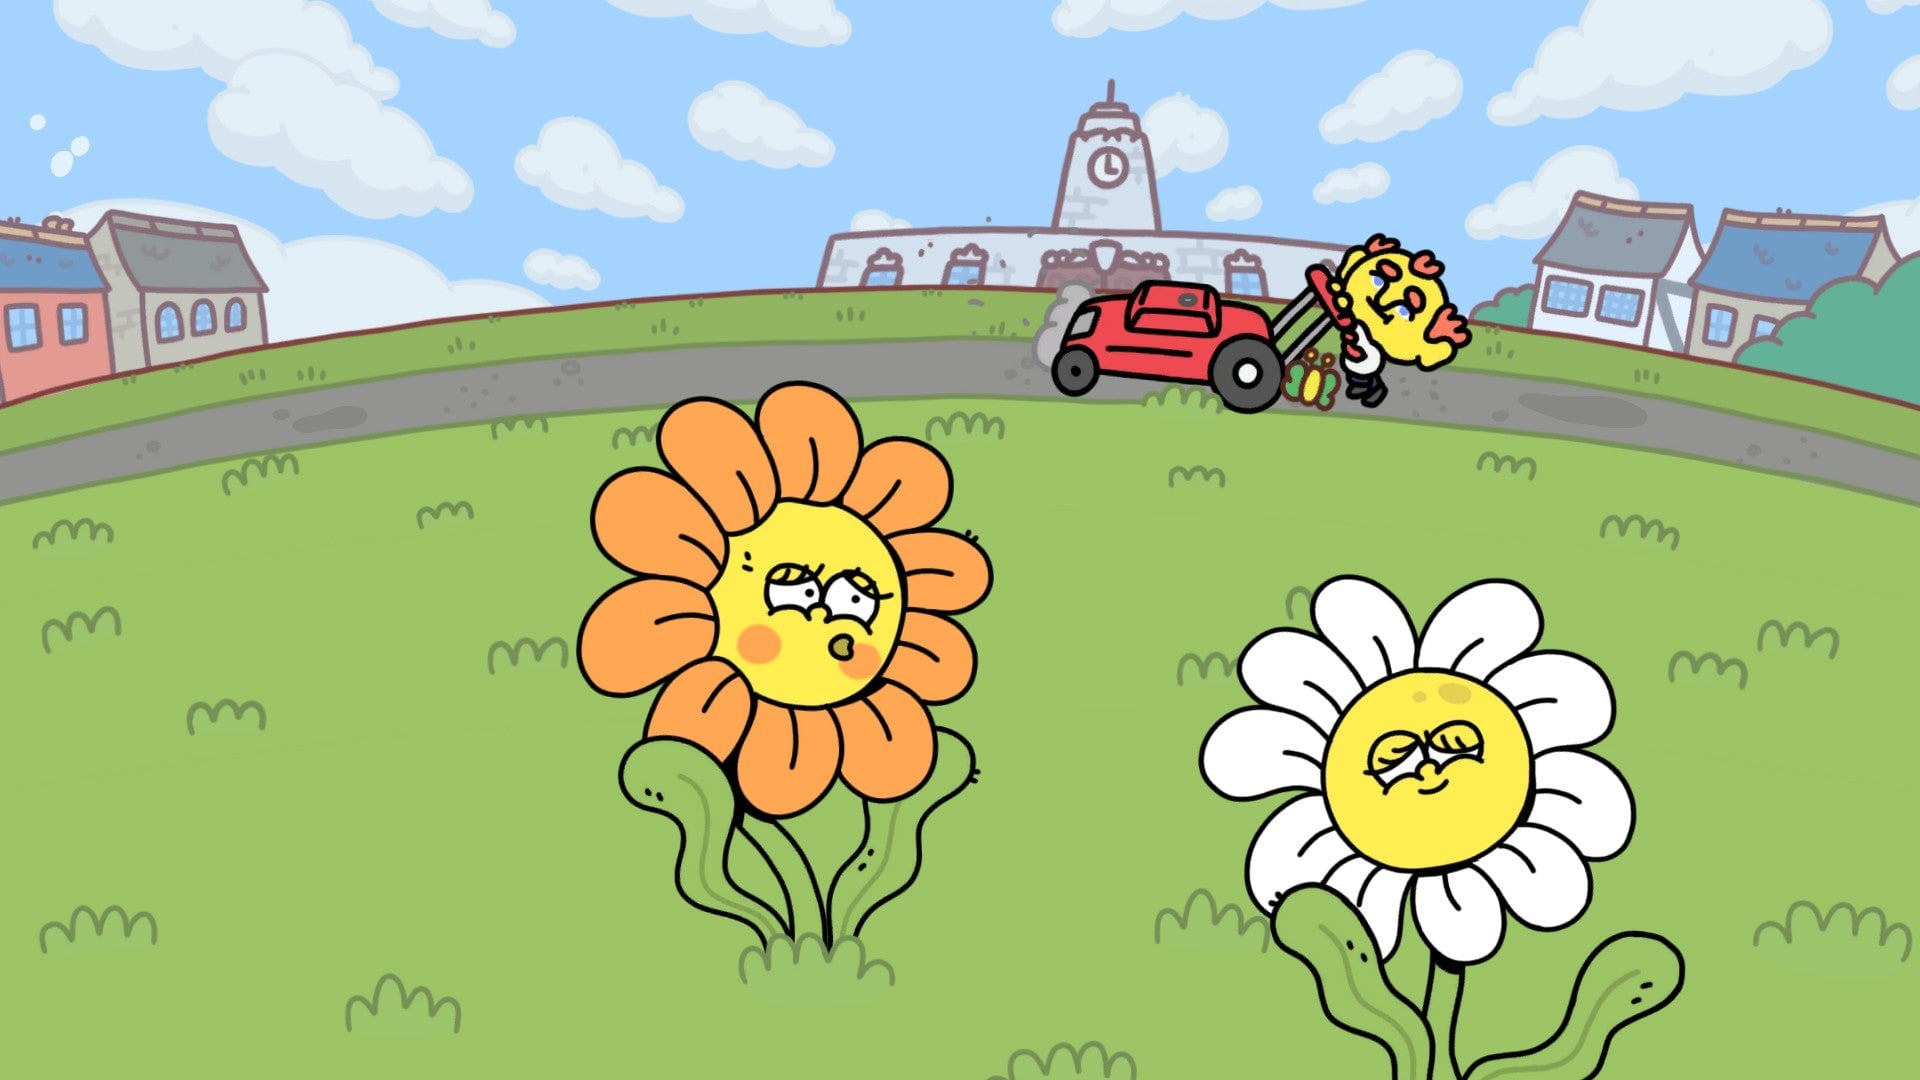
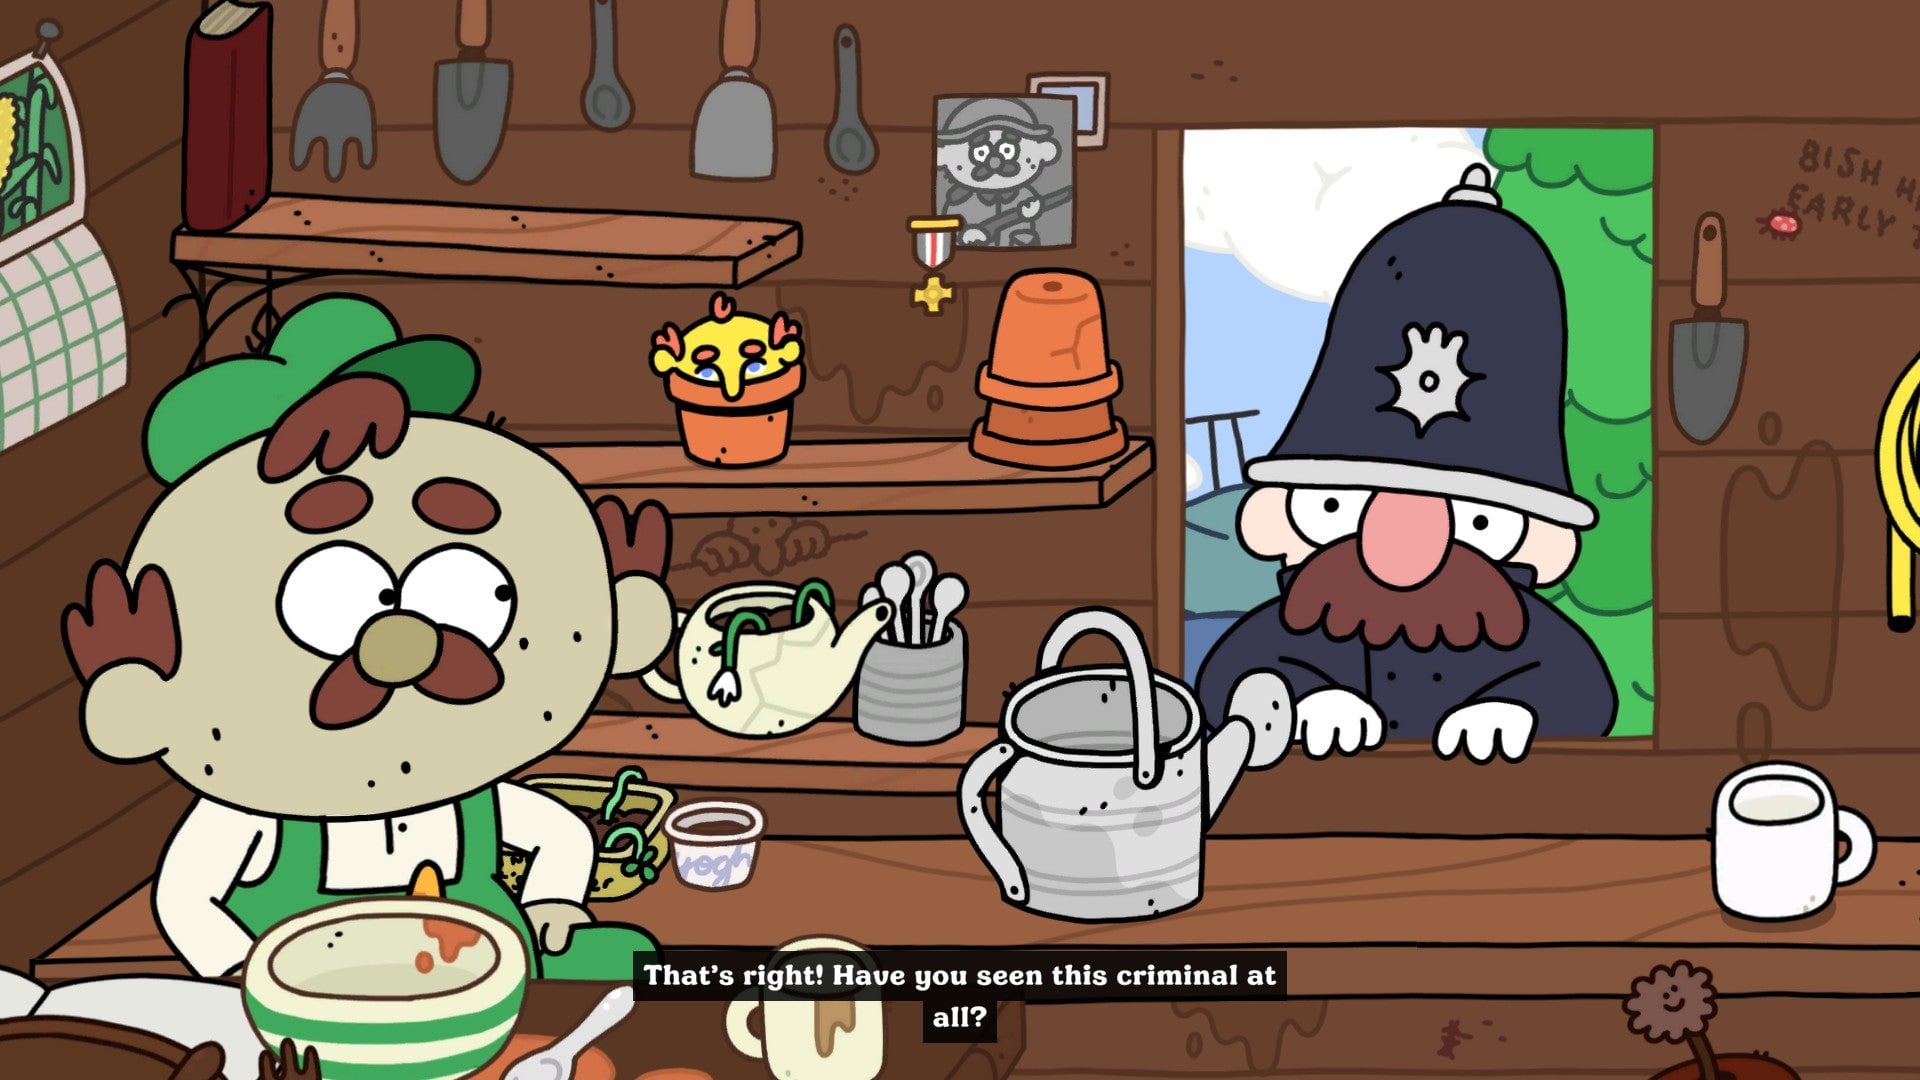
The first is to go straight down and punch Hubert the gardener, who’ll ask you to mow the lawn for him. Use the mower to start a short minigame where you can drive back and forth across the grass. Just go right, then left, until you’ve cleaned up the yard, which unlocks the A Lovely Pair achievement.
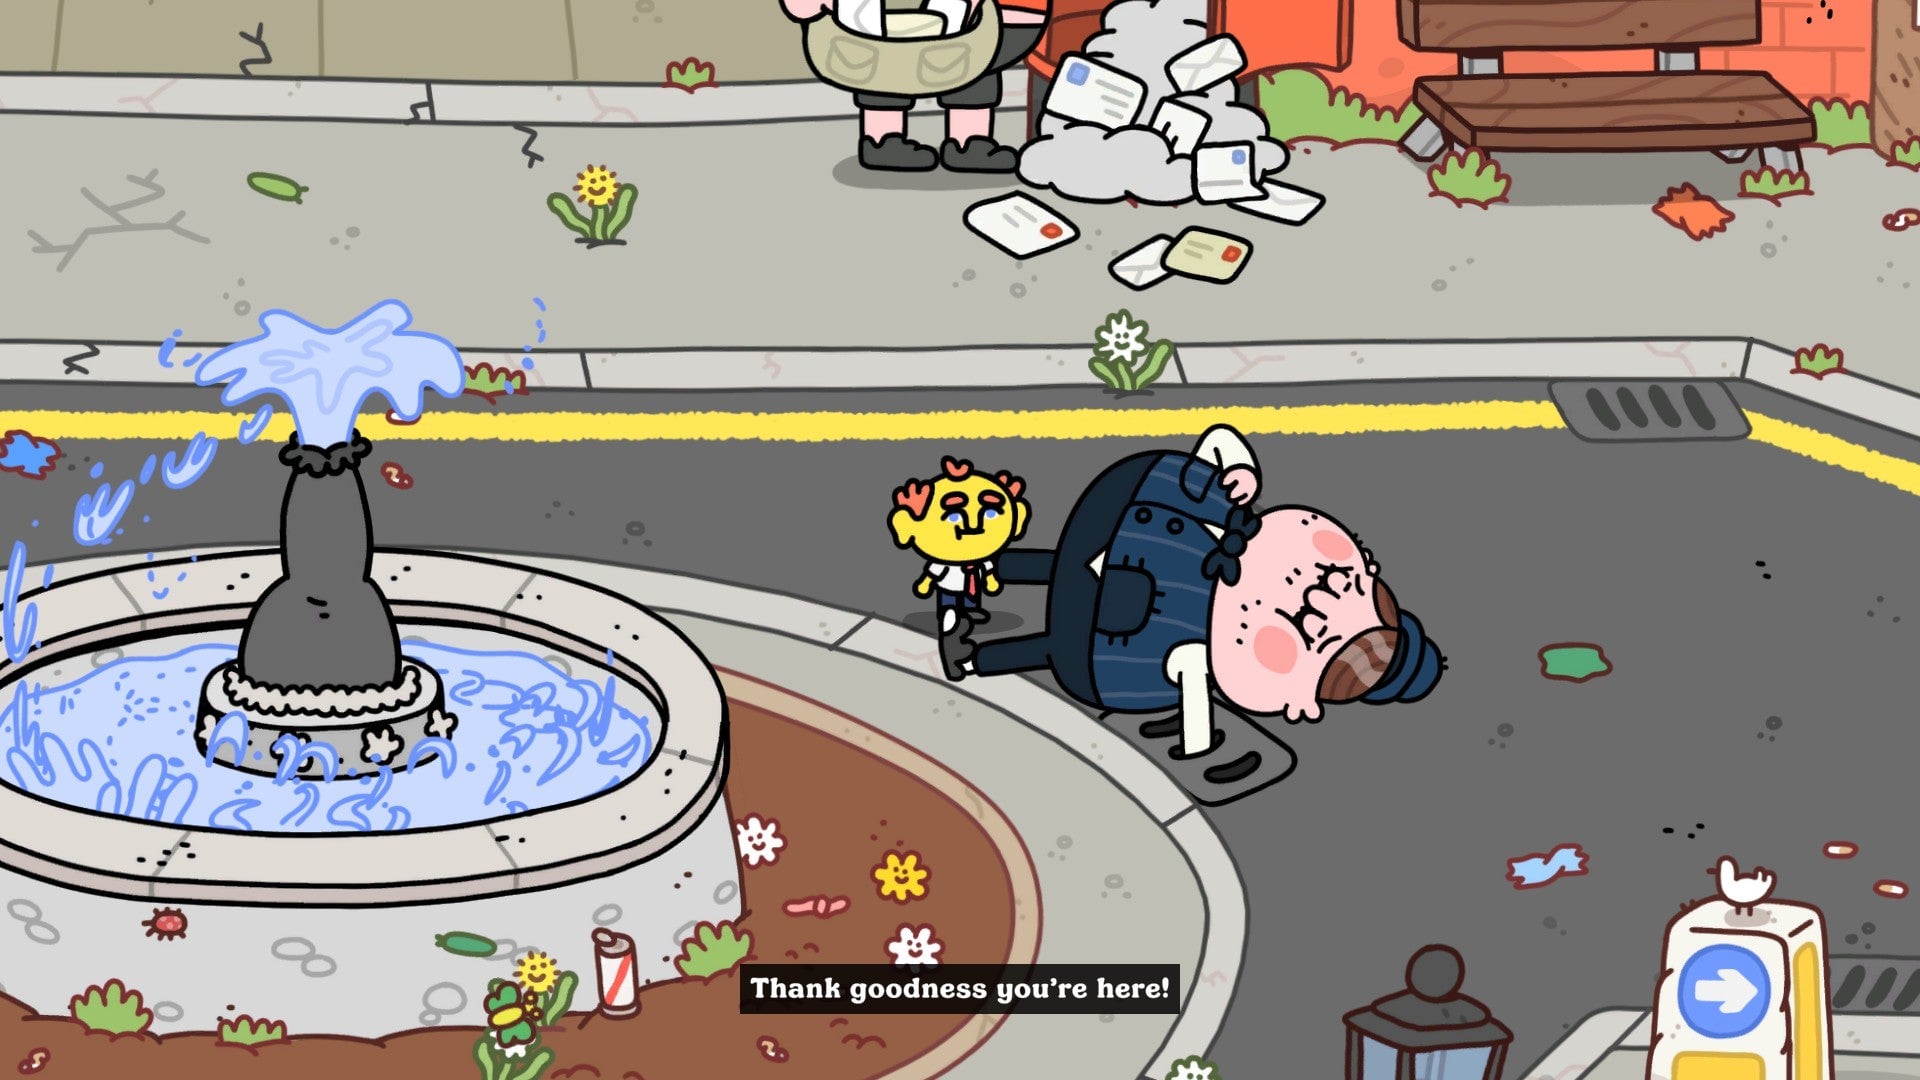
Next, there’s another person who could use some help. He’s gotten his arm stuck in a sewer grate, and needs something to grease him up so he can escape. Fortunately, he’s right next to a shop that sells butter, but it can’t open because the clerk’s lost the keys.
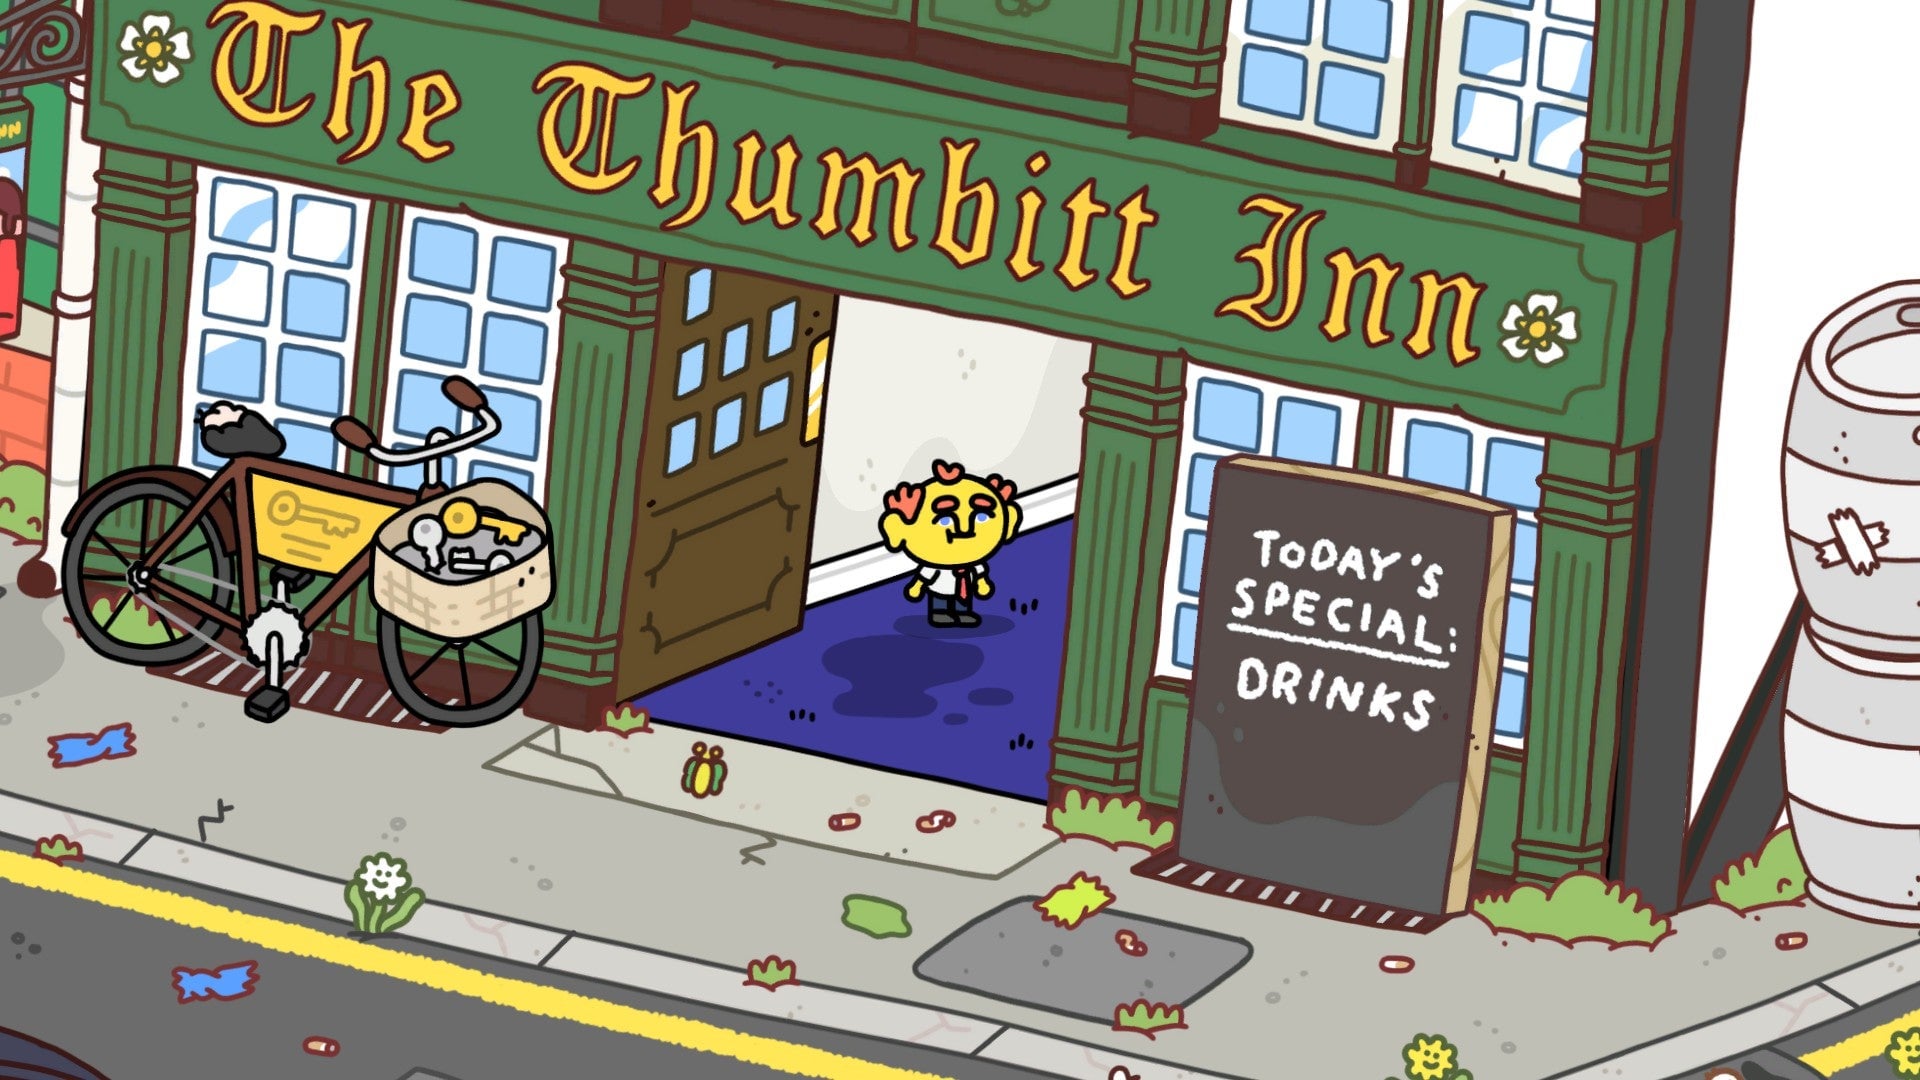
Ronny the local locksmith is currently in the nearby pub, and won’t leave to do his job until he’s had his “morning pint.”
Punch the pub’s doors open, then hop over the stack of boxes on the bar and into the sink. This leads you to the basement, where you can punch all the nearby kegs to start the taps flowing again.
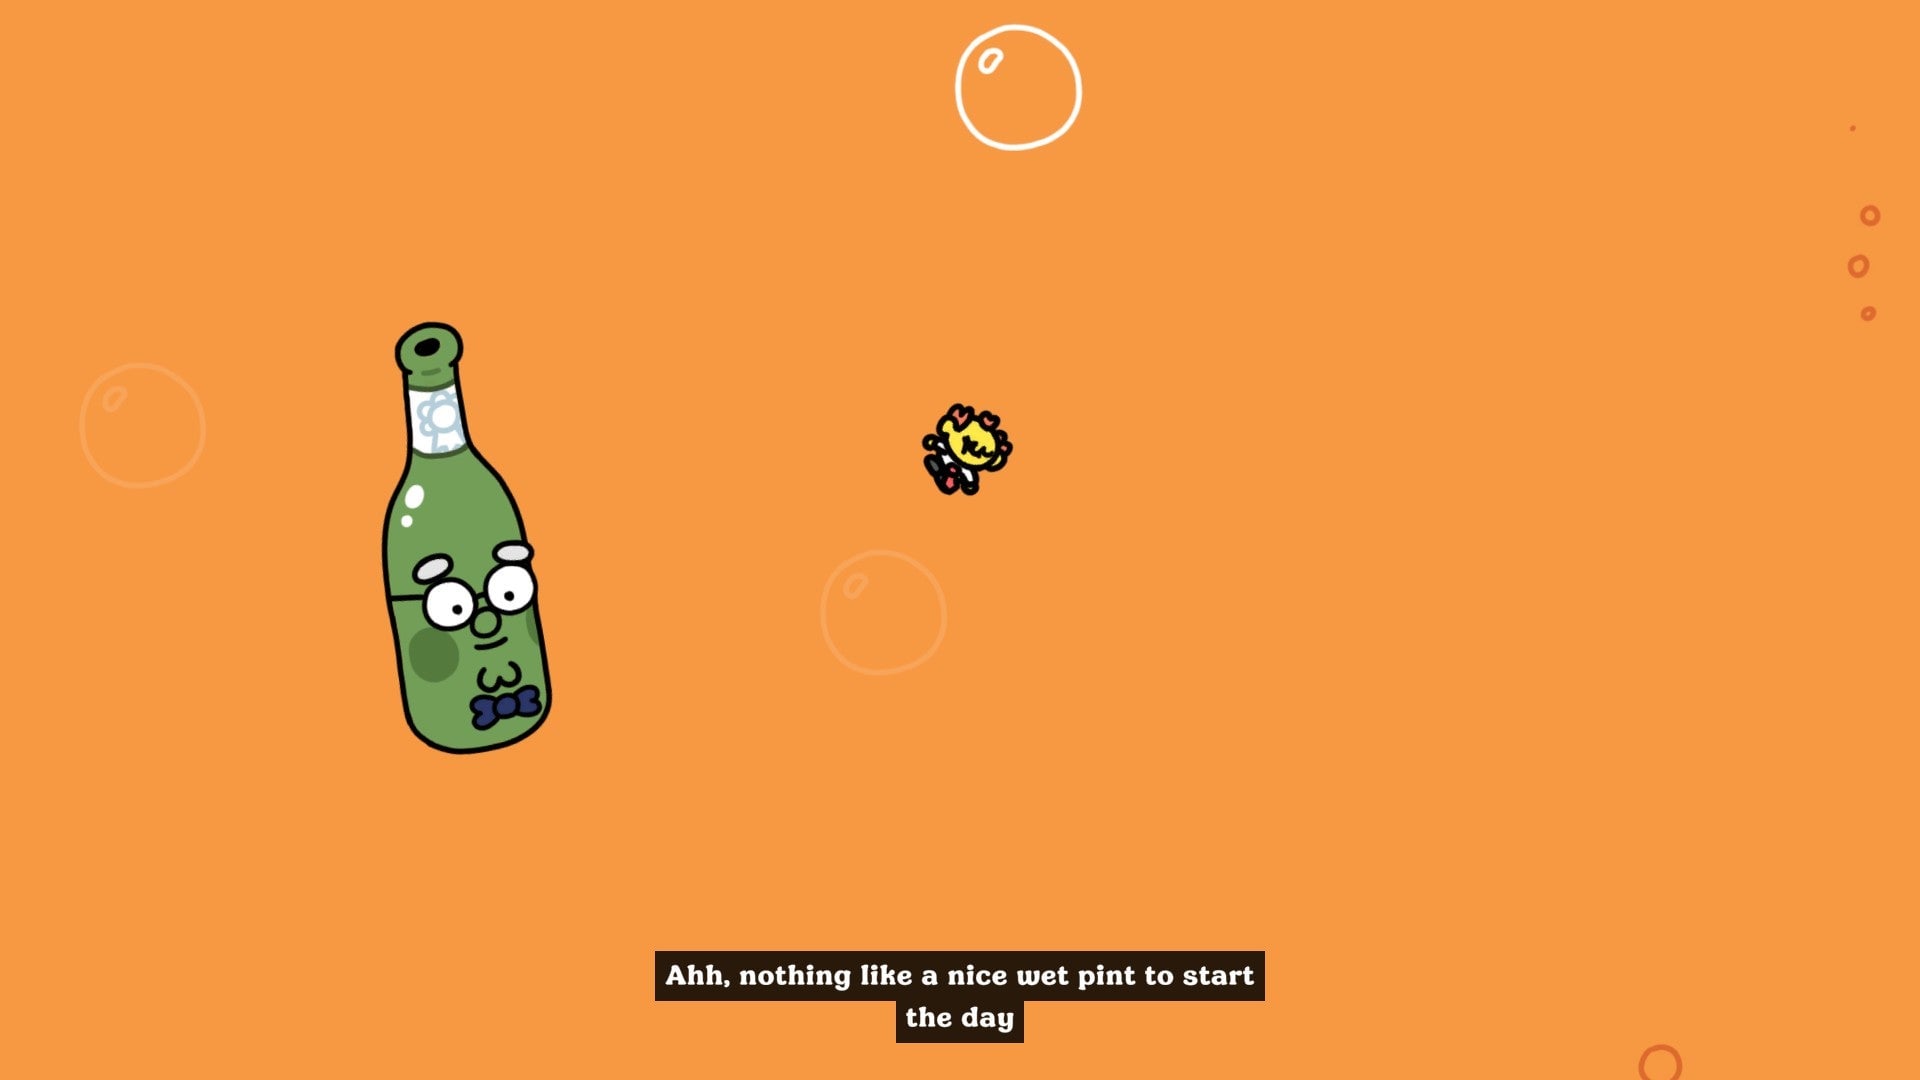
This also dislodges a hose on the bottom of the screen. Get near it and you’ll be sucked into a realm of pure beer, for reasons. Just swim up and you’ll eventually be decanted into a pint glass in the pub. Jump a few times to break free, then leave.
When you leave the pub, the butter shop is now open and a drunken Ronny is in the nearby gutter. (If you punch Ronny a couple of times while he’s down, you’ll unlock the Sick as a Pig achievement.)
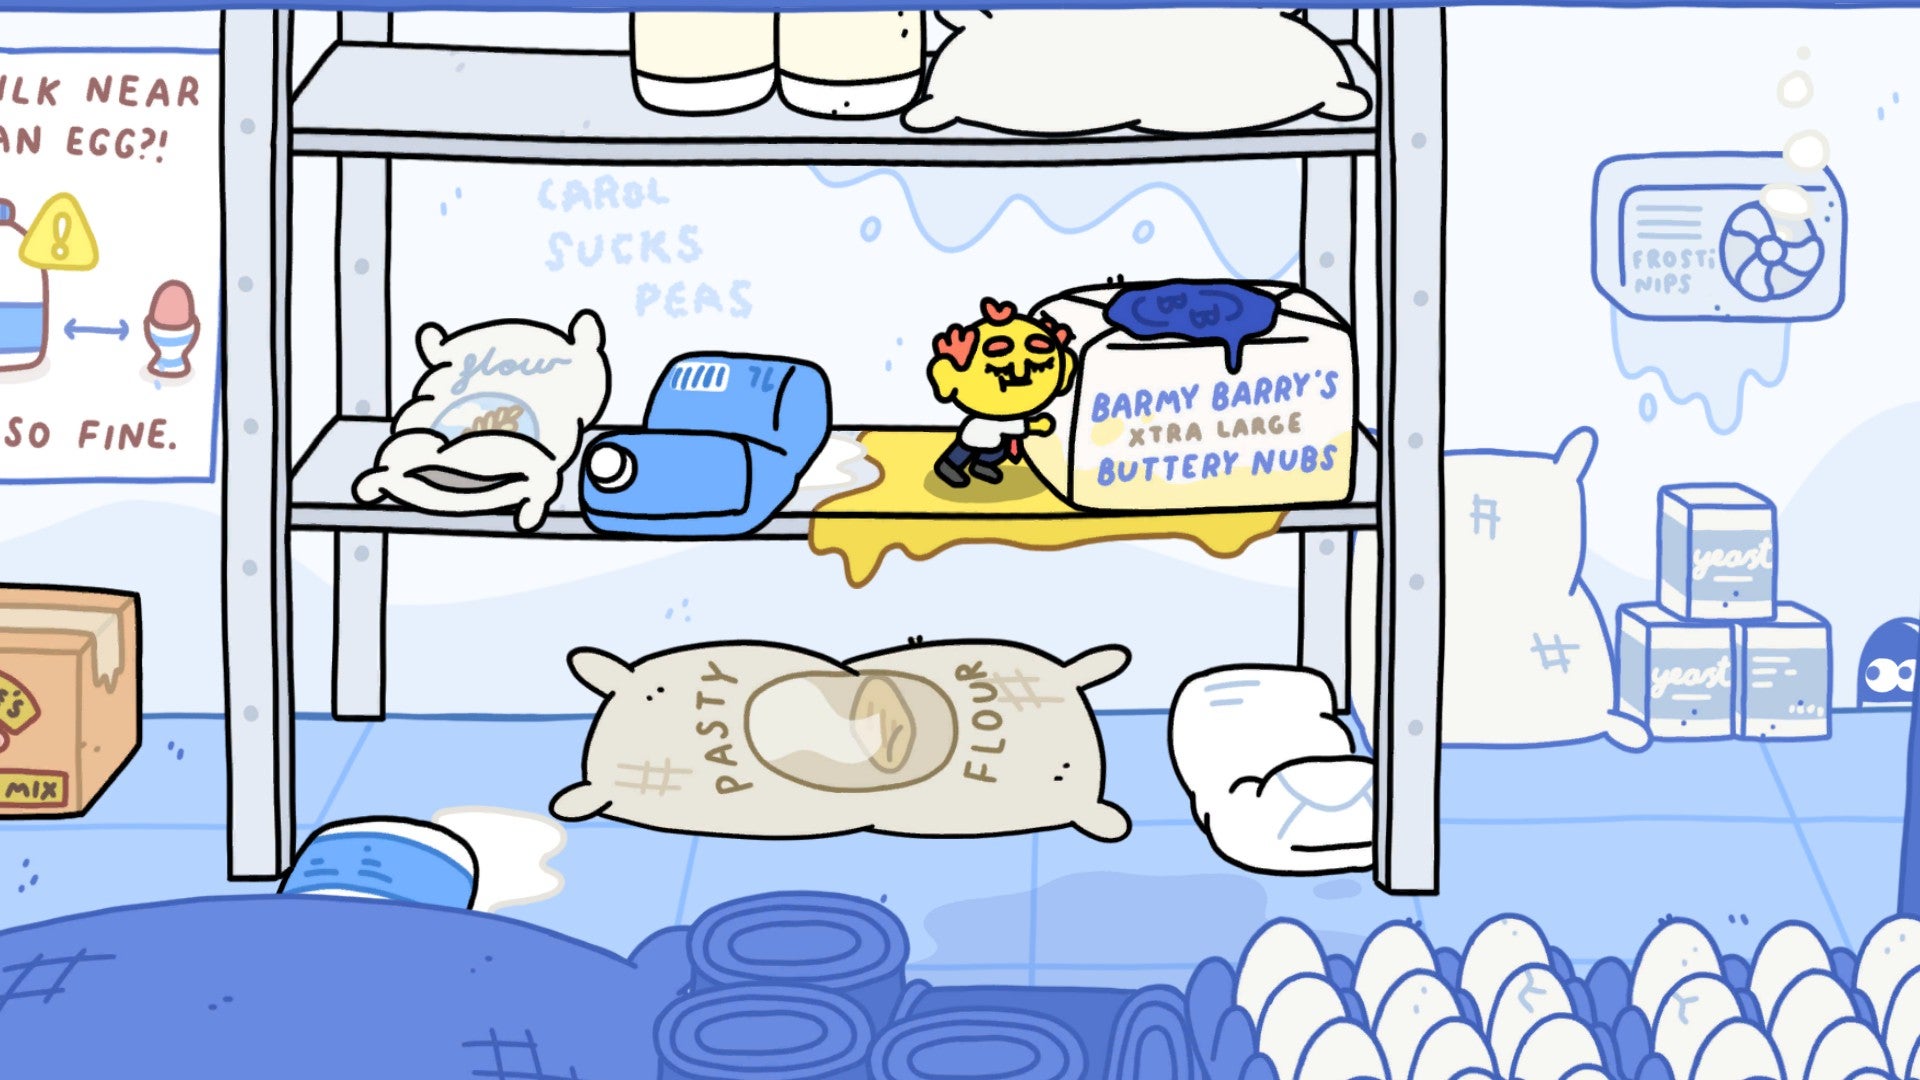
In the butter shop, go through the “Staff Only” door and cross the kitchen to reach its storage room. Jump onto the shelves and push the big package of butter onto the floor, which automatically delivers (most of) it to the stuck guy outside.

This completes In for a Penny, the first episode of TGYH. Afterwards, you’ll end up right outside the butter shop in the town square. Jump down the new hole in the pavement by the fountain and shimmy along the pipe.
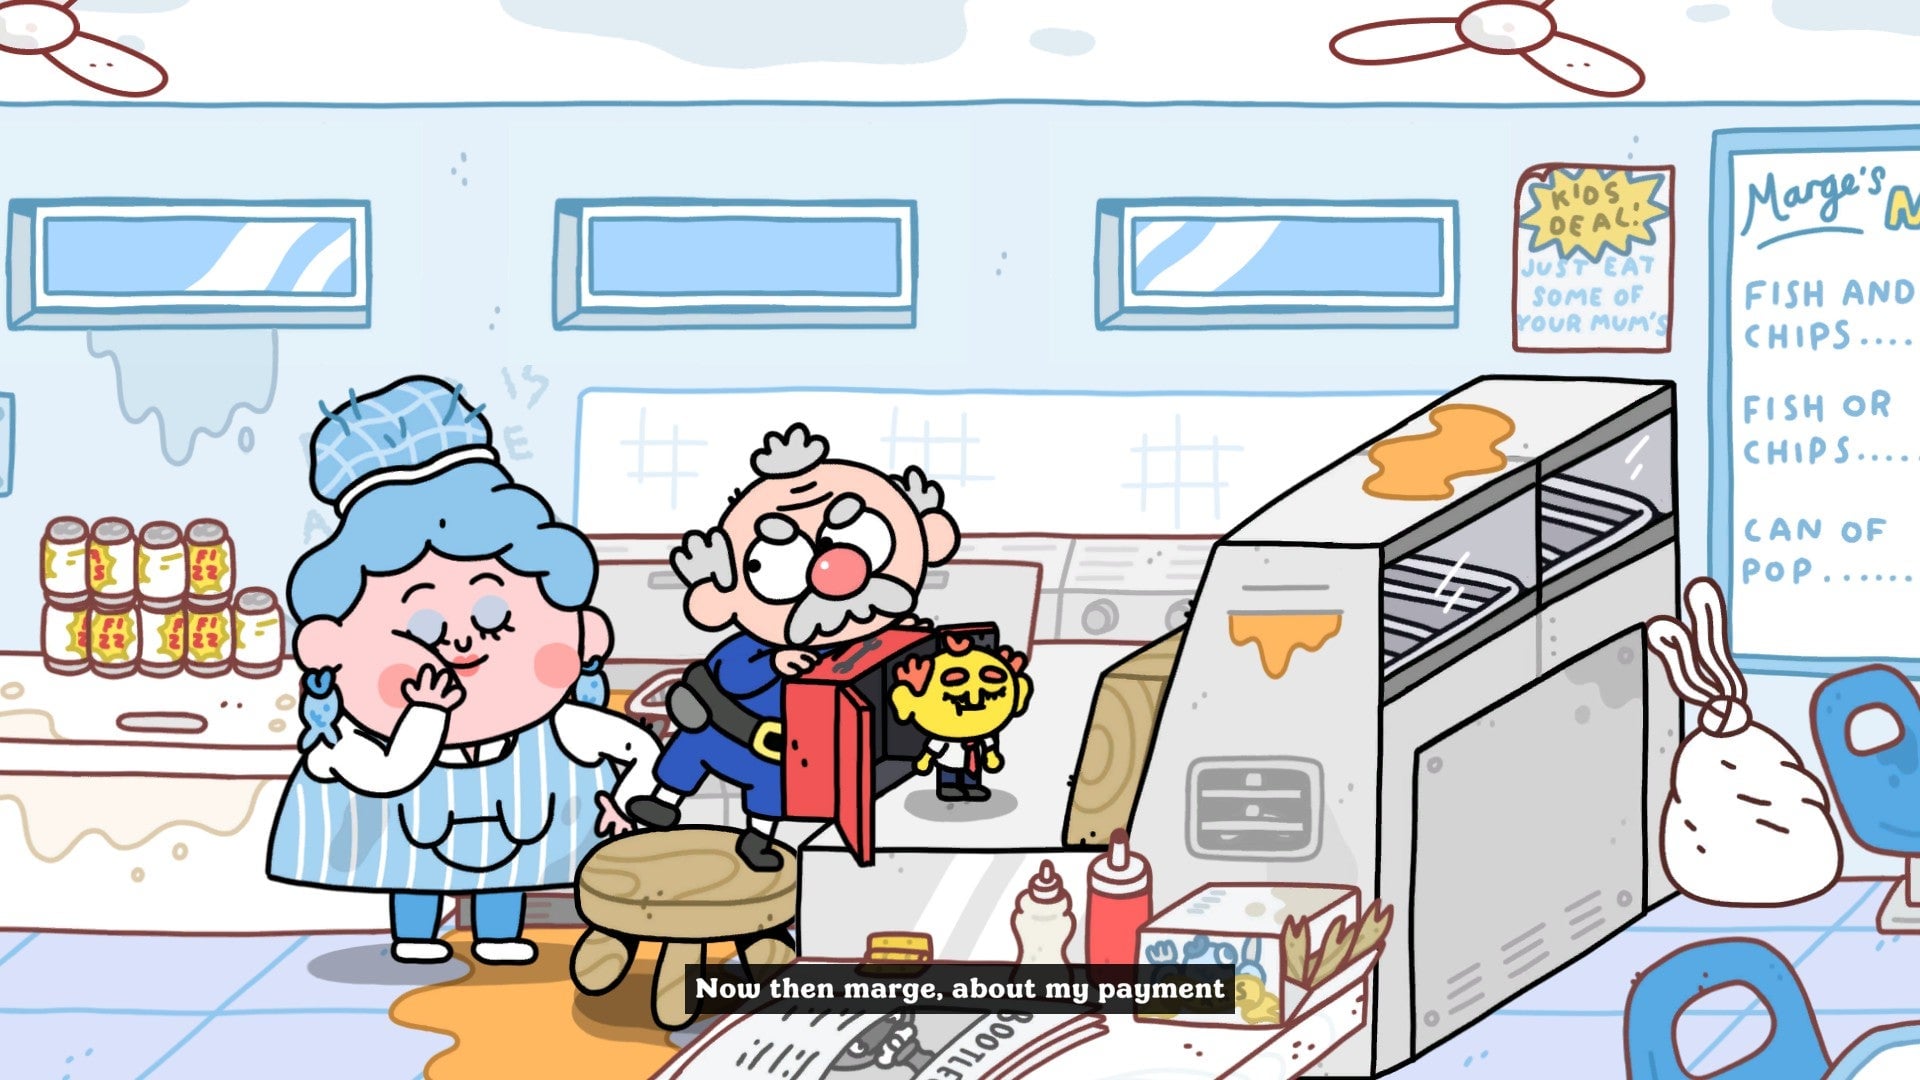
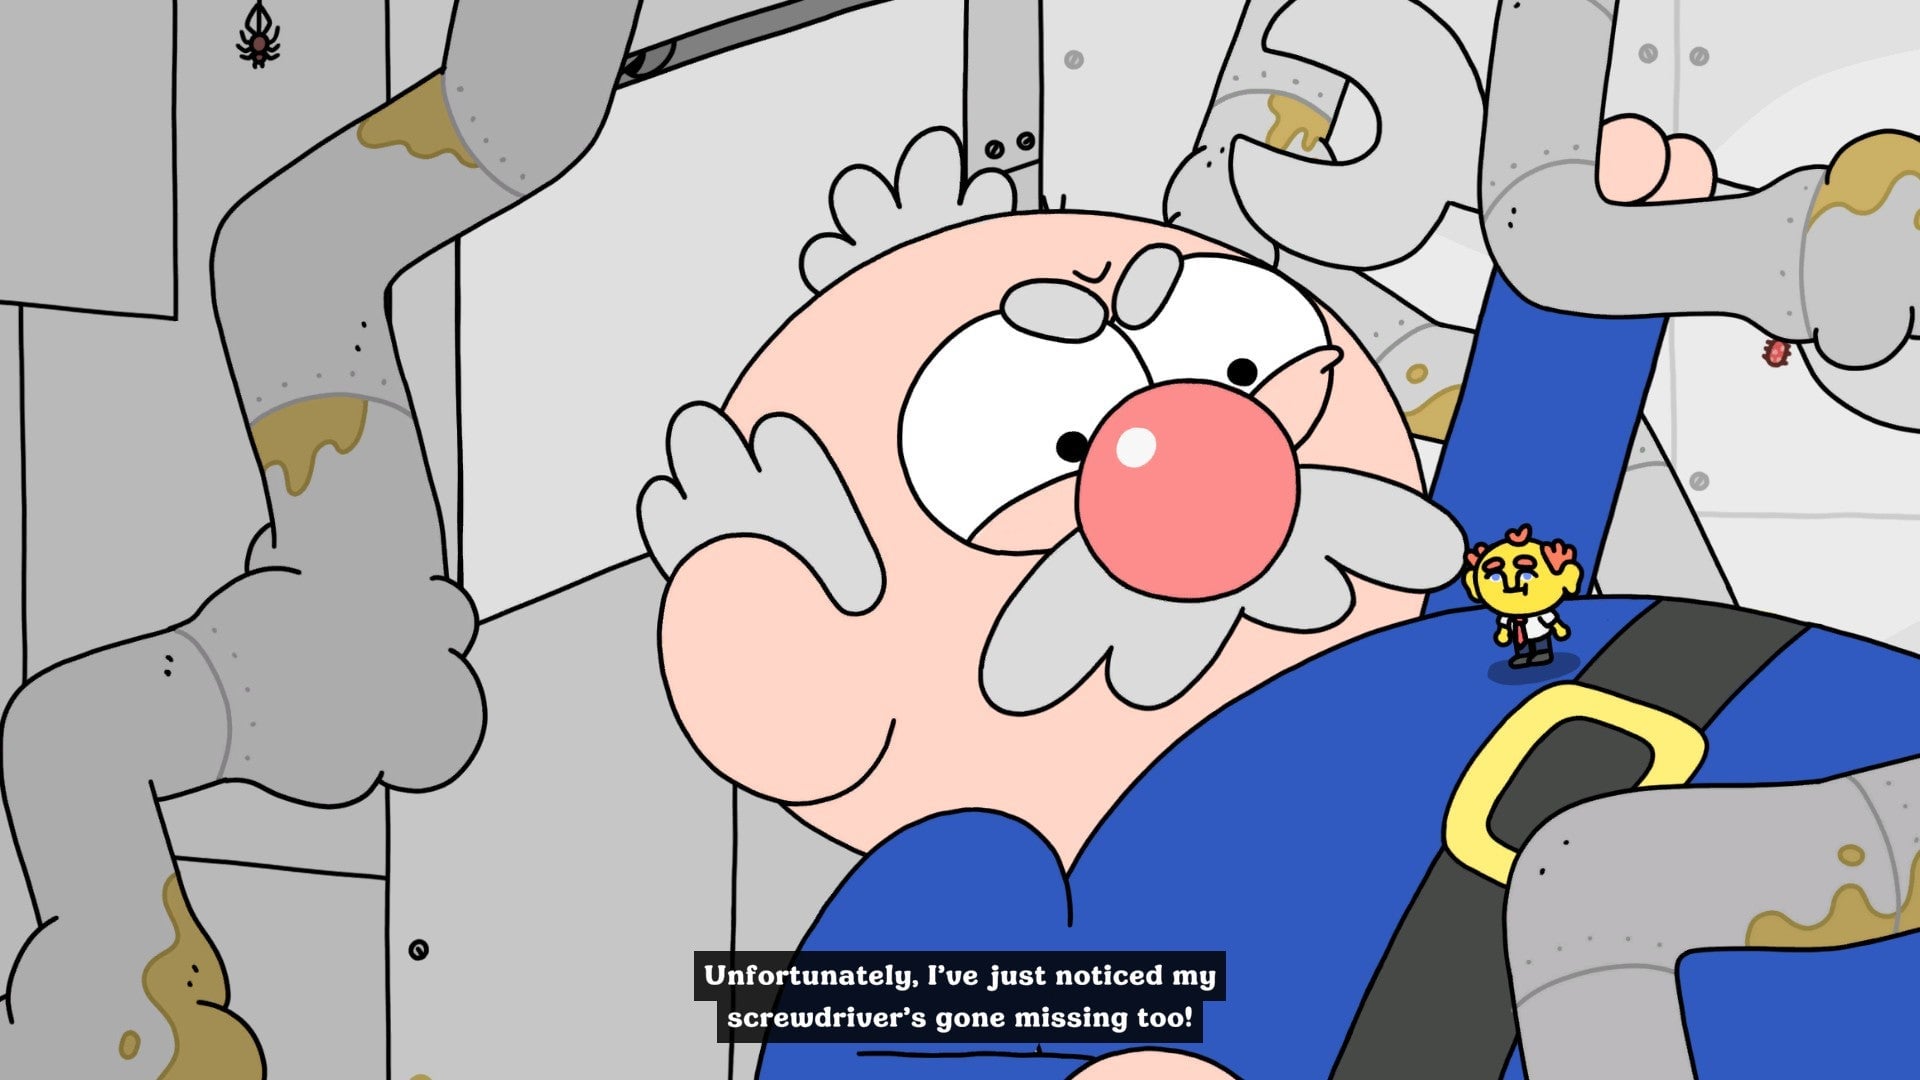
You’ll pop up in the kitchen of Marge’s fish ‘n’ chips shop, where Jasper the fix-it guy will immediately tell you to go find his lost spanner.
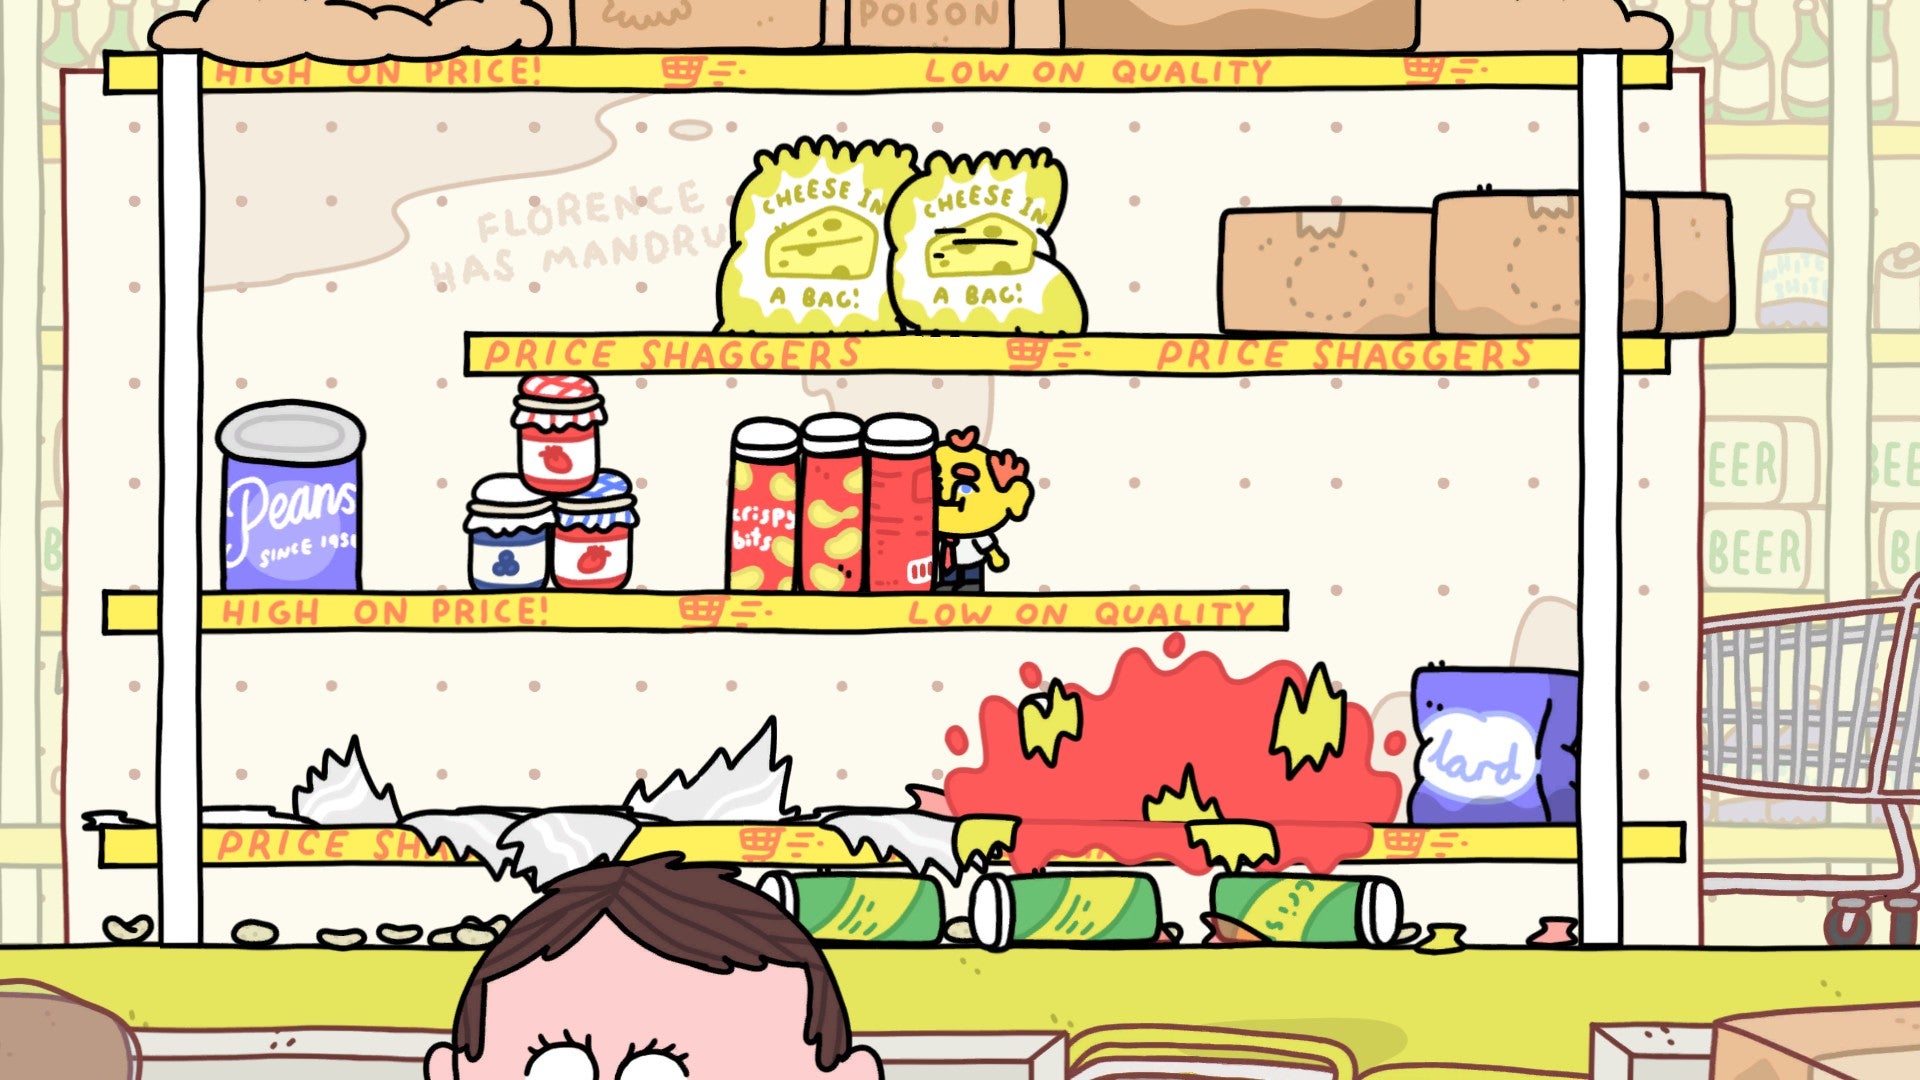
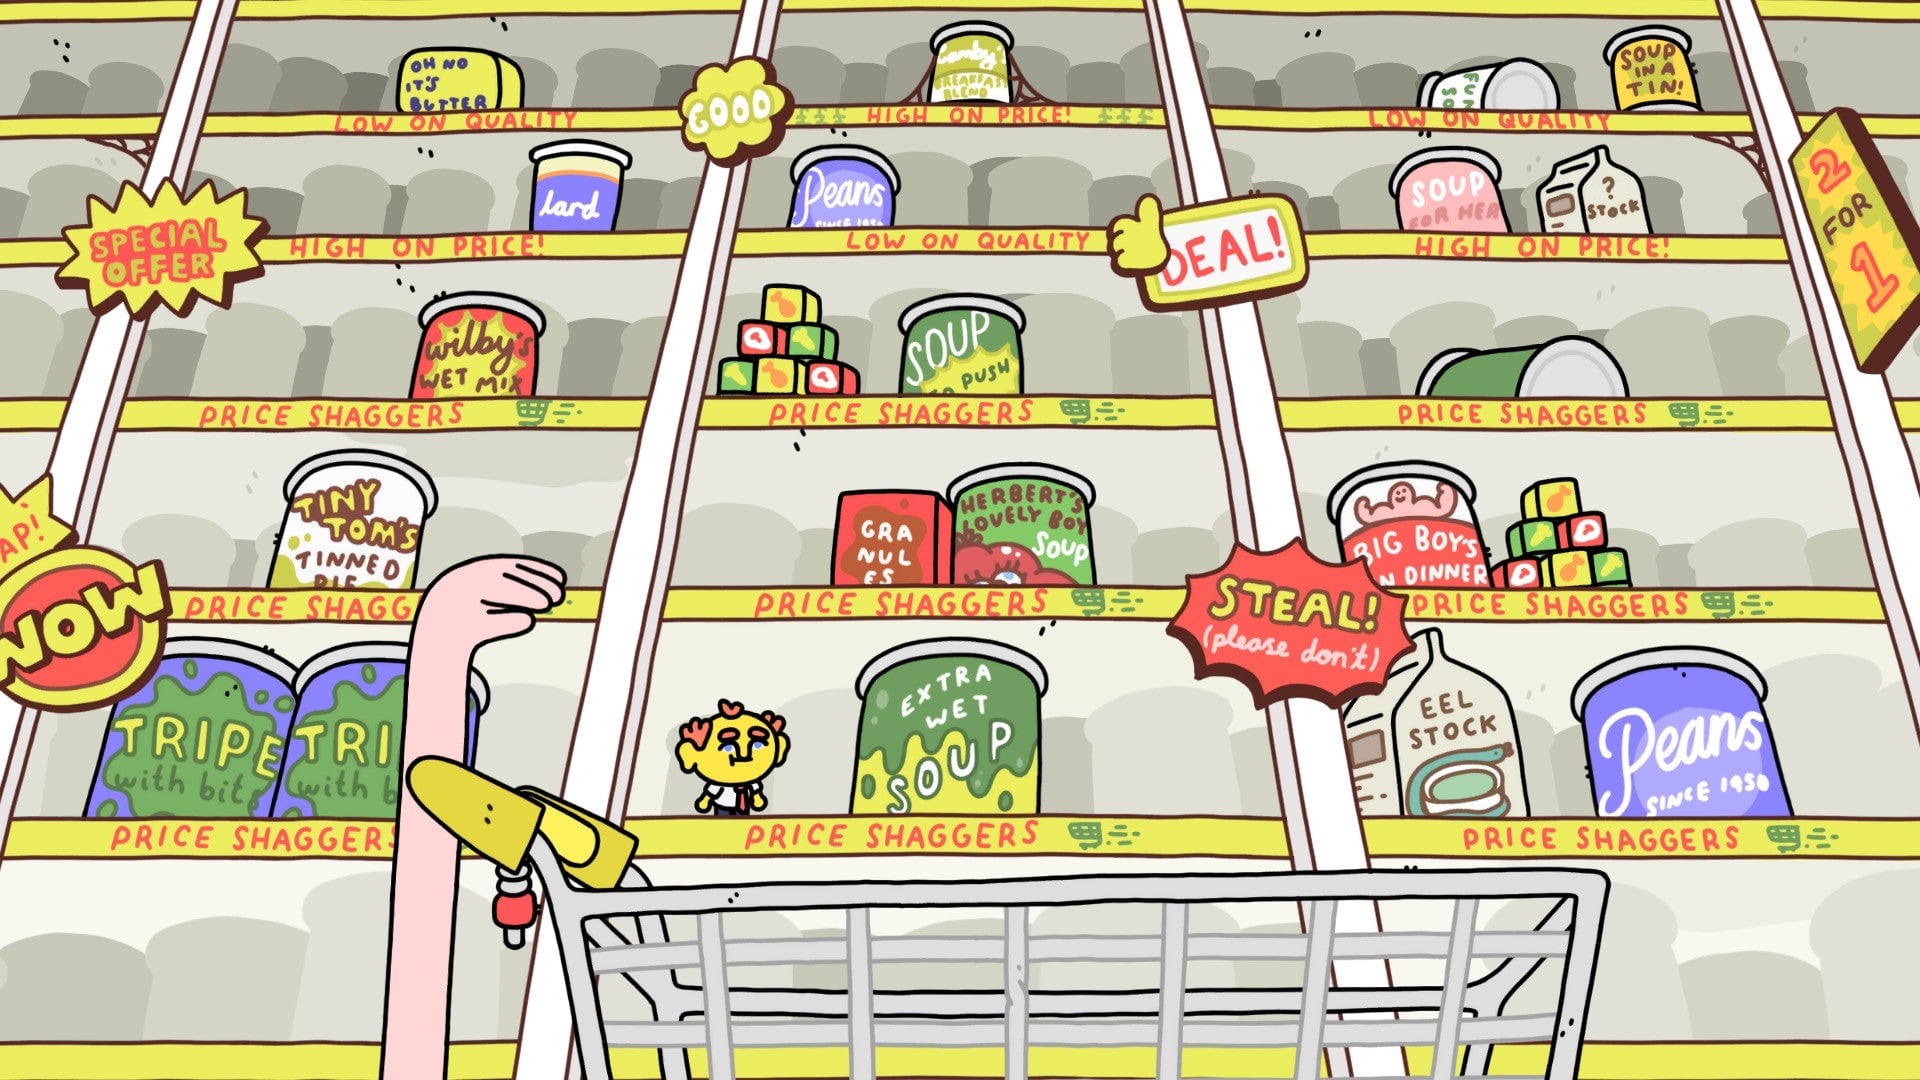
When you leave, you’ll be in a quaint shopping area. While you’re here, you can visit the local grocery store, Price Shaggers, and “straighten it up” by utterly destroying everything on the middle shelf. This is optional, but does unlock the achievement A Fine Mess
Afterwards, go down the street, take a right onto Bumberly Cl., and use the telephone pole to reach the rooftop at the end of the lane. The nearby sweep will “helpfully” jam you down a chimney. You’ll explode into Roy’s apartment, which sadly (for Roy) is a common travel point for the rest of the game.
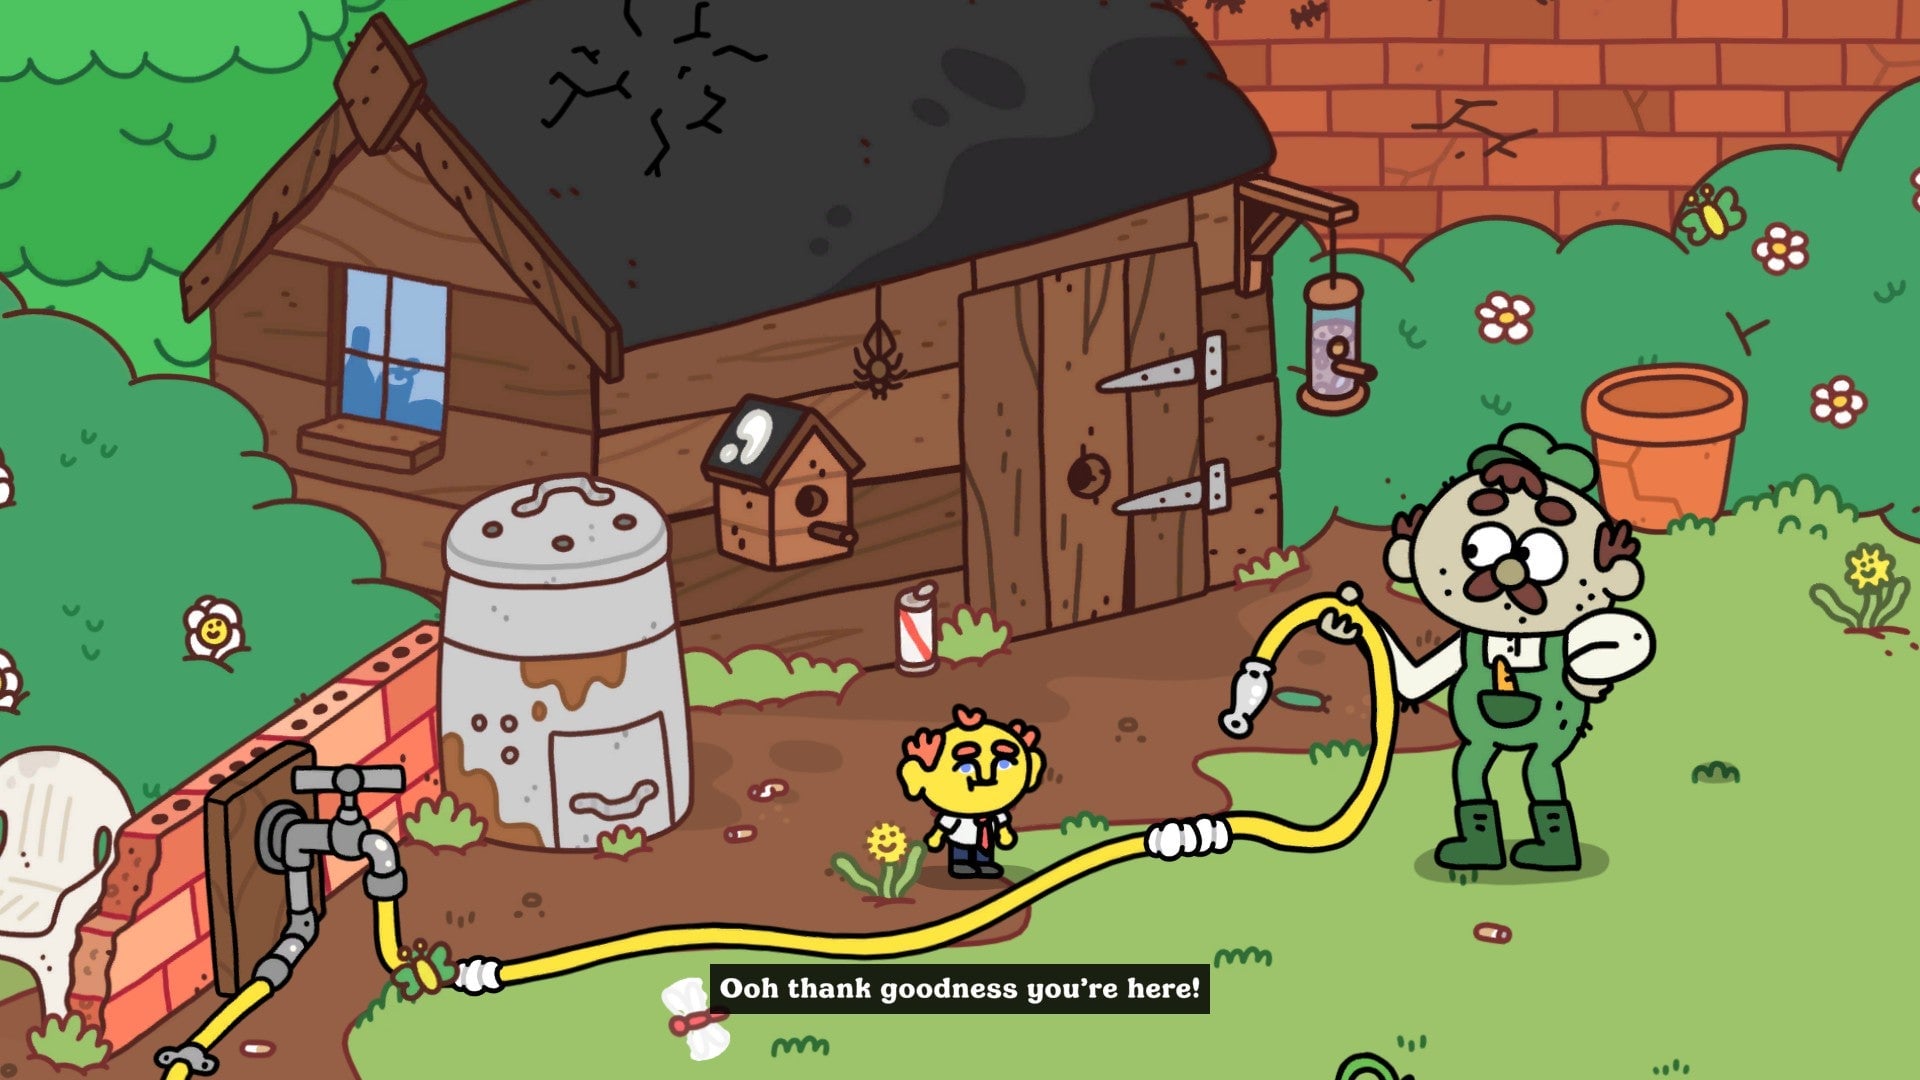
Hop out Roy’s window to catch up with Hubert, who needs you to figure out why his garden hose won’t work. If you follow the hose, it eventually leads you down the nearby well, where you can punch the right side of the shaft to reveal a tunnel.
Follow it to the local sewer, which in turn leads you to the market stall for Bish, the local fishmonger/tobacconist.
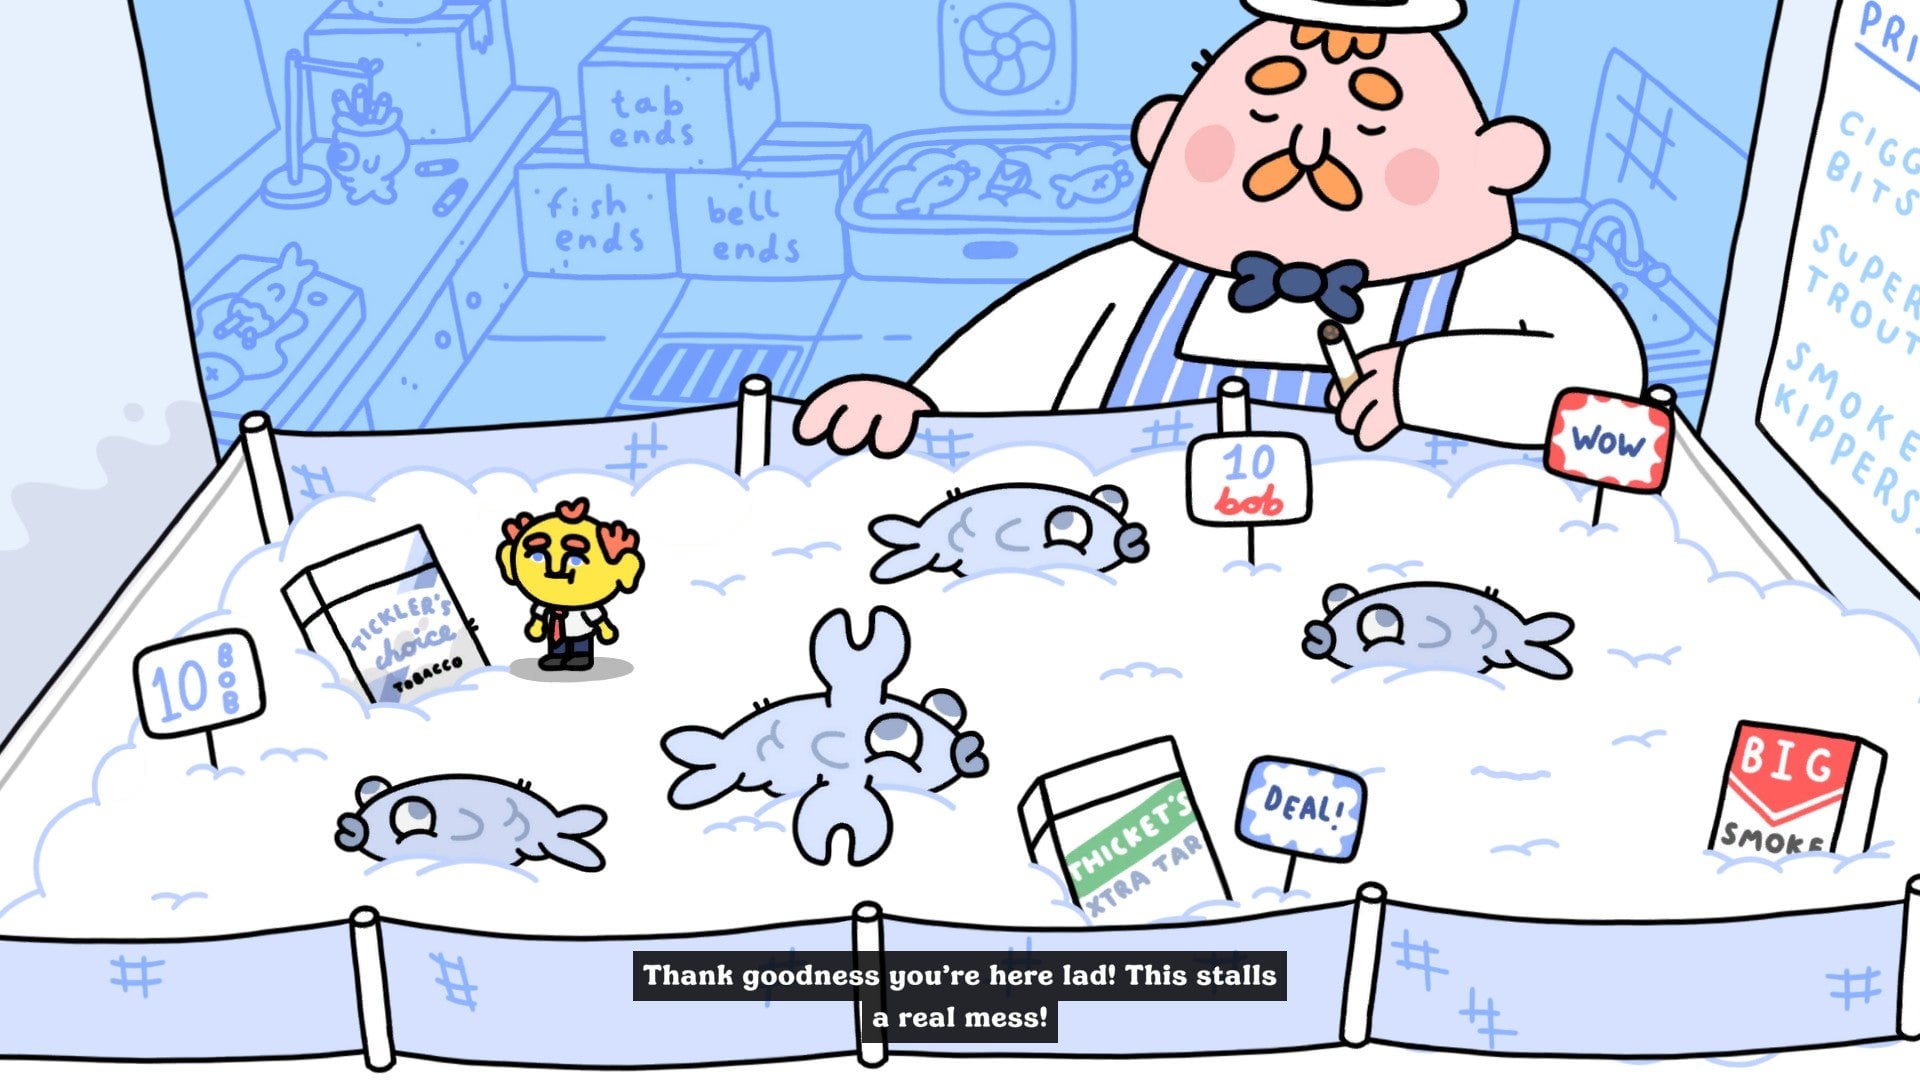
Jump over the shelf into the display case and punch all the fish, one of which will cough up Jasper’s spanner. He’ll show up at once to retrieve it, which also tears a hole in the display case that you can use to leave.
You’re now on one end of Barnsworth’s marketplace, but there’s a massive garbage spill that’s blocked off the street at its halfway point.

If you go into the butcher’s shop next to the fish stand, you can hop into his meat grinder. This sounds like a bad idea—and it is!—but this lets you propel yourself to the far side of the garbage spill via sausage physics.

Here, you can visit Rog’s Veg Hole, but he’ll immediately throw you back out. Ron, on the other hand, immediately dispatches you on a quest to return to Sam’s butcher shop and retrieve some meat.
Due to the garbage spill, you can’t simply walk back the way you came. If you go down the small alley behind the food truck to the left of the butcher shop, you’ll end up on a side path that overlooks the canal.
Go through the hole in the fence and you’ll end up back at Hubert’s garden.
Punch the spigot to Hubert’s left to water his massive tomato (not a euphemism). Your next step is to find Hubert some fertilizer.
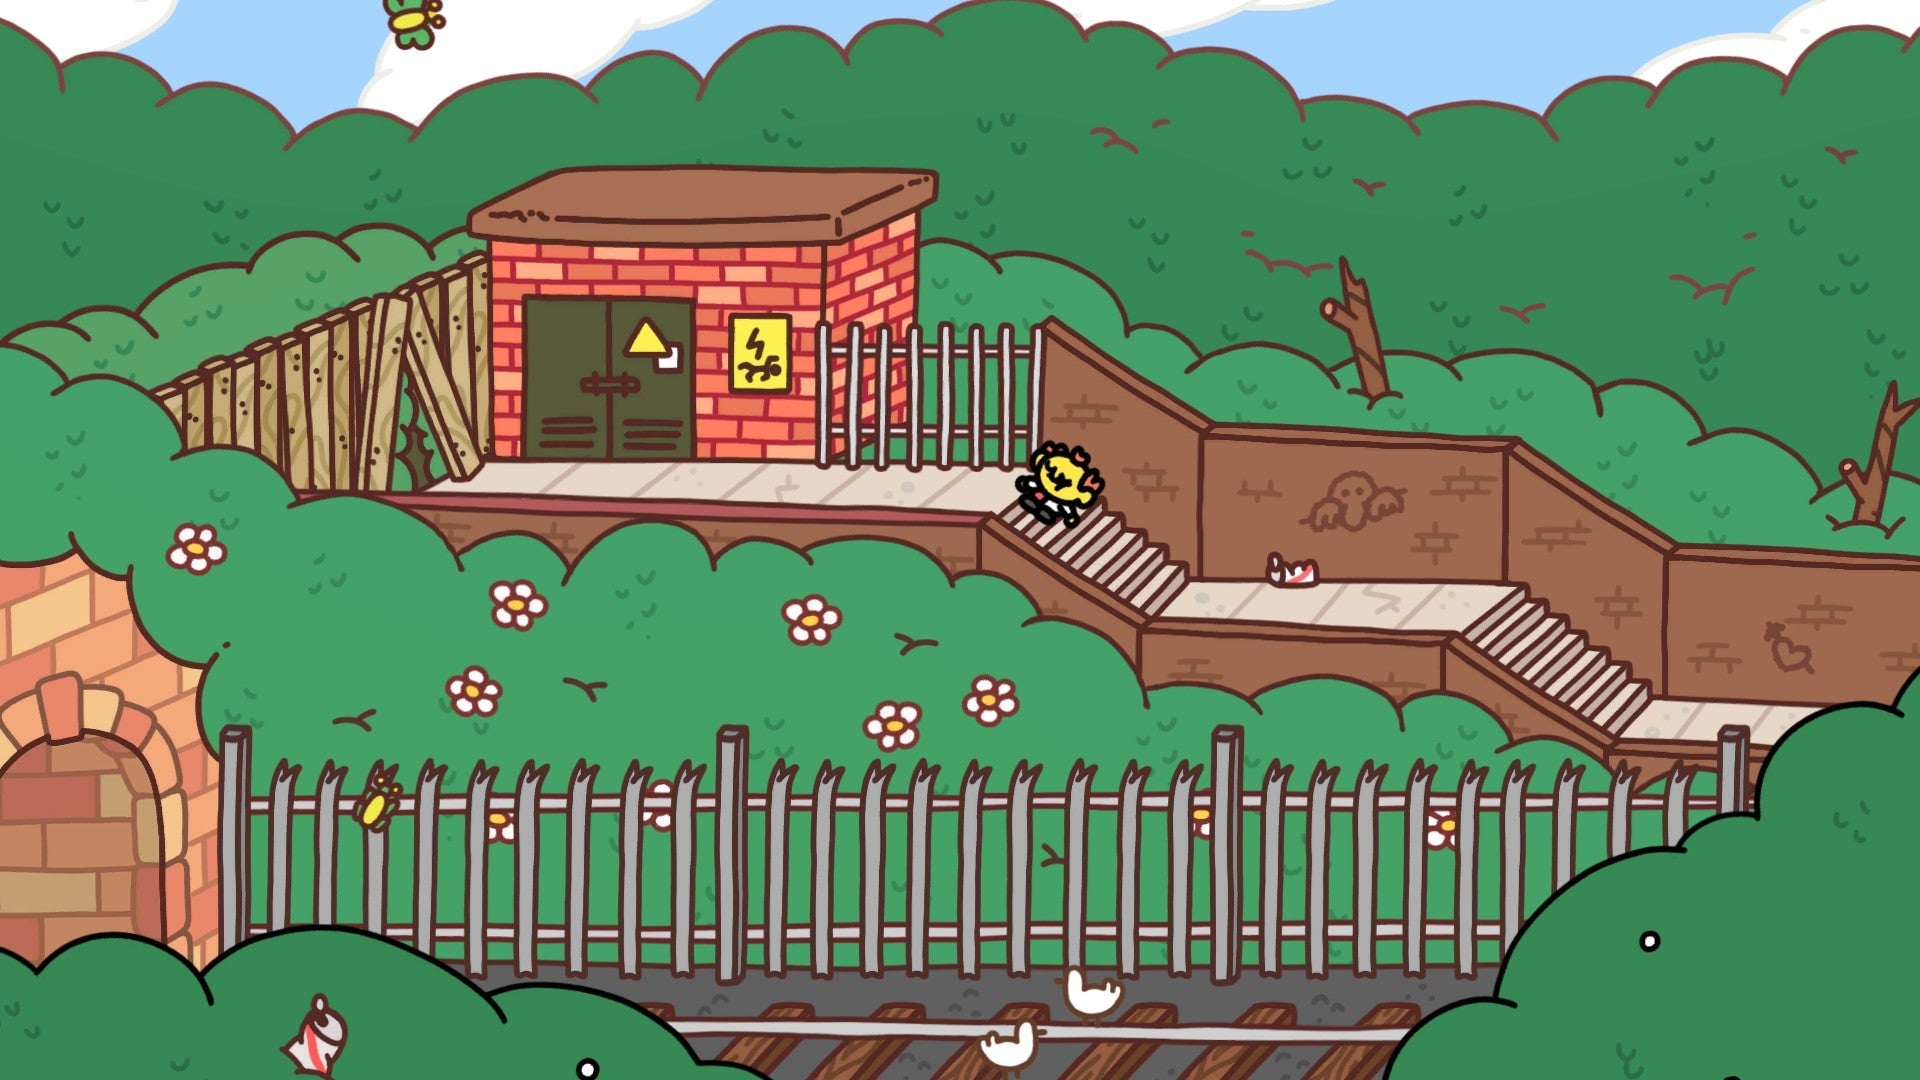
Leave the garden via the hole in the fence to the right, which is where Frank the fisherman is hanging out. Cross the bridge, climb the pile of garbage, and leap to the nearby roof. If you jump up and down a few times, you’ll break through the roof and end up in the construction site outside Price Shaggers.
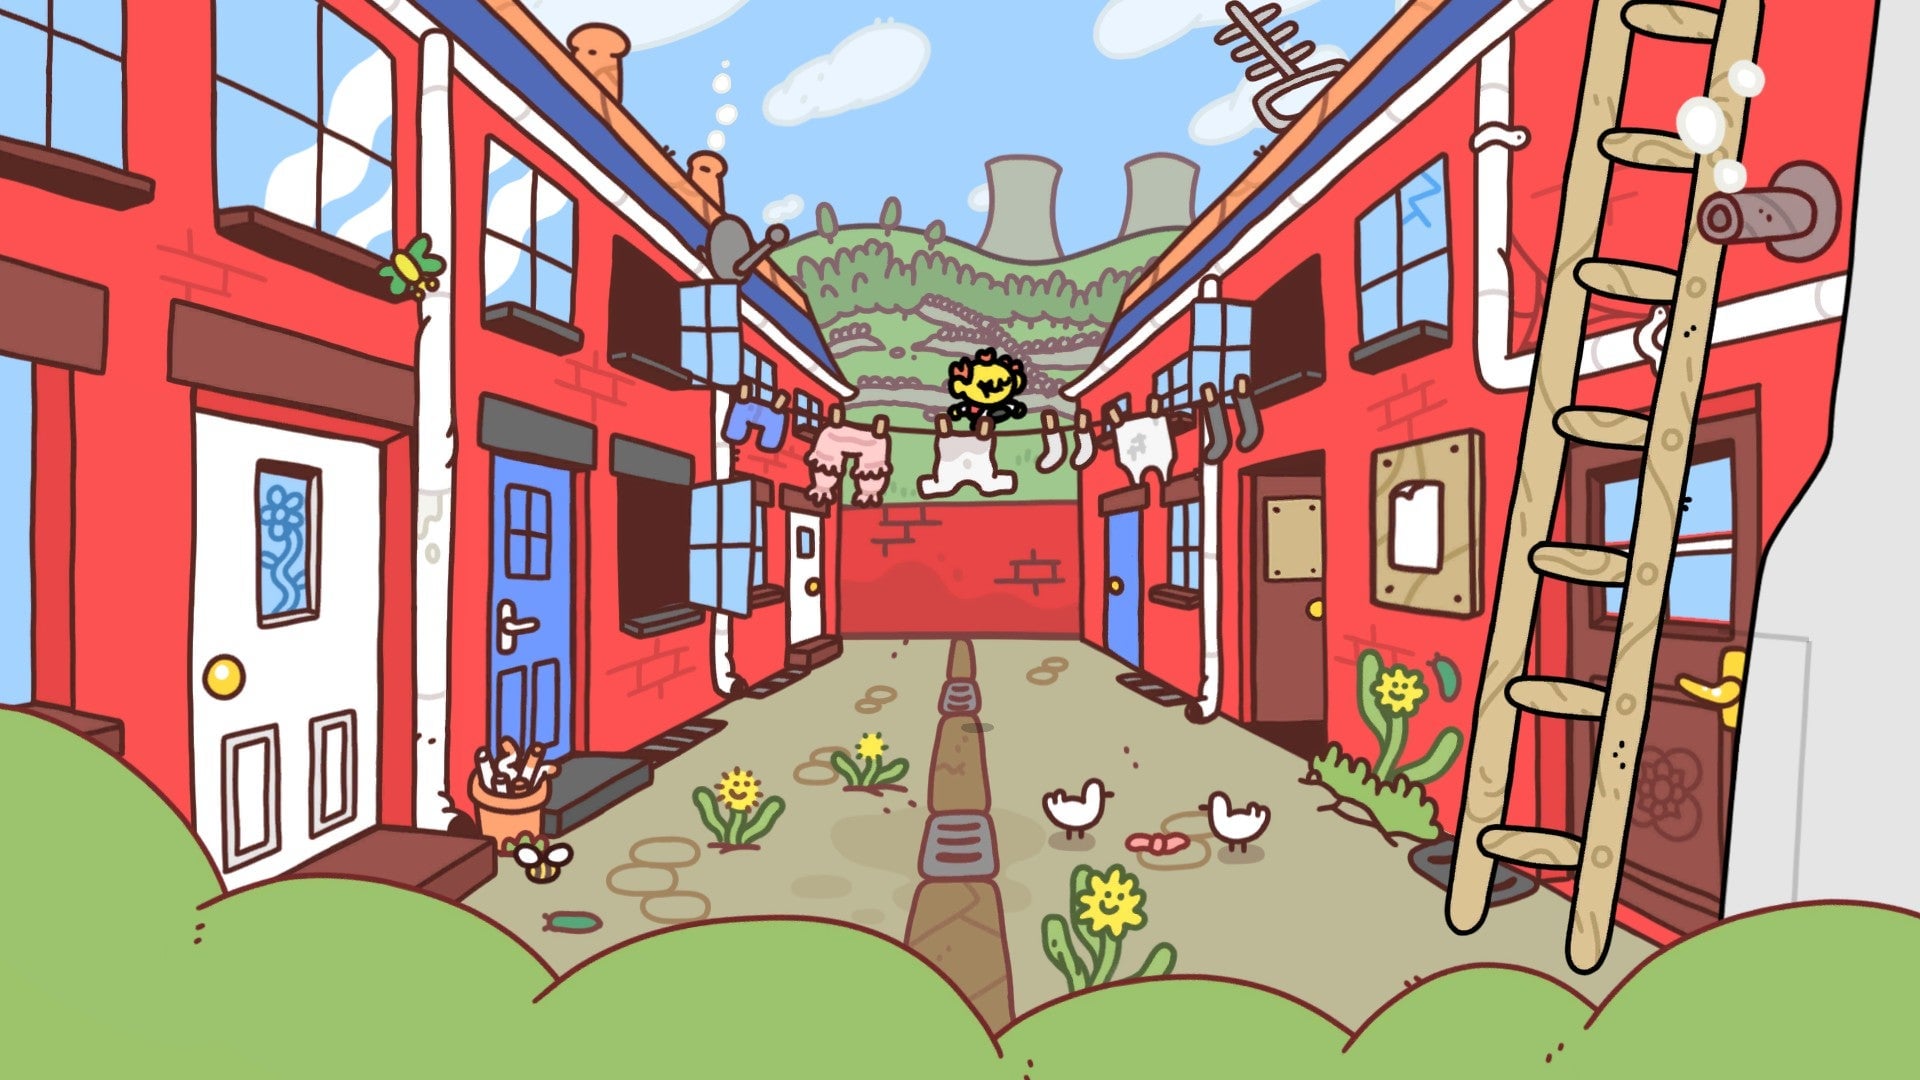
There are two nearby houses. Punch open the door of the house on the right to enter the alley behind it, then go through the ensuing travel sequence until you reach the ladder. Climb it, then hop up and down on the clogged gutter until you’re sent down the pipe. That takes you back to the town square.
Use the hole in the street by the fountain to return to Marge’s chips shop. Jasper can be found in the compartment beneath the fryer, where he offers another mission: go to Price Shaggers and retrieve his screwdriver.

There, you’ll find that Price Shaggers has been overrun by rats. At the clerk’s request, go back to the top shelf and shove the box of rat poison off the side.
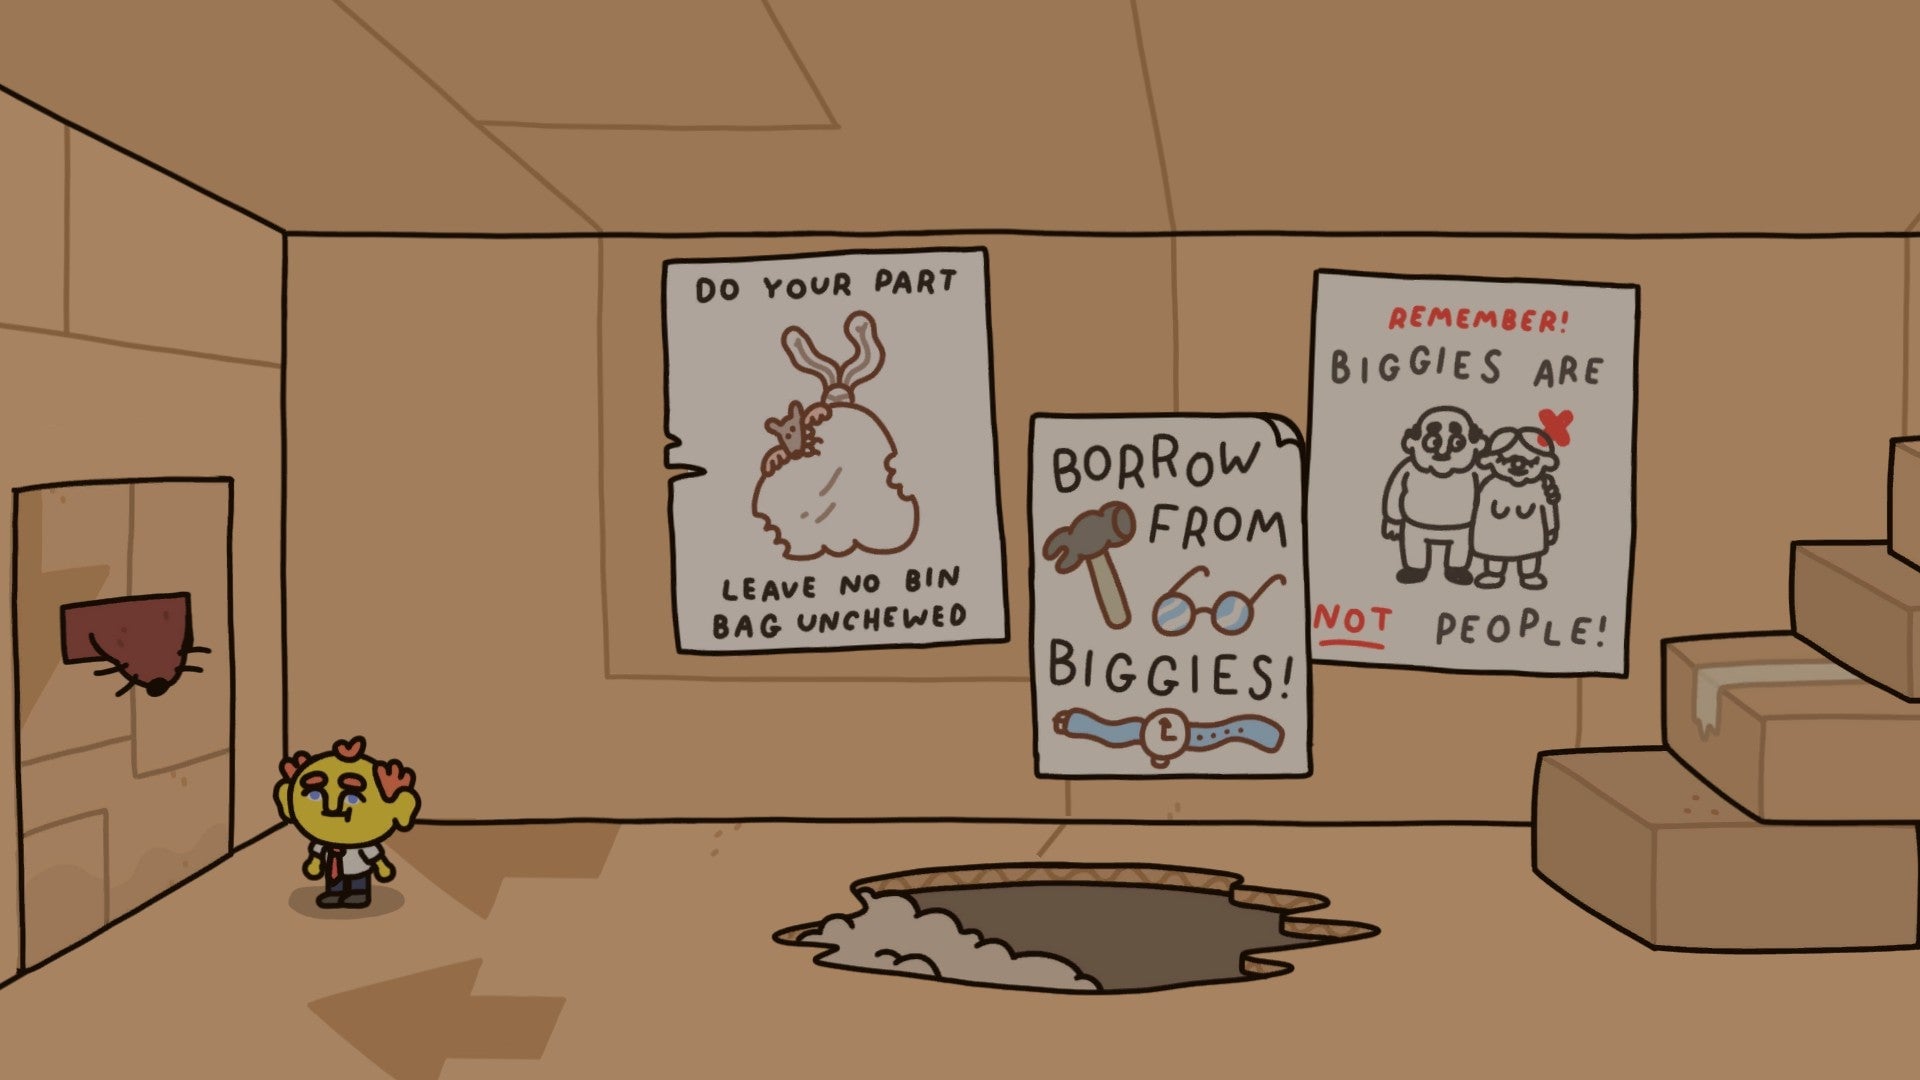
This also breaks out part of the ceiling. Jump through it to find a hidden area, which eventually leads to a door that’s being held shut by a determined rat.
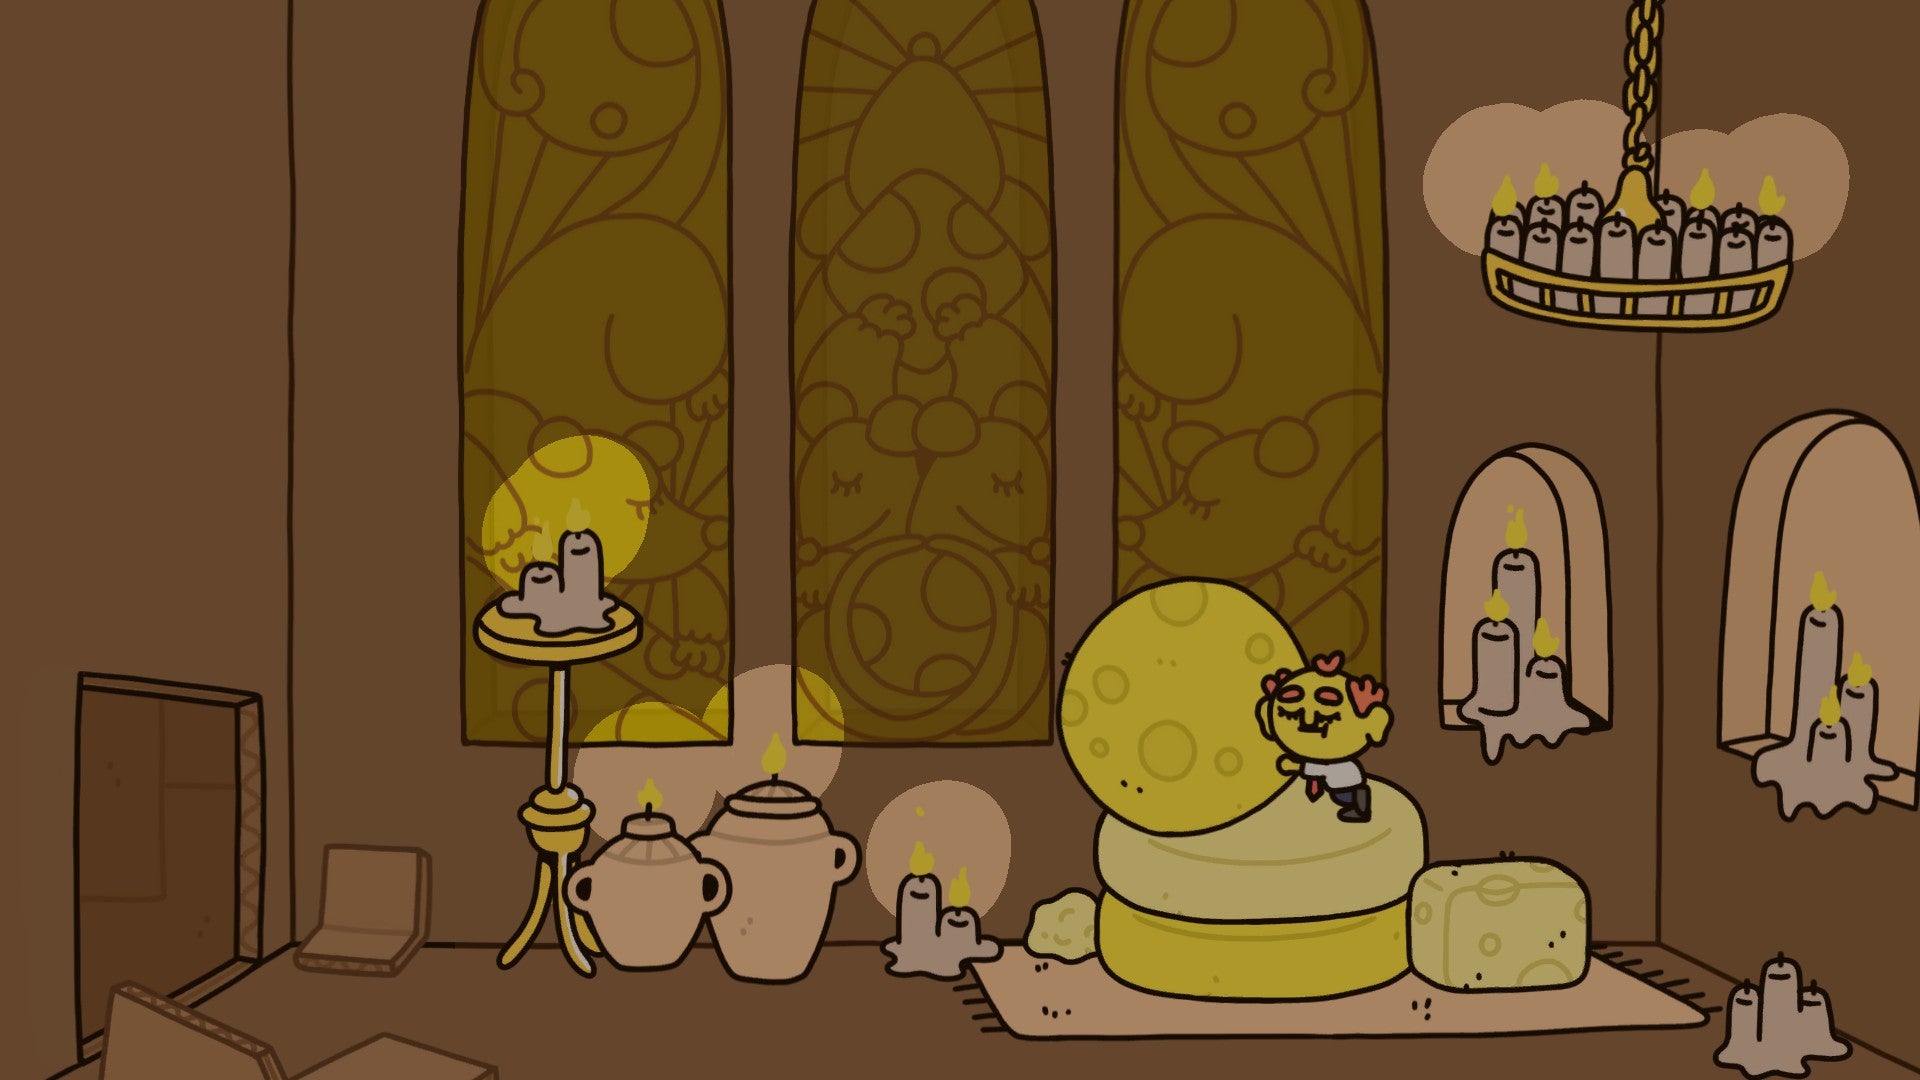
Go to the right from here, jumping over the hole in the floor, and punch the wall until it breaks. In this secret room, push the cheese ball off the pedestal. This will distract the guard and let you reach the rats’ most closely guarded secret.
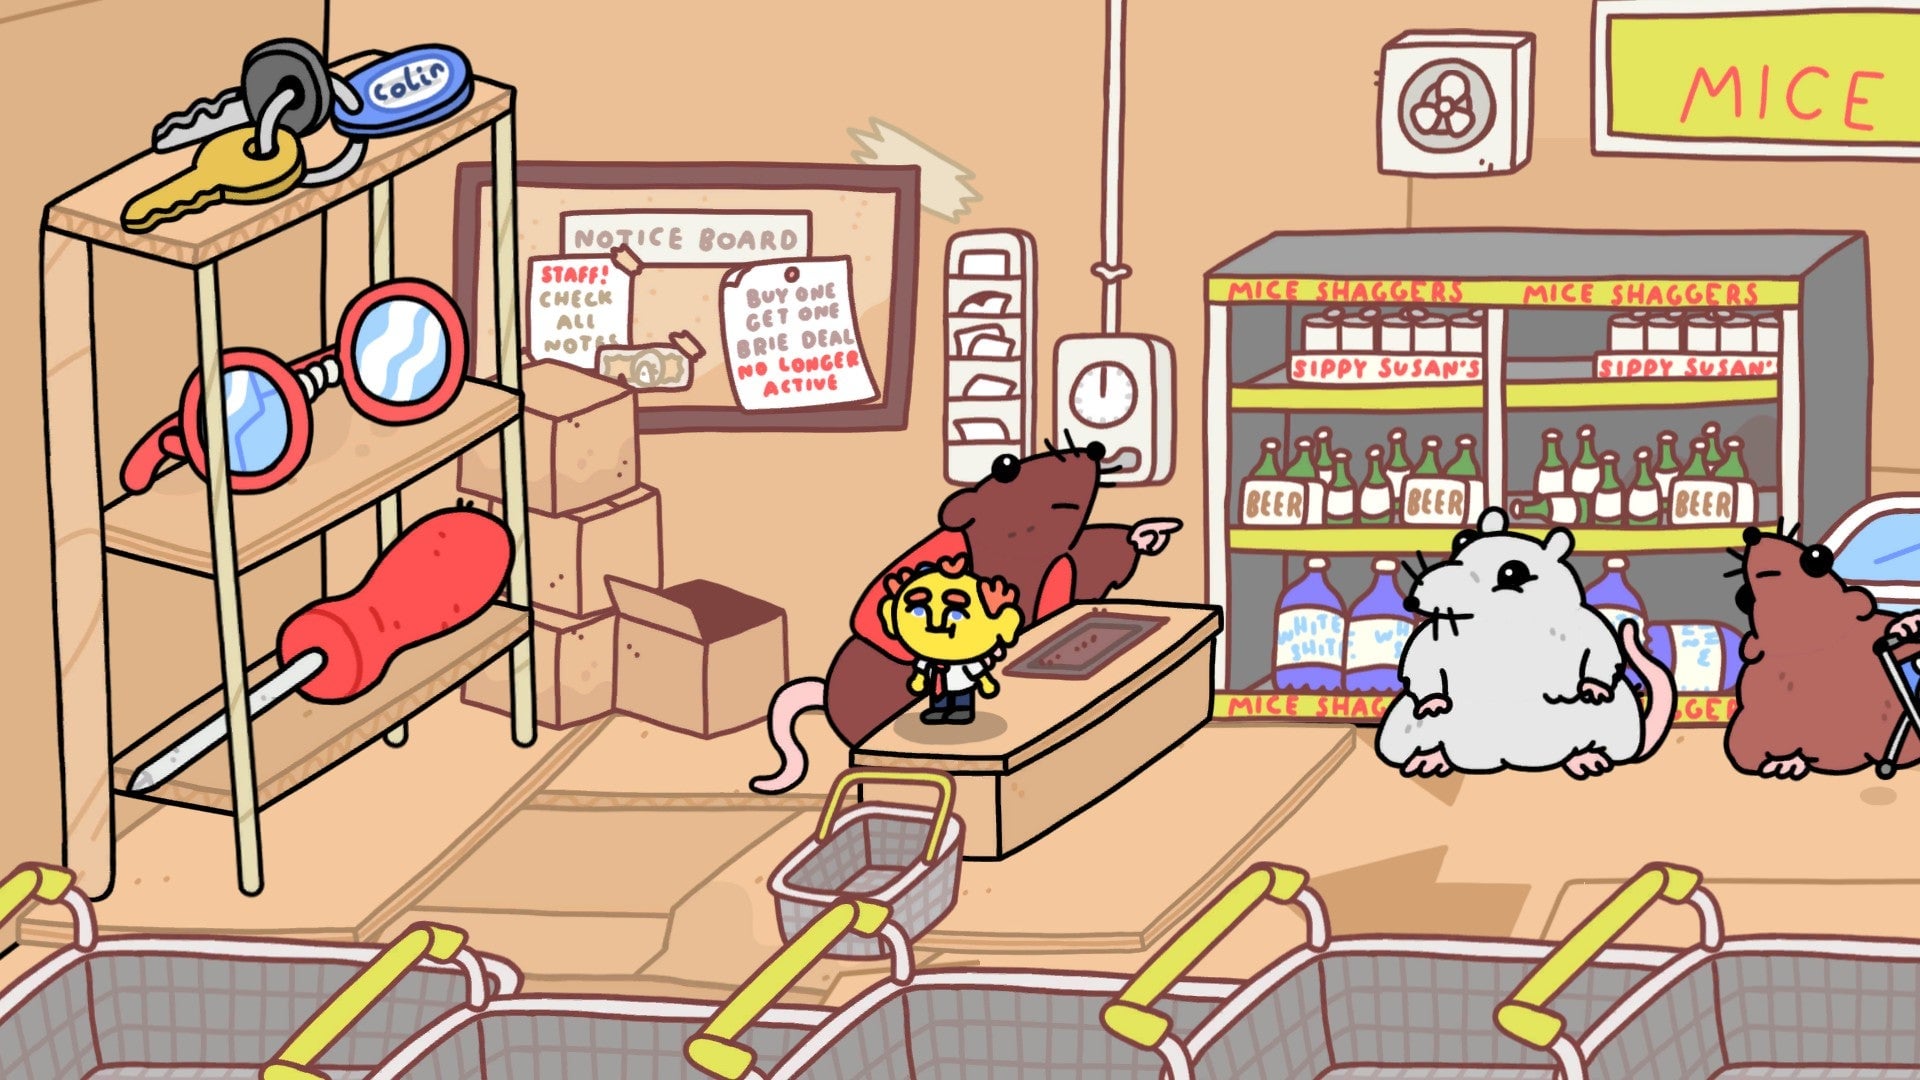
Here, punch the fat rat so it gets out of your way, then hop over the counter. If you jump up and down on the floor behind the clerk, it’ll eventually collapse, which dumps you and Jasper’s screwdriver into a heap on the floor of Price Shaggers. Jasper will automatically show up to retrieve his screwdriver.
Return to Marge’s and Jasper will ask for one more favor: get his hammer from Frank the fisherman. This also triggers the workmen down the street to move their fence, which restores access to Bumberly Cl.
Retrace your steps from here, going back through Roy’s apartment, to return to Hubert’s garden. You’ll find a note from Hubert here that he’s gone to Rog’s shop. The local youths have also wedged a surveyor into the hole in the fence, so you can’t simply talk to Frank directly. Your only other option is to go back down the well.
Cut through Bish’s shop again. You can pause to help him “arrange” his fish if you like, which sets you up for a potential achievement later, or simply leave via the display case.
Once you’re back at the market, visit Sam’s butcher shop. Jump onto the counter and you’ll get all the meat you can handle. Welcome to…the meat dimension.
Walk around the abominable plateau of meat and punch everything you see until it disappears into the floor.
There’s a central structure near your point of entry that’s vaguely Sam-shaped, and once you’ve punched enough meat, it opens into a passage that you can use to leave. If you’re careful to punch every bit of meat before you leave, you’ll unlock the hidden achievement Final Form
You’ll end up hand-delivered to Ron’s Big Pies with the meat he requested.
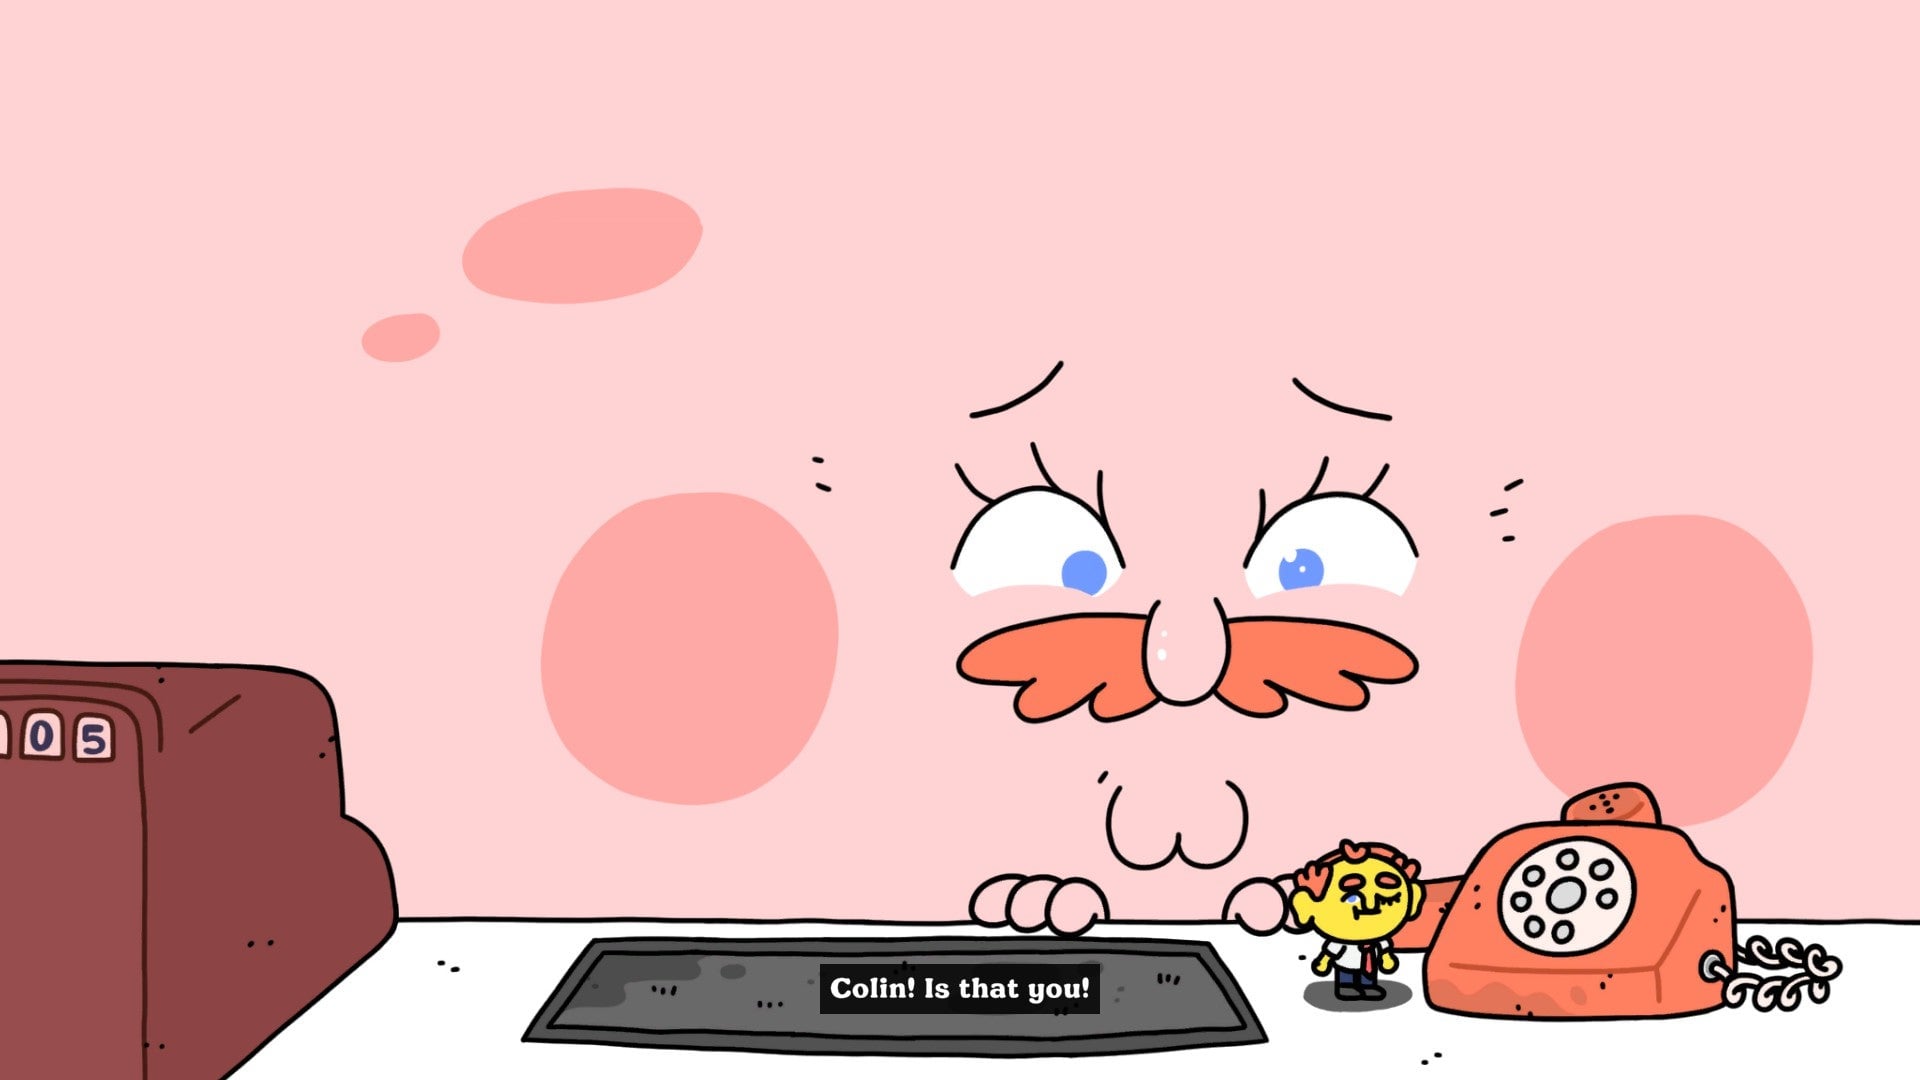
Afterward, punch the phone so Ron can make his call. Once Colin shows up with the pie mix, punch the stack until a crate falls on your head, then take that crate with you into the oven. From here, mash buttons until the shop explodes into one big pie, which completes “Enough for Everyone.”
Punch your way out of the ensuing mega-pie to return to the street outside Ron’s. As the cutscene implies, your next stop is Rog’s, where his ongoing terrible day has reached its natural conclusion: trench warfare.
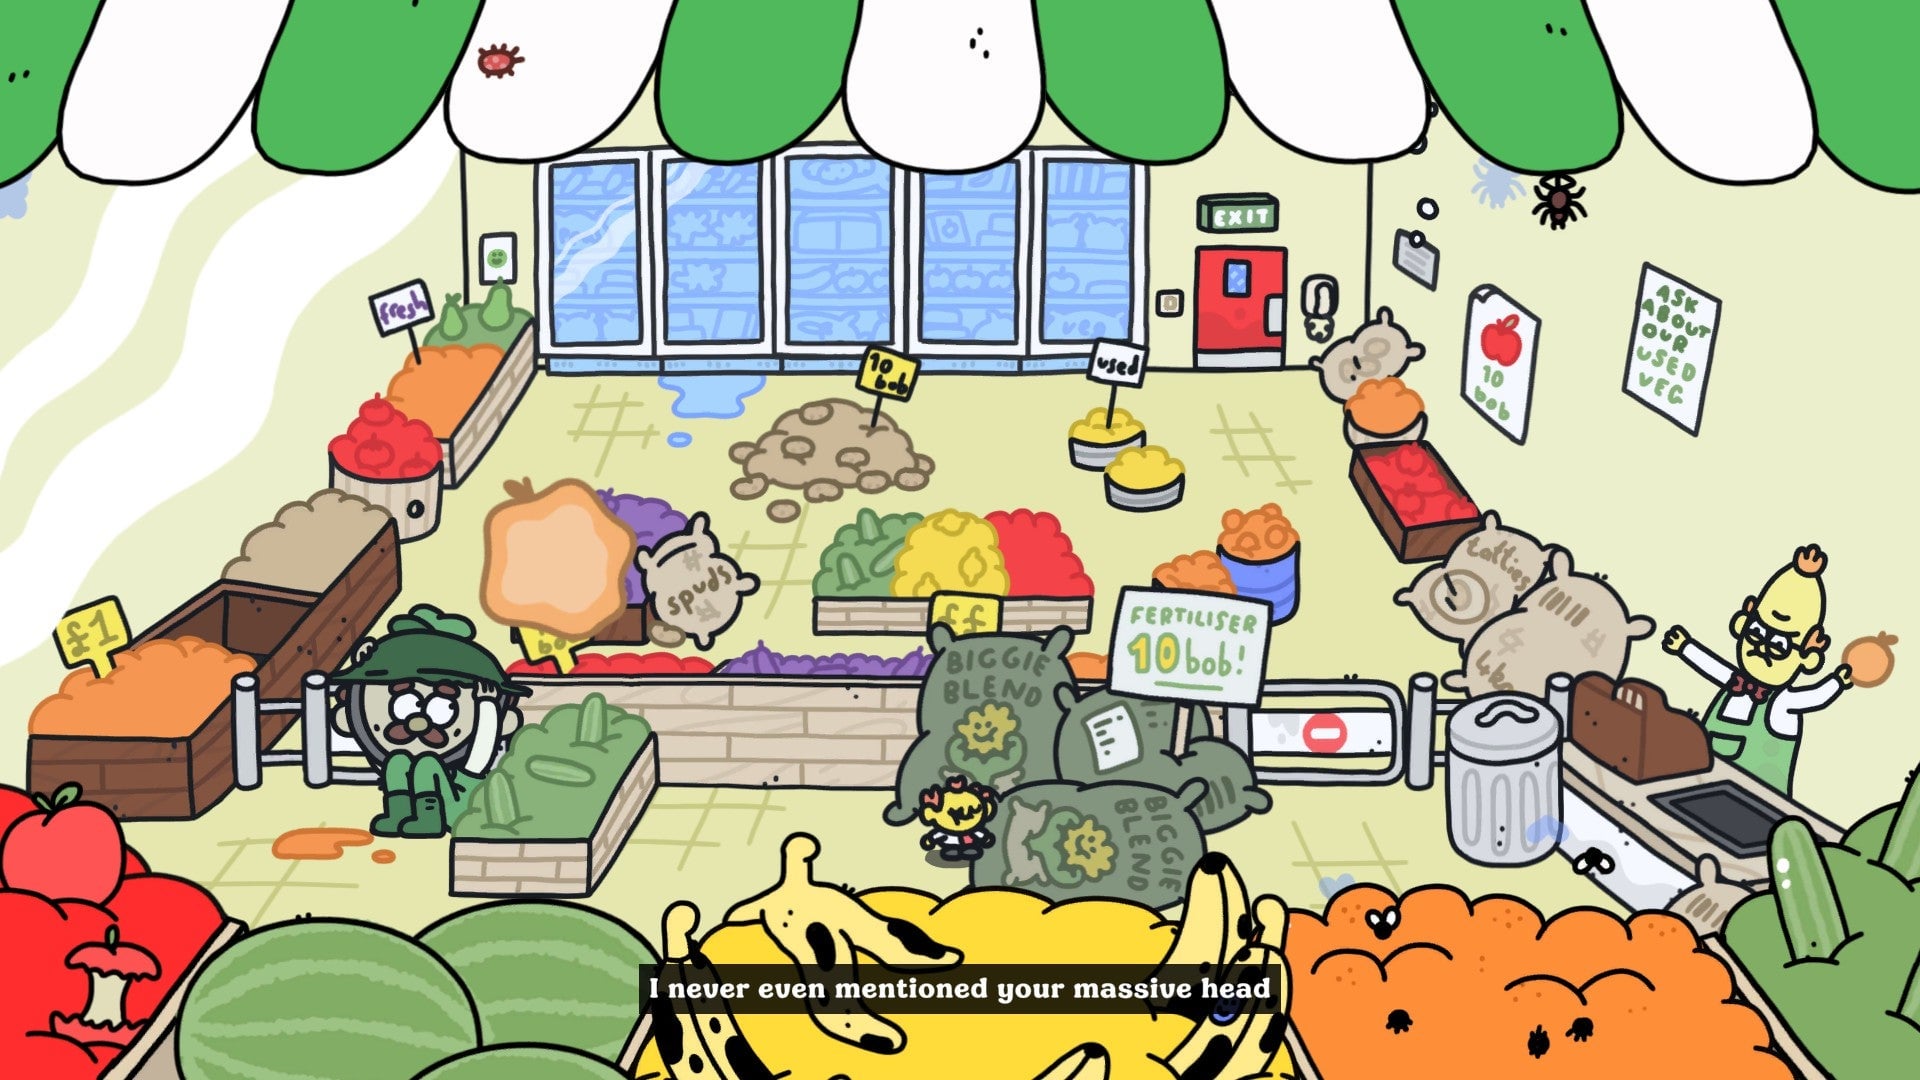
Leap from bushel to bushel inside Rog’s until you reach the man himself. Hubert will take advantage of your distraction to grab the fertilizer he needs.
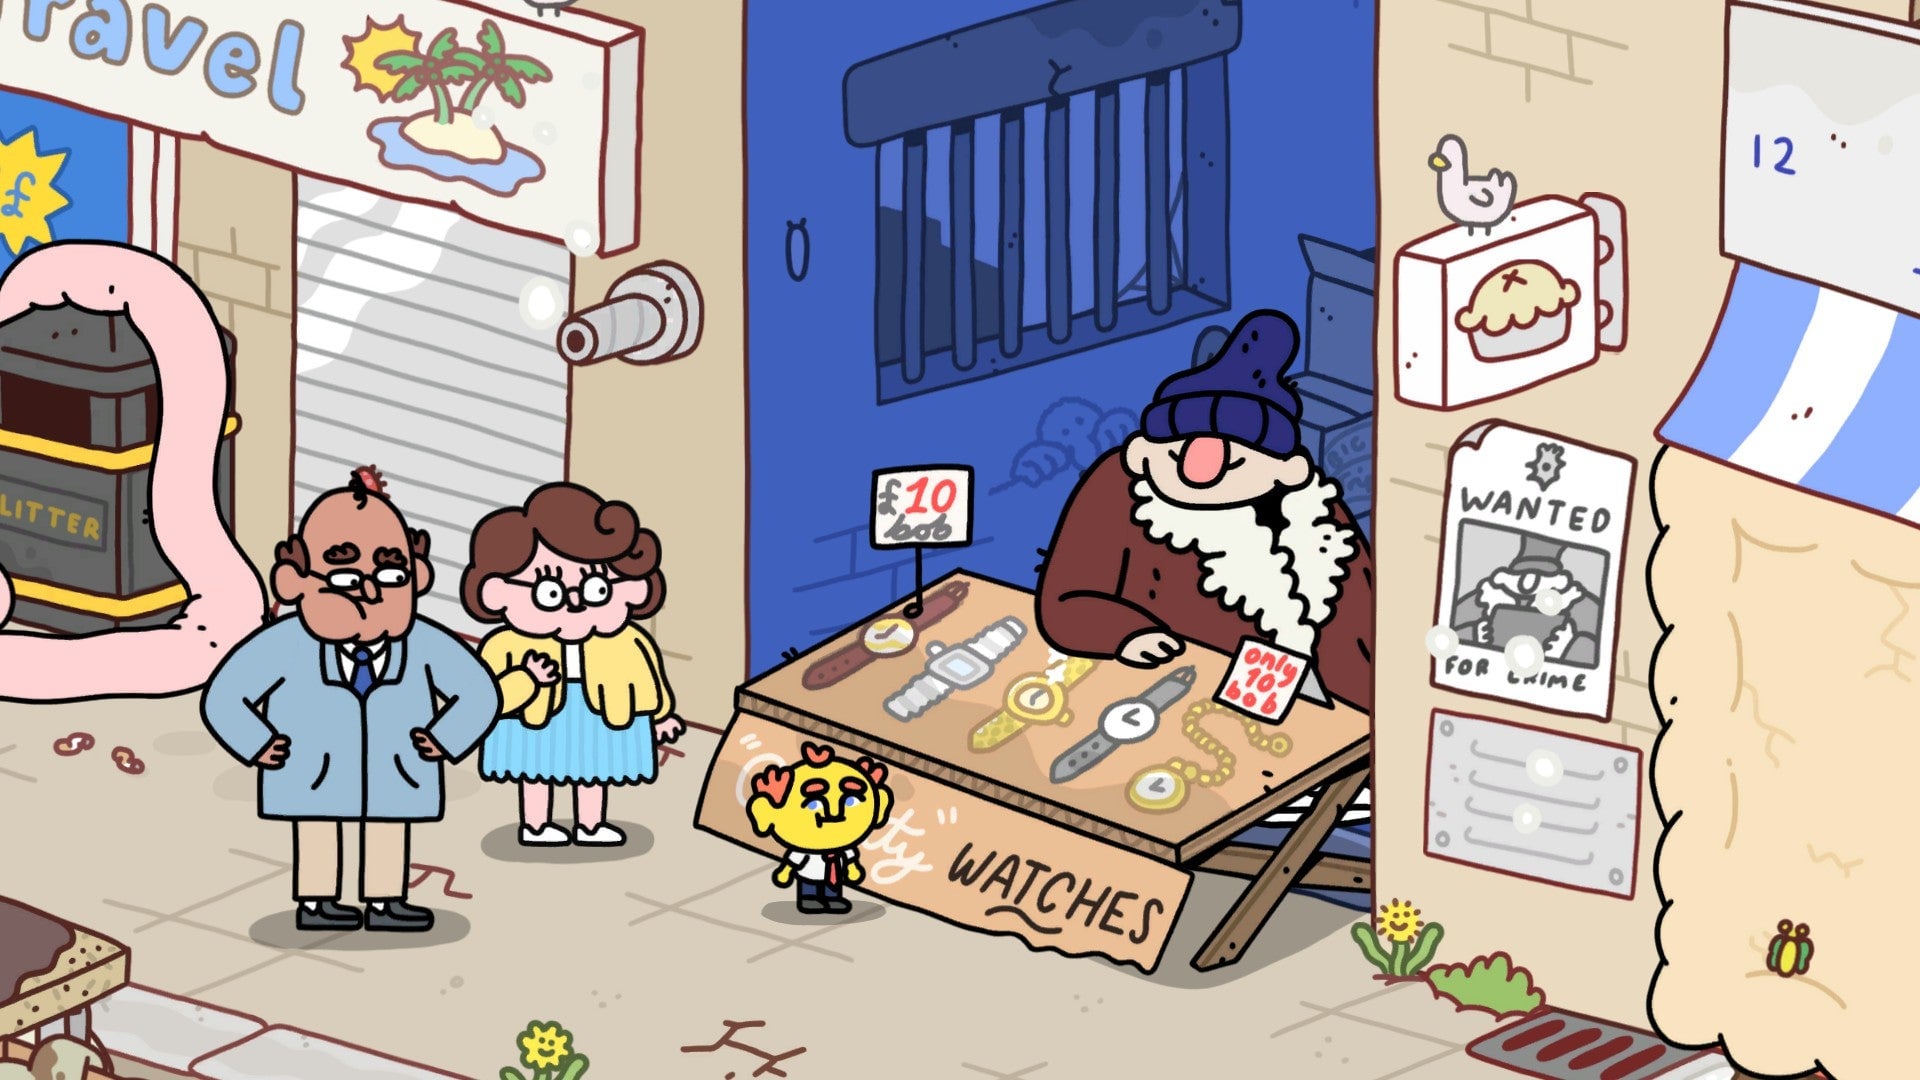
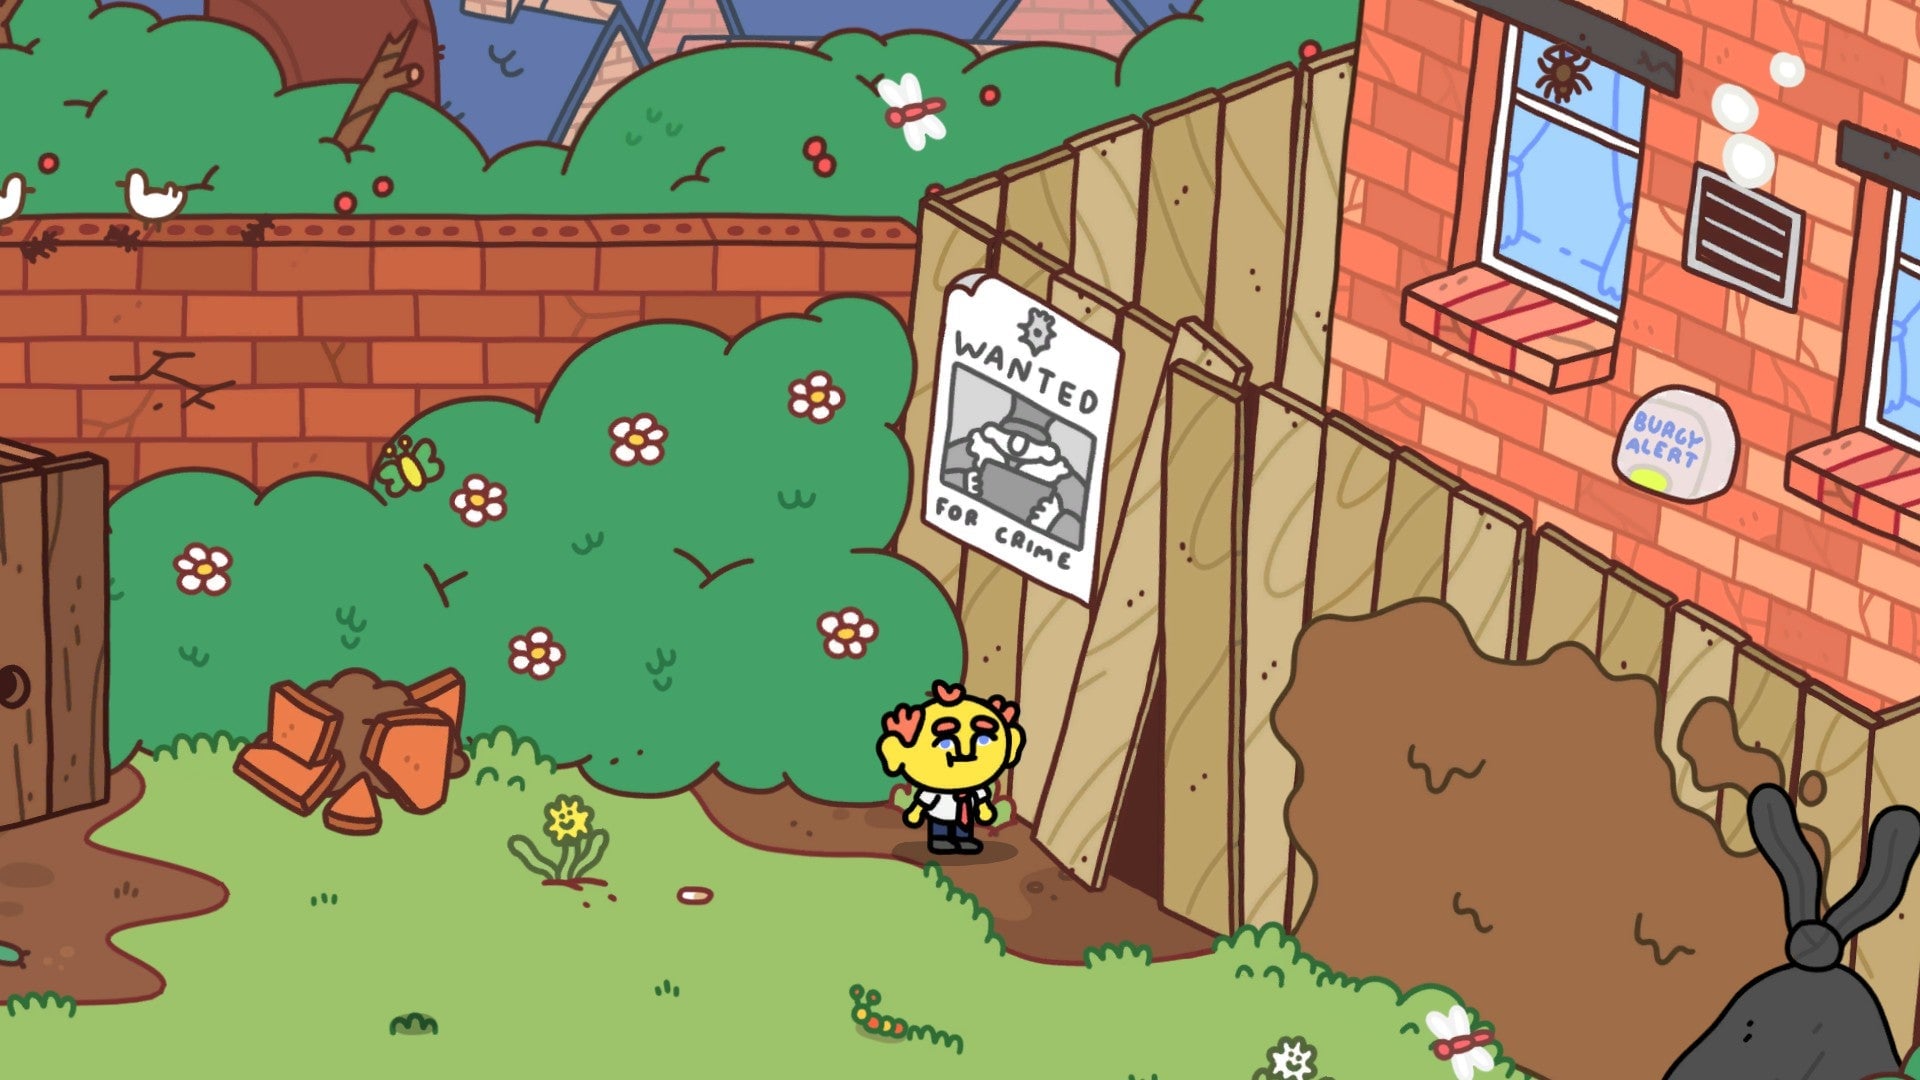
When you leave Rog’s, a suspicious watch salesman has set up shop in the nearby alley. Punch his table to expose the local criminal Bootleg Bill, who runs down the alley.
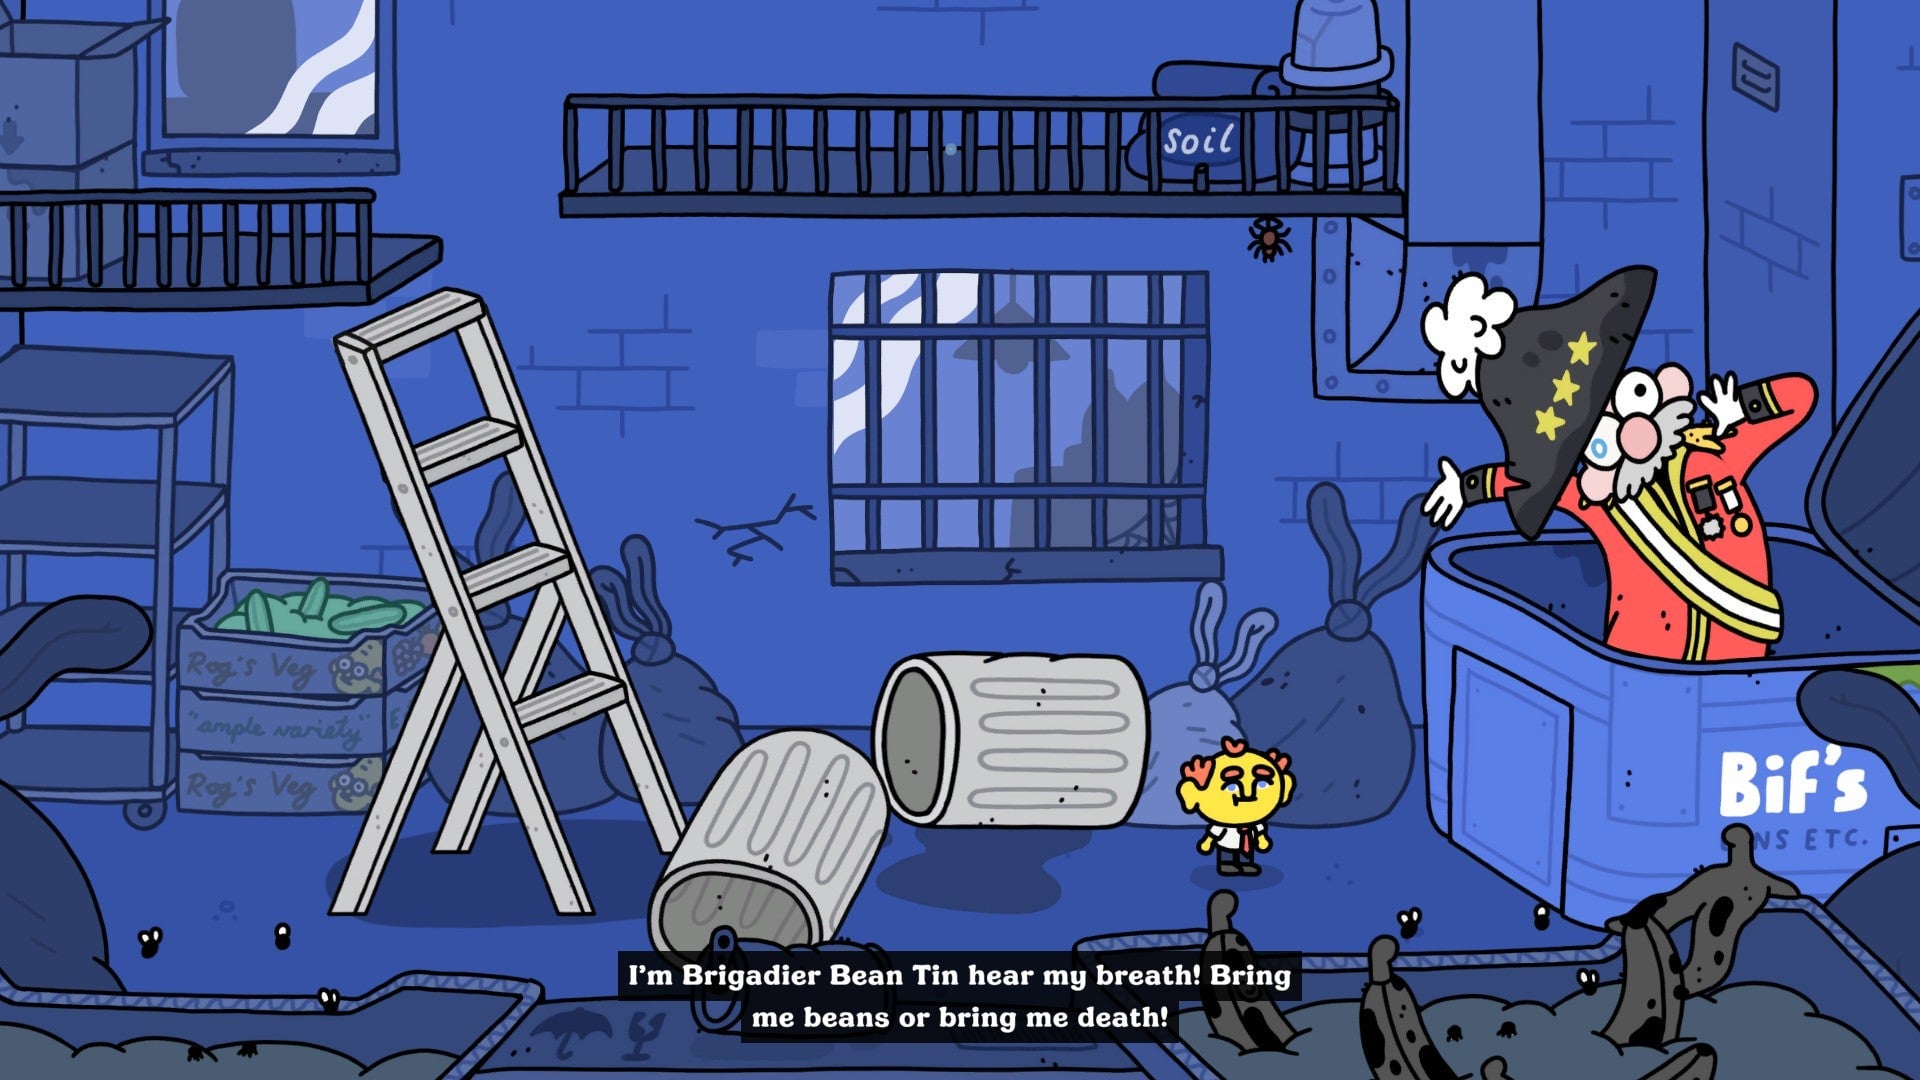
Give chase and Bill will escape, but it leads to you meeting the Brigadier.
Bring the Brigadier his requested beans by climbing the nearby building and knocking a can off the highest windowsill. You can now follow the trail of beans into the Brigadier’s lair, at which point he requests that you go find his six gull lieutenants.
The six gulls, thankfully, are all right outside. One is in the alley, while the other five are scattered around the marketplace.
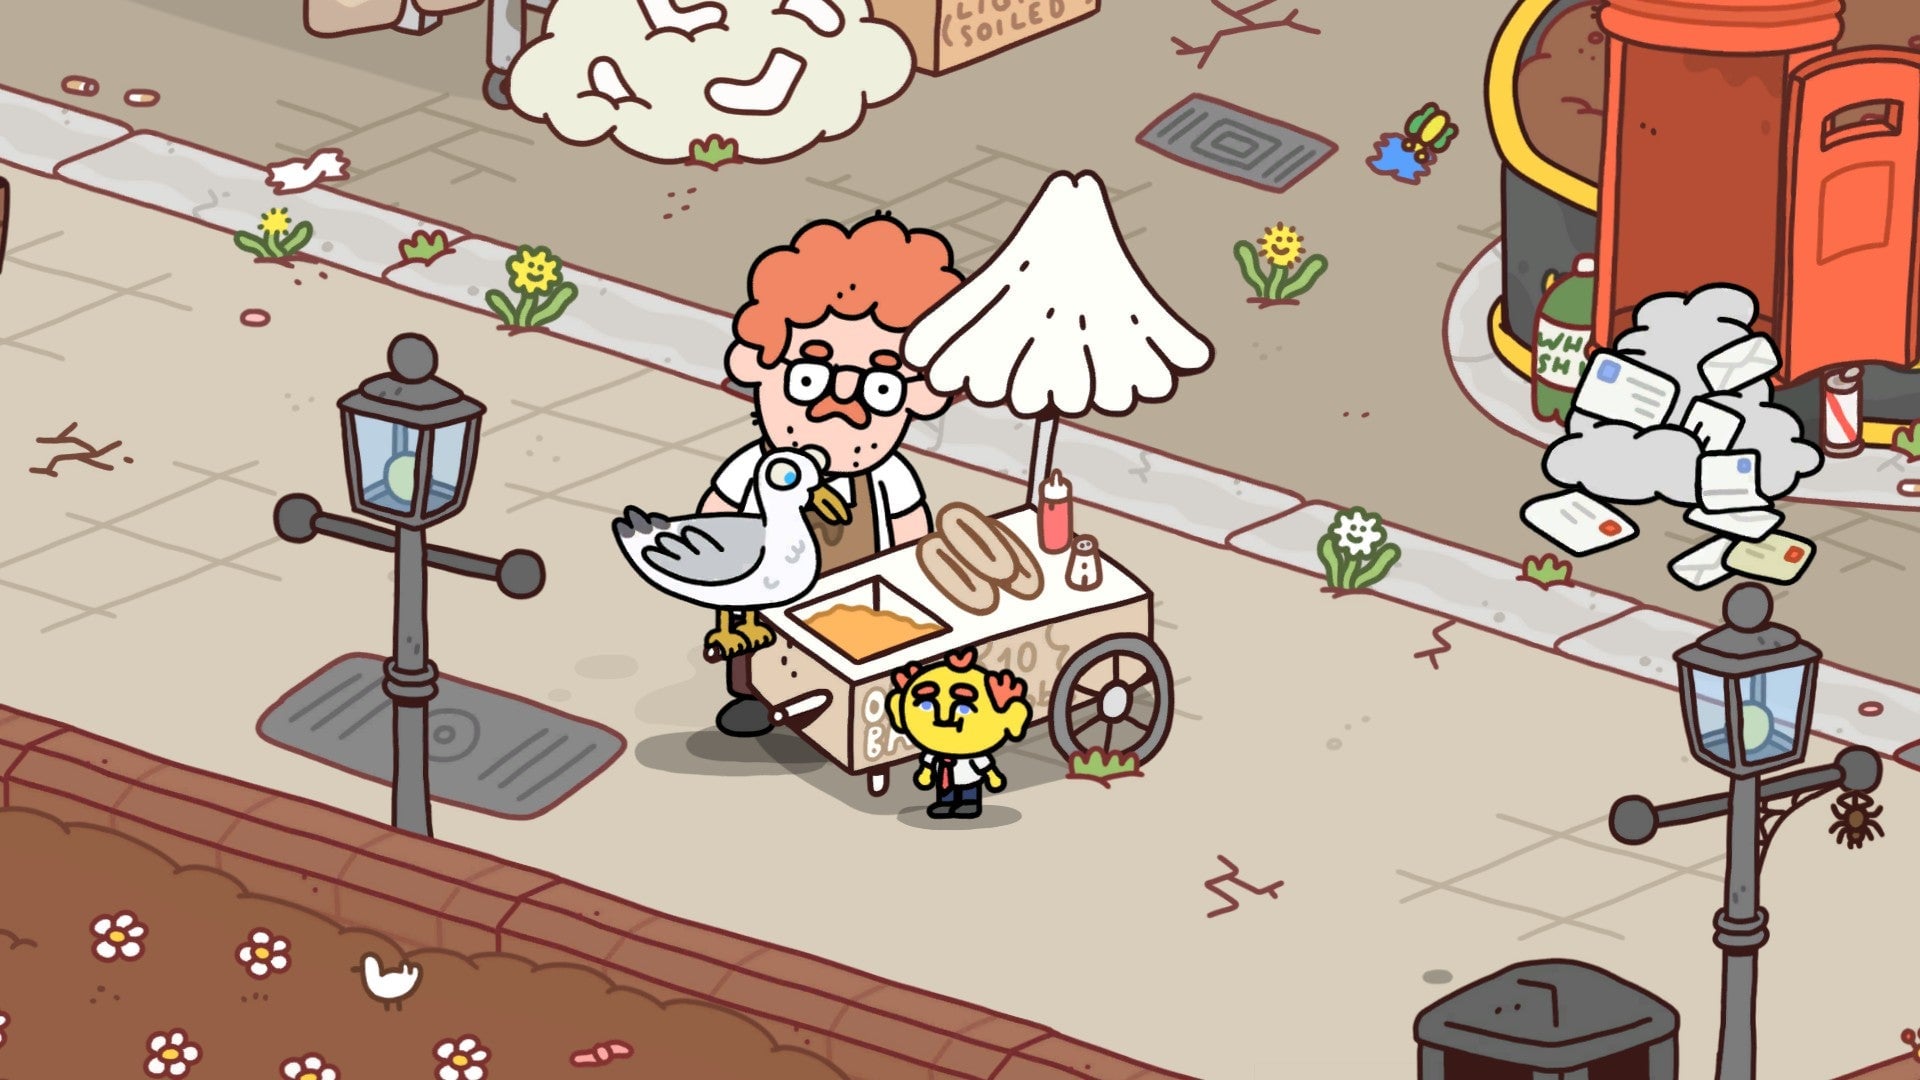
They can be found near Bootleg Bill’s discarded table, on the “Oily Baps” cart, eating a burger by the “Porky Nobbers” trailer, near the garbage spill, and on one of the produce crates outside Rog’s store. Punch each gull or the object it’s standing on to get them to return to the Brigadier.
When you return, the Brigadier will unlock the hatch near his “throne.” This lets you return to the town square via the pub’s basement, where you can take the beer line back to ground level.
From here, circle around through town to catch up to Hubert in his garden. When you arrive, he’ll be struggling with the sack of fertilizer.

If you duck left at this point, you’ll enter the house in the foreground to meet Polly and Paul, which unlocks the hidden achievement Ménage à trois.
Now jump on the sack of fertilizer, and hit the jump button again as you land to get propelled higher into the air. Eventually, you’ll fall back down hard enough to explode the sack, which wraps up the sub-story “Cream of the Crop.”
After that moment of sheer horror, you’ll end up trapped in a flower pot inside Hubert’s shack. Keep jumping up and down and you’ll eventually be able to leave.
Outside, that poor surveyor has now been wedged into the well. This does let you get through the fence, however, and talk to Frank.
Punch open his tackle box and jump inside. He’ll subsequently use you as bait, which lets you retrieve Jasper’s hammer from the riverbed.
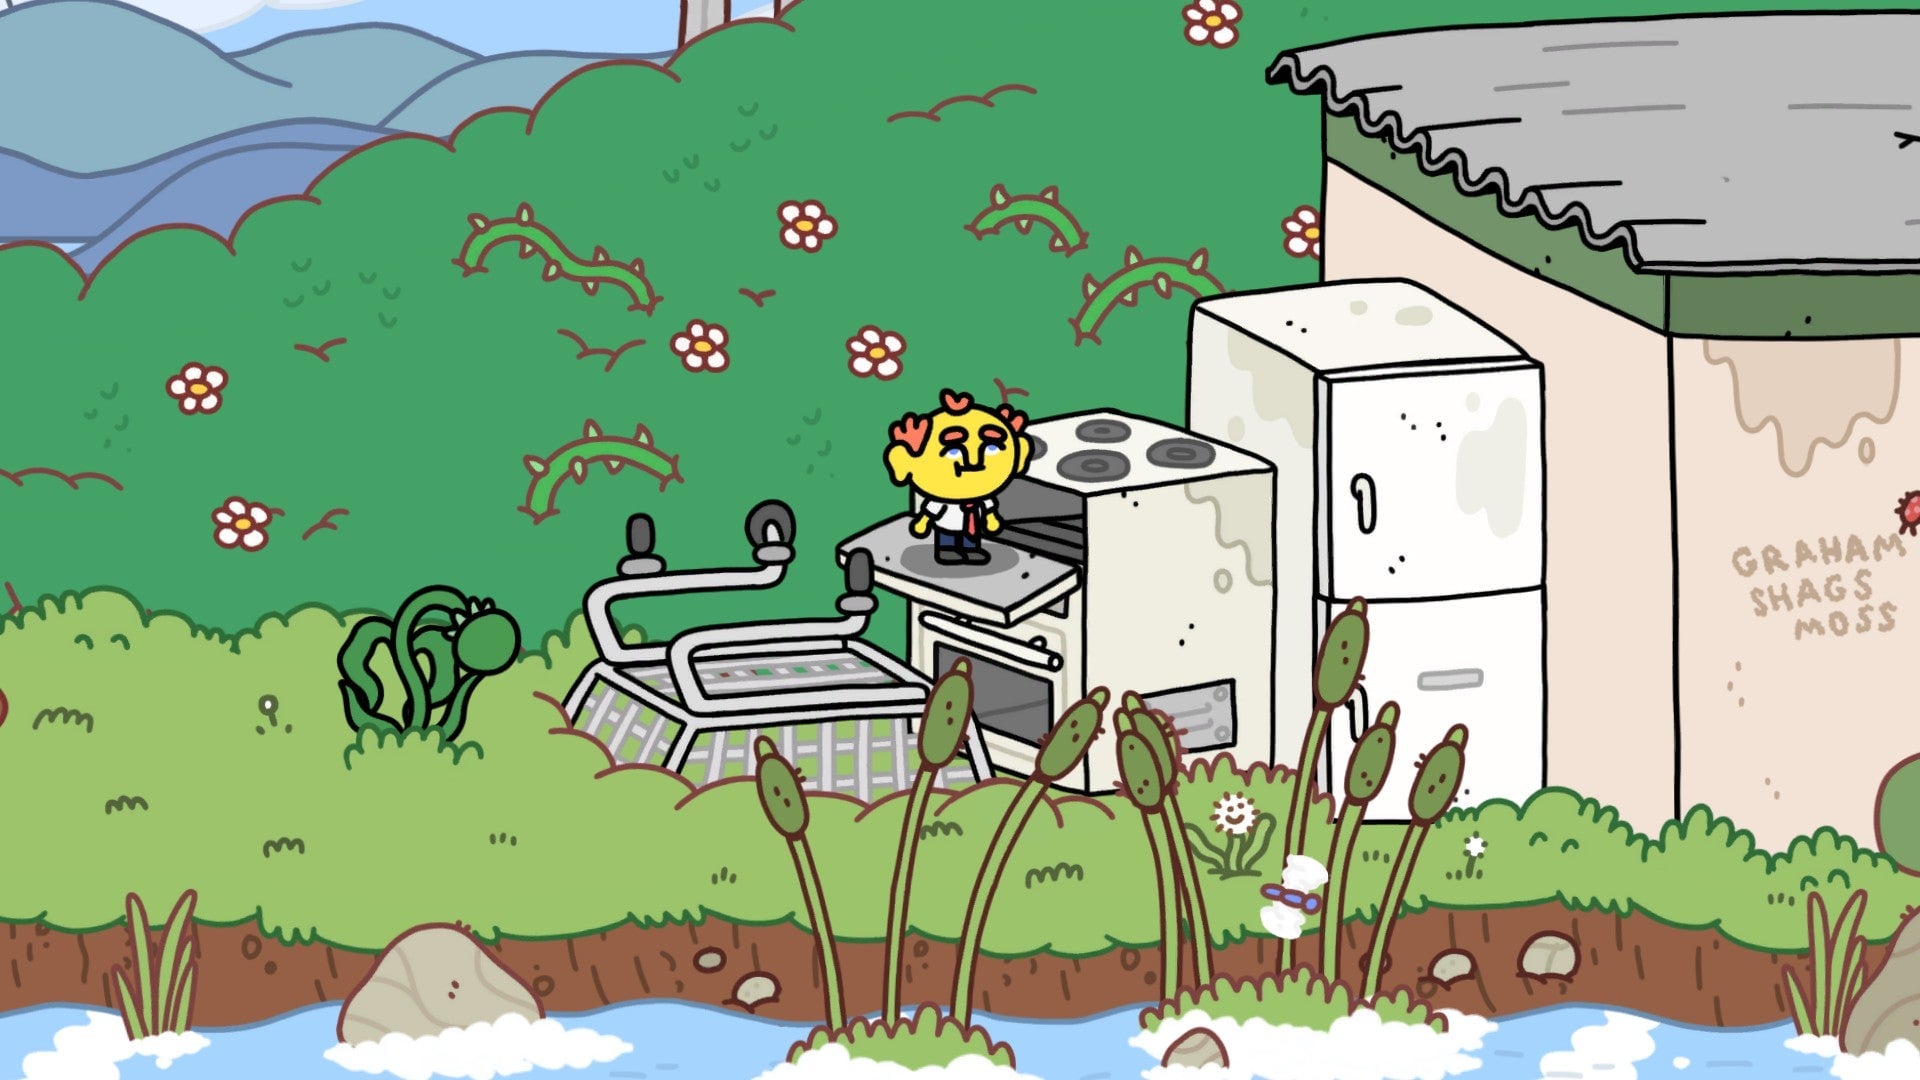
Afterward, you can return to the street outside Price Shaggers via the nearby shed.
A bunch of smiling flowers have sprouted in the soil here, so punch them all in the face before you move on. This includes the biggest flower, which is holding the nearby house’s door shut. If you destroy all the flowers, it unlocks the hidden achievement Green Fingers
When you return to Marge’s chip shop, Jasper’s almost done fixing the fryer. Visit him again, then walk into the open compartment and mash on some buttons for a while. This completes Jasper’s story, “Open for Business,” in perhaps the darkest way possible.
Return back the way you came. You can now jump into an open window to meet a child who needs some milk for his tea. Fortunately (?), someone has just put up a sign outside that offers “normal milk.”
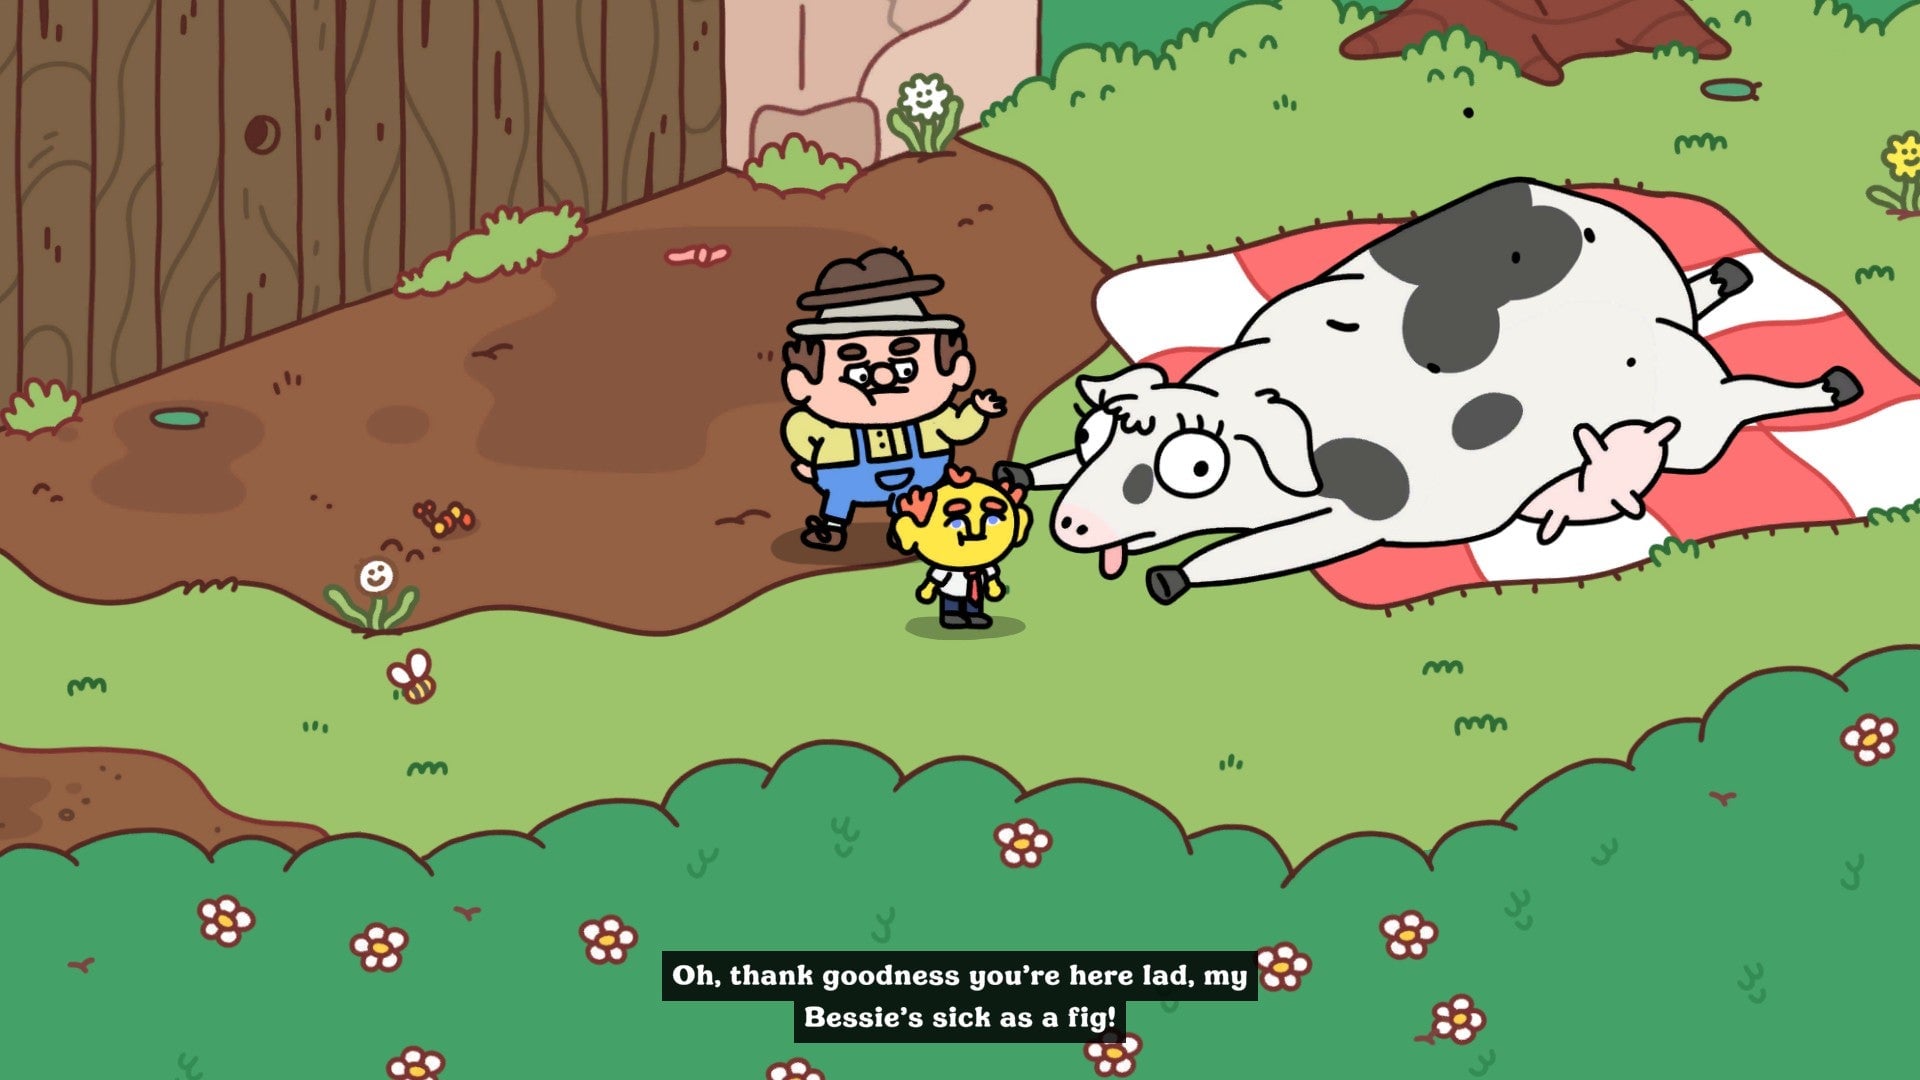
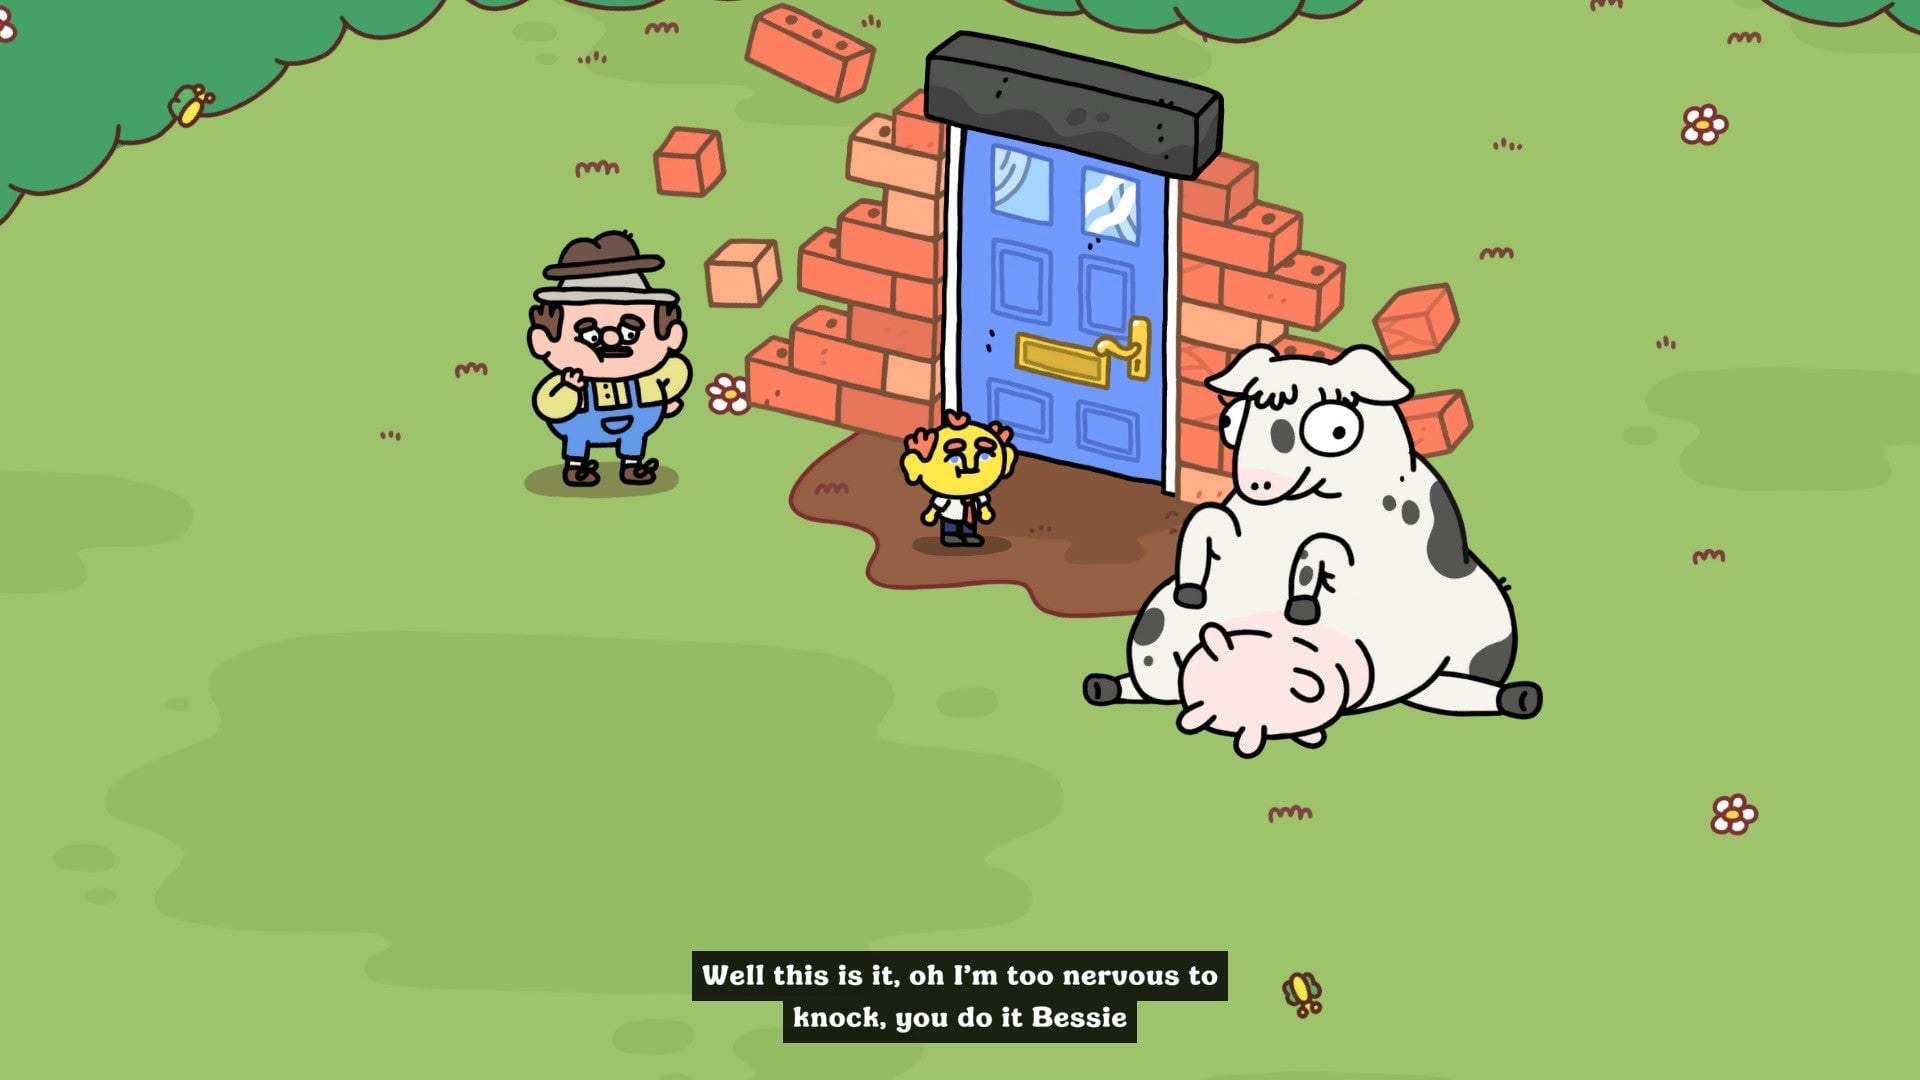
This opens up the farm, where you’ll meet Bessie the cow and her owner. Bessie’s in bad shape, but apparently likes chips, so you’re out to bring her some. Marge’s shop already has a long line at the door, however, so you’ll need to find a way to skip the queue.
Since you destroyed all the flowers, you can use the house at the end of the street to reach Barnsworth’s town square via the alley.
In the aftermath of Marge’s hot oil-splosion, things aren’t great over here, and Jasper has boarded up the hole in the street by the fountain. However, the door to the chicken shop is now open.
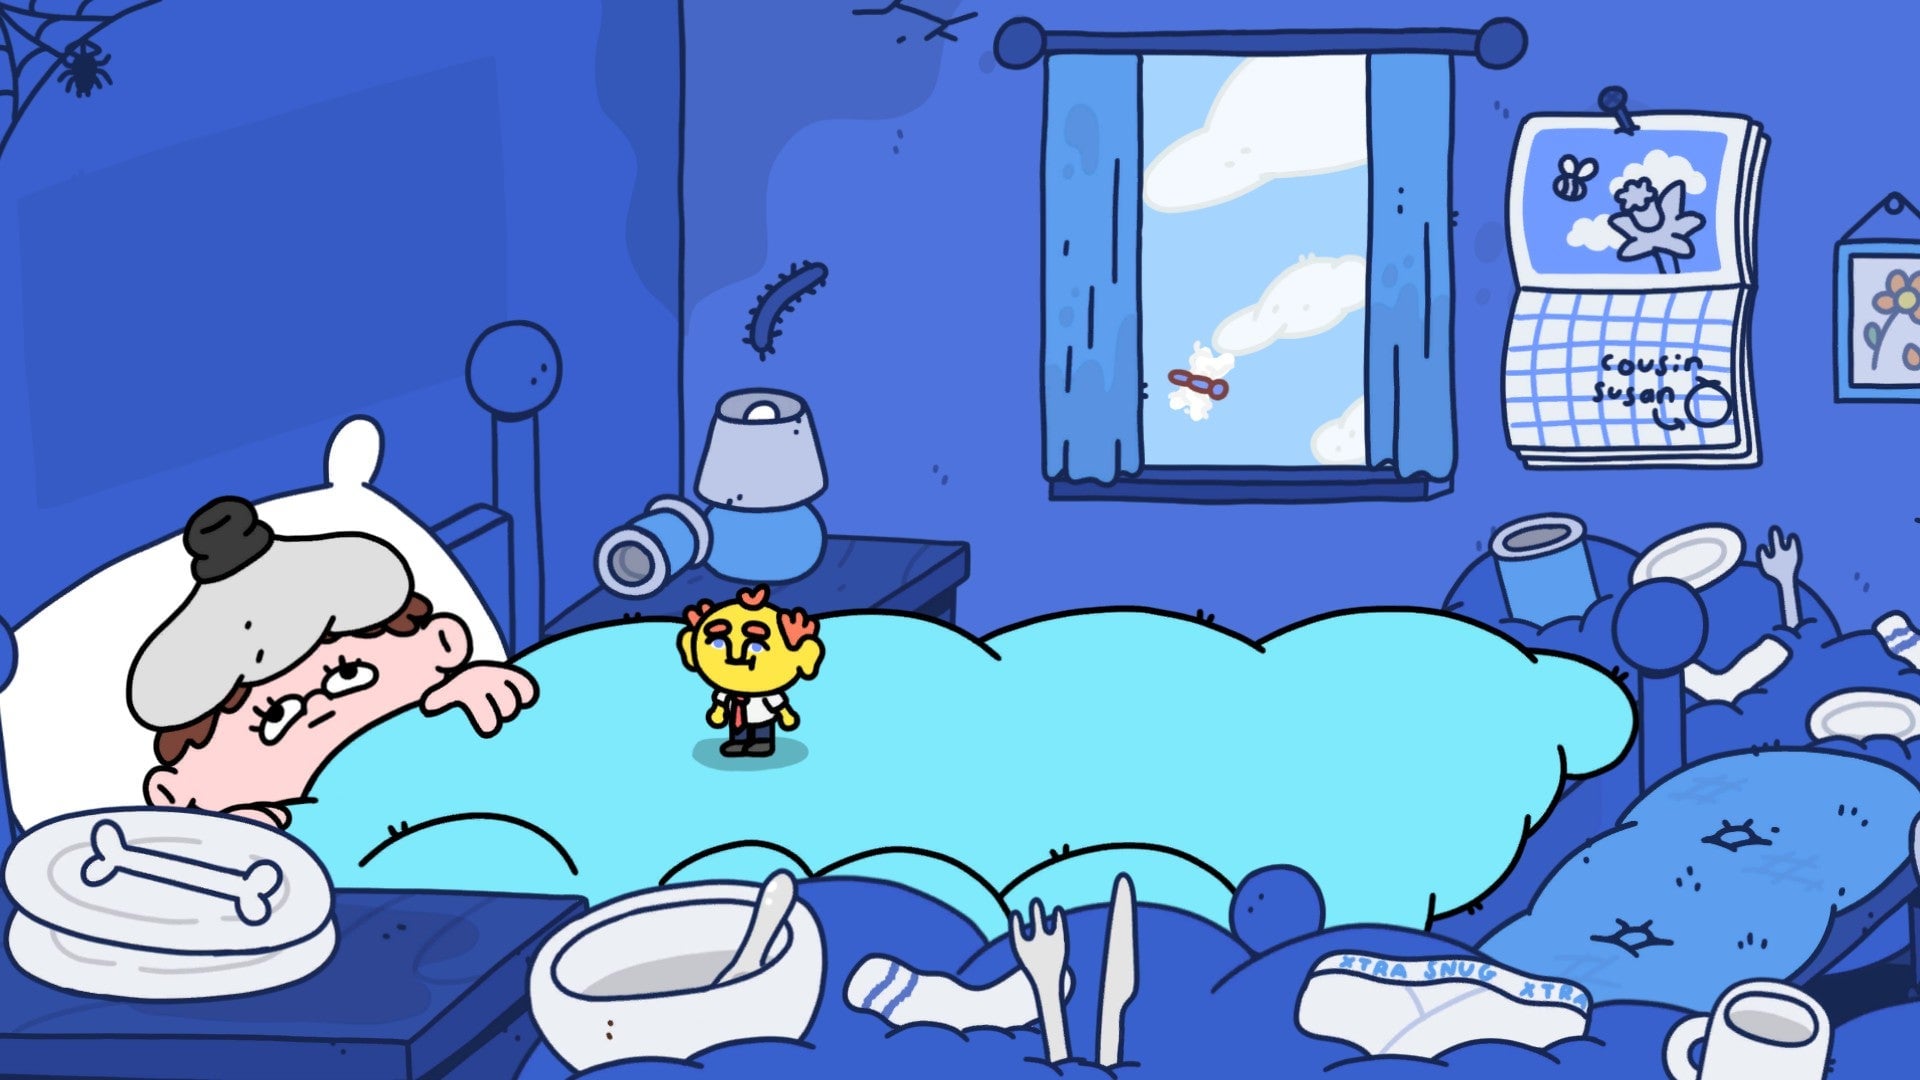
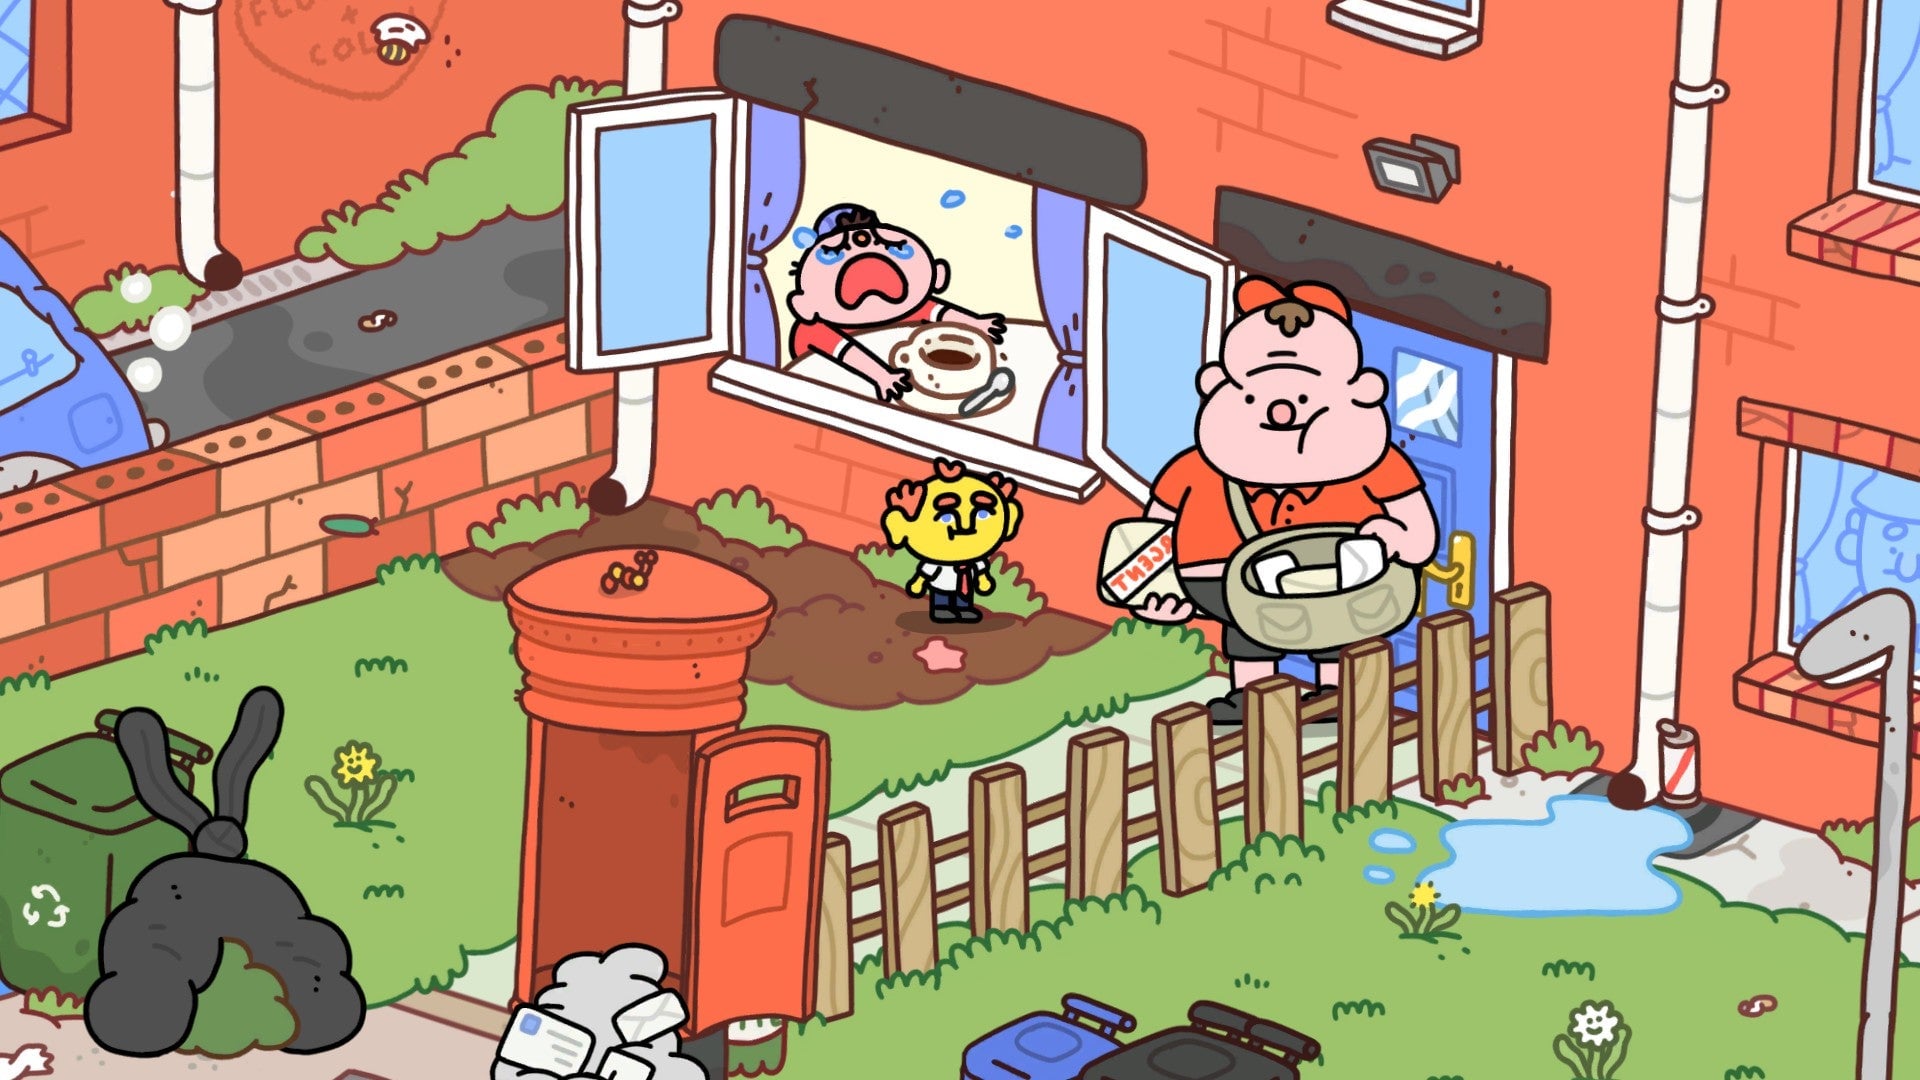
Check out the chicken shop to meet a bedsick man who needs help with his shopping. Follow his enormous stretchy arm back out into Barnsworth and clear away any obstacles it encounters, such as busting his neighbor’s grocery sacks.
This also destroys the boards on the hole in the street. When you try to leave via that hole, however, you end up in a confrontation with Jasper, who demands that you run to Price Shaggers for him.
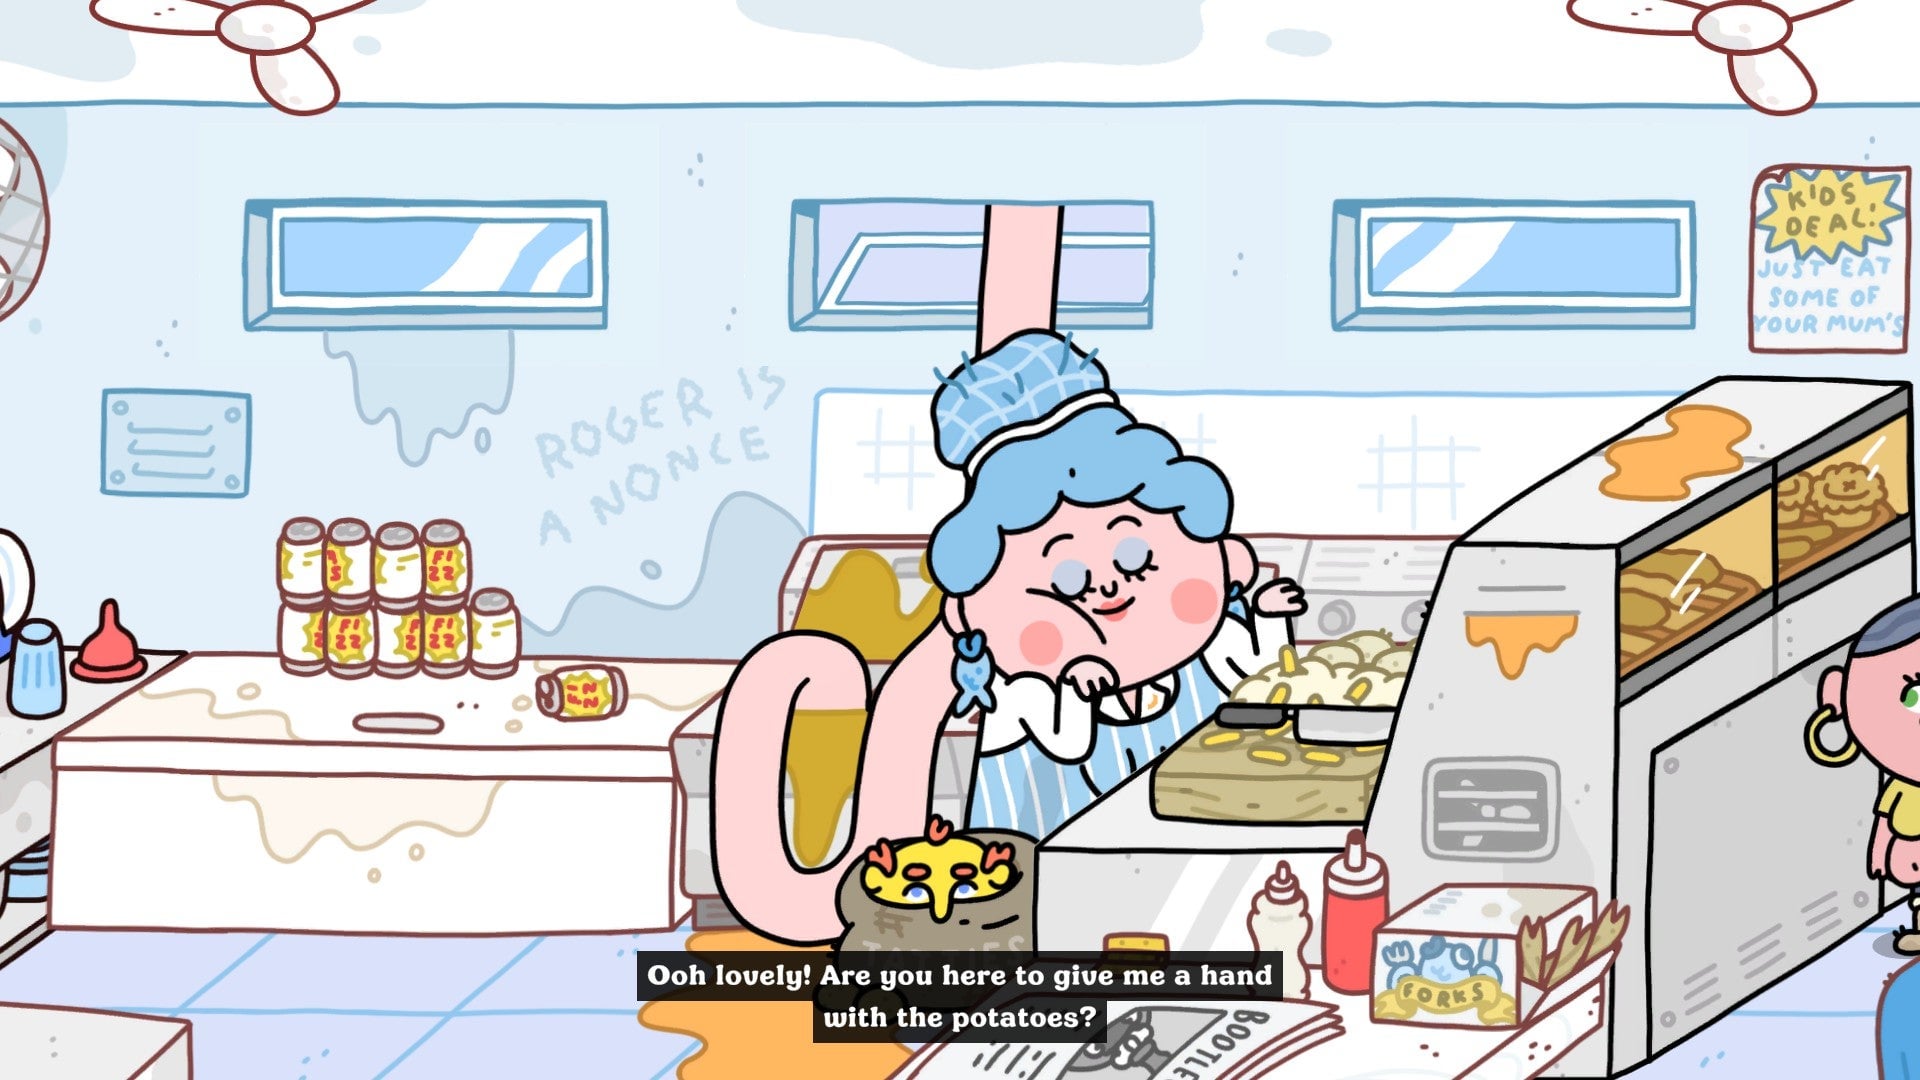
Use the pipe one more time to return to Marge’s shop. Talk to her and chop up some potatoes, which she happily fries up for Bessie. You will automatically be dropped off outside with the fresh batch of chips, only to be abducted by a gull.
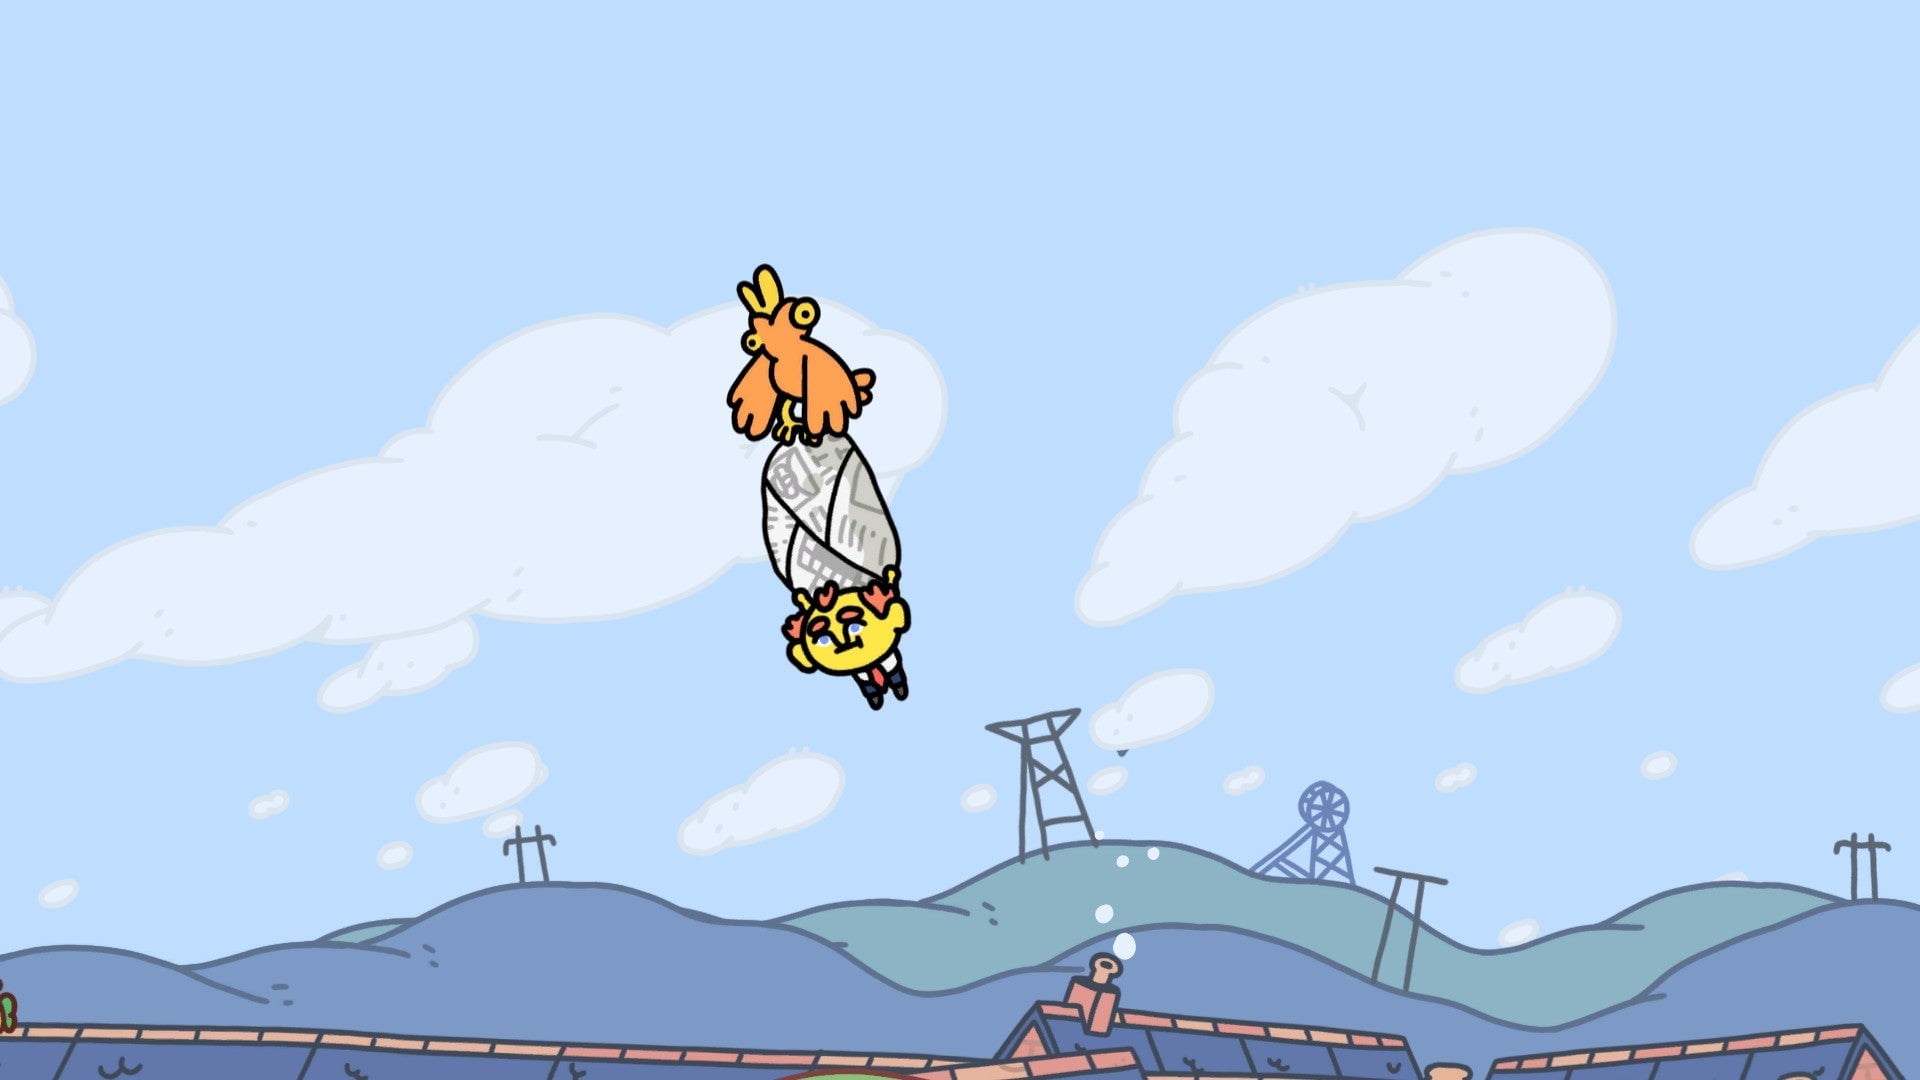
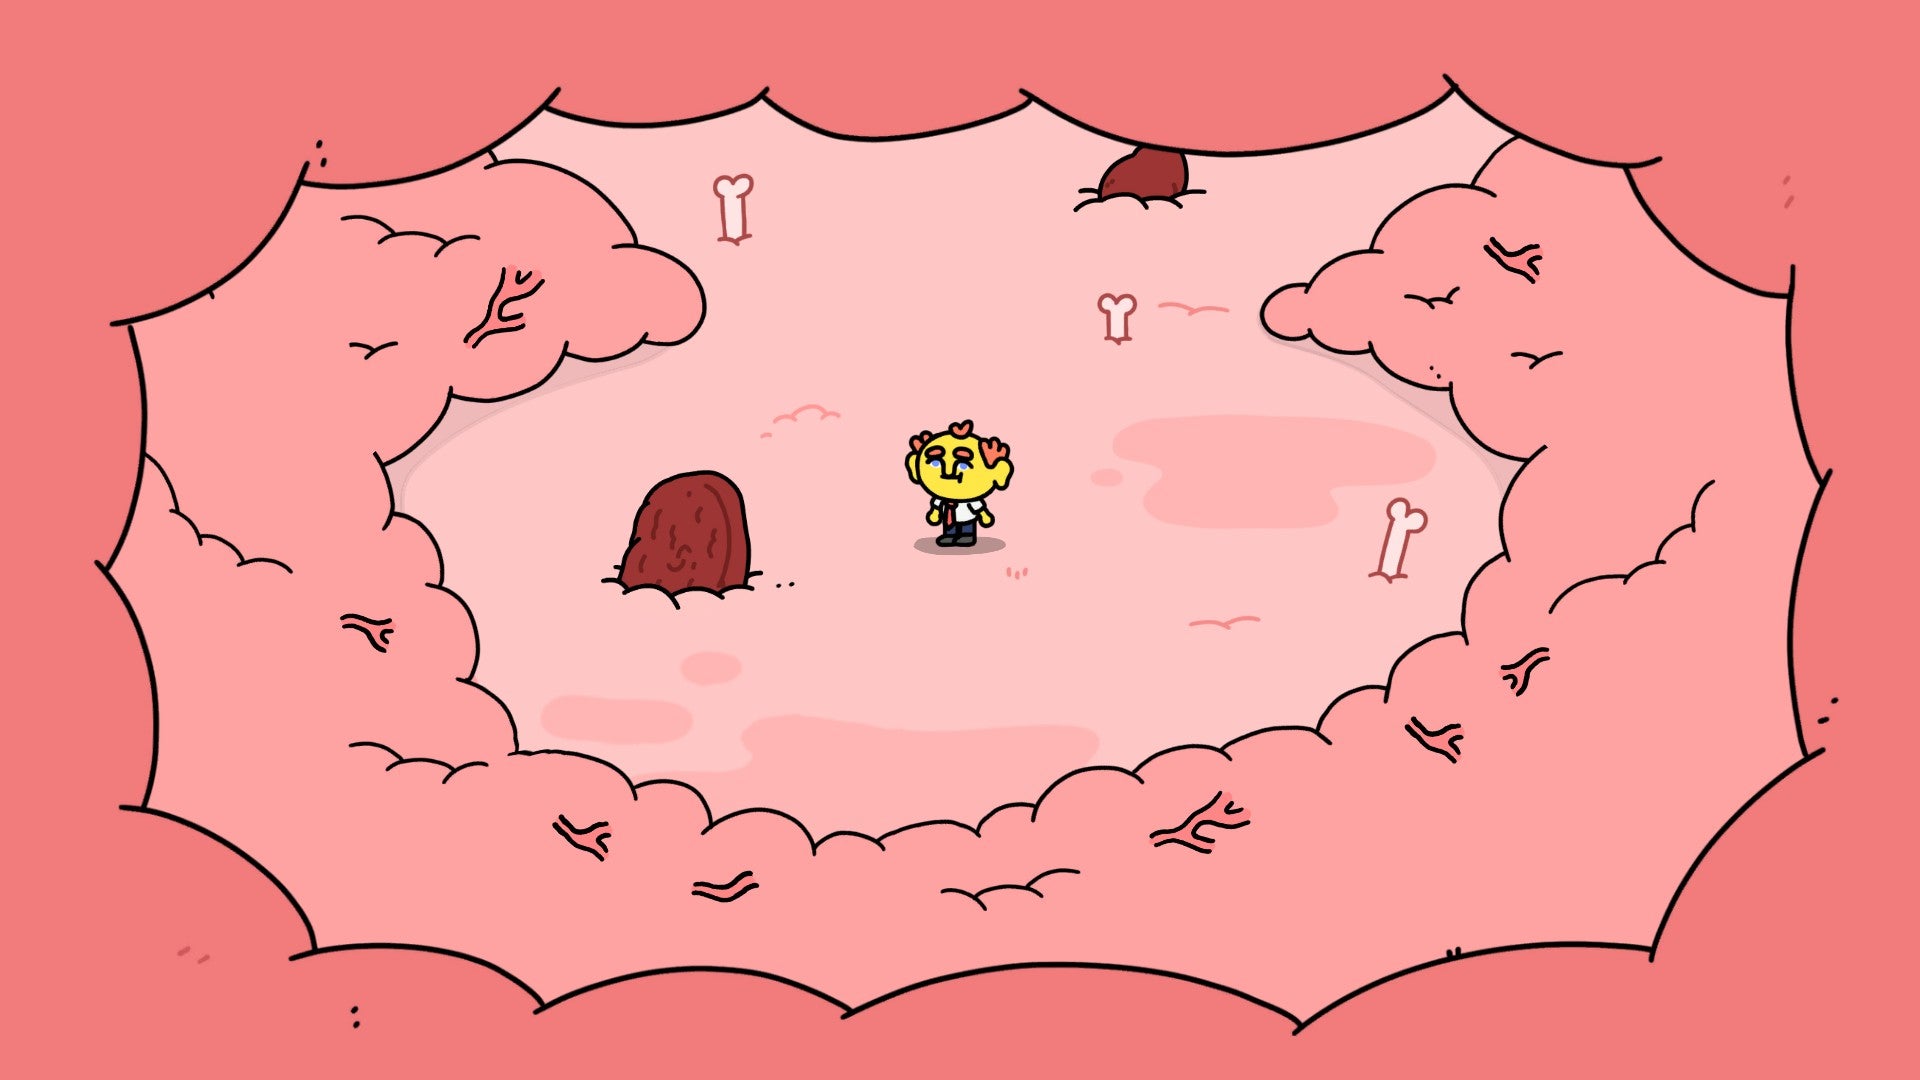
Pilot that gull to the left until it’s kind enough to drop you directly into Bessie’s face. As a side effect, this dispatches you to what we can only call the “cow dimension.”
Here, punch three pieces of wreckage until they reassemble into a door. Go through it and jump into the tub to complete “Milk Shy No More.”
Afterward, you’re on Bumberly Cl., but can no longer get back to Price Shaggers due to an unfortunate traffic accident. You’ve got no choice but to once again use Roy’s chimney to reach Hubert’s shed in the garden.
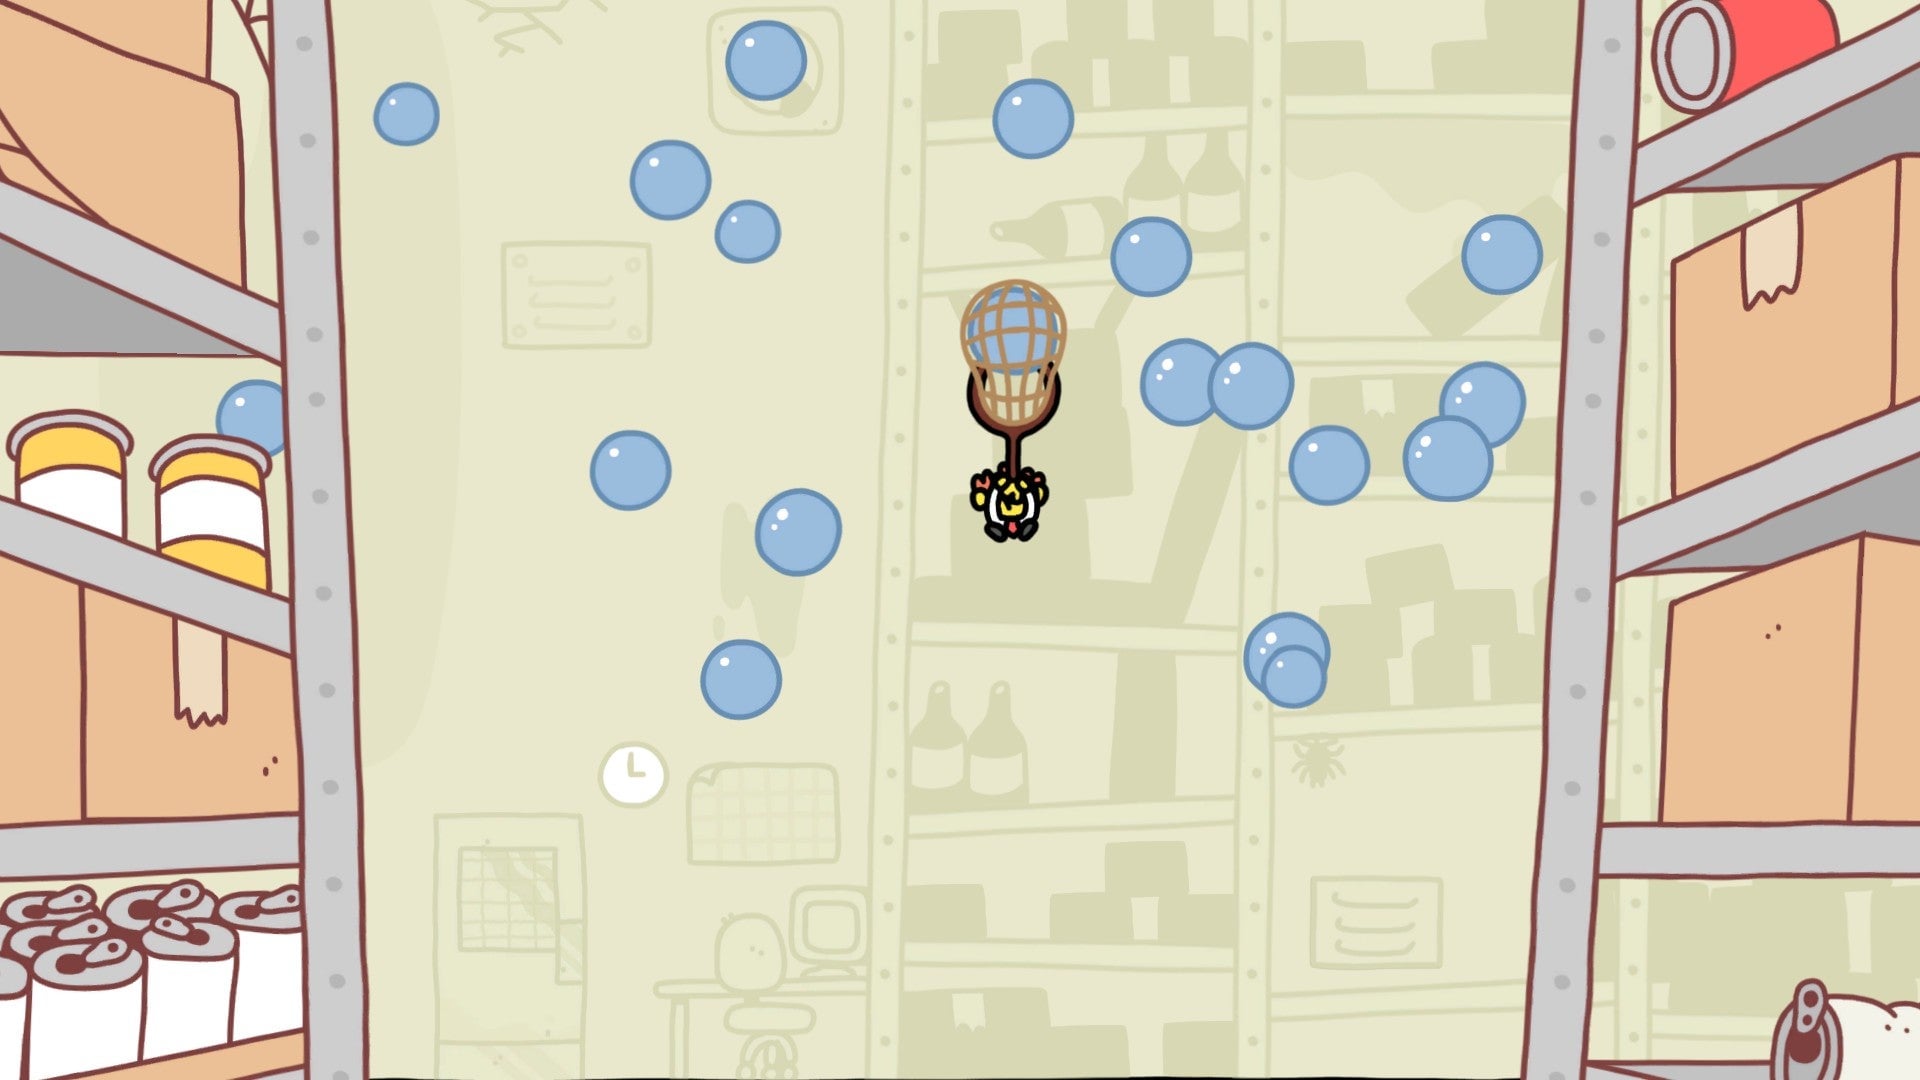
Use the hole in the garden fence to return to the street outside Price Shaggers via the river path. In the back of the store, Florence will let you into the staff area. Use her net to hook one of the bubbles, which lets you fly up to the roof and beyond. You’ll end up randomly completing “Still at Large.”
The ensuing cutscene drops you off in the parking lot near Marge’s shop. Return to Price Shagger and open the staff only door to let the bedsick guy in. Run along the shelves pushing cans into his cart until he finds one he likes.
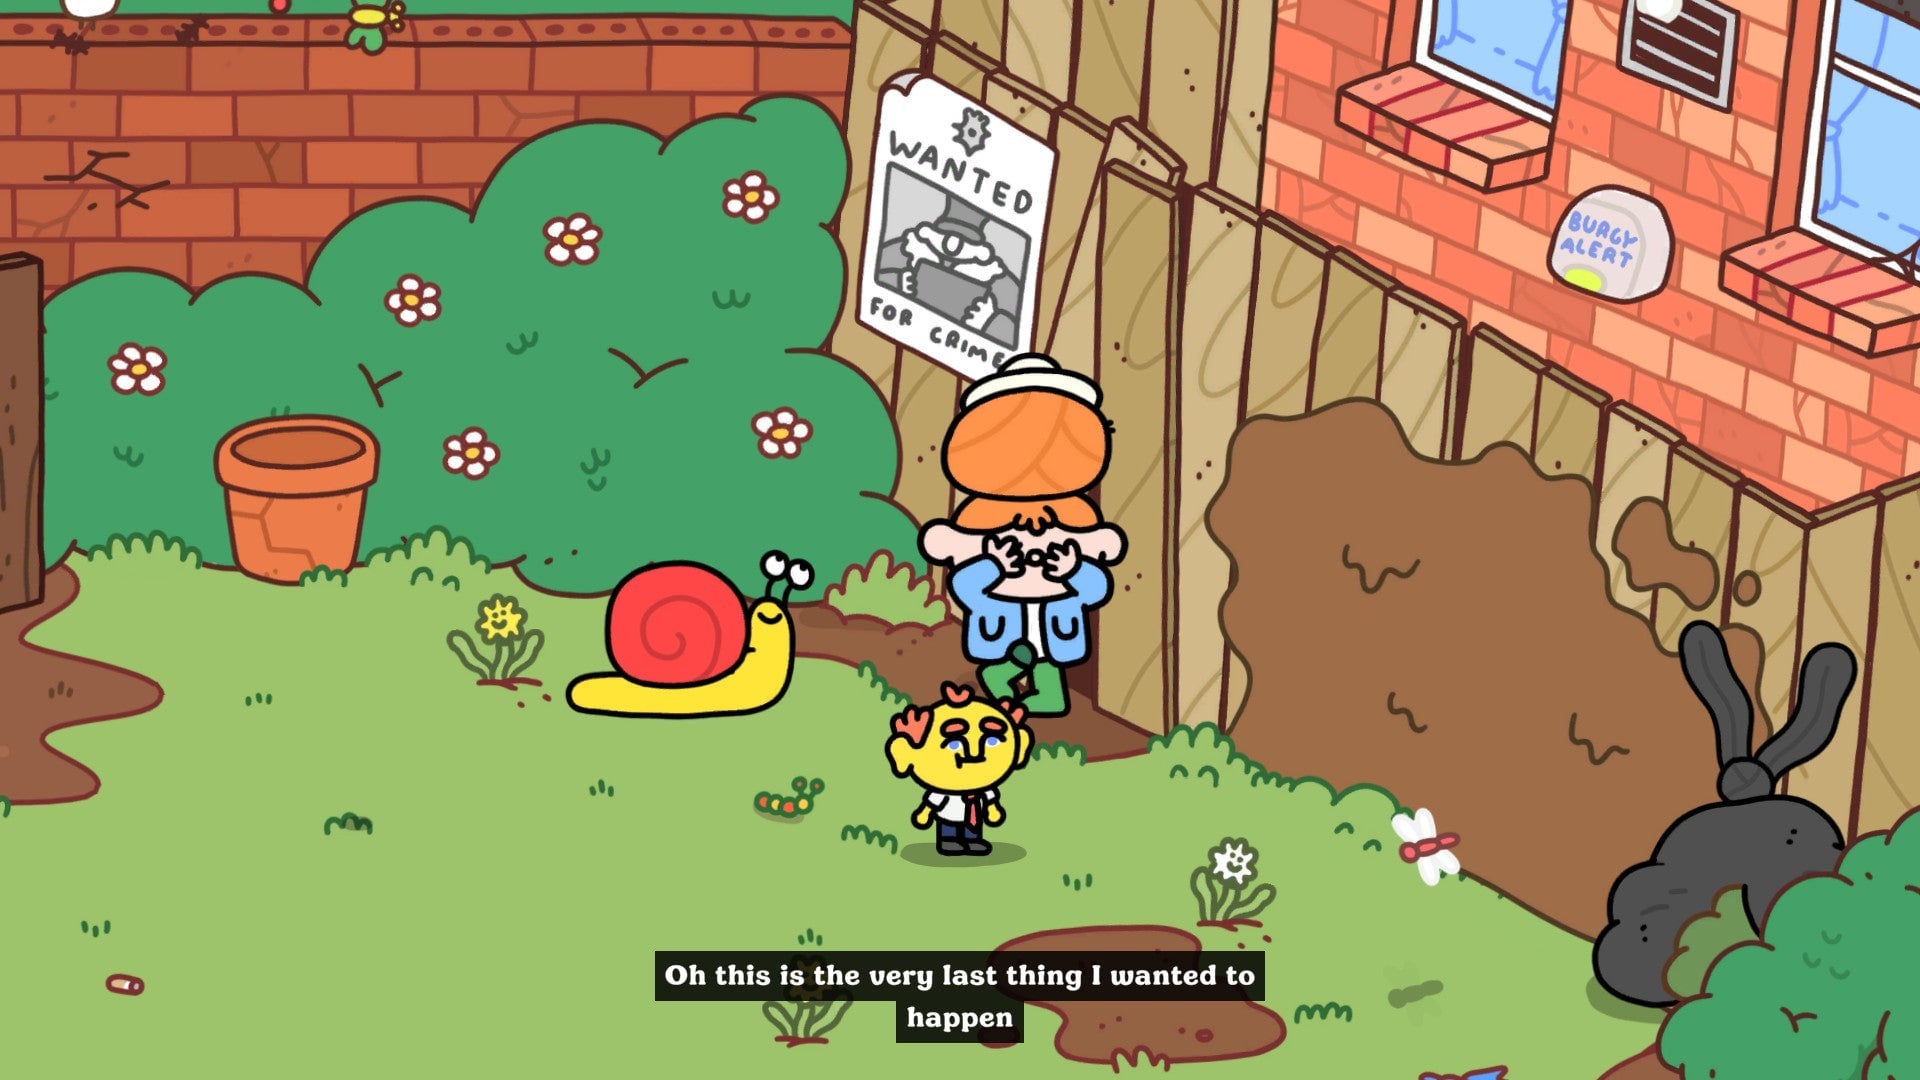
From the back alley, make one last trip through Roy’s apartment to reach Hubert’s garden, where a pack of snails are threatening Susan. While you can simply jump into the well and ignore her in her time of need, taking a run around the garden to smash all the snails first unlocks the achievement Shell Shocked
Leave the garden via the well, which eventually takes you back through Bish’s shop. If you pause here to help him arrange his fish for a third and final time, you can keep punching the tail directly in front of Bish to unlock a secret achievement, Done Up Like a Kipper
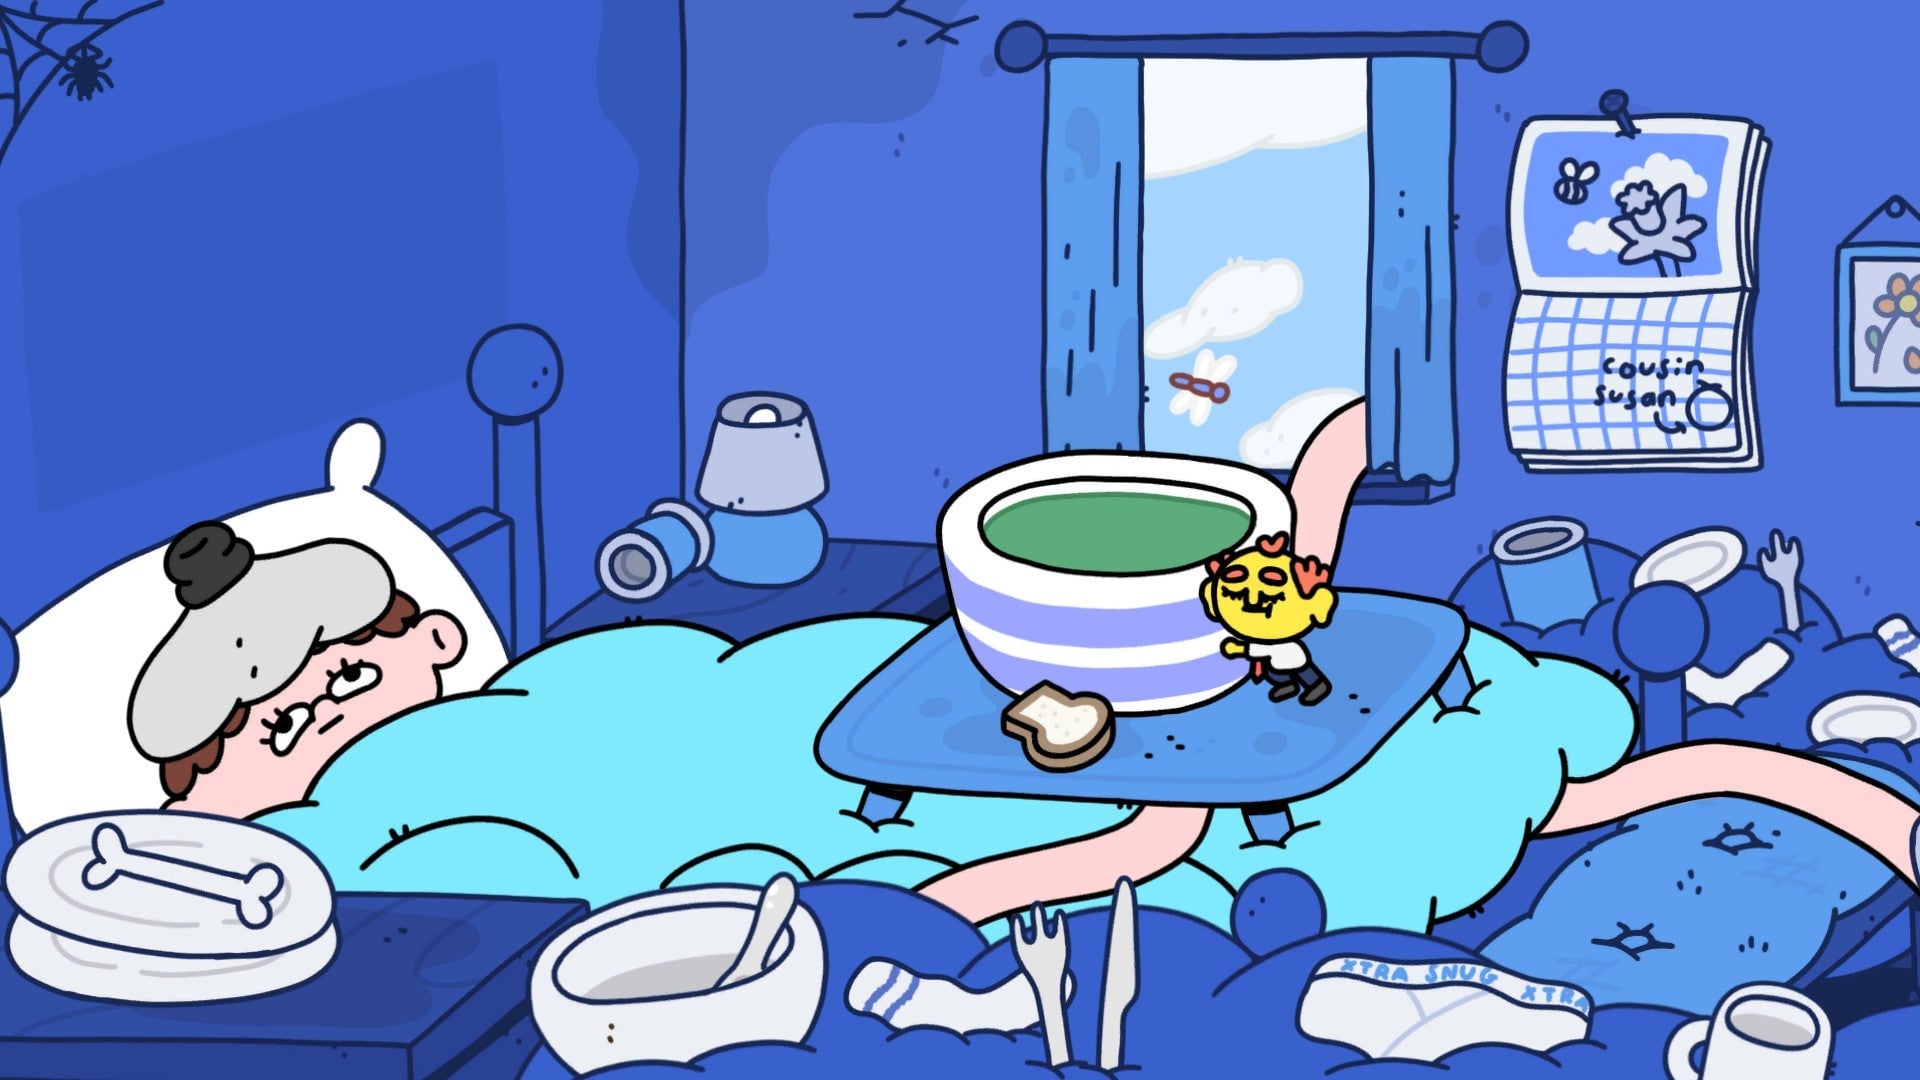
Finally, return to the town square and go to the bedsick guy’s flat. Push the hot soup into his face to finish his side story, “Breakfast in Bed.”
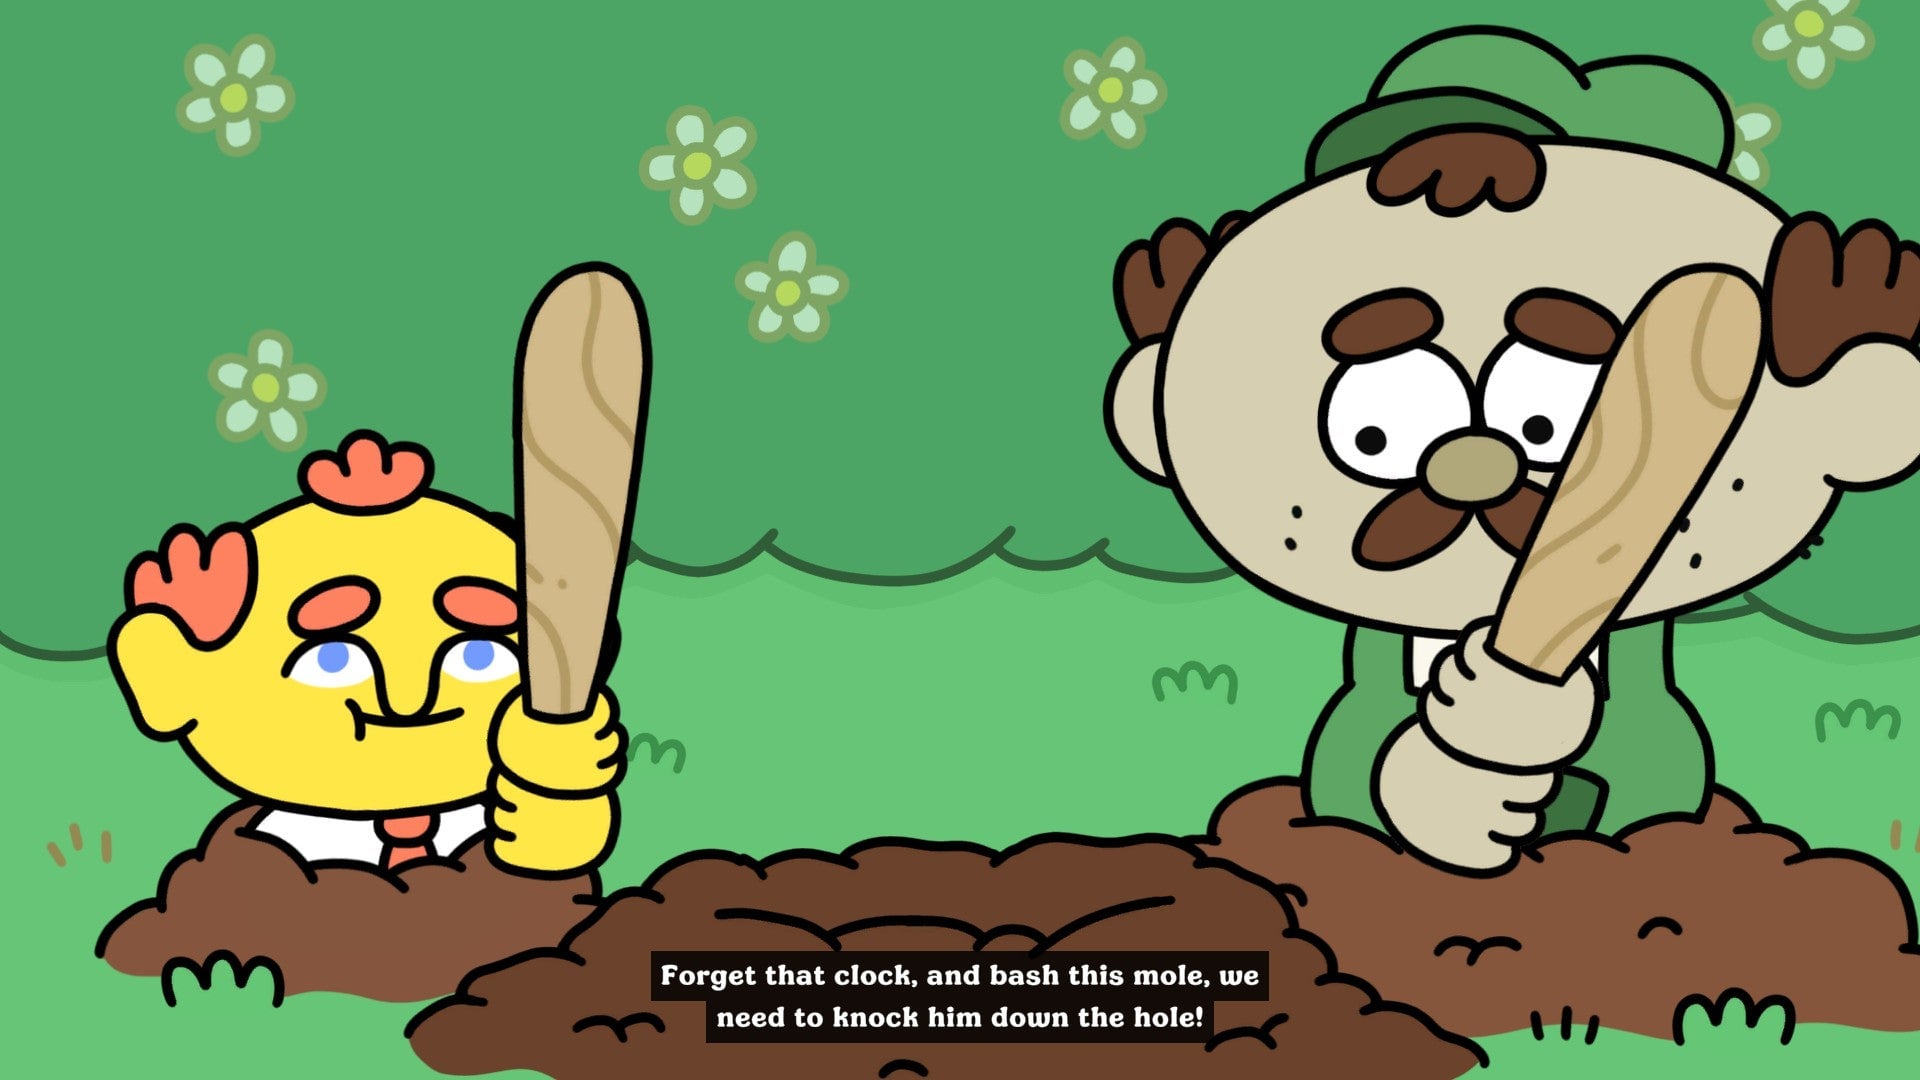
This also spurs the finale of Thank Goodness You’re Here, where the whole damn game goes full WarioWare for a solid 10 minutes. Once you make it through this surreal gauntlet of minigames, you’ve completed Thank Goodness You’re Here!