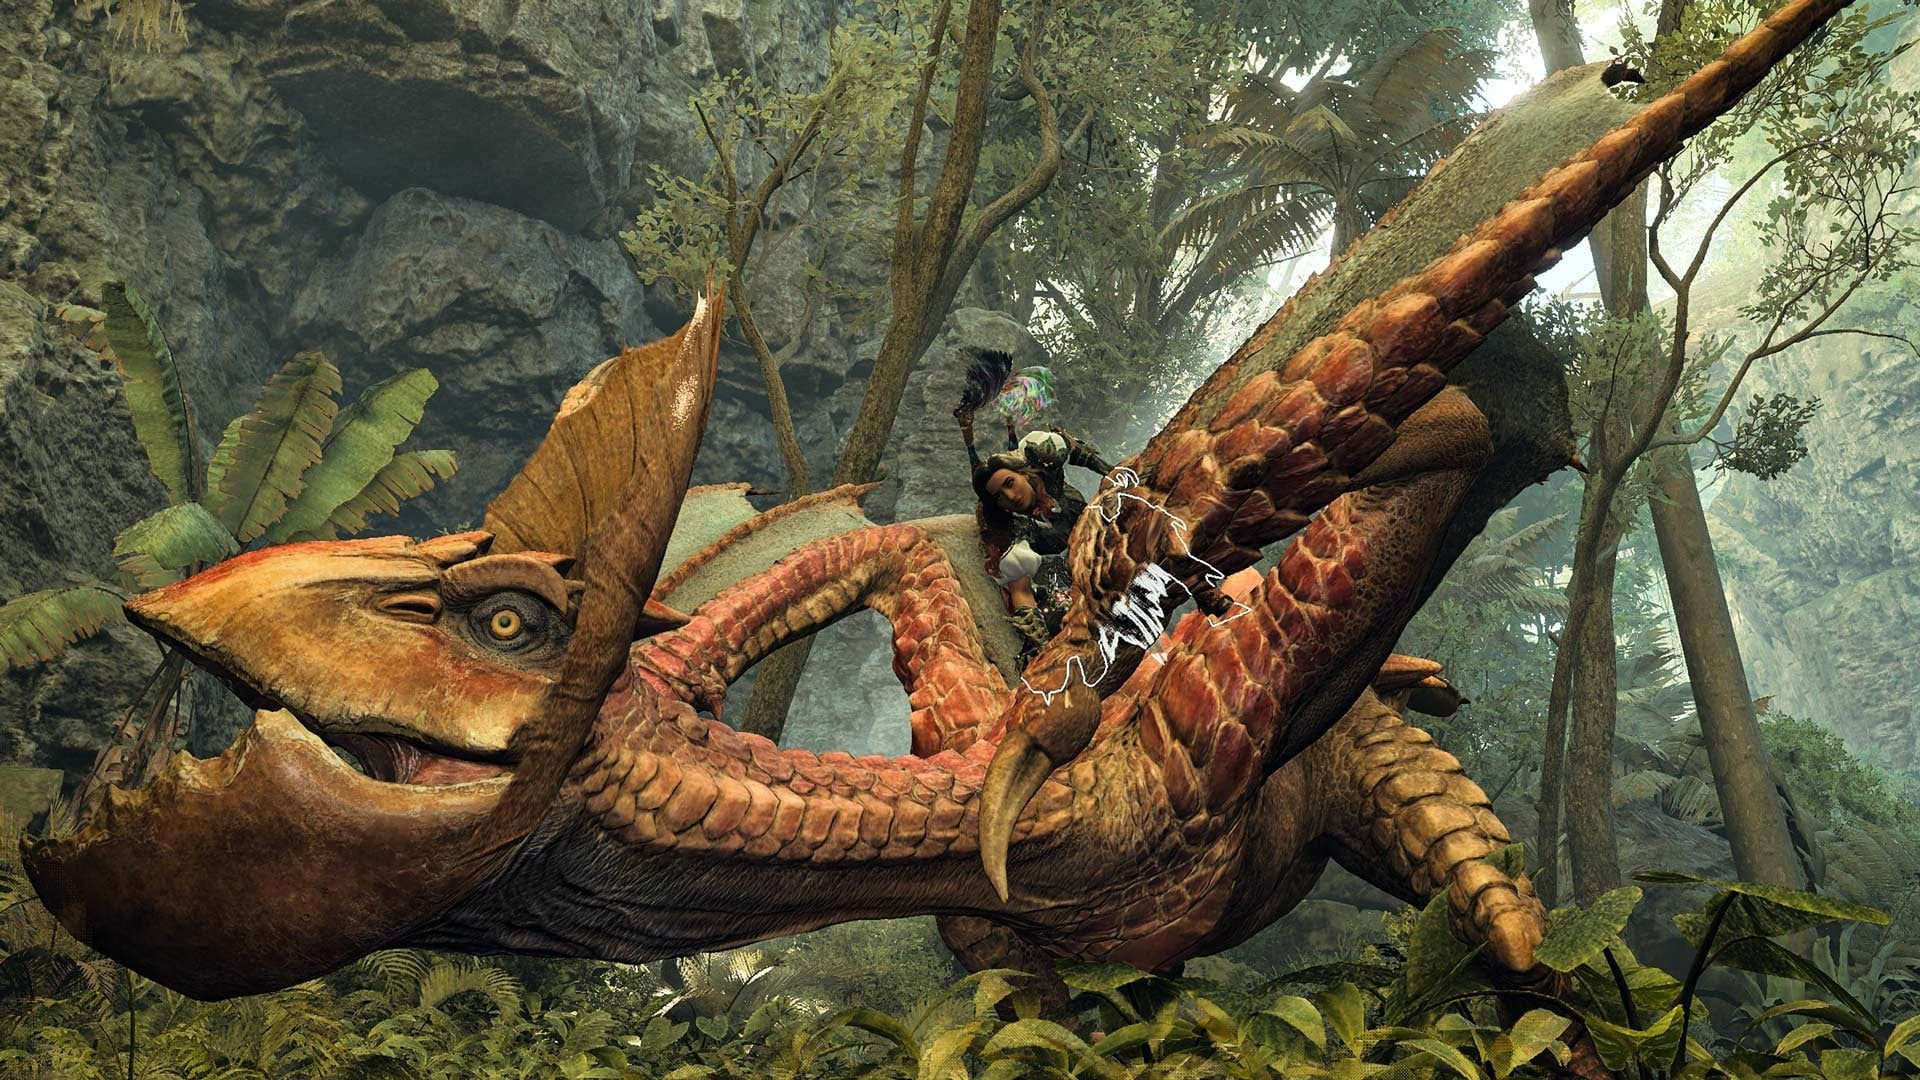
Out of everything you can do in Monster Hunter Wilds, nothing beats mounting. Grappling onto a large beast as your multiplayer teammates watch on is always a fun time. While the mechanic has been refined from previous games, you’re more or less left to figure out the nuances on your own. Whether you’re a brand-new hunter or just trying to learn the ropes for this latest iteration, here’s what you need to know about Mounting in Monster Hunter Wilds
How to Mount a Monster
The trick to mounting a monster is deceptively simple – all you need to do is keep hitting it with jumping attacks. Jumping off your Seikret is the easiest method, but running off a higher ledge or swinging from a Wedge Beetle works too. Using the air combos of a weapon like the Insect Glaive is another viable option.
Mounting is similar to status ailments:Each monster has a hidden threshold of related damage they have to take before things get triggered. Land enough aerial hits and one of them will eventually result in you grappling onto the monster’s back. Weapon choice can also make a difference here, as a Great Sword will deal more damage and activate a mount quicker than the Dual Blades or either Bowgun
Just know that Mounting isn’t something that can be done routinely in the fight. Another similarity to status ailments is that the threshold will get bigger after you successfully reach the maximum. It will take quite a bit more time to trigger a second mount, with anything else being rarer to see and arguably not as worth the effort.
Mounting Tips
Things will get hectic fast once you’re on top of your hunting target. You’ll enter a sort of mini-game where you can perform various actions while the monster tries to shake you off. Each attack has its uses, you can move between two or three areas depending on the monster, and there are two gauges to keep an eye on. It’s a lot to keep track of during a process that lasts 15 to 30 seconds at most.
The optimal mounting strategy is to open as many monster wounds as possible before ending it with a finisher. This is the best way to inflict major damage and give yourself one or two additional opportunities to inflict more later. Here are some things to remember to make the most out of your mounting opportunity:
Your stamina gauge will steadily deplete while mounted, with the monster shake-off actions signaled by the screen’s border getting darker, depleting it faster.
The circle gauge that appears in the bottom left will get smaller and turn red the closer the creature is to falling over and prematurely ending the mounting mini-game.
In-game tutorials recommend that you use the Brace function (R2/RT) before the monster starts shaking, but moving to another spot on its back will mitigate the extra stamina depletion and let you keep attacking
Weapon Attacks (R1/RB) inflict the most damage and drain the mounting gauge the fastest, although they’re the slowest at opening wounds. Knife attacks are the inverse of this.
Although the Strong Knife Attack (Triangle/Y) moves much slower than its Light counterpart (Circle/B), it will open a wound faster and is the preferred option.
Using a Weapon Attack over an open wound will instead perform a unique weapon finisher and end the mounting mini-game. For your convenience, I recommend using your finisher on a wound that would be the most difficult to reach when you’re on the ground
Use your time wisely when mounting and your hunts will go a lot easier. Make sure to also invest in the right skills if you want an even smoother process. The Master Mounter Group Skill lowers the mounting threshold and can be earned with early monster armor, such as from the Quematrice.