To think, the Shadow Keep seemed to be going so well, and then you run into a vicious, fiery, reptilian wall. Messmer is just an absolute unholy nightmare of unorthodox timing, neverending combos, health-sapping flames, and massive one-shot explosions. All that’s before the giant snakes start getting involved. Even with our guide, you’re in for a hell of a time trying to take down Messmer the Impaler, but we’re gonna give you all the tools you need to chew up Big Red and spit him out.
Order Elden Ring: Shadow of the Erdtree: Amazon | Best Buy | Humble Bundle
Before we get down to business, it’s worth noting that while Messmer is a required boss, he’s also a boss with whom you can procrastinate. There are multiple entrances and exits into the deeper areas of the Shadow Keep, and Messmer’s room is not the only route. To be specific, the area beyond the Keep—The Ancient Ruins of Rauh—can be accessed and explored long before you technically need to kill Messmer. So, if you’re struggling, it’s not the worst idea to move on for a bit, get a few more upgrades, then come back to try again. Now, if you’re truly ready to look death in his horrible reptilian face, let’s go to work.
Messmer’s Abilities, Explained
So, just to show you he ain’t messing around, Messmer will immediately jump out of his seat and divebomb you with his spear, which will then explode after a two second delay. From there, phase one is mostly variations of two-to-four-hit spear combos that look more chaotic than they actually are. They’re still chaos, though, thanks to the fact that he often enchants his strikes with massive bursts of flame magic—either as a single orb, or an obscuring, damaging wave, much like the fire knights you’ve been killing in the Shadow Keep the last few hours.
Messmer also punishes folks who stay at range in the same way, with fire spells that can seek you around the arena at the same time he’s spamming combos. The fire does eventually go out, though, and for a brief moment, he’ll come at you like any old random spear-wielding knight, with the exception of a move where he drags his spear on the ground for an upward swing.
He does, however, have two lethal aces in the hole. One is a grab attack when Messmer’s hand glows red, that ends with you getting impaled for a one-hit kill. The other is maybe the most absurdly OP boss combo in the game that isn’t Malenia’s Waterfowl Dance: A forward rush that leads to his leaping in the air, delivering a berserker barrage of strikes, before firing a dozen spears into the ground, all of which explode. This attack is evil, and Hidetaka Miyazaki is an evil person for putting it in the game.
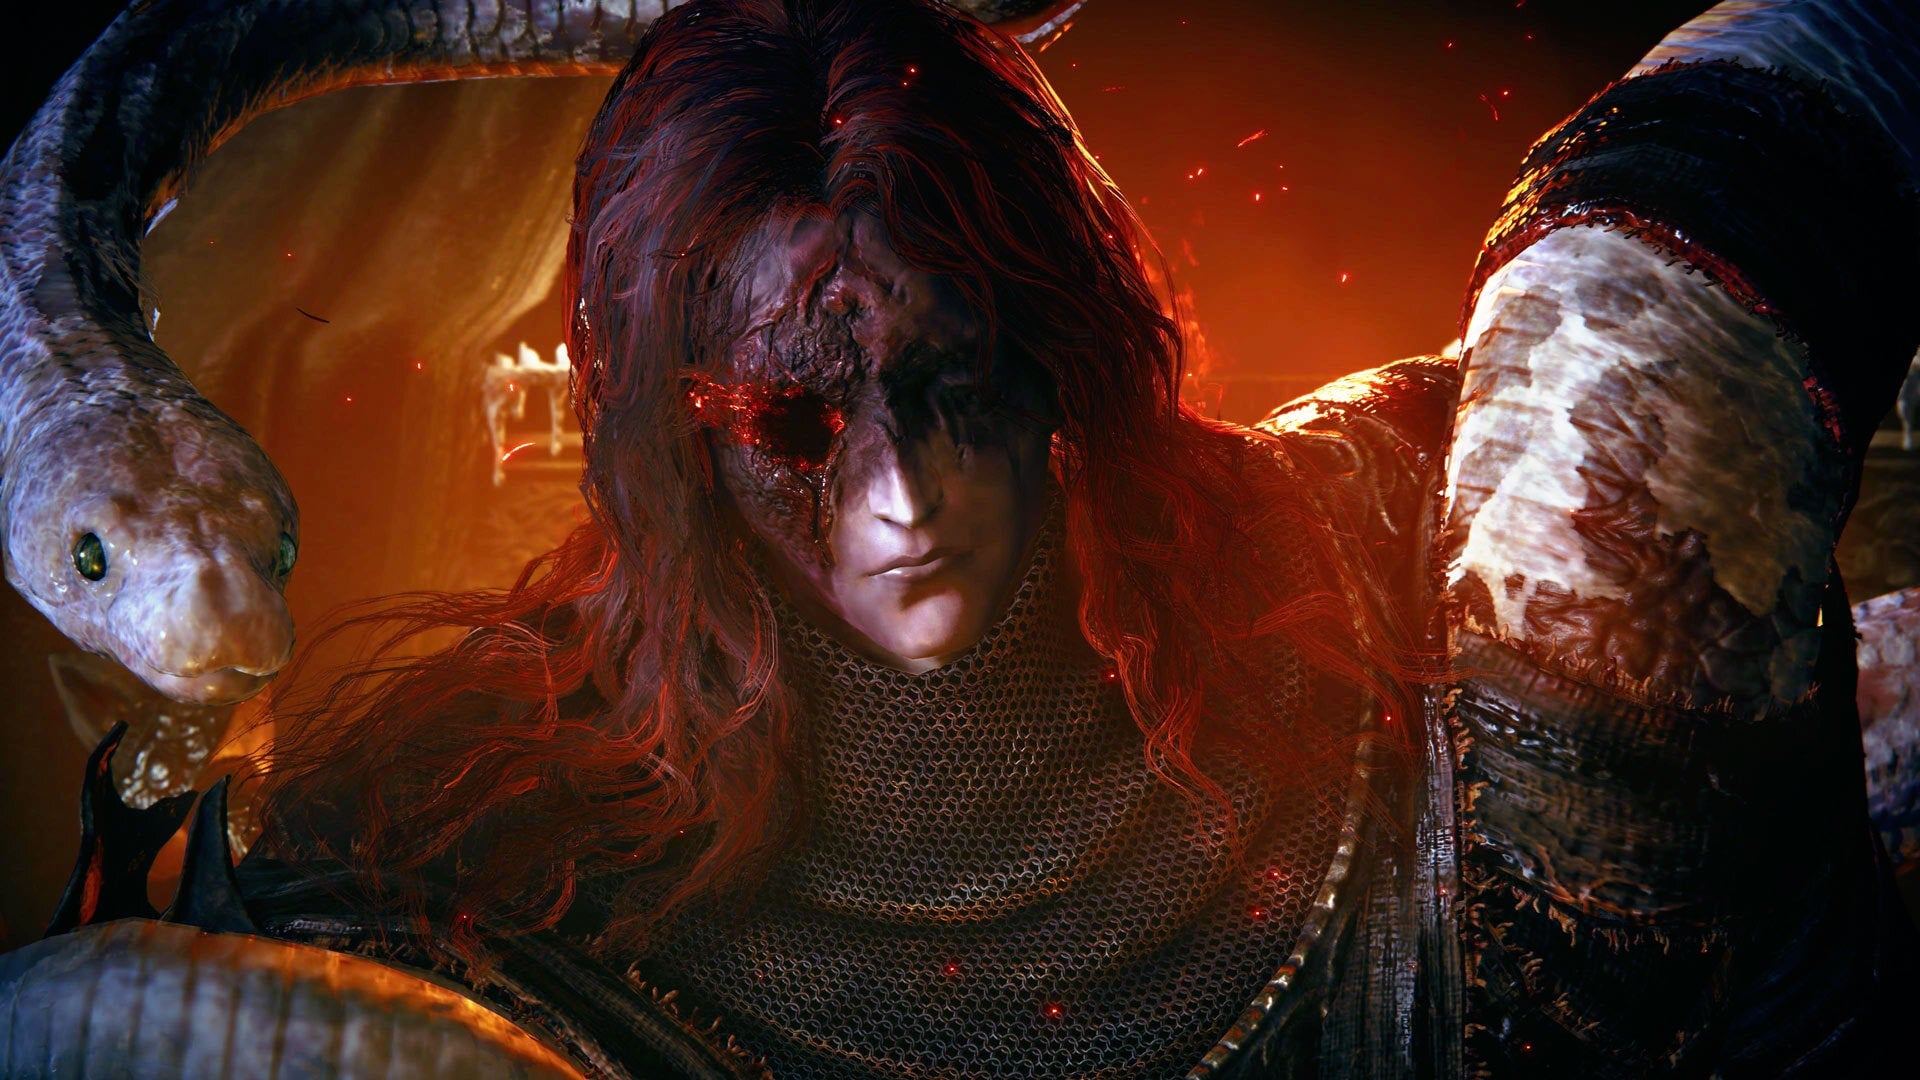
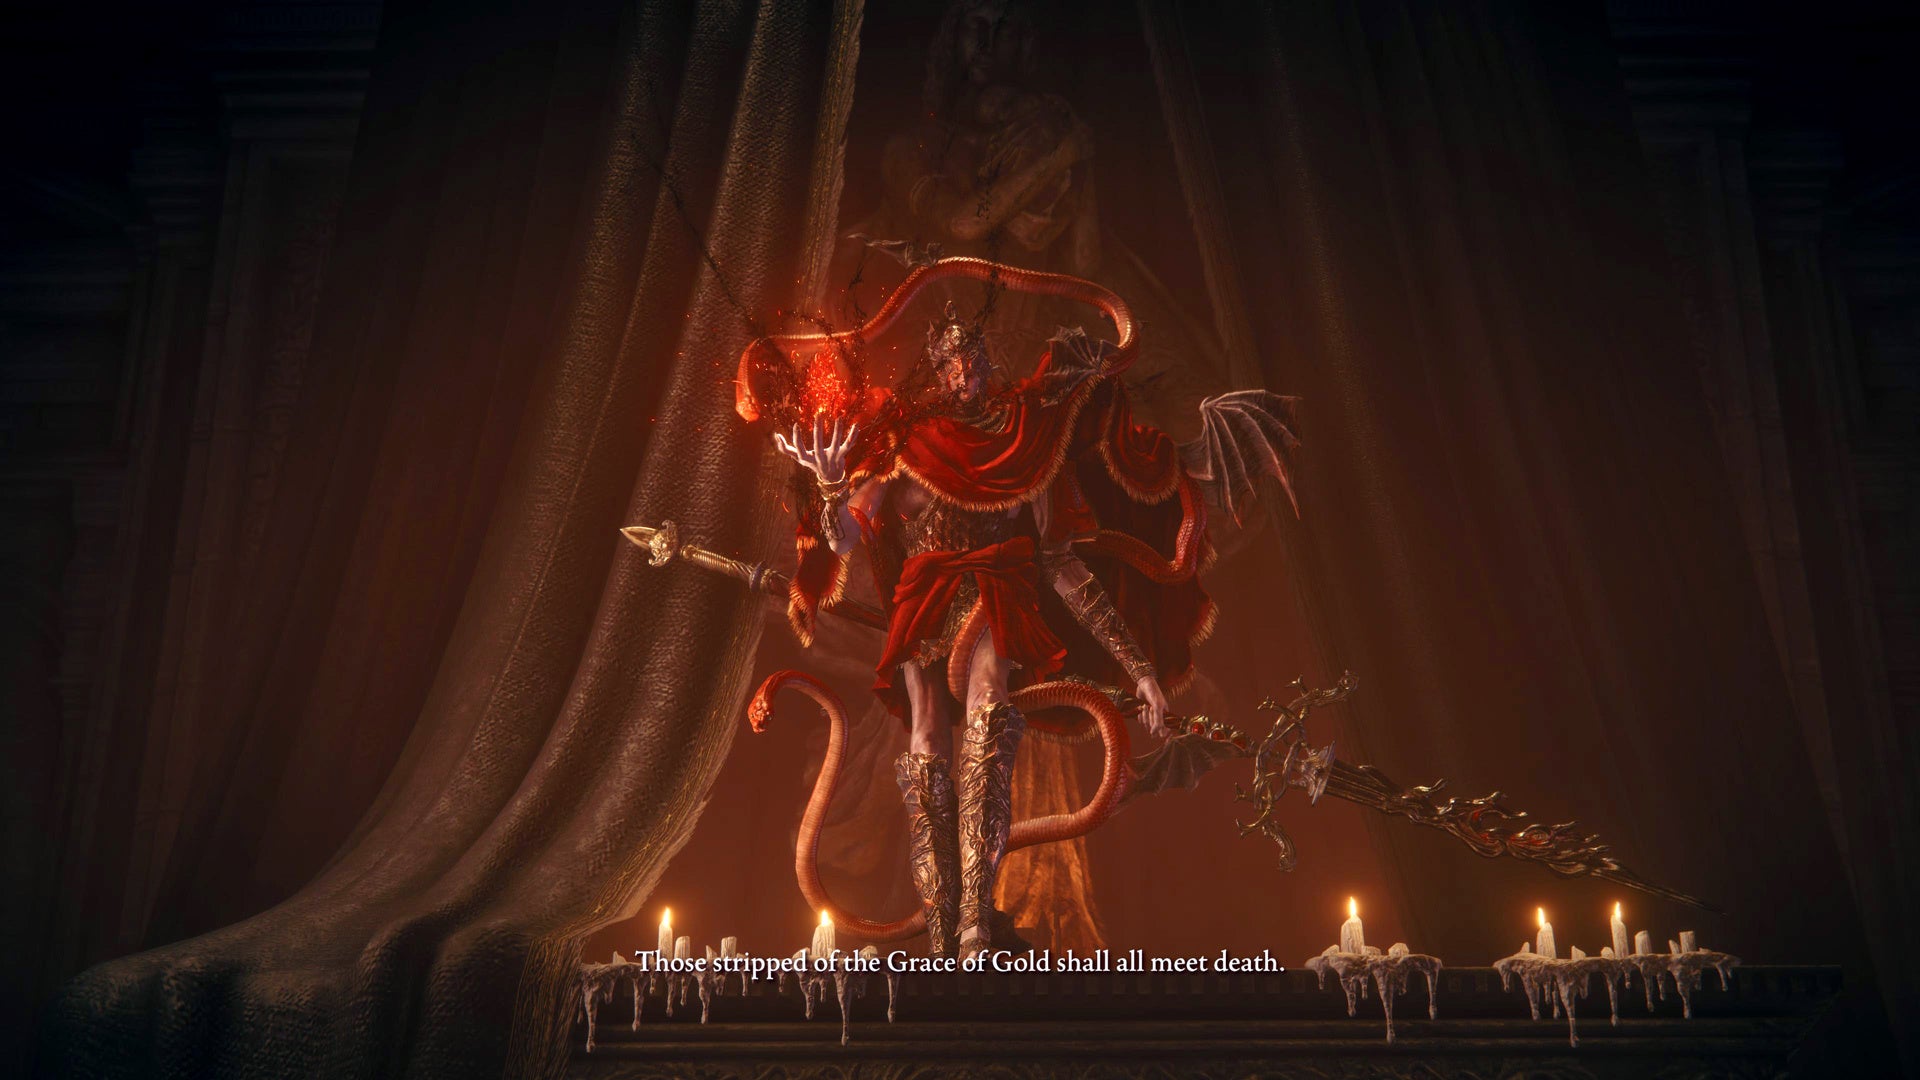
After he’s down to half health, a hellishly gross cutscene occurs, and it’s time for Messmer’s anaconda to give you “ooooh.” Nearly all the attacks are the same, including starting the phase with a divebomb attack, except that now there’s less fire and more Messmer turning into a giant snake. There are also a couple of new ones, one where the snake will zip across the arena two or three times, causing massive damage. Alternately, Messmer will disappear into a black hole of shadows on the floor, and pop back out as the snake for two game-ending hits.
How To Defeat Messmer
Before you walk in the door, you’re gonna want to do some prep work. As you might expect from a guy bringing this much literal heat, you’ll want to fortify yourself with all the fire and physical damage protection you own. Going tanky with your build has its uses in this fight, but you still want to keep a medium roll. Since most of Messmer’s hits will end you in two strikes no matter what armor you’ve got on, don’t panic too much if you’ve got to take a hit in stats. As far as weaponry/magic, he’s weak to Frostbite, but he’s also susceptible to Bleeding. That said, even though Messmer can be stance broken—and God it feels good if you can manage it—you still want a weapon capable of quick recovery time between strikes. Plan your weapons and magic accordingly. Rellana’s Twin Moons spell actually works wonders here if you’re able to time it right and survive long enough being that vulnerable.
If you’ve progressed the Needle Knight Leda questline far enough and let Hornsent live, good news, he’ll actually be available as a summon for this fight. He’s functionally utterly useless, other than keeping Messmer distracted, but hey, in chess, the pawns go first. Same goes for Spirit Ashes, though summoning them is trickier than normal here, since 50 percent of the time Messmer will come for your neck the second you peek your head through his door. If you walk in, and you see Messmer light up, don’t even bother trying to summon yet—dodge the initial dive, then dodge again to get out of the blast radius before making the call. Tank players can eat the bomb damage, but the blast can still put a major dent in your stamina. You definitely don’t want this, given Messmer’s gonna come out of the blast area swinging.
When the proper fighting begins, you’ll be on this cramped little bridge area before the main arena, which sounds like a terrible place to be trapped with an enemy as wild as Messmer. As counterintuitive as it seems, though, this is actually the best place to fight him, especially once you’ve got your Spirit Ashes up. Once Messmer’s in the main arena, he’s got all the space in the world to dodge, backstep, and cast fire spells to keep you at bay, all while making swings with his spear that you can’t capitalize on because he’s too far away.
Wrangling him in the starting bridge as long as possible means he’s got nowhere to go where neither you nor your summons can’t touch him. If you’re aggressive enough, this can result in Messmer getting absolutely jumped in a corner the longer he refuses to turn his attentions to you. So, once you’ve dodged his initial dive and called your Spirit Ashes, your job is to play goalie at the bottleneck for the rest of the arena, circling around Messmer to either block him back onto the bridge when you can, or bait him back into the corner for Hornsent or your Spirit Ash to keep busy. If you’re a tank, you can use a Greatshield against most of what he tries against you, at the cost of a chunk of fire damage if the flames are on. Once you know when his combos end, he takes some pretty extensive stagger damage from Guard Counters—these are easier to smack him with on the bridge since he can’t fly out of range. That does mean, however, that you better have his moveset scouted to a science.
His fire spells will eat a lot of real estate on the bridge, and if he puts up his wall of flame, you need to strafe off to one side before he lunges his spear out. If Messmer’s preoccupied with Hornsent or your summon, however, feel free to smack him once or twice while his back’s turned, but no more than twice at a time so you can prepare for his next move. Spell-casters may have to wait longer for Messmer to make a mistake, but the right spells can damage him enough to make it worthwhile. When Messmer’s flame is out, he’s just another asshole with a spear. Melee users can dodge his longer combos and get some solid hits in while he’s still lunging ad nauseam. His longest flameless combo is a whopping five hits, with a delay on the third hit you can use to dodge around to his back. His grab attack is, indeed, deadly, but it’s also very well telegraphed. This is why you don’t want to get too crazy with multiple hits at a time
The big problem is his barrage attack, which, most of the time, will come for you specifically over the summons. The major sweeping strike that starts it is tricky to dodge, but once he takes to the air, you actually want to dodge forward and to the left or right of him instead of back, since the barrage creeps towards you when it starts. If you’re lucky, you either dodge the vast majority of the barrage, or take a hit from the fringe of it. Tanks can roll out and possibly eat the stray hits, but no matter what, you’re still gonna need to dodge the divebomb and explosion after. Make sure you have the stamina for that.
How To Beat Messmer’s Second Phase
Phase two is a “second verse same as the first” situation, where most of Messmer’s moveset carries over and are joined by his new snake-based attacks. But, despite the intimidation factor of the snake, this is actually the easier phase. Yes, Messmer will be out in the open, but a bunch of his strikes now end with his turning into a giant snake. That transformation has a longer recovery time than Messmer had in phase one, which means—if you’re close enough when he lands—he’s wide open for some free hits. Just don’t get greedy.
You’ll be able to test that theory right away when the snake comes in for a divebomb straight after the cutscene. The snake starts out some distance away, so there’s a little bit of telegraphing when it’s coming down. Same as before, dodge the landing, pause, then dodge the explosion. When the explosion’s done, run in for two or three hits.
Beyond that, even more good news: he’s less spammy with the fire attacks, which means you’re fighting him like a knight for more of the time. Of course, now he really is out in the open, so you’re mostly looking to capitalize when he’s locked into a combo rather than wailing away. That’s still balanced out by the fact that his snake attacks leave him vulnerable. Those snake attacks are fast, however, so learning the wind-up—where the snake coils back against the arena wall, baring its fangs—is crucial. He’ll fly at you one to three times before Messmer has to shift back into semi-human form. Tanks can eat the snake attacks without breaking a sweat, but everyone else will need quick reflexes. Still, ending up right next to him when he lands means you can lay a serious smackdown on him. Phase one requires smarts. Phase two mostly requires patience.
Your reward, aside from some absolutely shattered nerves, is a whopping 400,000 Runes, and the Remembrance of the Impaler, which you can turn in for Messmer’s spear—complete with an Ash of War that duplicates his barrage attack—or an incantation called Messmer’s Orb, which summons one of those massive divebomb explosions.
You’ll also get an item called Messmer’s Kindling, which you’ll be using at the apex of the Ruins of Rauh to burn away the Sealing Tree blocking entrance into the Tower of Shadow. Fair warning: once you burn the tree, you’re effectively locked out of any further progress with several of the major NPC missions (basically, anyone who was under Miquella’s spell before he broke his Great Rune). So, you might wanna handle those before you go running off to burn yet another giant tree.