If you decide you’d rather sit at home all day and play a pretentious, cerebral puzzle game instead of go on heists, Tenebrae Lux is waiting for Jason and Lucia on their JoyStation in GTA VI. While on the surface it looks like just a funny gag poking at auteur culture (and one developer in particular), Tenebrae Lux is a surprisingly solid, short puzzle game that (if you’re not using this guide) may take you a few hours to get through.
But I’m assuming you’re here because you either want to beat it quickly, or you’ve gotten so stuck (as I did) on a few of the puzzles that you’re desperate for help. I get you. Here’s as simple a walkthrough as I could manage for Tenebrae Lux:
Part 1: The Beach
You’ll start out on the shoreline. You can’t do much: just walk around and examine objects. To start with, you’re going to want to head to the left side of the shore (assuming you’re facing the shore from the beach you start on) where there are multiple run-down shacks lit by big bright lights.
Inside these shacks are three puzzles on gridded boards. On those grids, multiple pieces are placed with different 3D shapes atop: three-tiered tall ones, middling spiky ones, and flat ones with a tiny dot in the middle. The flat ones don’t move at all, the middle-sized spiky ones can slide across the board and clear the flat ones if they land next to them, and the three-tiered tall ones and middle-sized ones clear one another in the same fashion. Your goal is to clear all the pieces off the board.
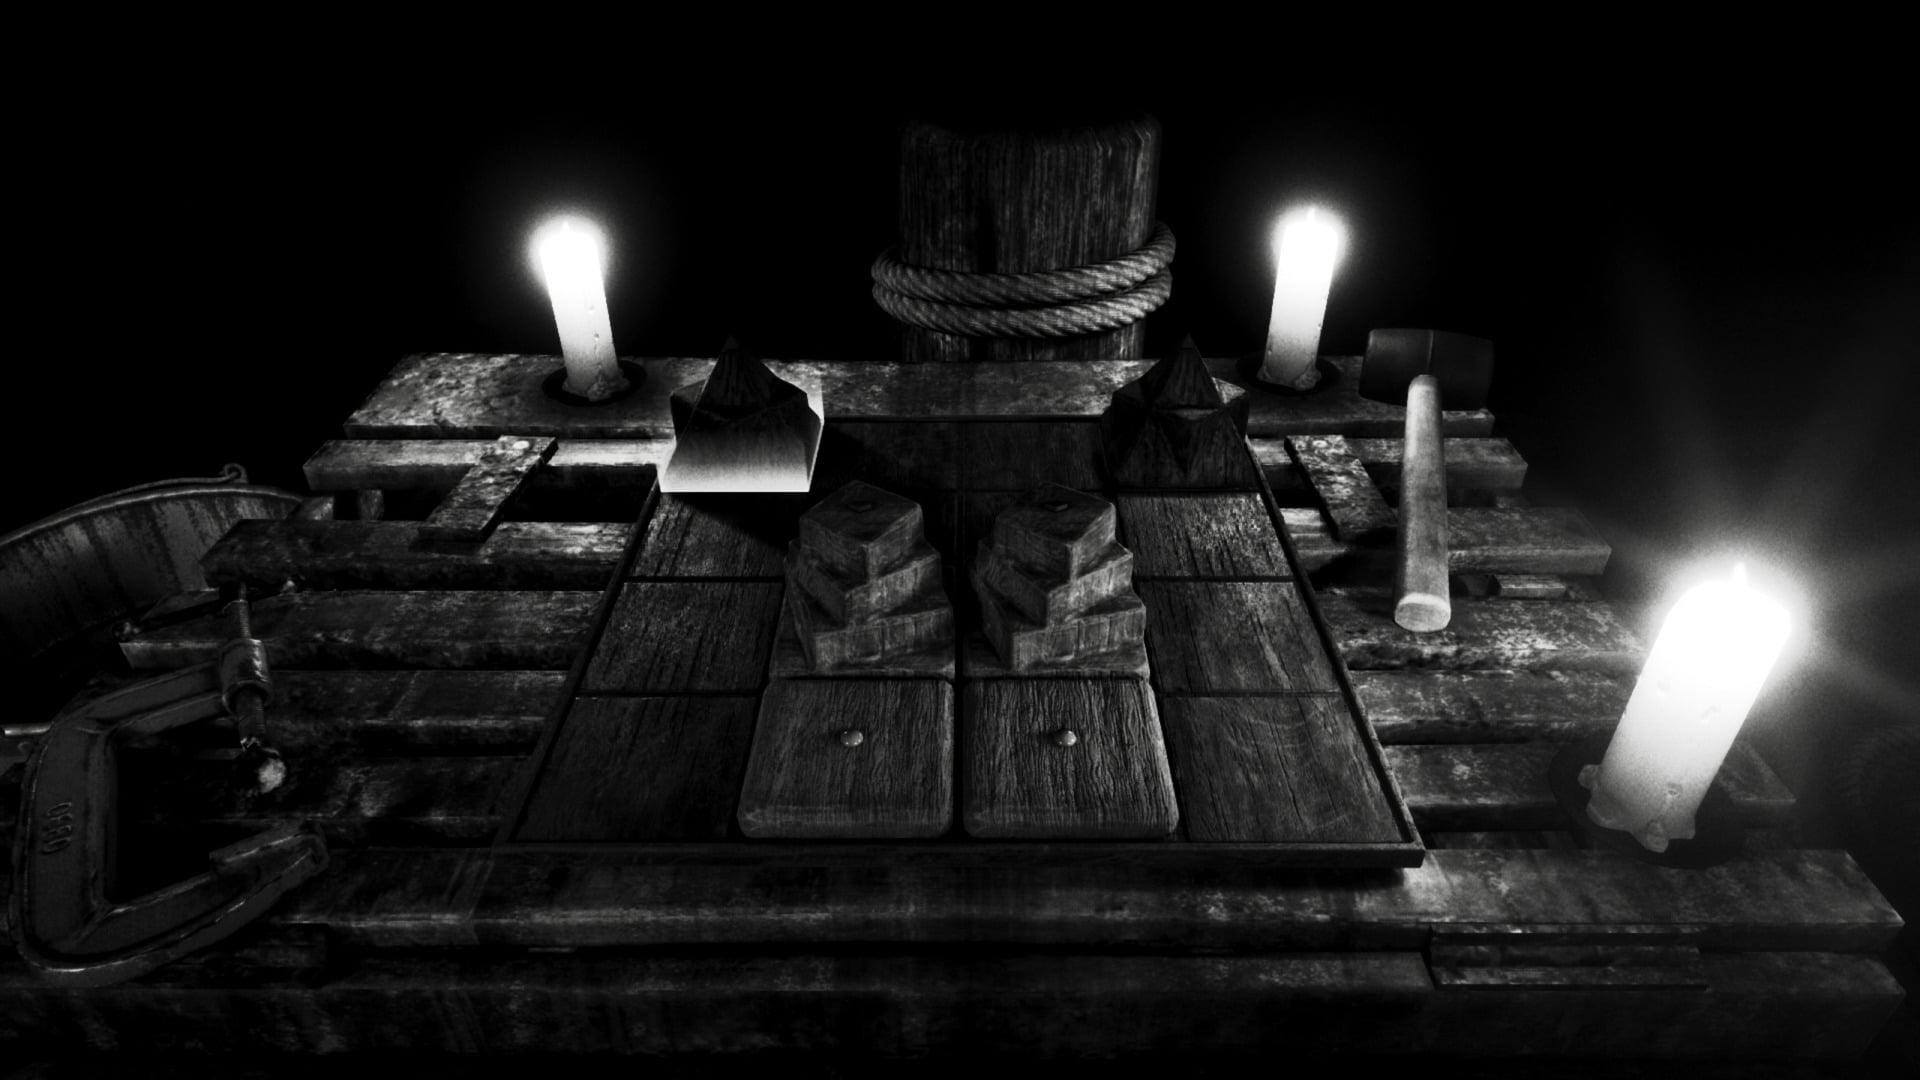
You can do these puzzles in any order. One of them is easy and straightforward, but the other two require a little bit more thinking. You’ll have to use the fact that the flat pieces don’t move and cannot be cleared by the three-tiered pieces to set up the three-tiers so they and the mountain pieces can clear one another once all the flat ones are off the board.
The three main puzzles in this area should be fairly simple to do, though there are a couple of hidden ones you can optionally do that are more difficult. On at least one, you might need to set up your board so you have two three-tier pieces set up with a gap between them that a middle-sized piece can easily get into after clearing a flat one. See below:
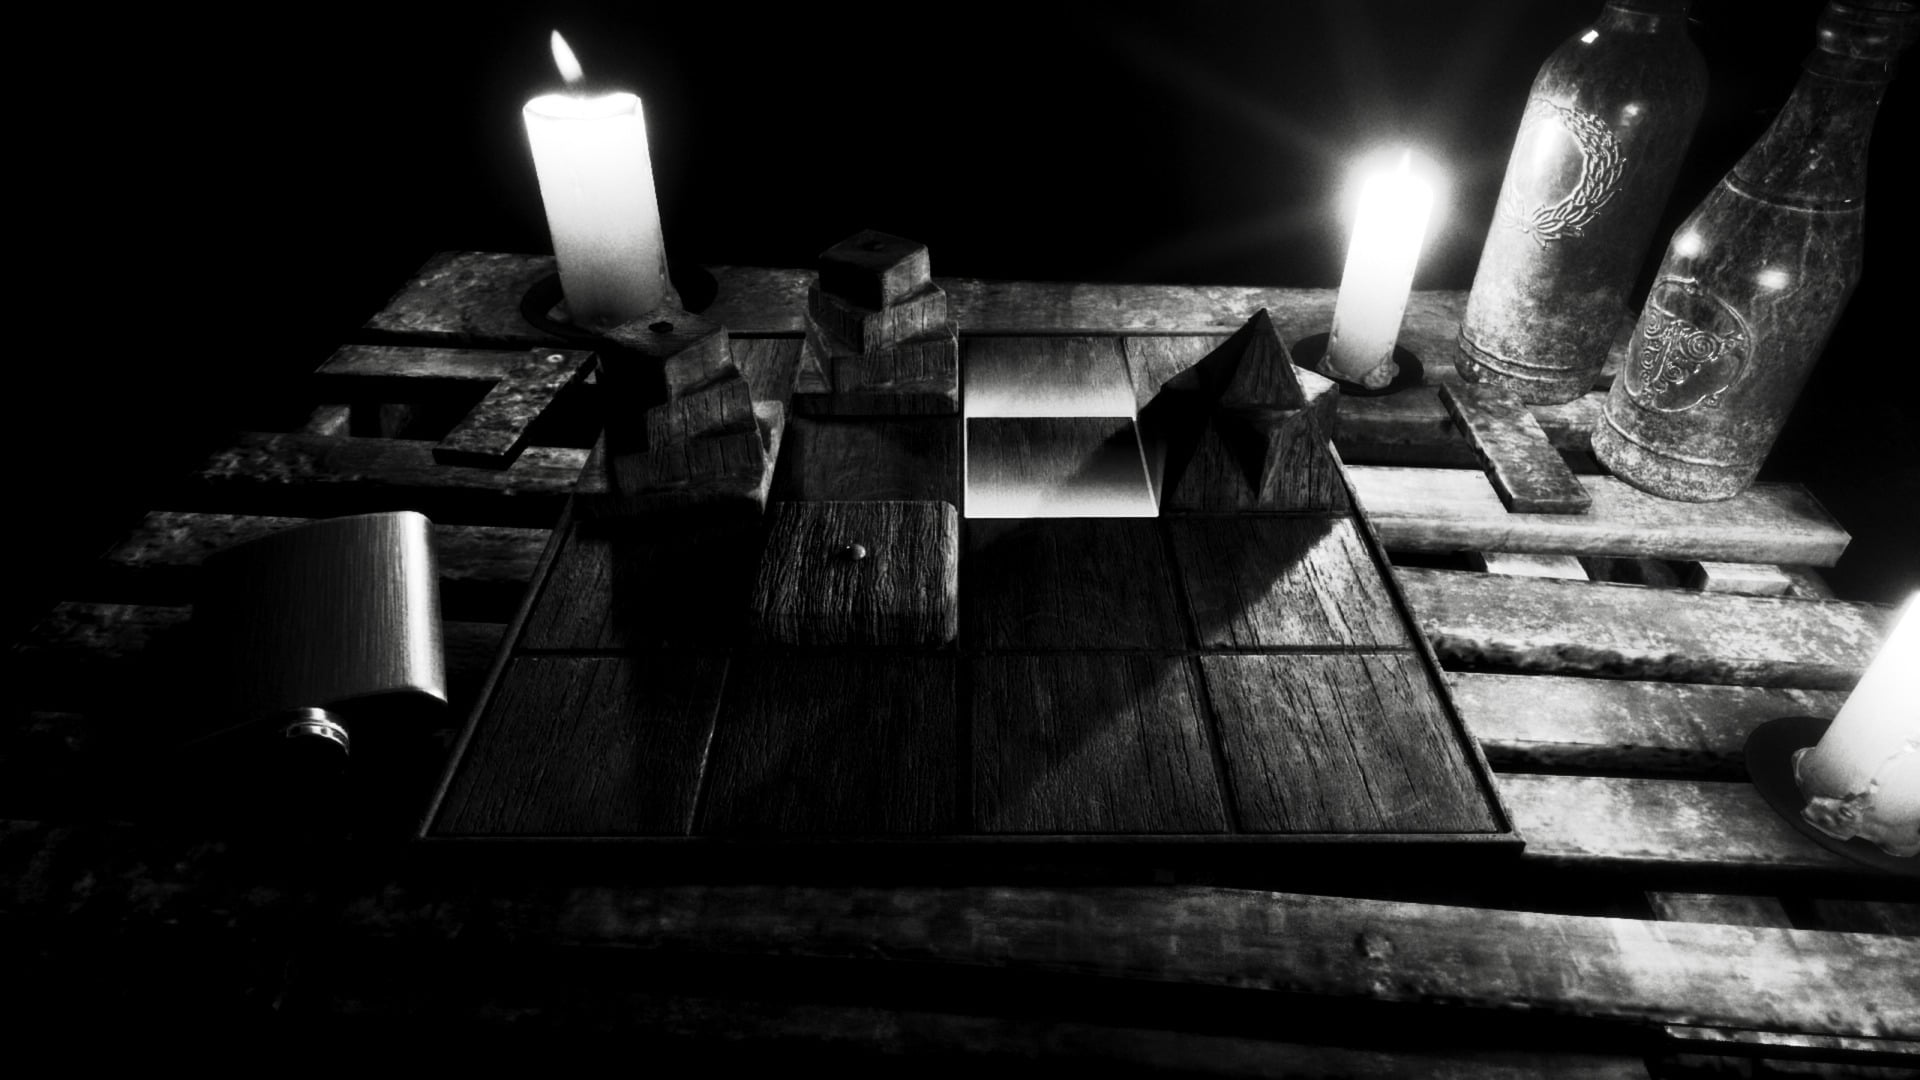
When I move that mountain-shaped piece to the left, it will take out itself and all three of those other tiles with it.
Part 2: The Bunker
This puzzle will easily make you feel like you’re losing your mind, but I highly recommend trying to work it out for yourself first, if you can.
When you enter the room upstairs in the bunker, you enter a loop that will keep perpetuating each time you go through the door and up the stairs. The room will be almost identical each time you enter it, but for two things. The first will be the calendar, which will show the date as being one of six different dates, and the second will be one of the other objects in the room.
Your goal is to find a six-digit code and enter it into the phone, followed by the # sign, to proceed.
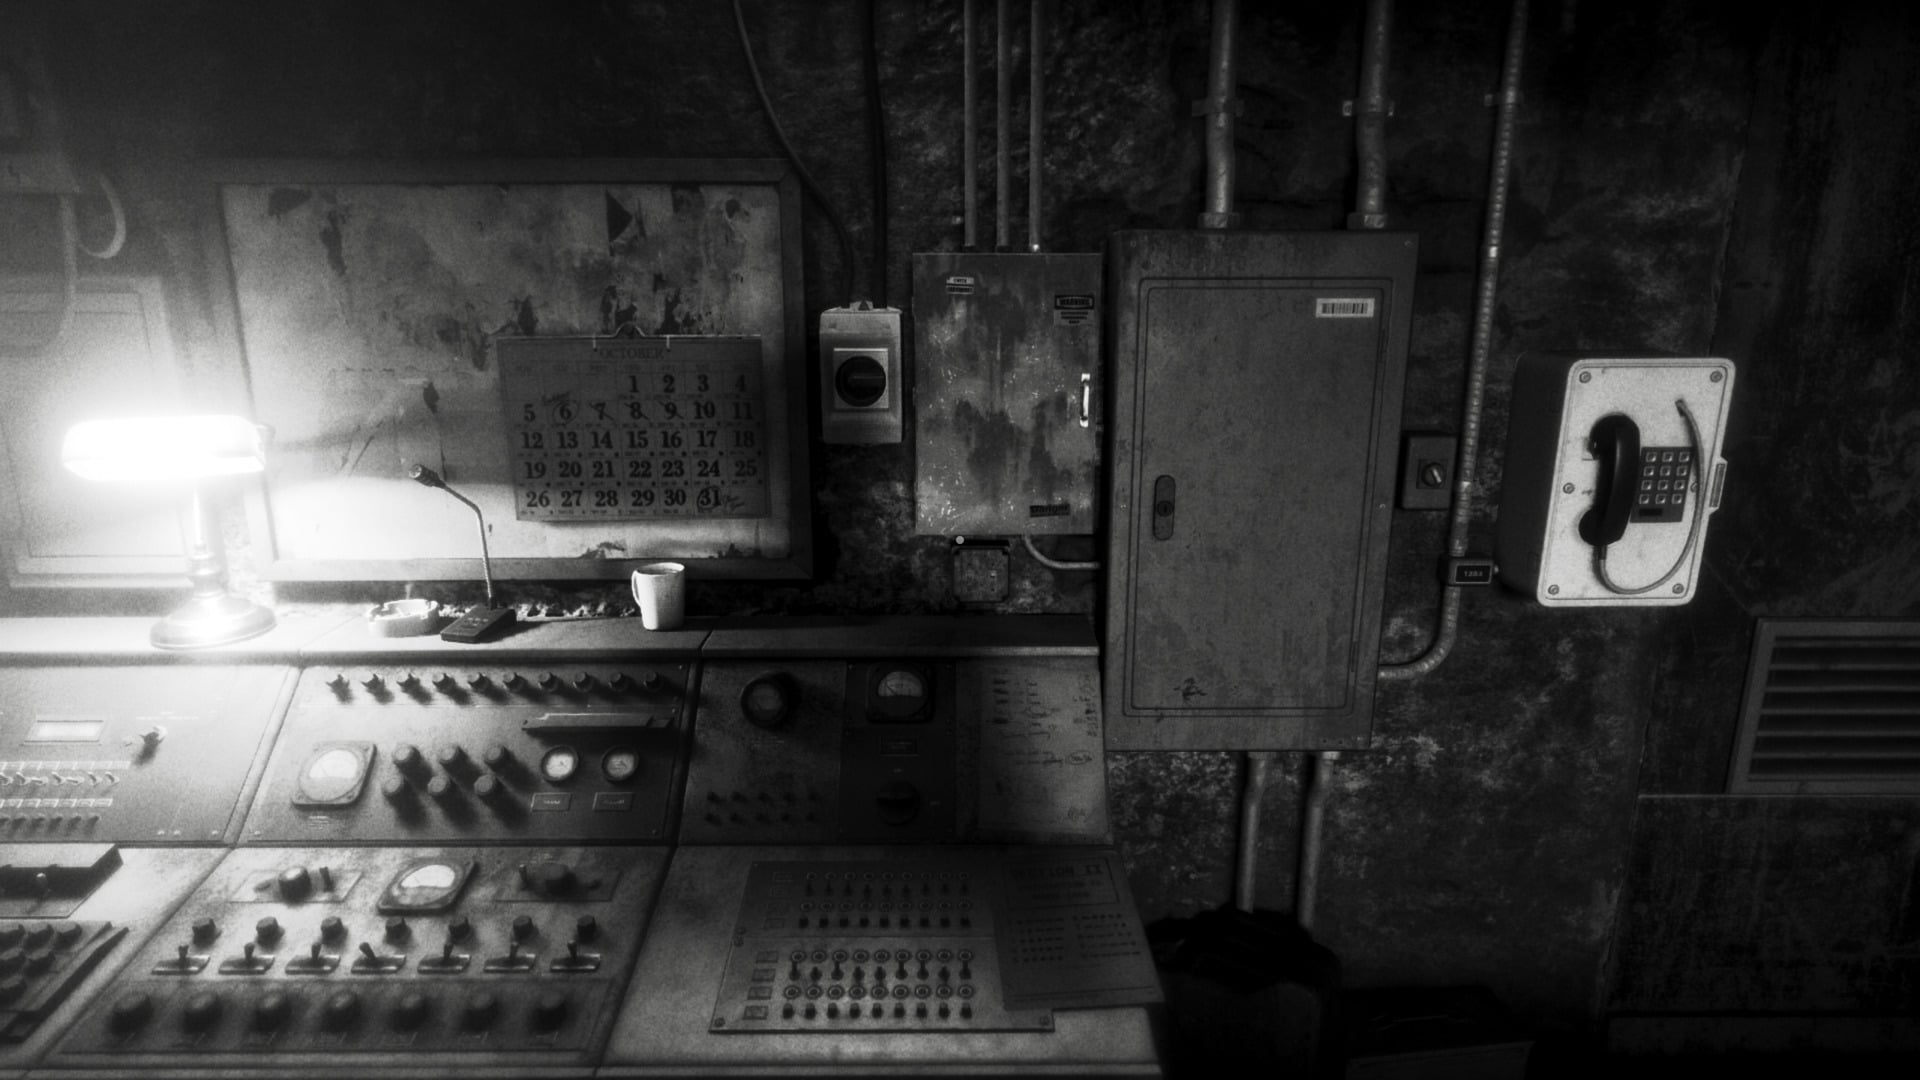
In order to get the code, you need to pay attention to what day it is, and what is different in the room on that date. If you keep going up the stairs over and over, the dates will eventually cycle back through, so if you miss one don’t worry, you can keep going to see it again. The dates are as follows: October 11, 14, 20, 23, 27, and 30. You won’t see the dates in any particular order, but you’ll need to put them in that order when you input the numbers for each date into the phone.
The numbers themselves, you get from finding what’s “different” in the room on a given date, and working out what number the difference corresponds to. There are ten possible differences, and your playthrough won’t have all these objects in the room—it’s random each time, though consistent within a single playthrough of the puzzle. Here are the ten possible differences:
- On one day, the lamp near the switches might be flashing. It’s flashing in Morse. Use the Morse Code guide on the desk nearby to interpret what number is flashing, and that will be the number for the day. Mine was short-long-long-long-long, which was 1.
- There are two records on a barrel near the door where a man yells at you. One should list a price on it (for me it was 50 cents). On one day, that price might be different (in my case, 85 cents). This is a bit weird, but it’s hinted at on the scrap paper: you need to add the two digits together in the difference over and over until they make a single digit number. So for me, I took 85: 8+5=13. Then, 13: 1+3=4. 4 was my number.
- When you enter the room, the phone rings. It might ring a different number of times on one day. However many times it rings on the different day is that day’s number. My phone normally rang three times, but on one day it only rang twice, so my number was 2 that day.
- Also when you enter, text will flash saying “Developed Using Zuchworks Engine X” where X is a Greek letter. In my game, that Greek letter was usually Beta, but on one day, it was Gamma. Gamma is the third letter of the Greek alphabet, so that day’s number was 3. Yours may vary, so doublecheck if you need to.
- In my game, there was a horrid sea shanty playing in the background every day. One day, it was significantly slowed down. This one was tricky, but the records are the key to this one as well. One says 45 rpm, the other says 33, giving a clue that the music is at 33 rpm on the slow day. As before, we add them together: 3+3=6, so 6 is the number.
- A framed photo on the desk might be upright most days and fallen over on another day. Check it closely to see how many people are in it. For me, there was a fourth person on the day it was fallen over, giving me the number 4 for that day.
- The painting will have columns set up like Roman numerals. The numerals might change on one of the days, with the number they change to being the number for the day.
- Most of the time, the protocol number on the instruction sheet is redacted. If it’s unredacted, use it as that day’s number. If it’s a two-digit number (I had 42) add the two digits together to get a smaller number (6).
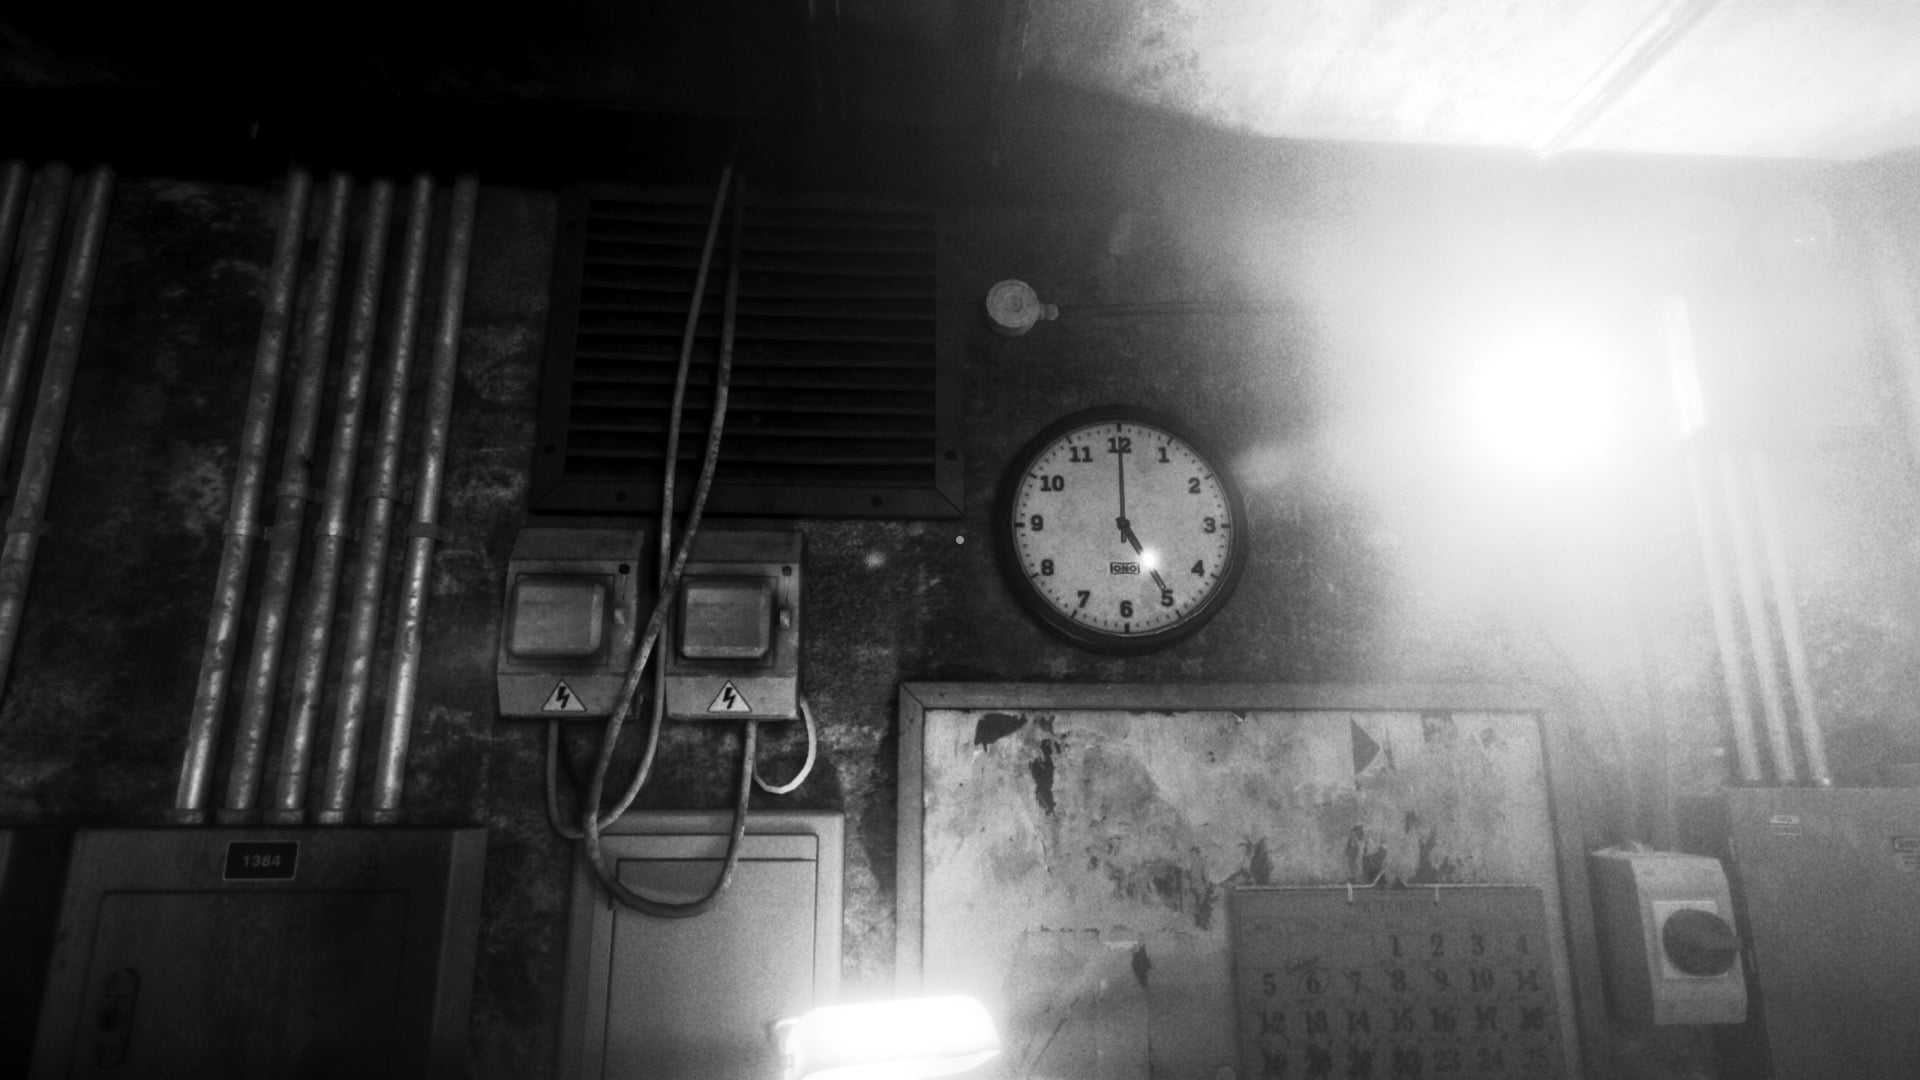
- A clock on the wall above the switch board may change on a certain day. If it does, take the cue from the book sitting below it and calculate the angle from the hour hand clockwise to the minute hand. For instance, 7:00 is 180, while 5:00 is 210. As in the other clues, add the digits together to get a smaller number if needed. (9, or 3 in the two examples).
- A tape recorder on the desk will say a date. If the date is off by one number (My date was normally October 11, but once it was October 15), then use the number it was off by (5, in that situation). If it’s off by two (for instance, October 20), add those numbers together (2).
Once you get the code right, exit upwards one last time and on you go.
Part 3: The Bridge
This one was waaaaay more confusing to me than it needed to be. The goal is to cross the bridge off to the left of the ruins. The bridge has multiple rows of weird symbols on it. You have to walk over the correct symbol in order to proceed. If you walk over the wrong one, a lamp will go out. If you do it wrong three times, you fail and the puzzle resets.
The trick to figuring out the correct symbols is in the ruins and the poem on the plaque just outside.
The ruins will contain the following items, which correspond to the following descriptors in each of the seven lines of the poem:
- Trophy (gold)
- Tree (forest)
- A burning flame (fire, furnace, heat)
- Fountain (water)
- A container of soil (earth)
- Sundial (sun)
- Moon (moon)
The items will be scattered across the ruins. Also in the ruins you will find a bunch of weird, esoteric symbols glowing on the ruined archways above. These symbols correspond to the symbols on the bridge.
To solve this, you need to visit each of the items in the order they appear in the poem, and match the item with the symbol on the ruins that corresponds to it, then follow the symbols across the bridge in order (the direction they’re facing doesn’t matter). It can be a bit tricky to figure out which symbol goes with which item. The best way I can describe it is the symbol for each item is the one that’s over the doorway “entrance” to each item, so the one you have to pass under to reach it.
Here’s a map to show you what I mean. Orange circles are places where the objects can appear, and green triangles are where symbols are. I’ve numbered them, but please don’t mistake the numbers for the correct order of the objects: that’s going to be determined by the poem, and the poem’s order is random.
Also note that #1 below is on the ground, because the arch has collapsed.
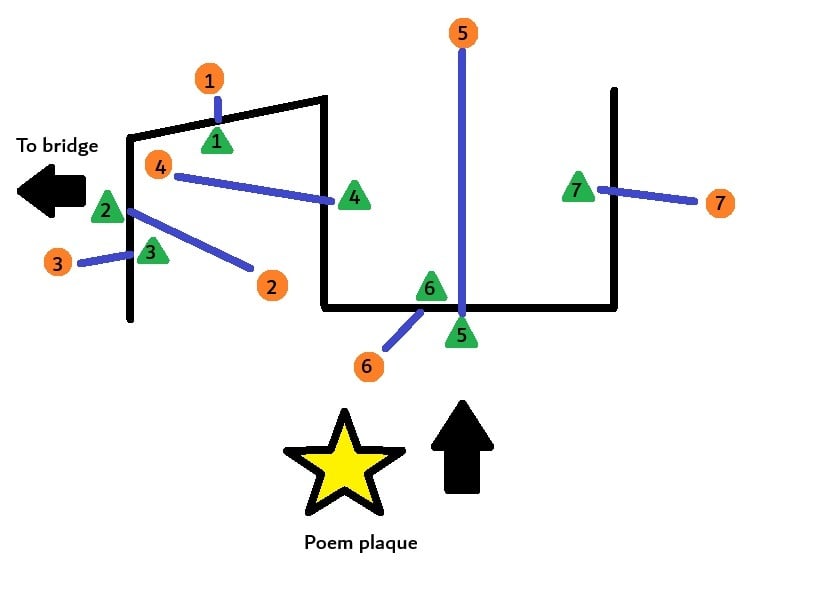
This can still be confusing, so let me walk you through what I got as an example. Here’s my poem:
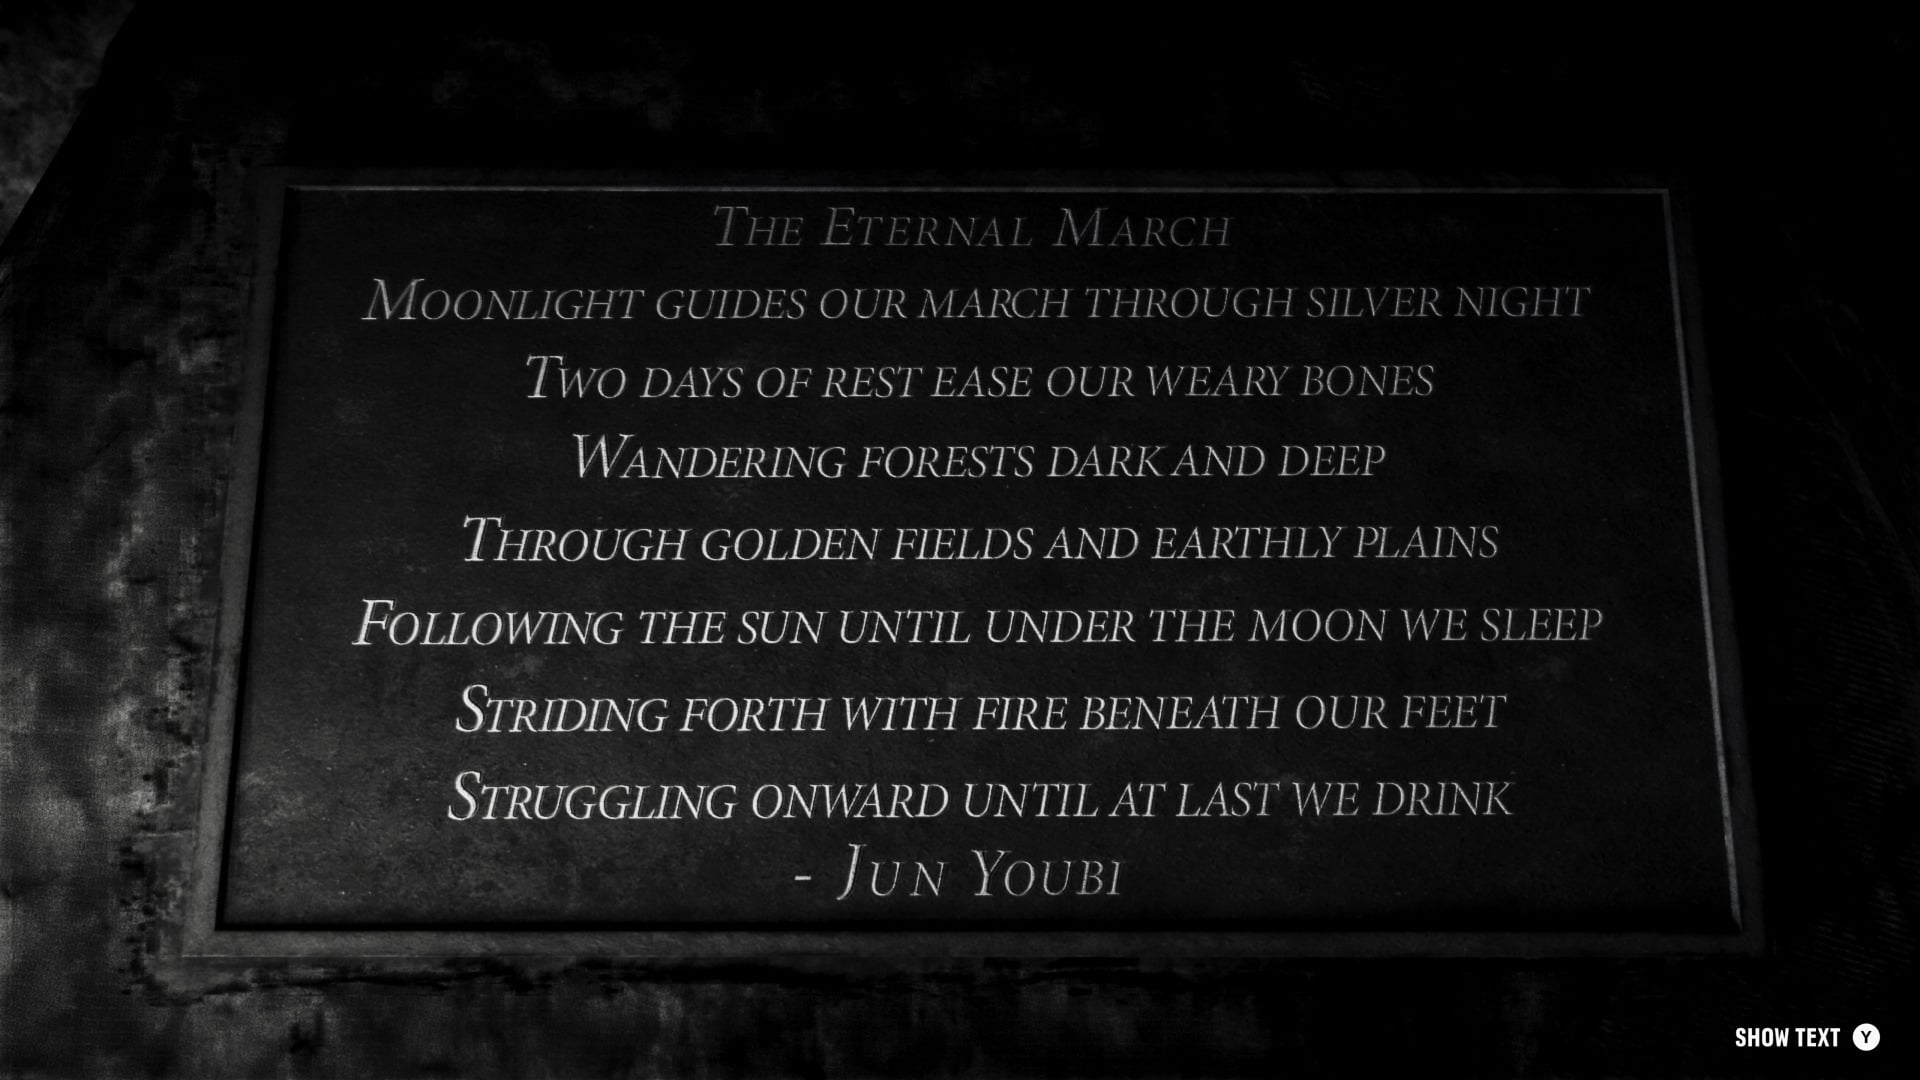
First up is moon, which for me was straight ahead through the first door.
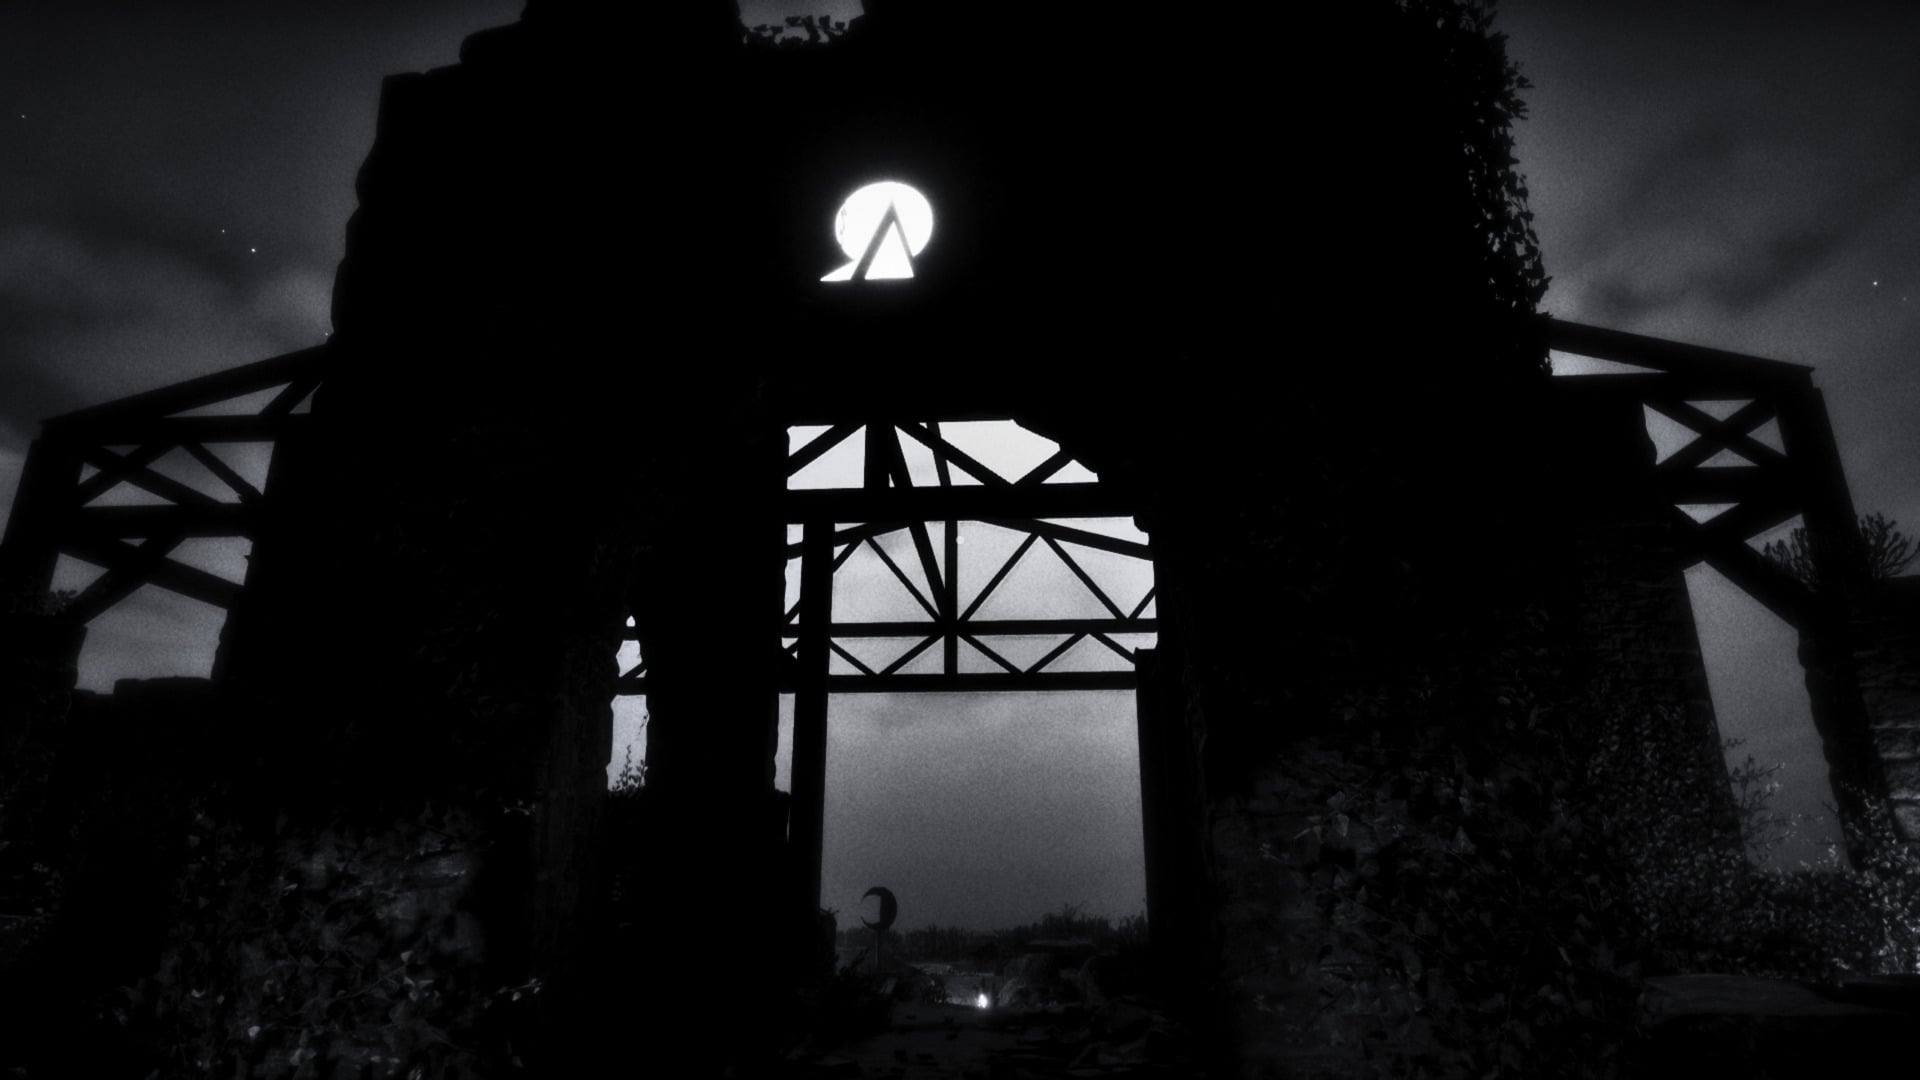
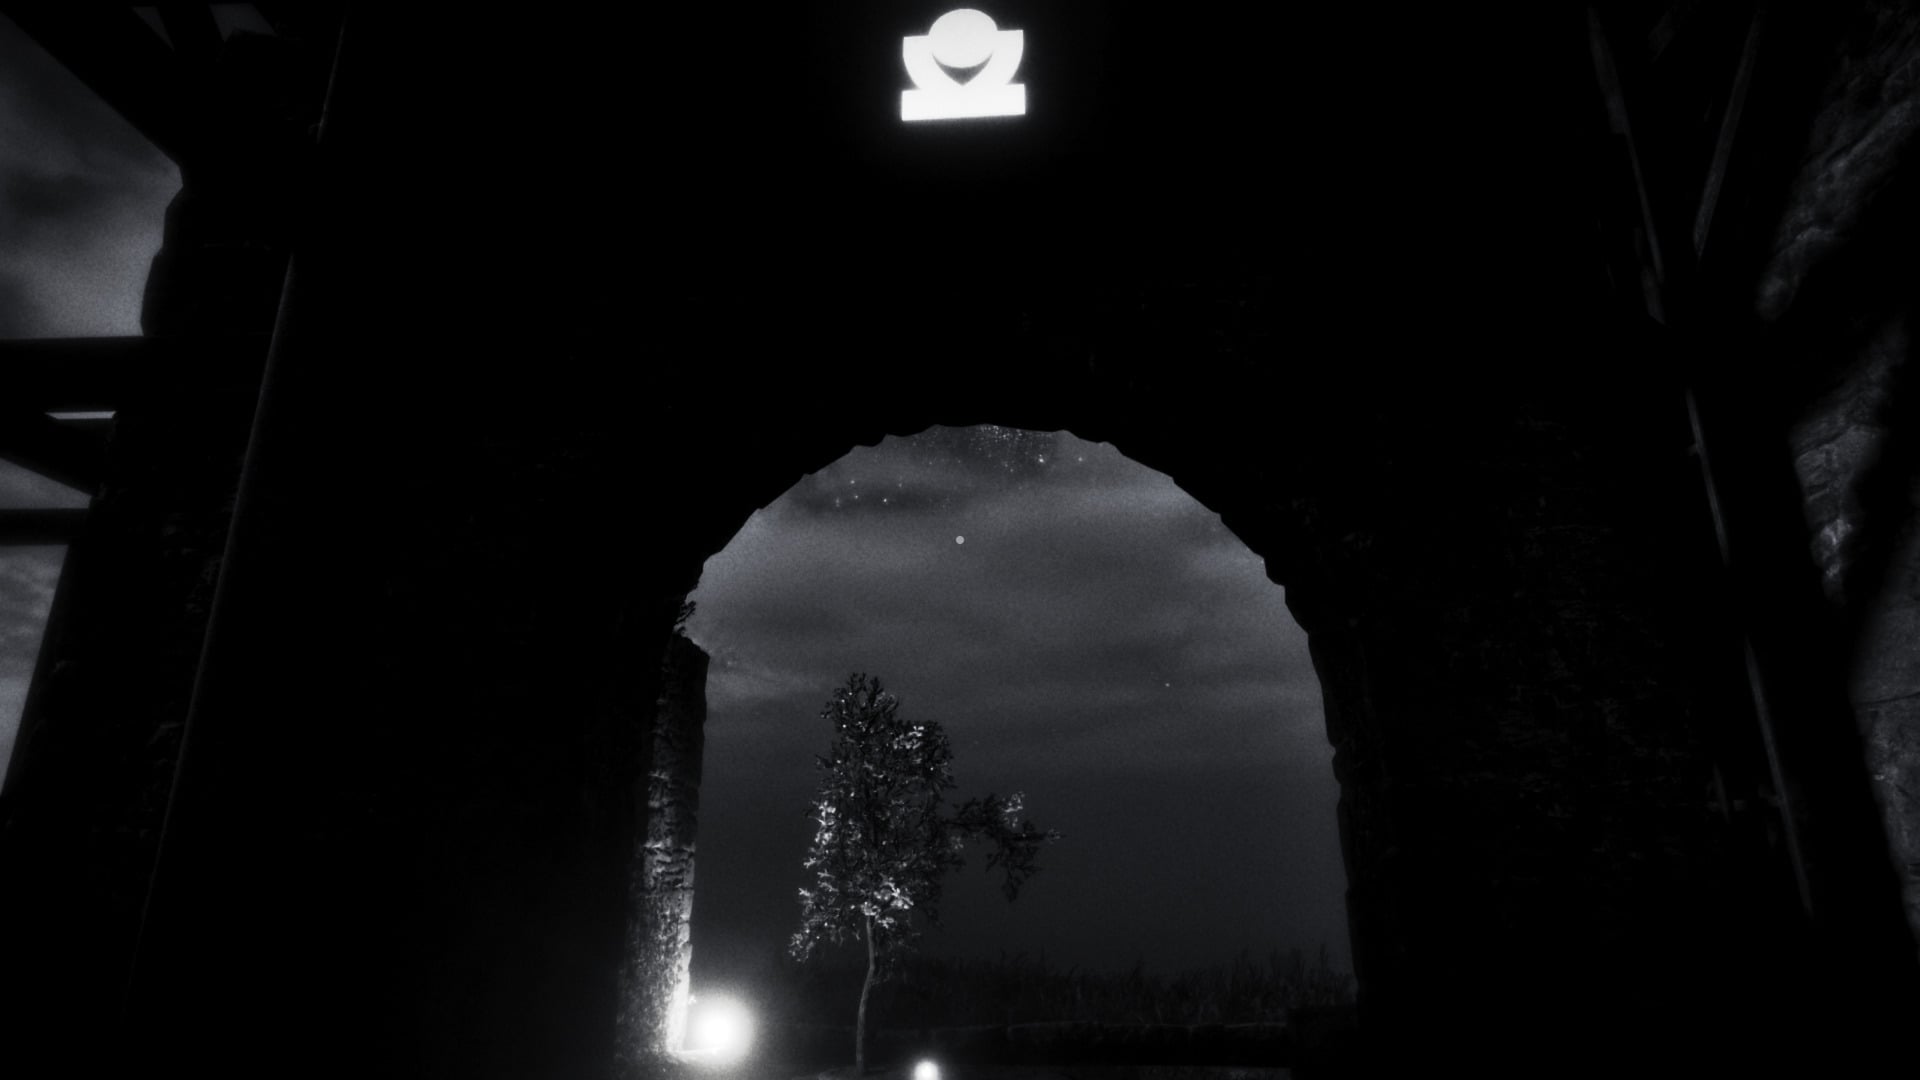
Two days of rest says nothing, so we move to the third line, which mentions forests. Here’s the tree:
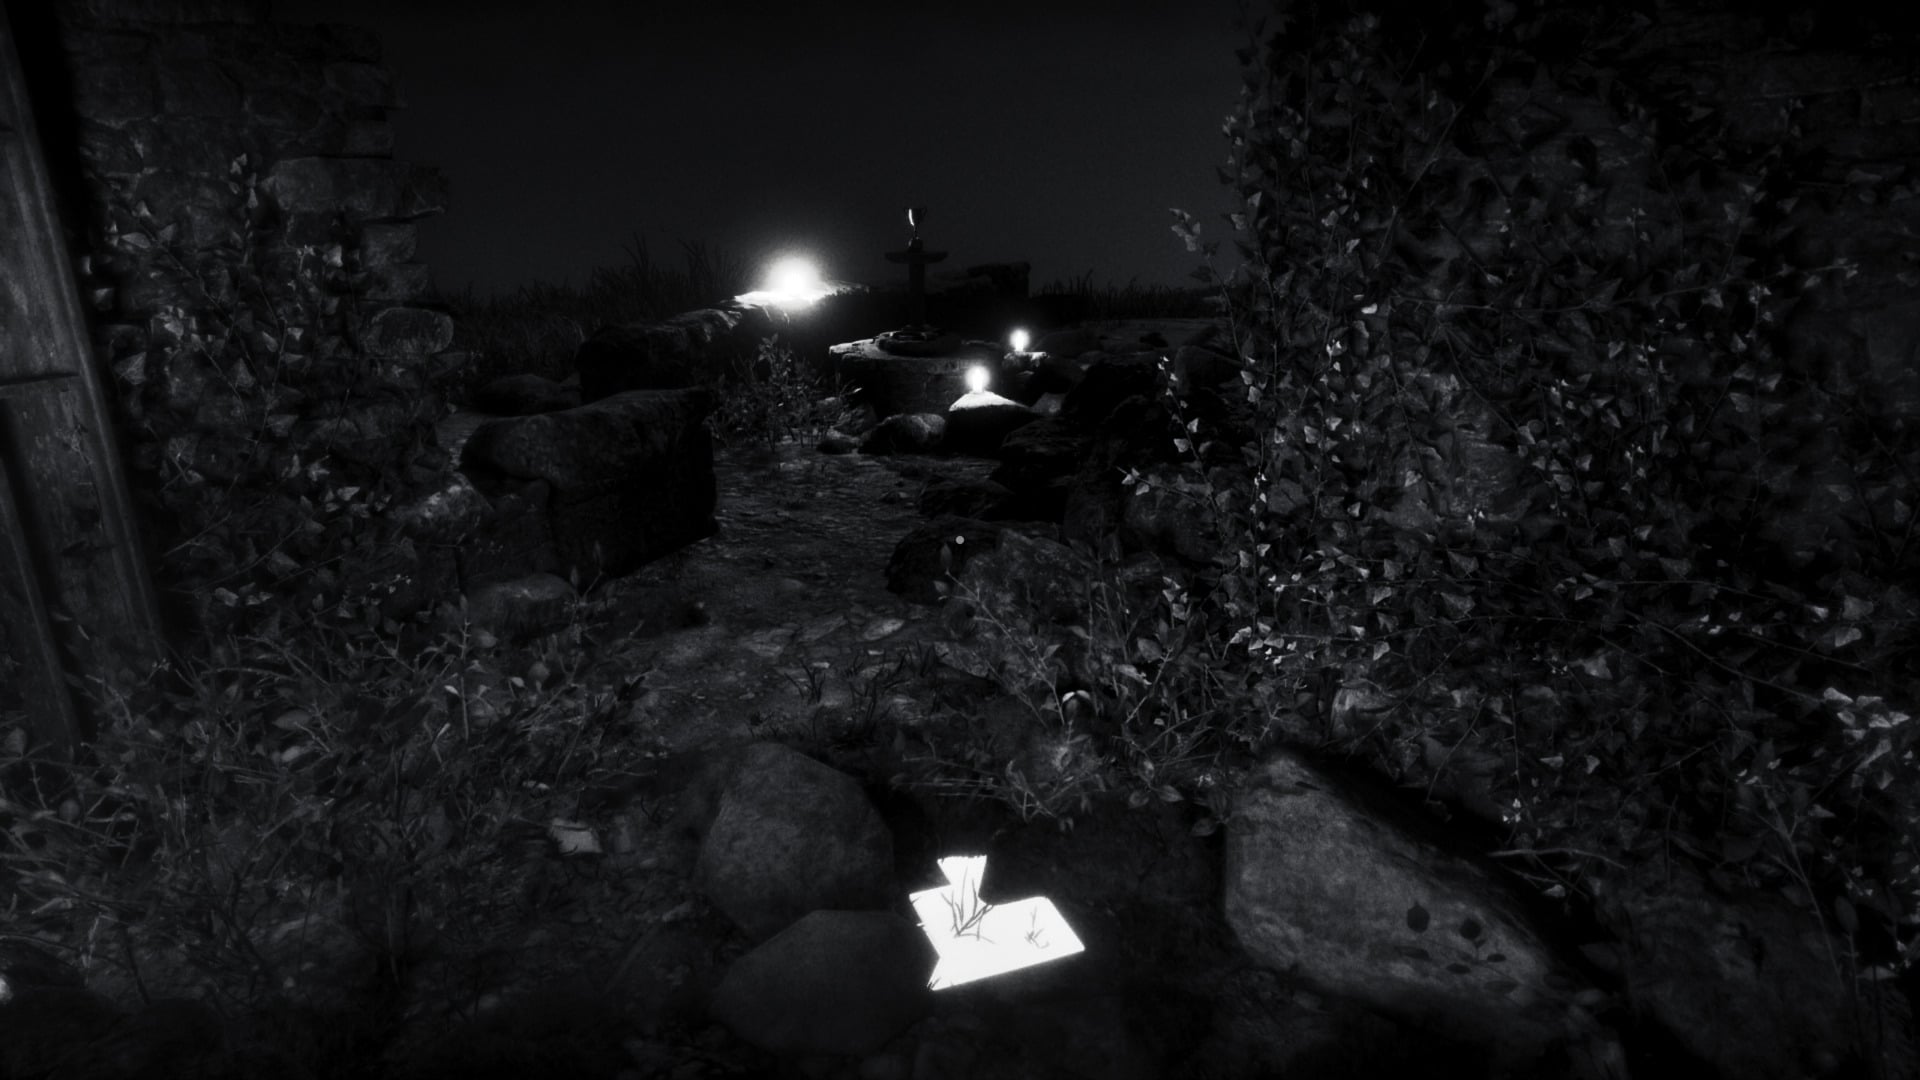
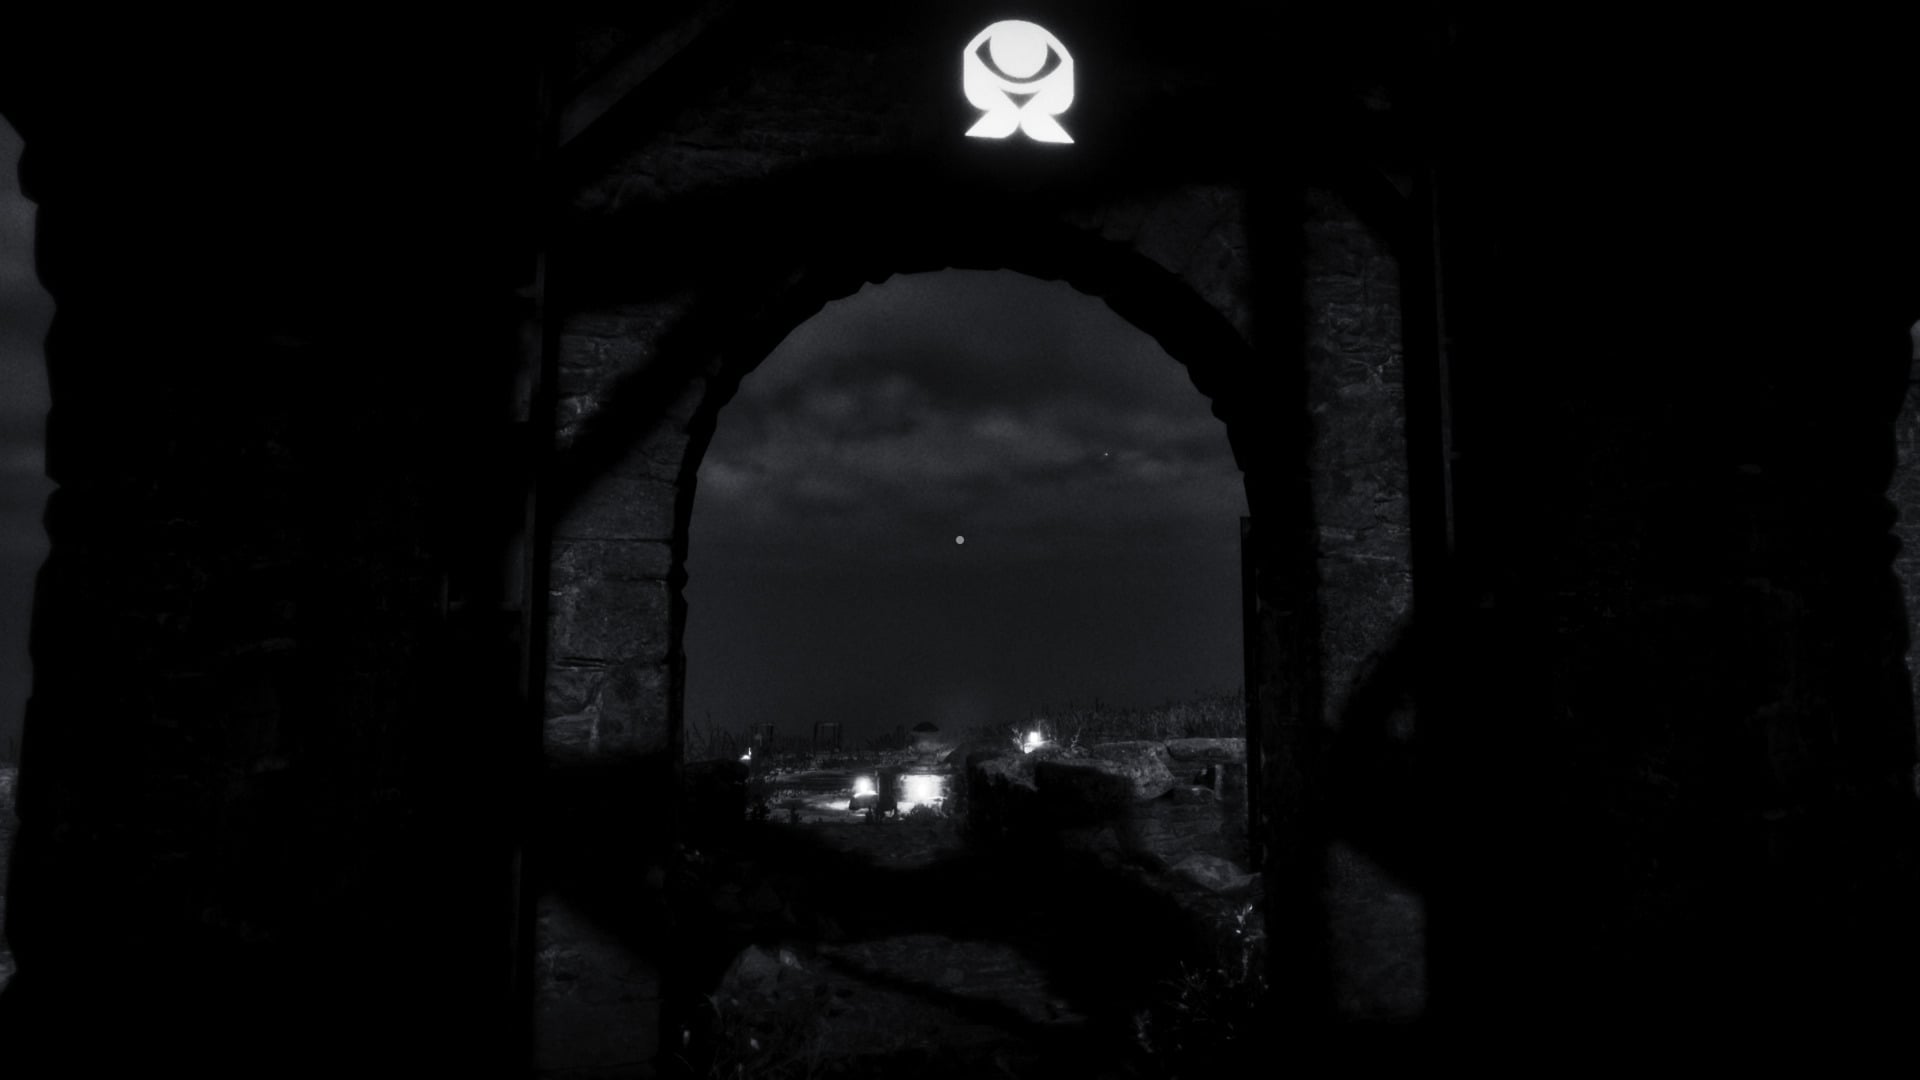
Third verse mentions gold, then earth, in order. My trophy was past the mark that had crumbled to the ground, and my earth was at the very start of the puzzle:
This next line is a bit tricky, as it mentions both sun and moon. But there are only seven lines on the bridge, and the items are only used one time each. So we just focus on sun here. I didn’t get a good picture of my sundial, sorry!
The last two lines in order mentions fire first, then drinking, which is water. Here’s fire:
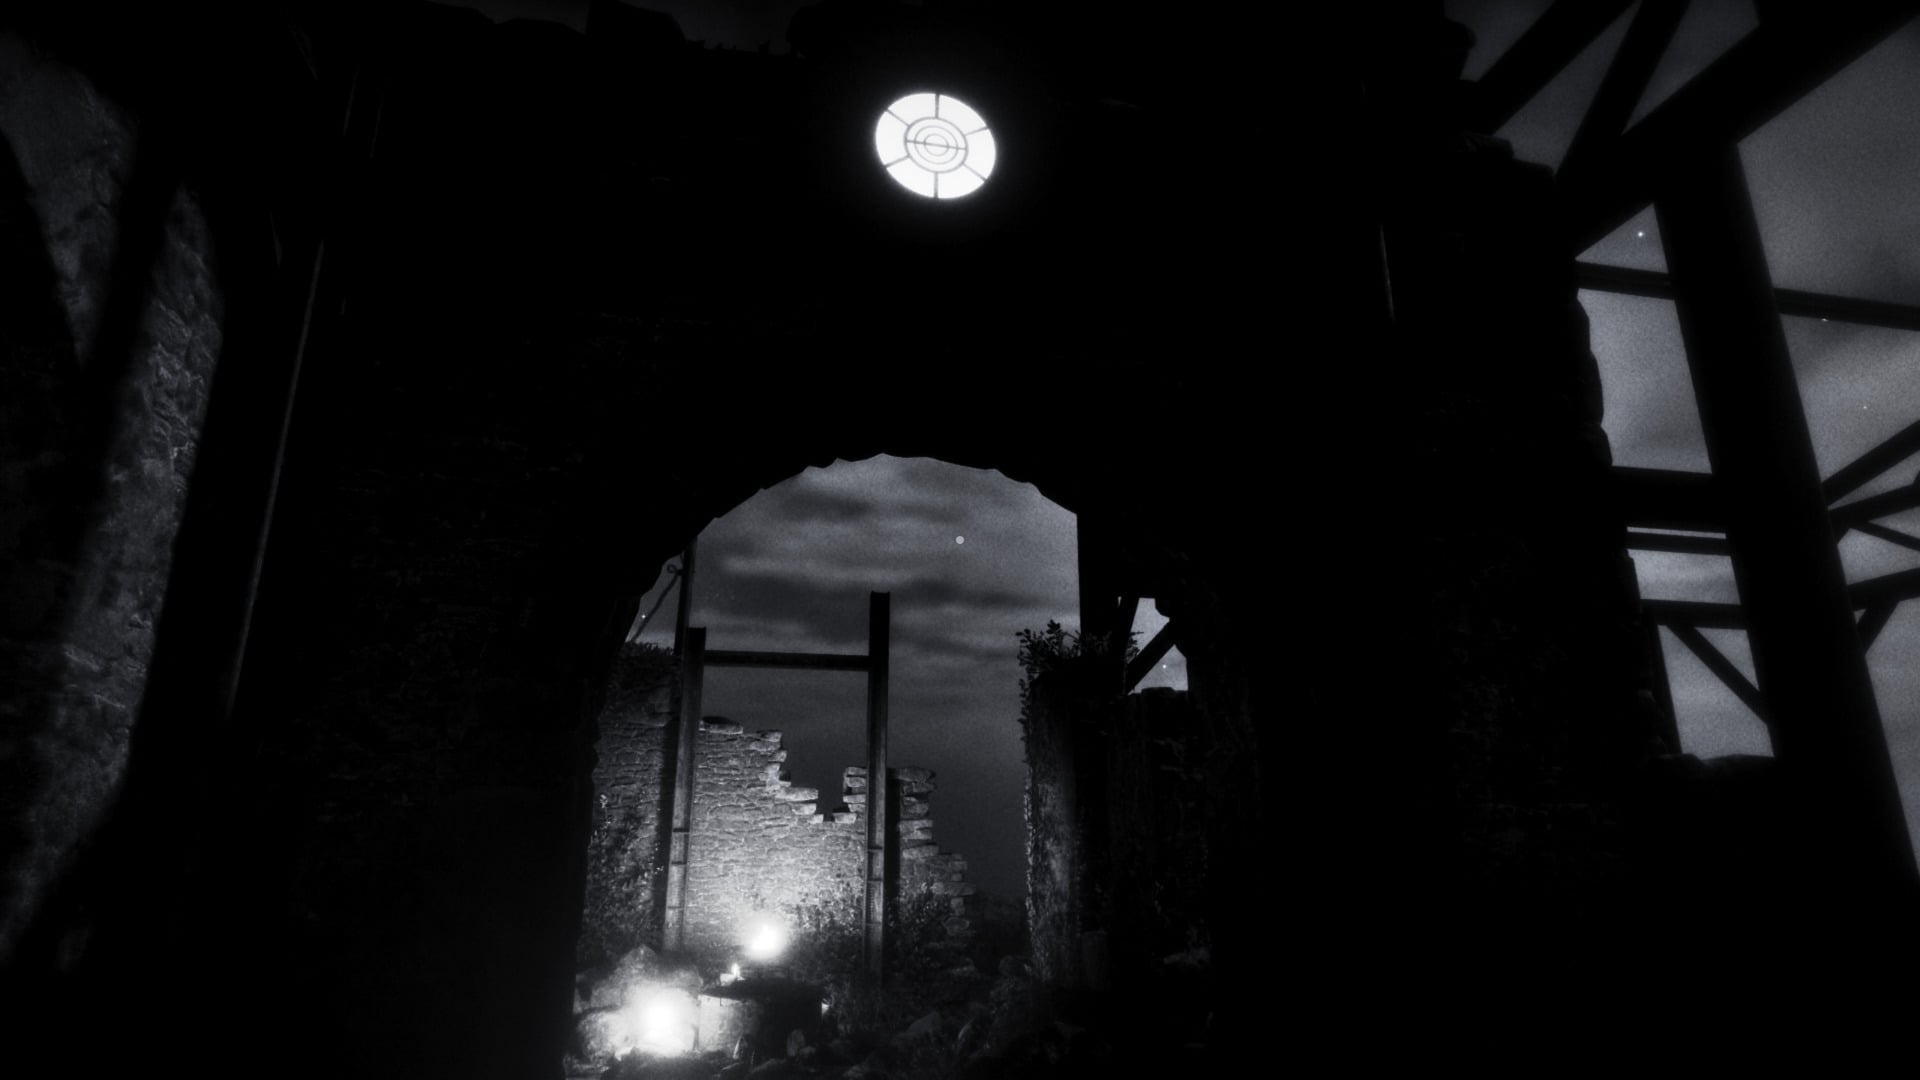
And water:
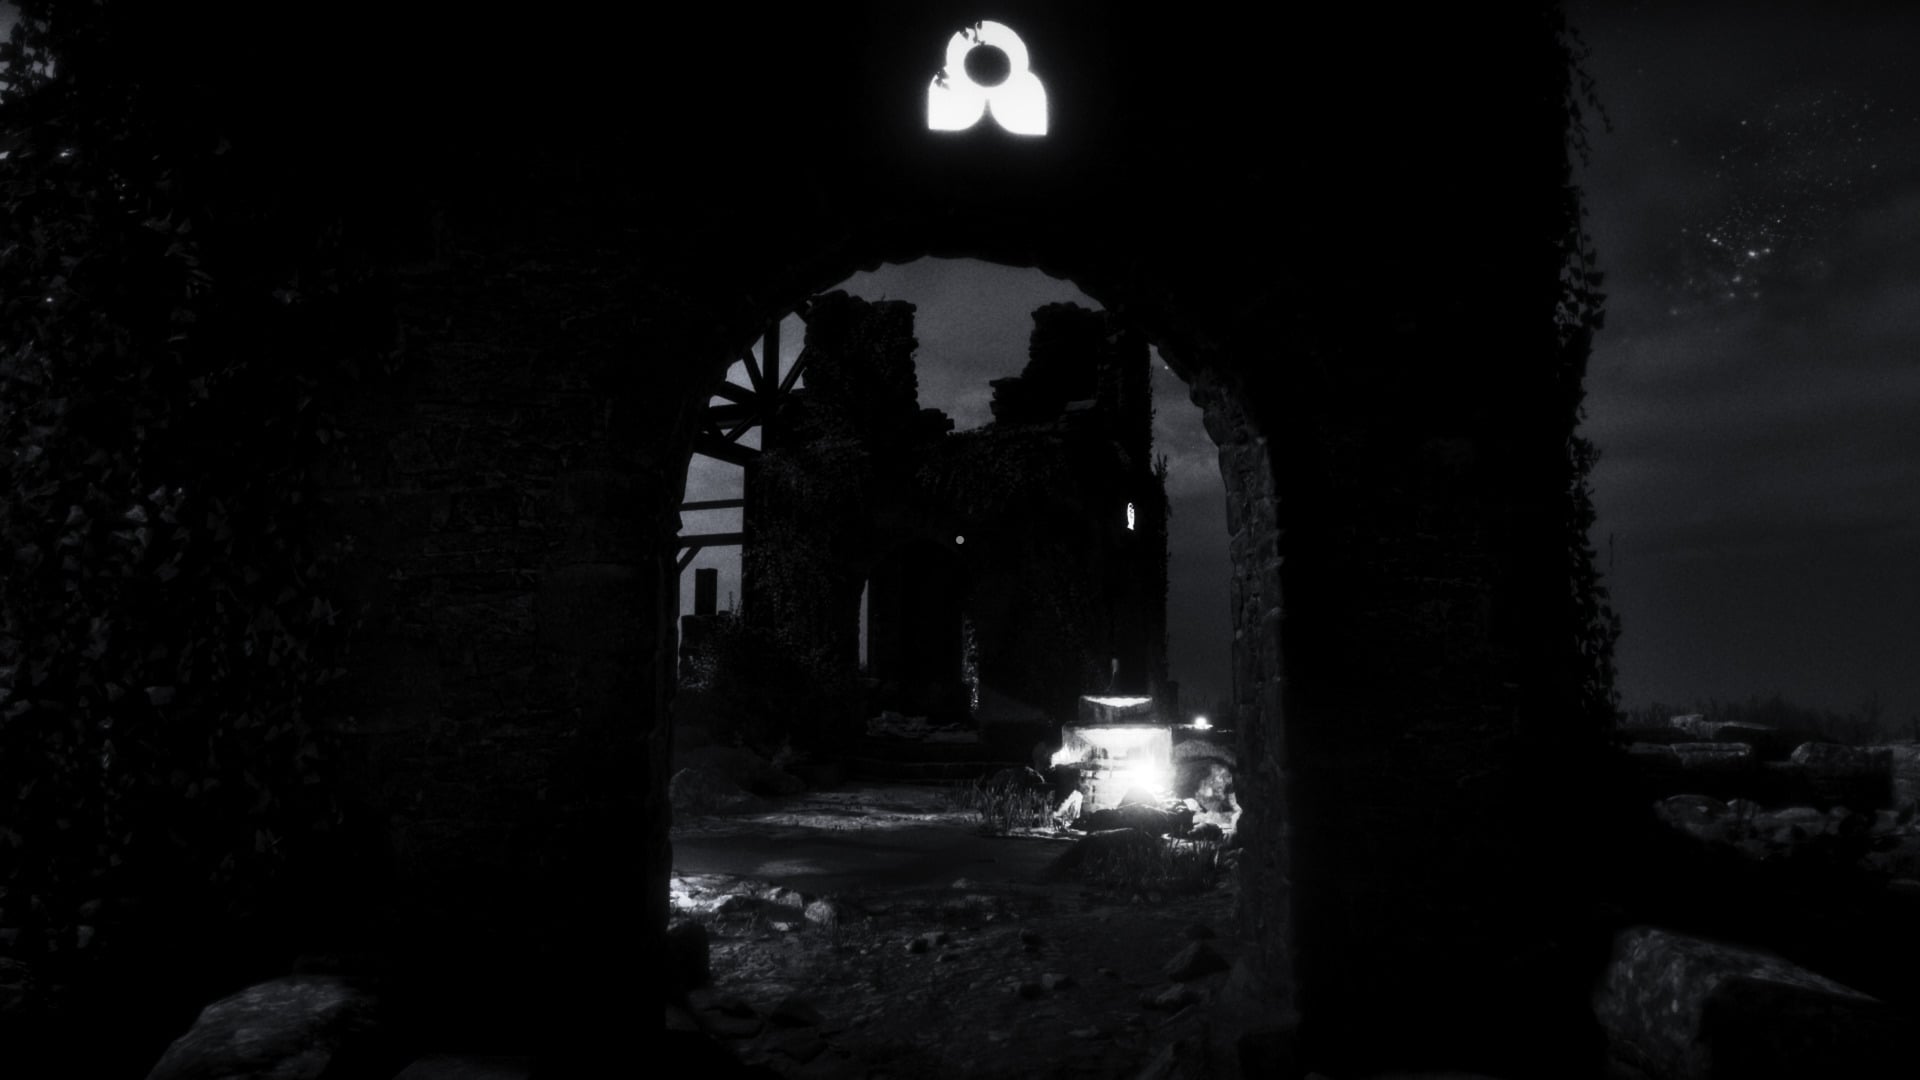
So I’d follow those symbols in order across the bridge. It may help to draw a map on a piece of scrap paper or in a notebook for this one so you don’t have to slowly walk back and forth over and over.
If you fail, the puzzle will fully reset itself, and you’ll have to look at a new version of the poem and ruins and try again.
Part 4: The Doors
This bit is a little creepy and again confusing at first, but quite easy once you work it out. All you have to do is walk in the door that’s the furthest away from any of the figures walking through the doors.
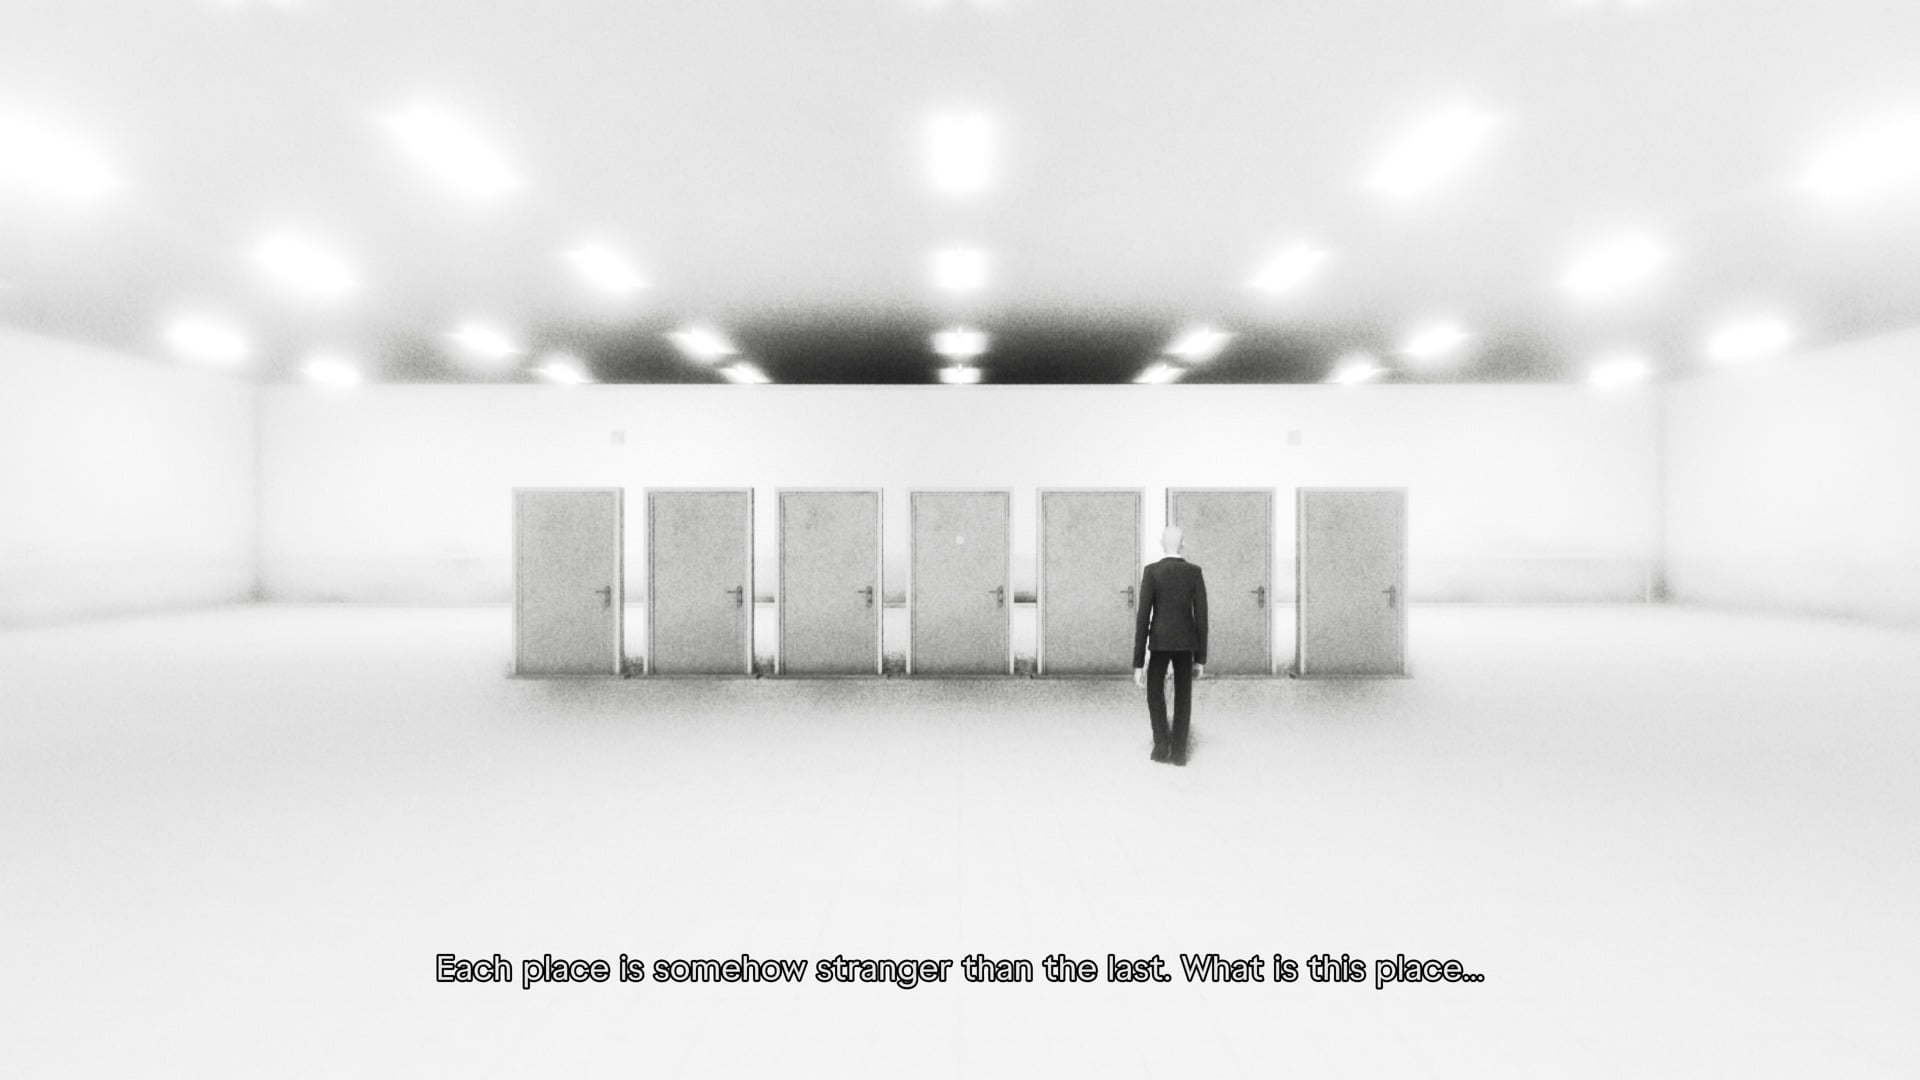
In the photo above, the man is walking toward the third door from the right, so I want to go to the farthest door on the left.
As you go, more figures will start to appear. When there are multiple, you want to try and split the distance as best as possible. You also have to avoid any doors that say they’re out of order, so if they have a sign on them, go to the next one furthest away from the man. On the last set of doors, there was no way to get away from the men, so I just walked directly between two of them.
Once you pass through the last door, you’ve officially beaten Tenebrae Lux!