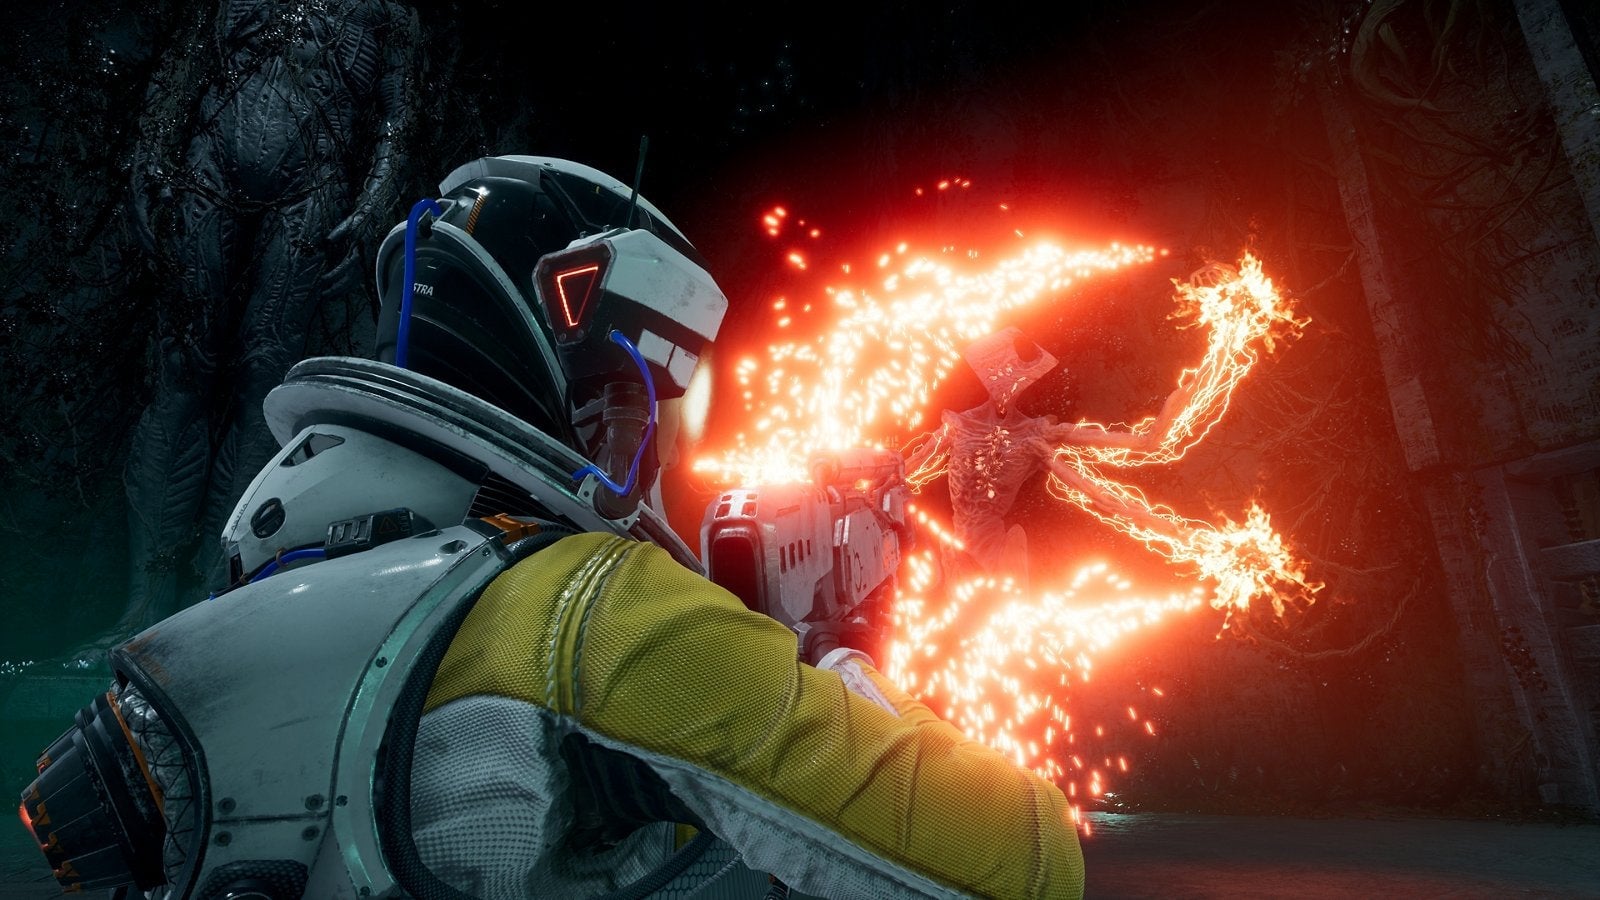
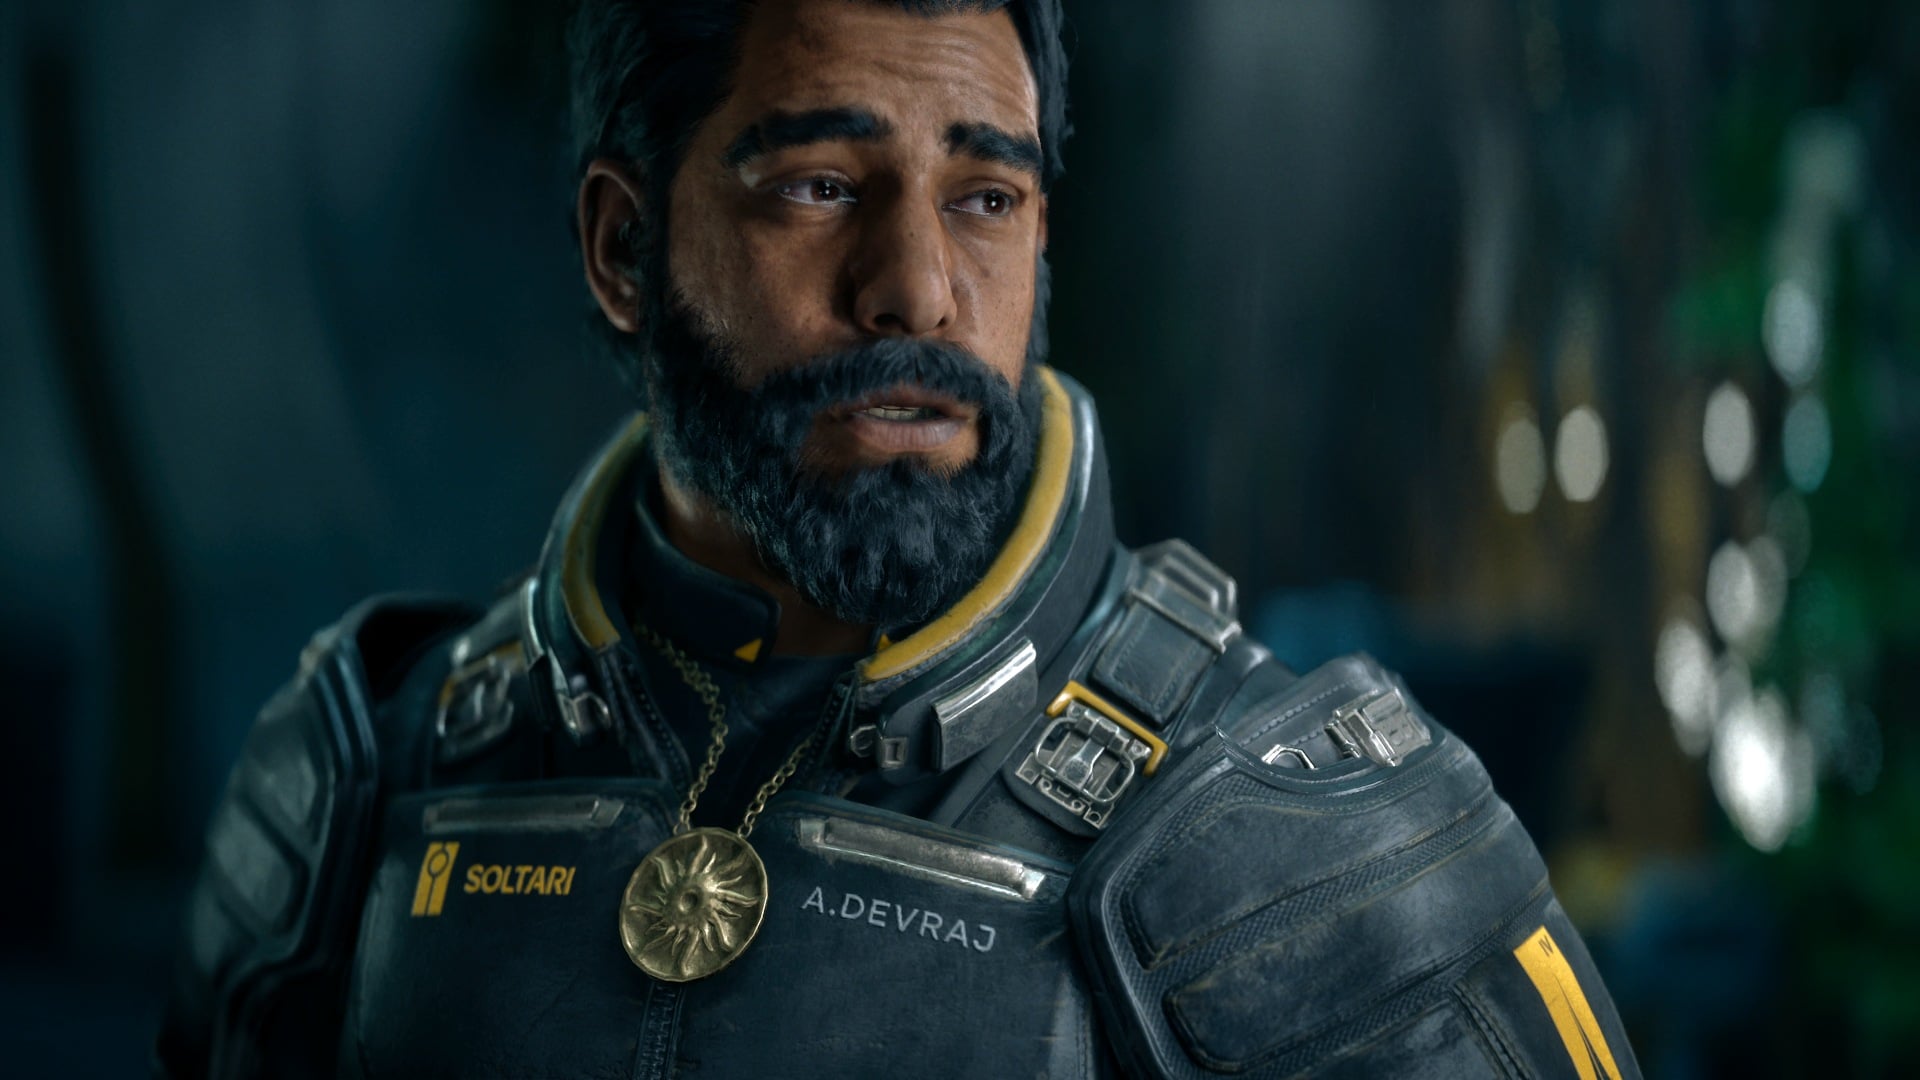
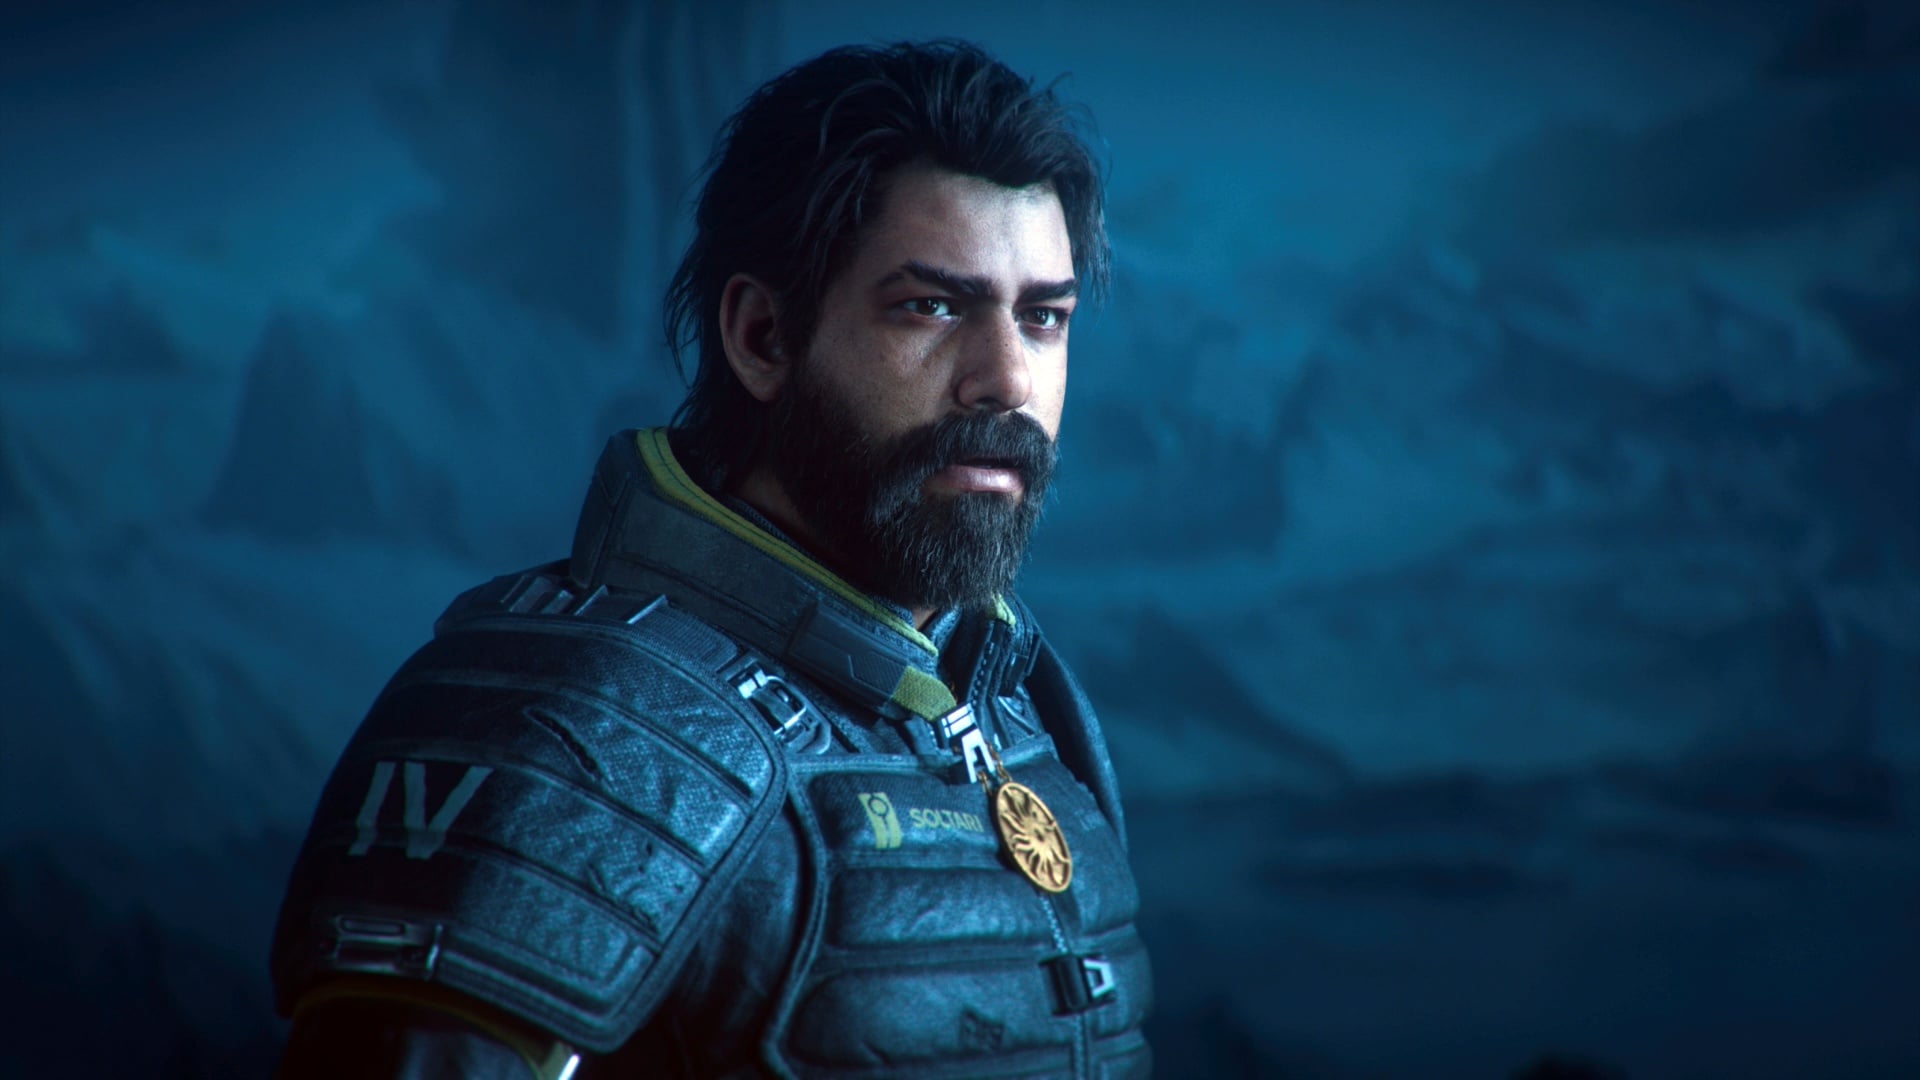
Returnal, the PS5-exclusive action game about pretending you’re in the Tom Cruise film Edge of Tomorrow, is no cakewalk. The rank-and-file enemies are one thing, what with their tentacle laser beams and relentless volleys of neon death basketballs. But it’s the boss fights that will really give you a run for your money.
Read: Kotaku’s review of Returnal
 Bosses show up at the end of each biome in Returnal. After you defeat a boss once, you’ll never have to fight them again. (You’ll get some nice loot if you choose to do so, though. Your choice.) Each boss has three rounds; each round features more things to dodge than the previous one. You know how it goes.
Broadly speaking, you’ll fare better if you focus more on dodging attacks than on trying to dish out damage. If you find an Astronaut Figurine—an item that automatically resurrects you upon death—while exploring, buy it, even if doing so means wiping out all of your obolites. Parasites that restore your health when you’re low are also enormously helpful; if you’re at the threshold, you’ll usually survive one hit. Then, it’s just a matter of dodging and surviving for a few seconds until you’re back up to the threshold.
Between rounds, bosses are invincible. Unless you see a health bar, don’t bother shooting. Oh, and make sure to bring a silphium vial. You’ll definitely need to heal at some point. (A good rule of thumb is that, if you need to use it before the third round, things probably aren’t going so well.)
Of course, every boss fight is different, and some strategies are engagement-specific. Here’s some advice for tackling the first three bosses. After that… Well, you’ll see.

Phrike (Overgrown Forest)
Initially, Phrike really only has two attacks: a narrow, horizontal volley, and a move that rains projectiles down from above. Don’t strafe. Instead, pick a direction—clockwise or counterclockwise—and stick with it. You’ll have an easier time charting a consistent path through the orbs that rain down, and you’ll find it easier to dodge volleys without accidentally dodging into a follow-up blast. You can dash through most projectiles, save for the purple ones. Jump or dash away from those.
During the second round, Phrike will add an extremely painful melee attack to the mix, so try to keep your distance. (A long-range weapon, like the tachyomatic carbine, helps.) You can usually forecast these melee attacks when Phrike winds up like a snowboarder prepping for a 1080º. The third round is much the same as the second, except faster-paced. If you can make it through the second round, you can make it through the third. I believe in you.
Read: How To Not Die (As Much) In Returnal

Ixion (Crimson Wastes)
Ixion largely keeps to the margins and dashes around from point to point. Best way to combat that is to just do the same. Stick to the edges. Dash constantly. The arena in which you fight Ixion is smaller than it seems, so a close-range gun like the spitmaw blaster won’t be as inhibited by the limited range, particularly if you find one with the “narrow spread” perk.
Between waves, Ixion will zip to the center of the stage and blast a ton of blue orbs outward while also sending out sporadic energy waves. Don’t even bother trying to deal damage during this section. You can technically do so, but trying to dodge two separate types of attack at once is overwhelming enough. It’s better to just focus on surviving. (If you have an automatic weapon, like the hollowseeker, you could hold down the right trigger to fire errantly from the hip. Just don’t make it your focus.)
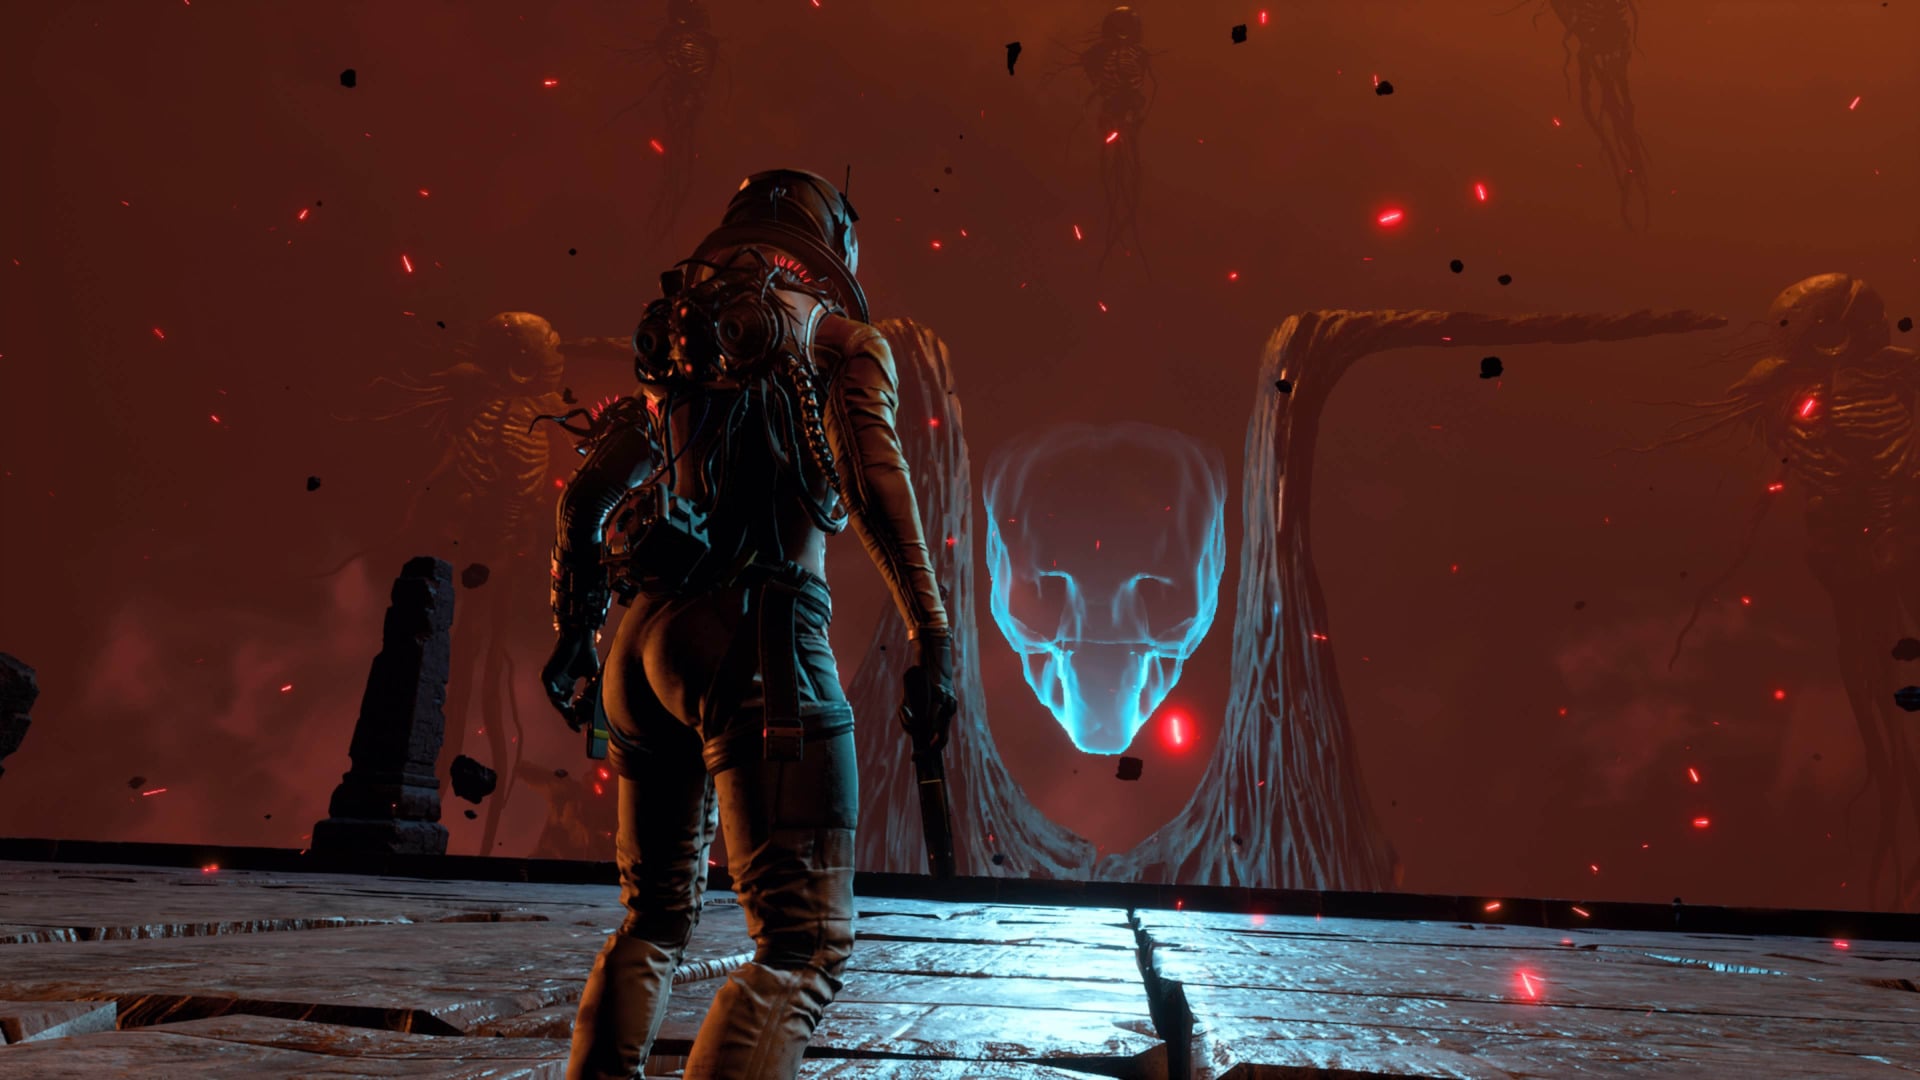
Nemesis (Derelict Citadel)
Nemesis is flanked by two creepy-AF space cyclops-looking monsters. When they float down to your level, stop shooting and start dodging, as they’re about to rain lasers your way. A pistol or carbine with the Trackerswarm ability will be your best friend here. Really, just point your weapon in the general direction of Nemesis and release your alt-fire whenever it’s ready. (If, beforehand, you’re lucky enough to find parasites or artifacts that reduce alt-fire cooldown, be sure to grab those.) The auto-targeting will do your job for you.
The second wave is similar; the only major difference is that Nemesis moves between multiple different platforms, so you might have to use your grappling hook to zip to a different arena if you don’t defeat it quickly enough.
It’s the third wave that really sends this fight off the rails. The ground will give way, and you’ll be thrown into a freefall. Meanwhile, platforms will move upward, so you’ll have to zip from platform to platform to make your way into the effective range of Nemesis. But if you get too close, you’ll get blasted back to where you started, far out of range for most weapons.
This is where Trackerswarm stops being merely helpful and starts being invaluable. At certain points, Nemesis will send a vertical barrage of blue orbs your way. It doesn’t matter what direction you pick: Just hold right or left until the barrage is over and you should be fine. Other than that, just play it safe. Use your grapple to zip between platforms as Trackerswarm recharges. Fire when it is. When it isn’t, focus on dodging.
