
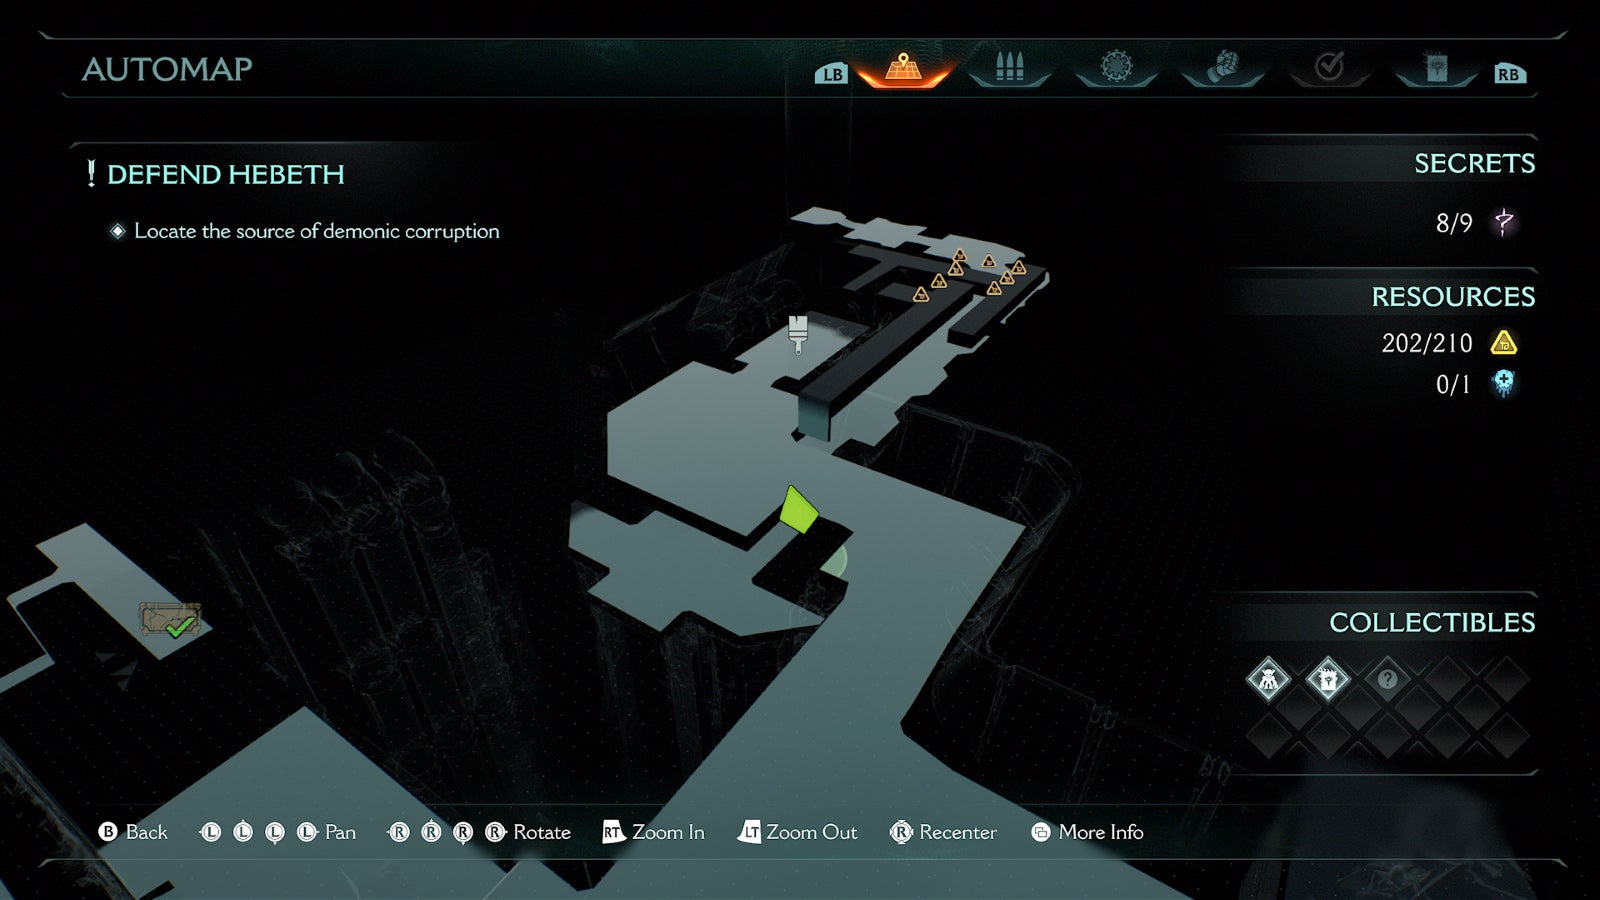
Doom: The Dark Ages wouldn’t be a Doom game without Secret Paths, Dolls, Codexes, and more scattered throughout its levels. There are 22 levels throughout The Dark Ages’ campaign, and here’s where to find all of the secrets and collectibles for the second level: “Hebeth.”
1. Collectible 1
2. Collectible 2
3. Collectible 3
4. Collectible 4
5. Collectible 5
6. Collectible 6
7. Collectible 7
8. Collectible 8
9. Collectible 9
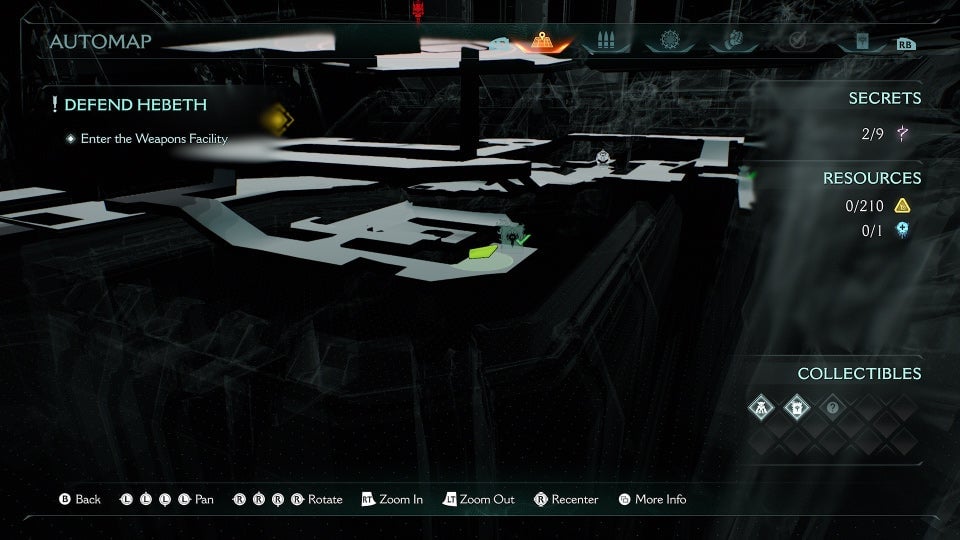
Collectible 1: Extra Life
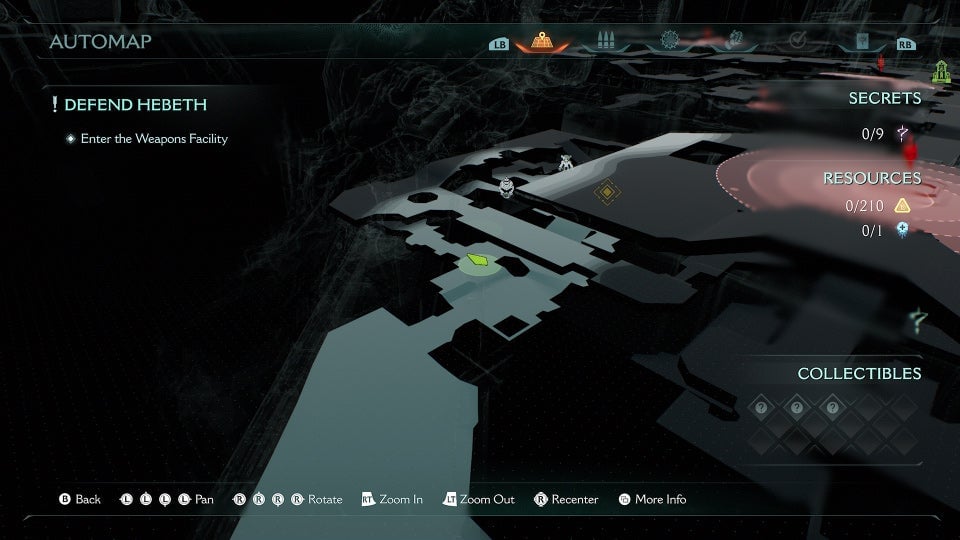
When you enter the first building, you’ll fight through some enemies. Look to your left and you should see wooden boards with the blue target on them. Shield Charge through them, go around the corner, and grab the Extra Life.
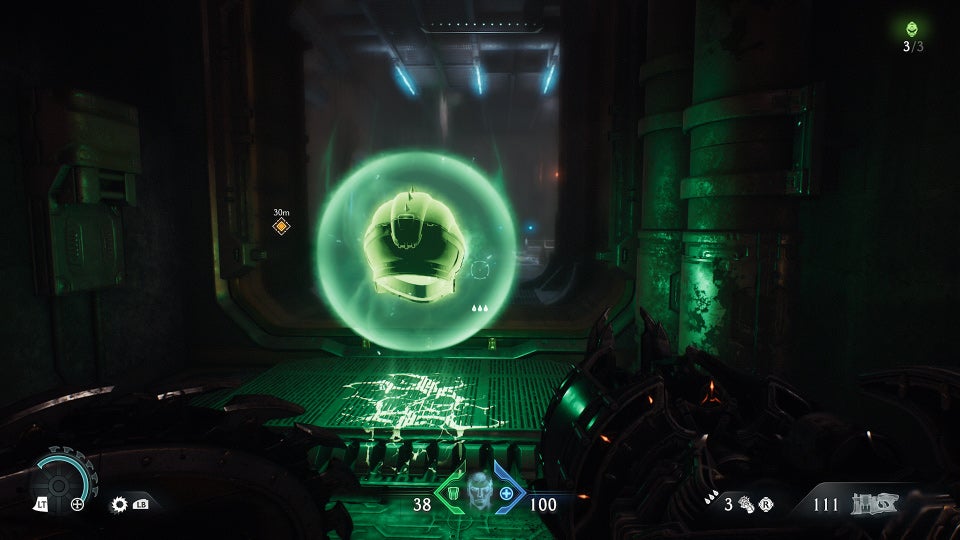
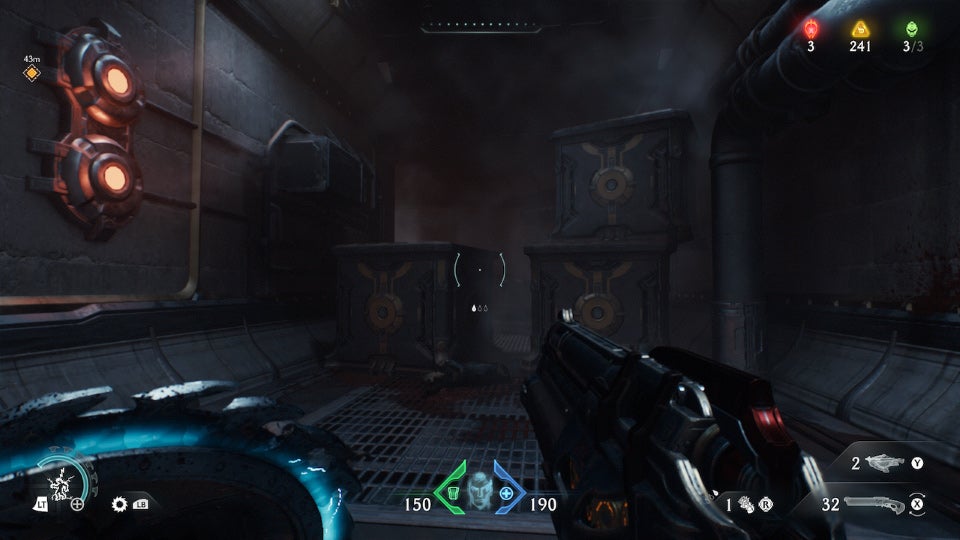
Collectible 2: Toy
After completing the combat encounter, go up the stairs and to the right. You should see a giant ventilation shaft with some boxes you can climb. Climb the boxes and drop down to the lower level to find the Toy at the end. To exit the shaft, hit the red lock on the wall next to it.
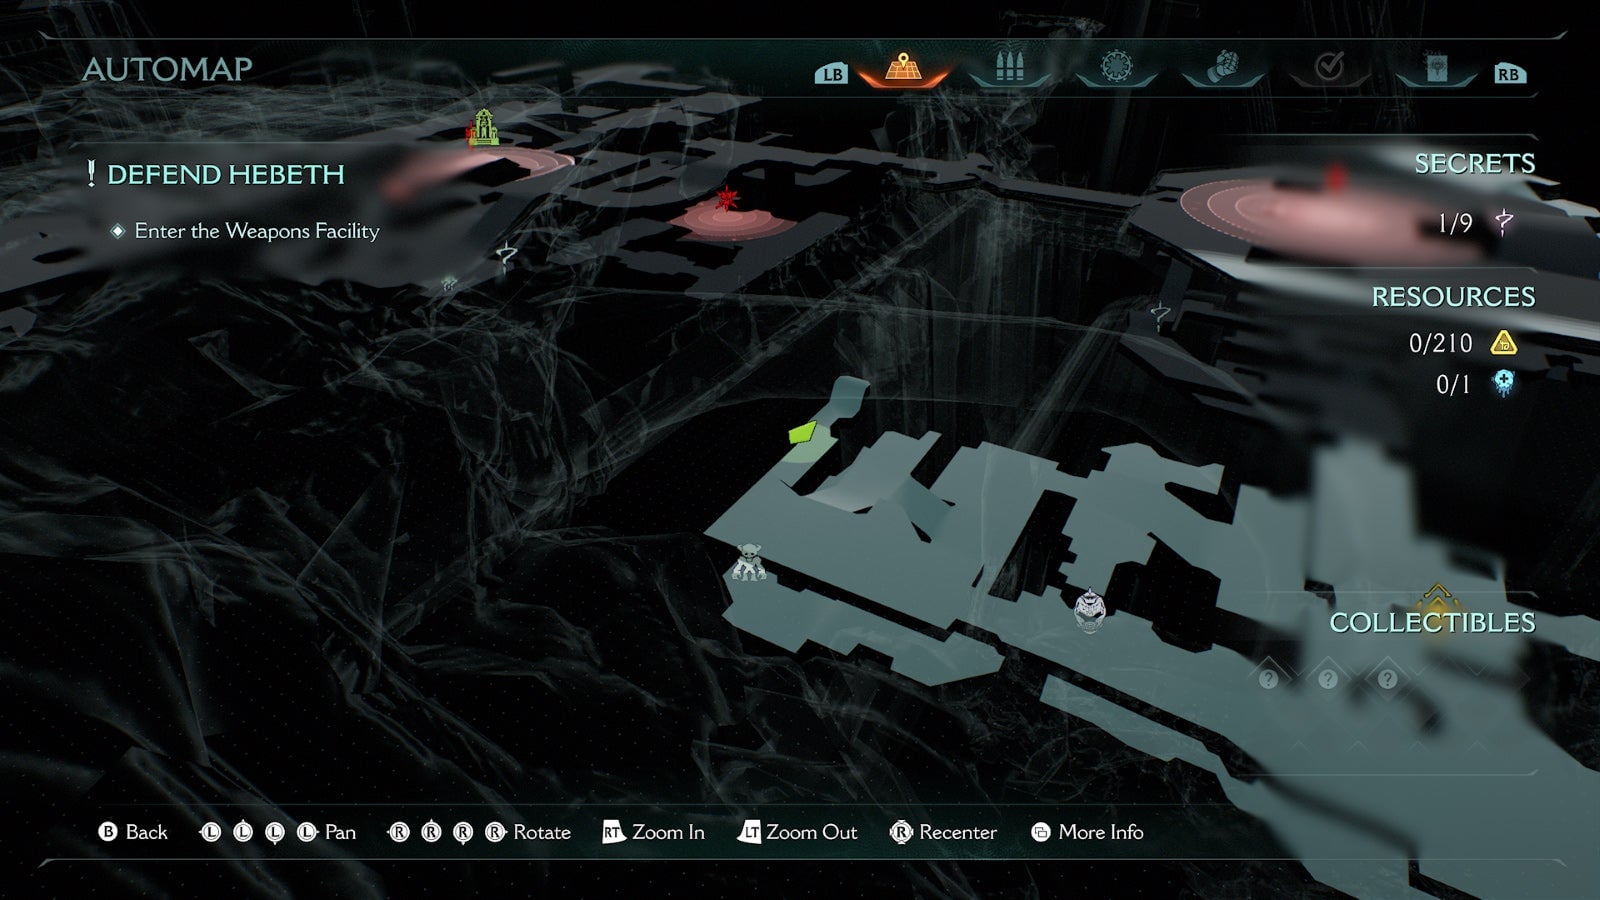
Collectible 3: Codex
After a few more enemy encounters, you’ll arrive on a staircase. On the lower level, head to the bax and you’ll come across a corner with some boxes. Just jump the boxes to find some friendly soldiers as well as a Codex.
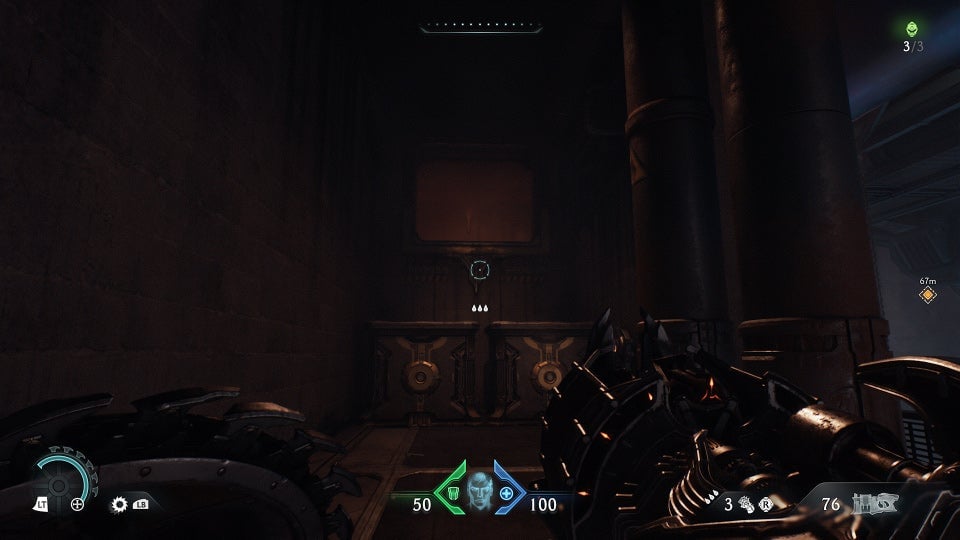
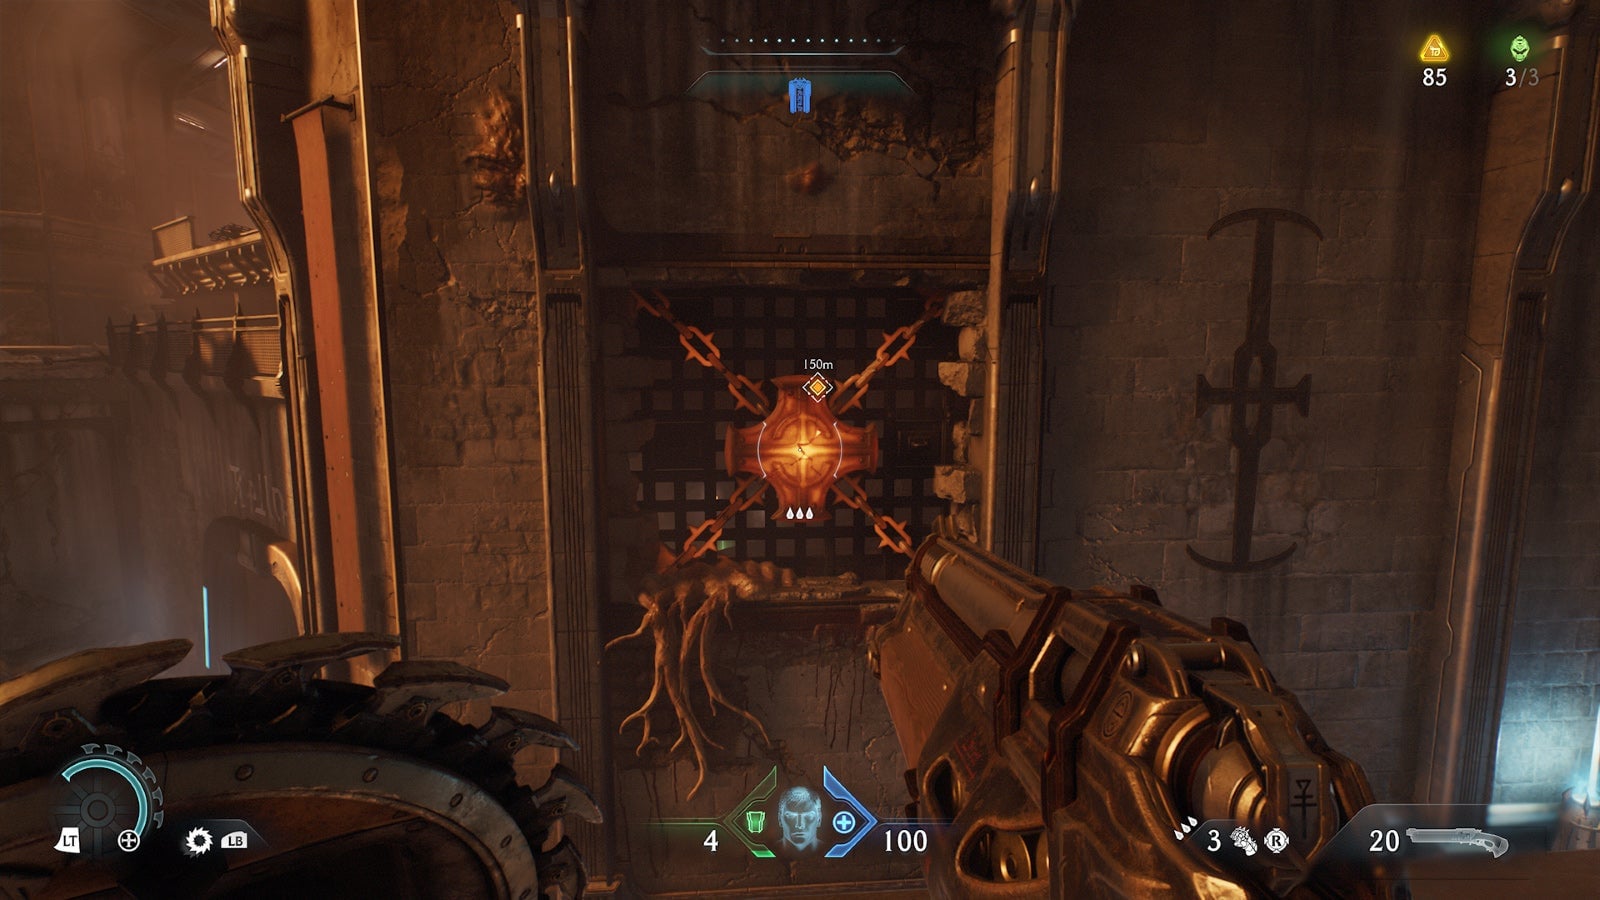
Collectible 4: Extra Life
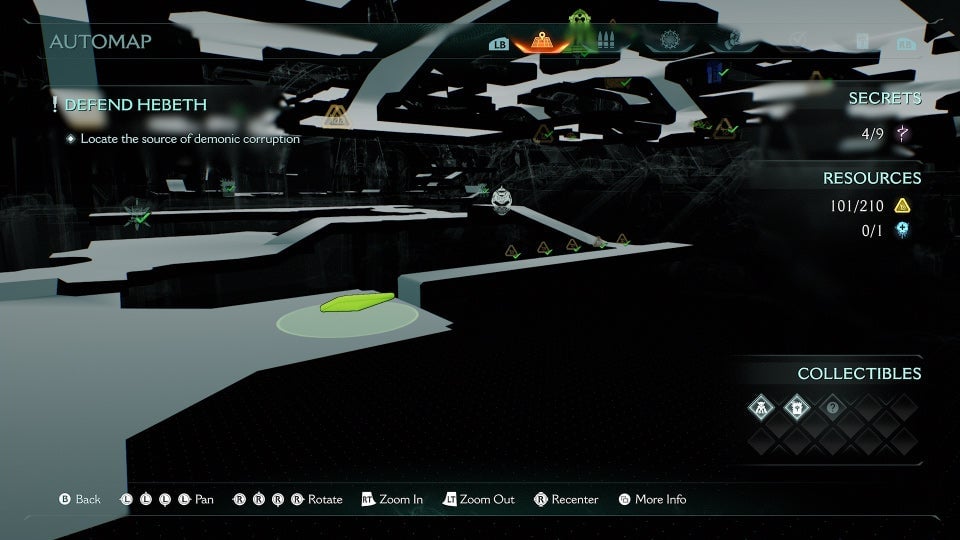
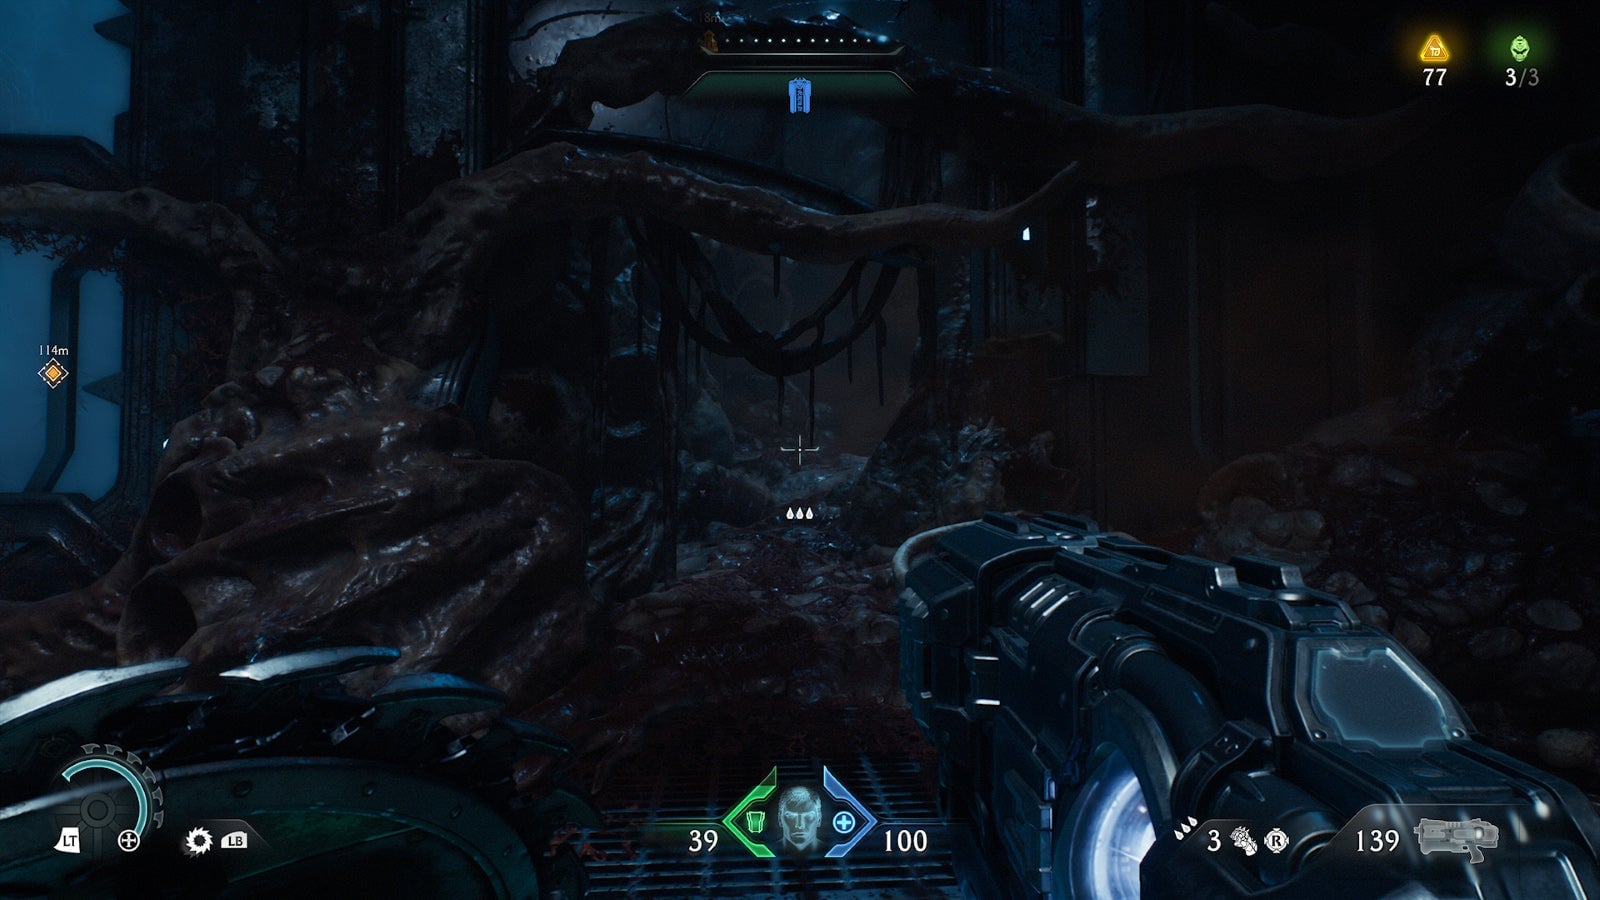
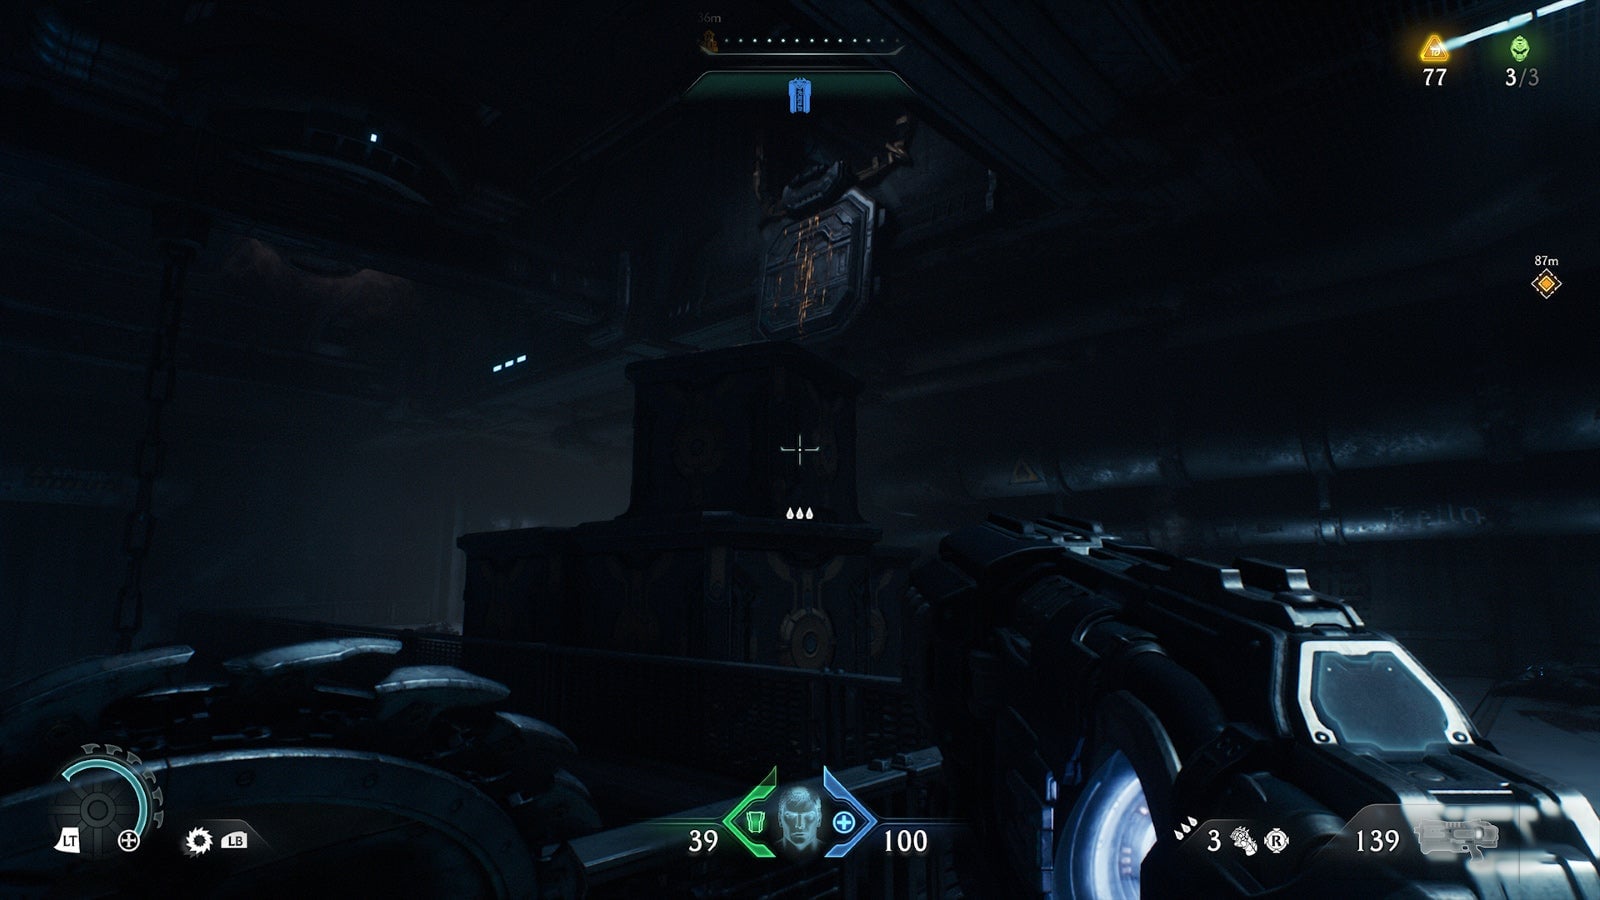
This collectible isn’t till a little further after you’ve gotten the Blue Key. You’ll come across a blocked shaft with a blue target on it. Shield Charge through it and you’ll find some gold as well as an Extra Life.

Collectible 5: Gold
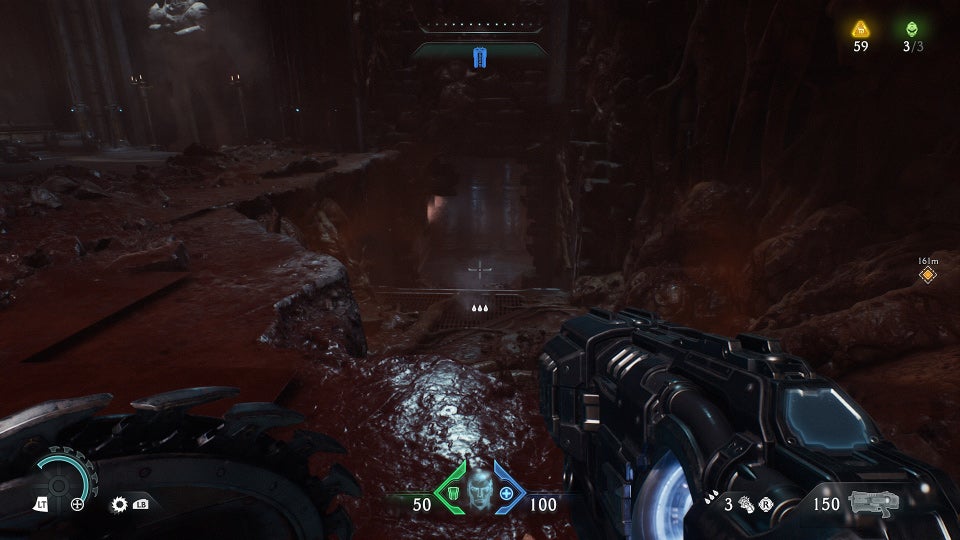
A few moments ago, you may have come across a pathway that was blocked by a demonic red wall. After looping around the area and back, you’ll see that the red wall is no longer there and more enemies have shown up. Defeat the enemies and go down the pathway to find some gold in the back.
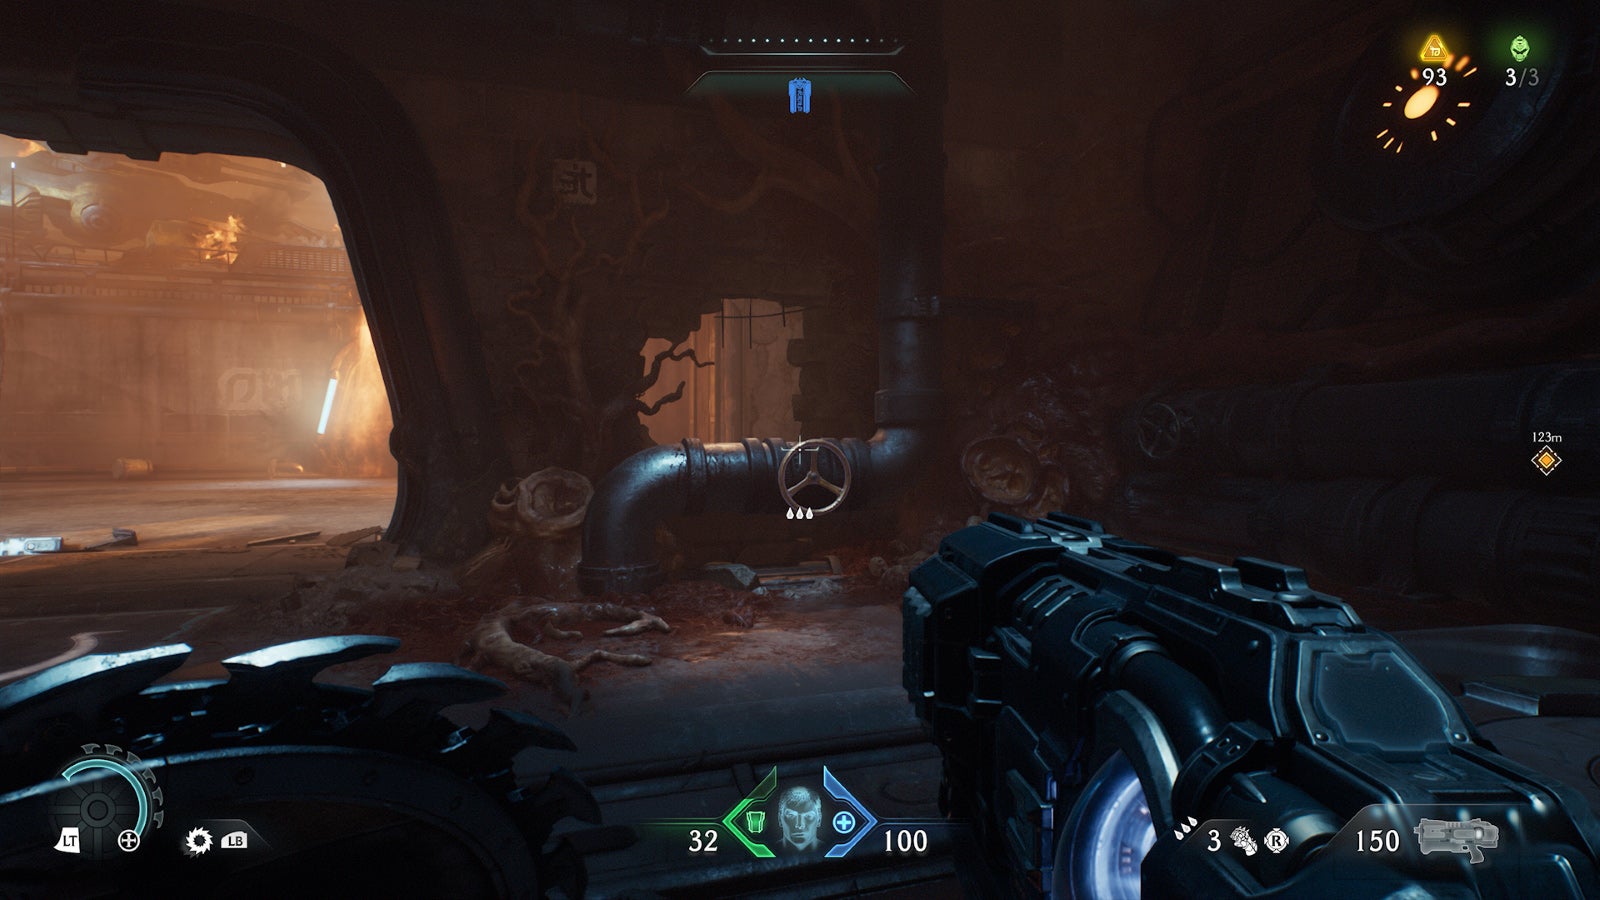
Collectible 6: Extra Life

This next one is when you’ve gone past the first point of no return into the outside area. Make your way through some enemies and you’ll see a small wall you can scale. Across from the platform, you’ll see a red chain you can break with your shield, which will then lead you into a room with some armor and ammo. Next to the door is a wheel you can turn to stop the fire from pouring out in front of the door across the other side.
Now you can enter the door and collect the gold and Extra Life inside. Beware as there’s an enemy that will burst out of the wall.
Collectible 7: Gold
Shortly after as you progress to the next area, you’ll have a big enemy encounter. Simply clear everyone out and enter the room for some gold
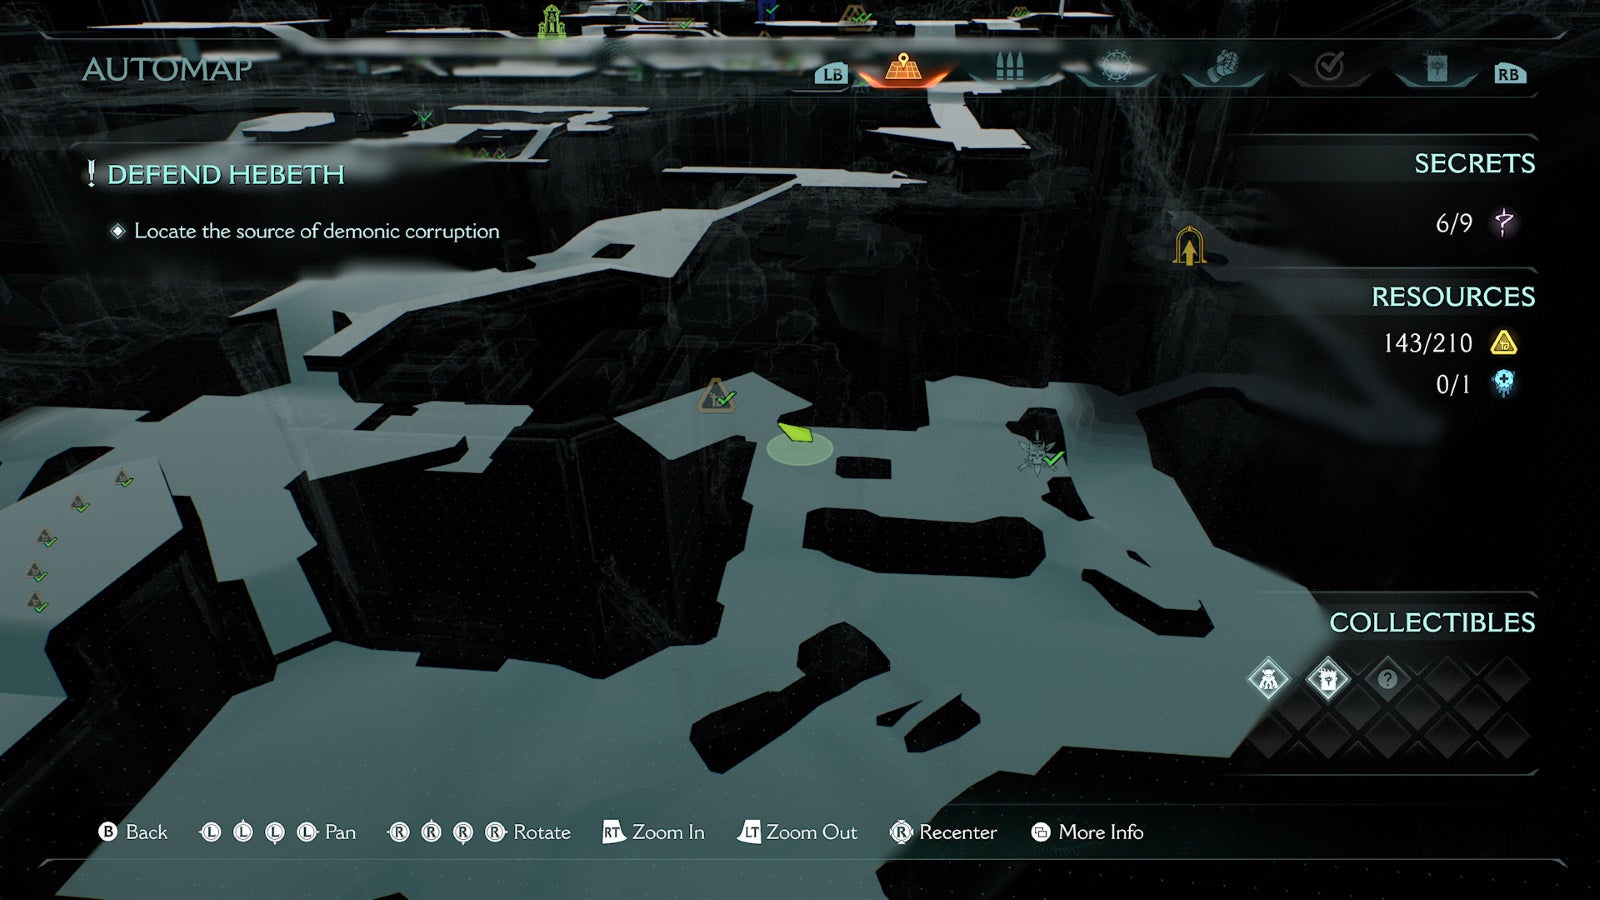
Collectible 8: Gold Chest
After the second point of no return, you’ll learn about the Shield Recall Jump. The first jump you’ll do, you’ll land near a Sentinel Shrine. Next to it, there’s a pathway that’ll lead you to a gold chest, which gives you a massive amount of gold.
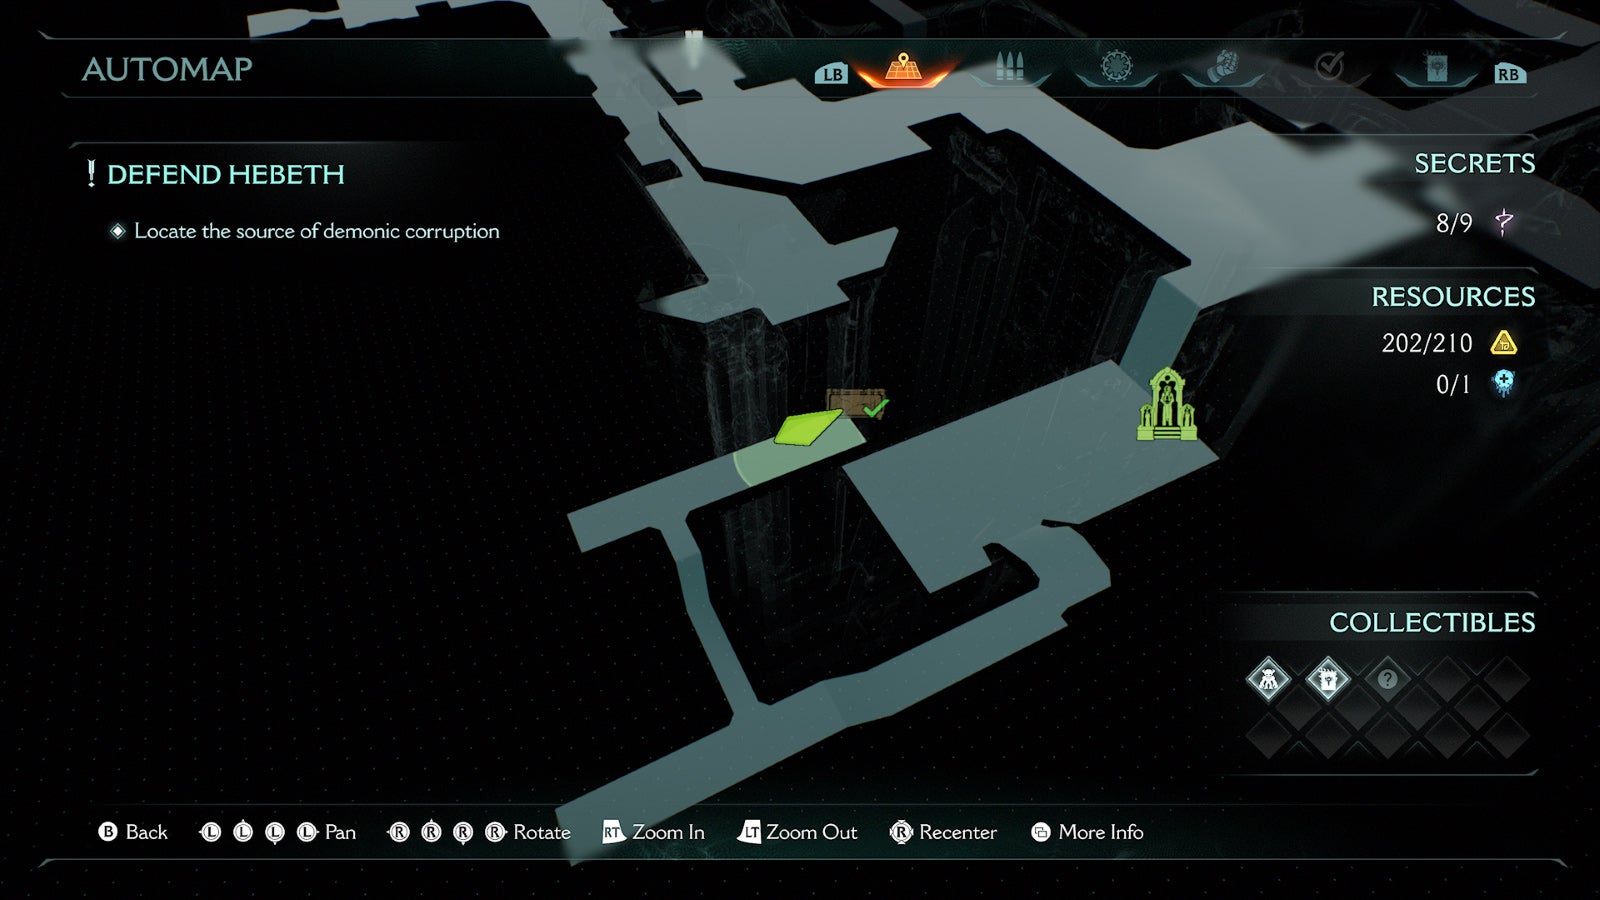
Collectible 9: Skin
The last collectible is right near the end of the level. You’ll see an open shaft with some boxes. Climb the boxes to reach the shaft. As you go through the ventilation shaft, you’ll collect some gold. Come out the other end and you’ll grab the Weapon Skin. Be careful though, as soon as you grab the skin, a bunch of enemies will appear and attack you.
Those are all the collectibles and secrets in the second level, Hebeth! For more on Doom: The Dark Ages, check out our review as well as tips on how to survive Hell
Doom: The Dark Ages is now available on PS5, Xbox Series X/S, and Windows PCs.