As you explore the many biomes in Shared Memory’s hit metroidvania Animal Well, you’ll come across at least one enigmatic pillar simply called “Circular Recess.” The game gives you no explicit clue about what to do here, and you don’t need to solve these puzzles to complete the first “layer” of the game. This might lead you to try all sorts of wild maneuvers to uncover what these mysterious locations mean. Trust me, do not bother taking the M. Disc and trying to slot that in a recess while the ghost dog chases you.
In actuality, each Circular Recess is a gate that leads to an optional area in Animal Well. To open these, you’ll need to find three medals that correspond to each Circular Recess. Each of these areas hides unique items that you’ll need in order to complete the game’s “second layer,” so you’ll want to uncover these before you try to track down the last 32 eggs in the game.
As you might expect, finding the three medals is easier said than done. Here’s how to find each of these in Animal Well
Where to find the S Medal in Animal Well
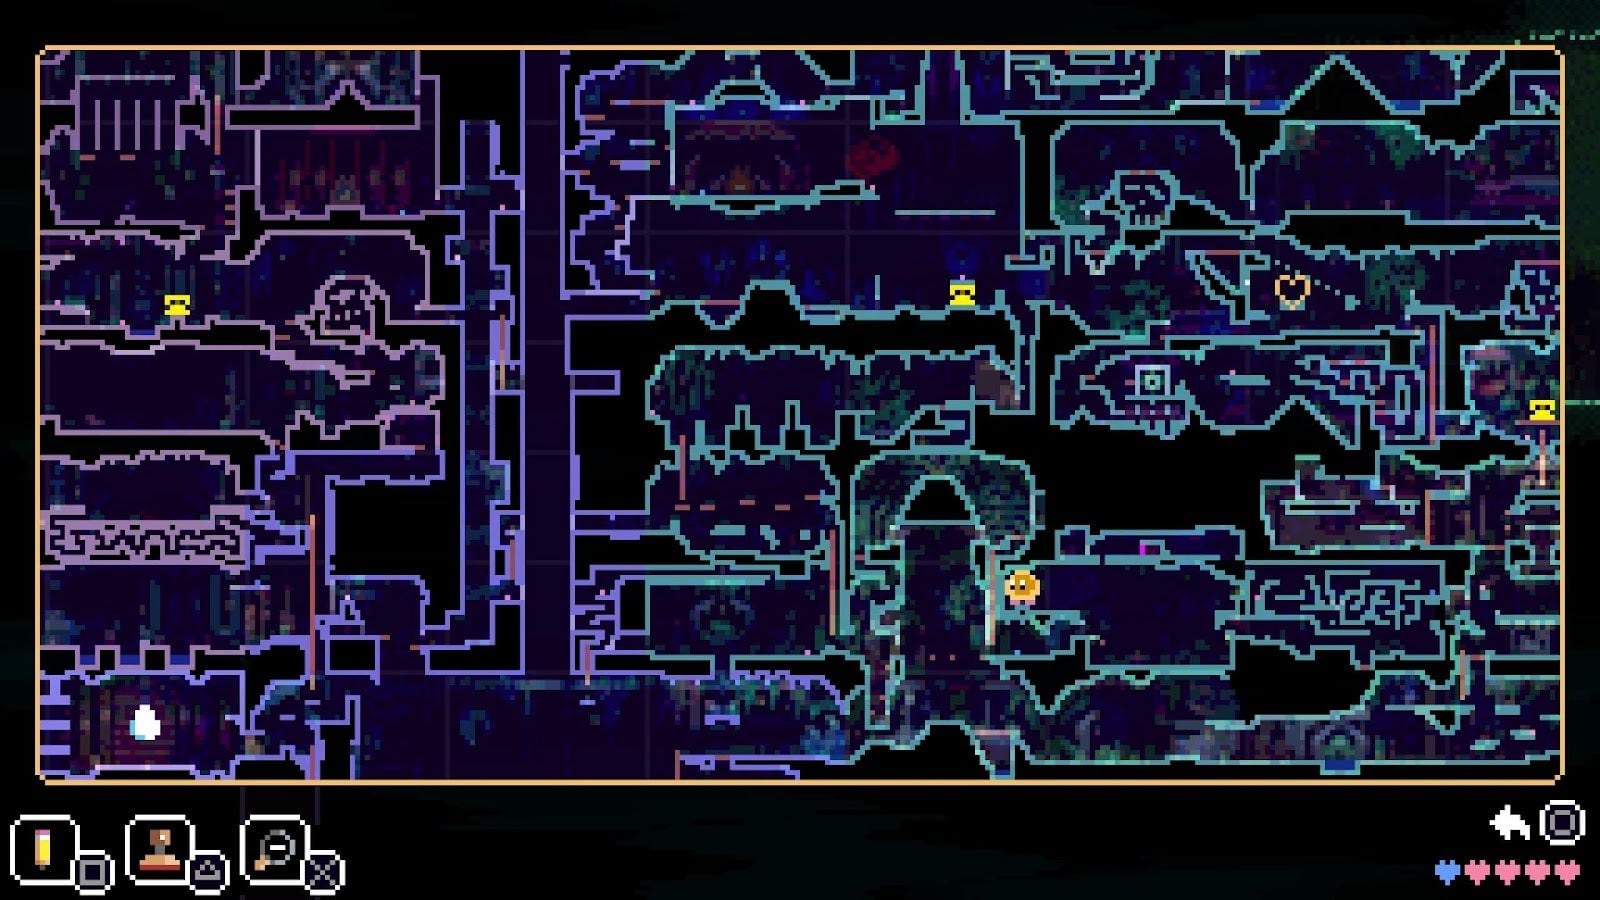
The S Medal is the simplest of the three to obtain. In the top-right quadrant of the map, you may remember facing off against a Chameleon to find one of the four flames. The first time you saw the Chameleon in its green form, it took up nearly the entire top-left side of the screen. However, if you return to that initial room after finding the flame, you’ll find the Chameleon is no longer there to harass you. See the map location above.
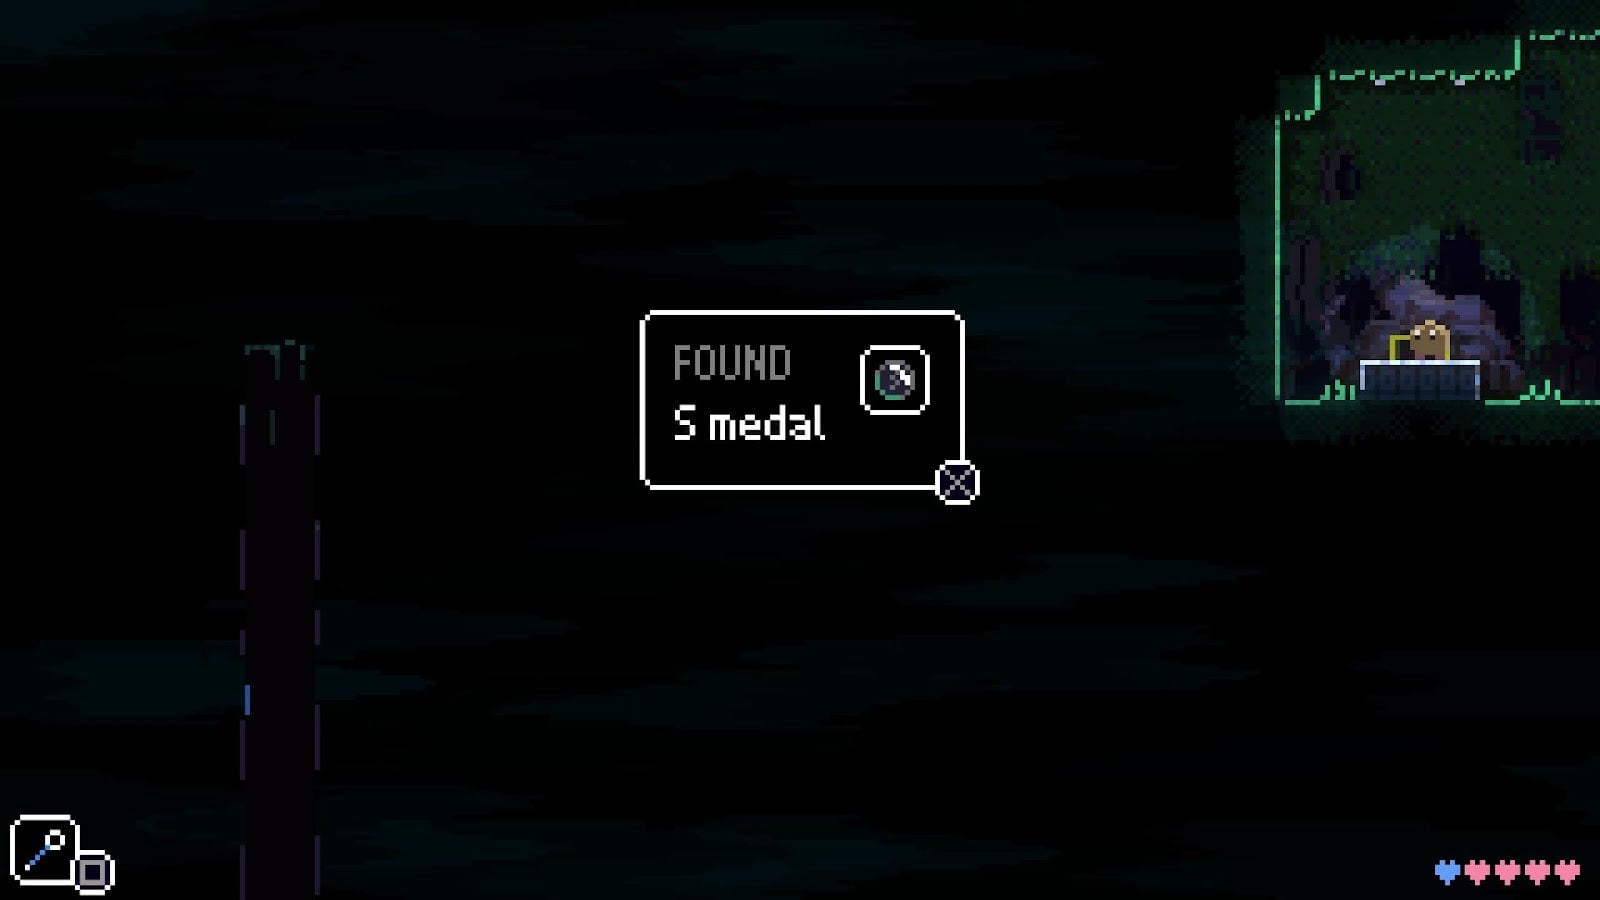
Use the B. Wand to jump past the Chameleon’s former resting spot, and you’ll find a chest that contains the S Medal.
Where to use the S Medal in Animal Well
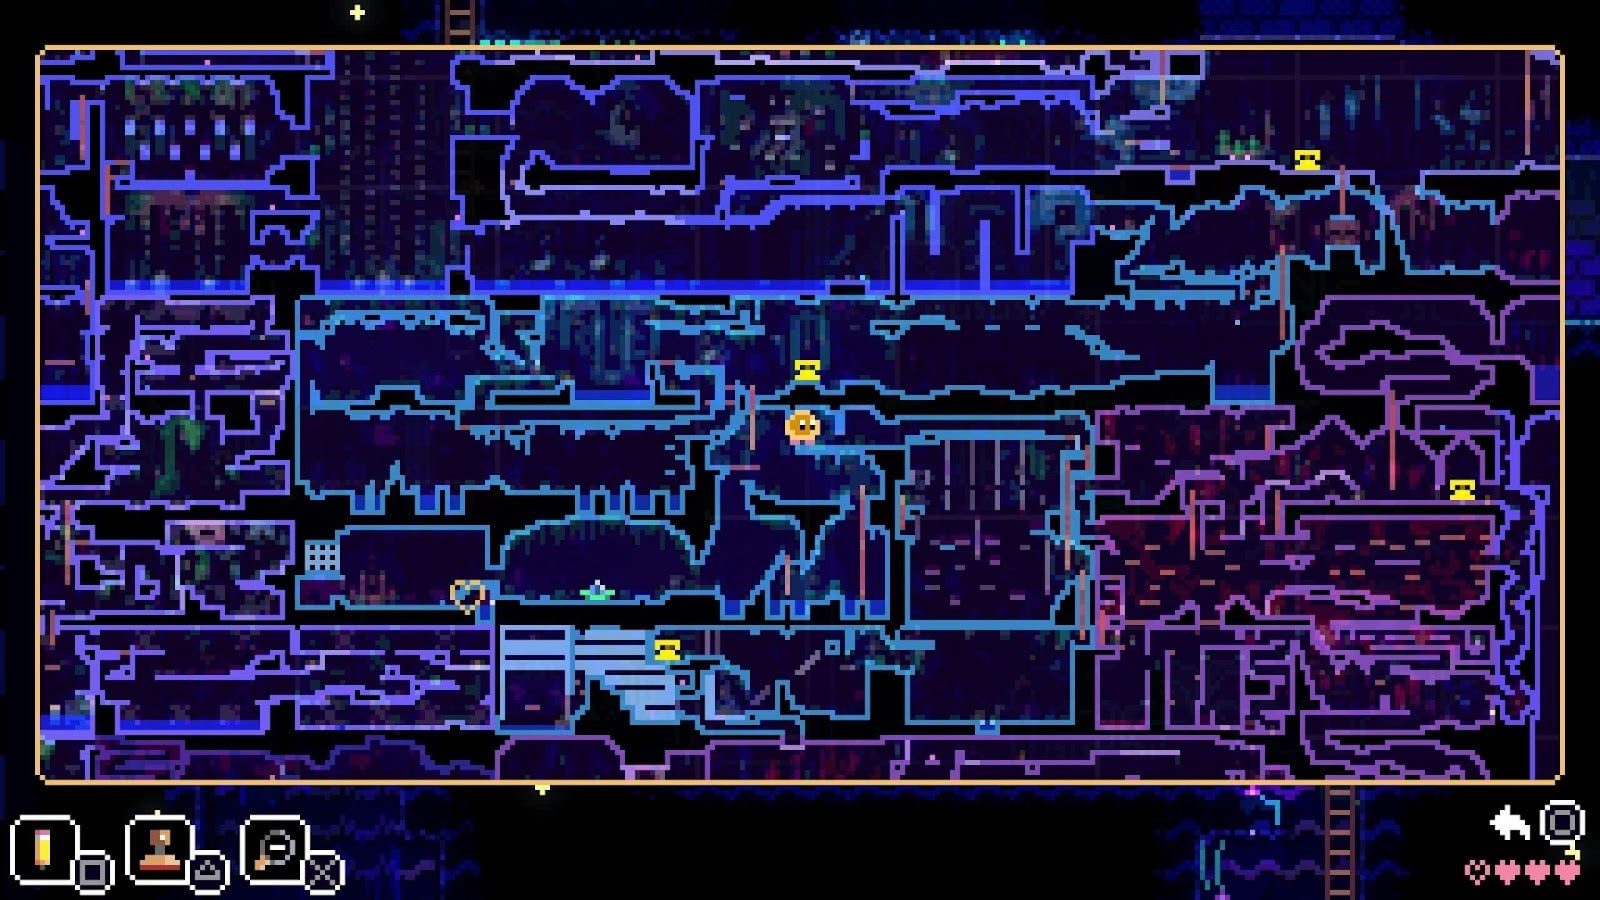
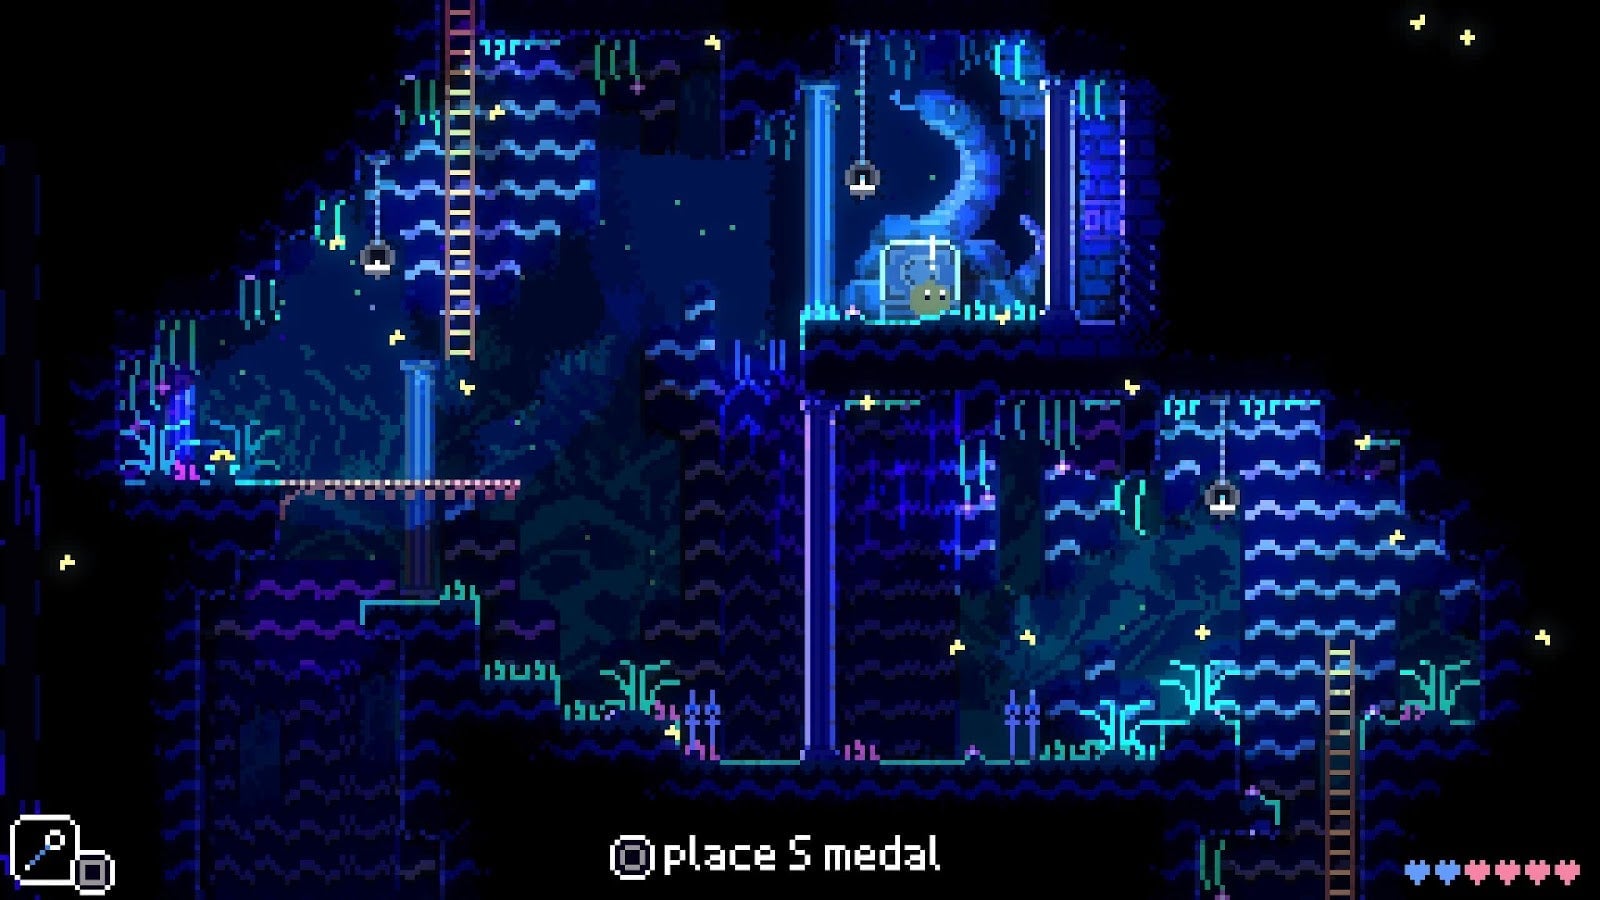
The S Medal’s corresponding Circular Recess is easy to miss, as you didn’t have the means to access it when you first encountered it. This one’s located in the biome that you started the game in, which you can return to by entering the bottom-left head in the fast-travel room. From here, you’re looking for the room directly underneath the first telephone (save point) in the game. Check out the map location above.
Using the B. Wand, you can easily jump from the bridge to the Circular Recess. With the S Medal in hand, you’ll open a new path that will lead you to the Remote item.
Where to find the E Medal in Animal Well
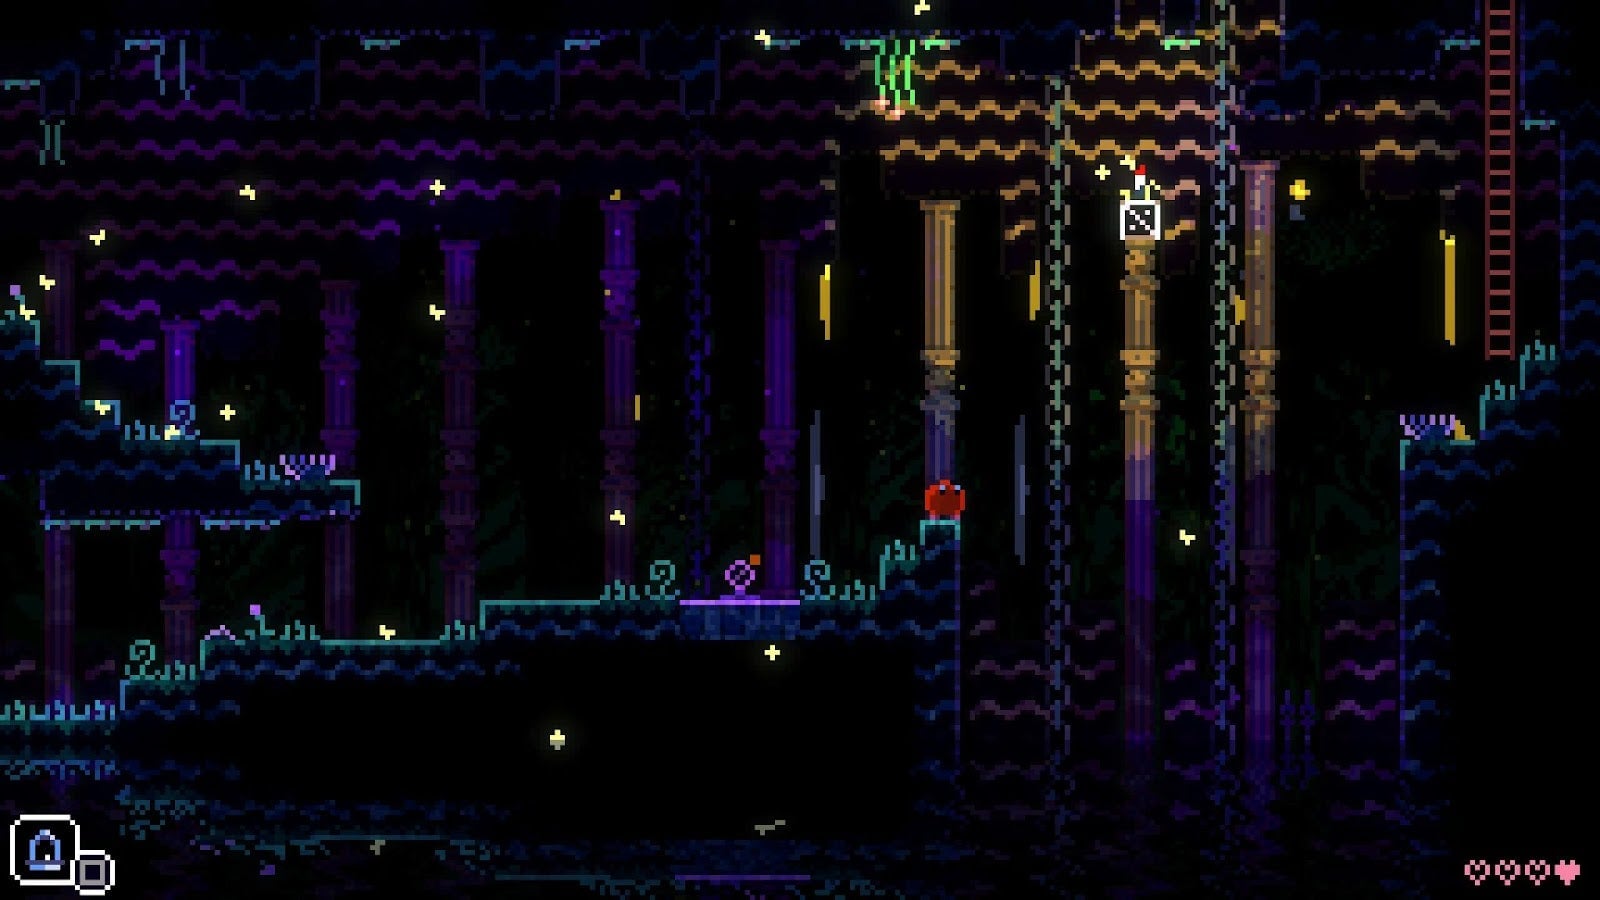
The second Medal in Animal Well is a doozy to find, depending on how thoroughly you’ve searched up to this point. To get this Medal, you’ll need to find and use all nine Matches in the game. Make sure to take notes on your map whenever you see a dark room but don’t have a Match to light it up. Your future self will thank you.
Once all nine Matches are placed, return to the fast-travel room and enter the bottom-left head again. In the room you emerge in, you’ll see a door on the left side of the screen open. Use the B. Wand to open the fish statue’s mouth, and then jump in as you’ve done several times before.
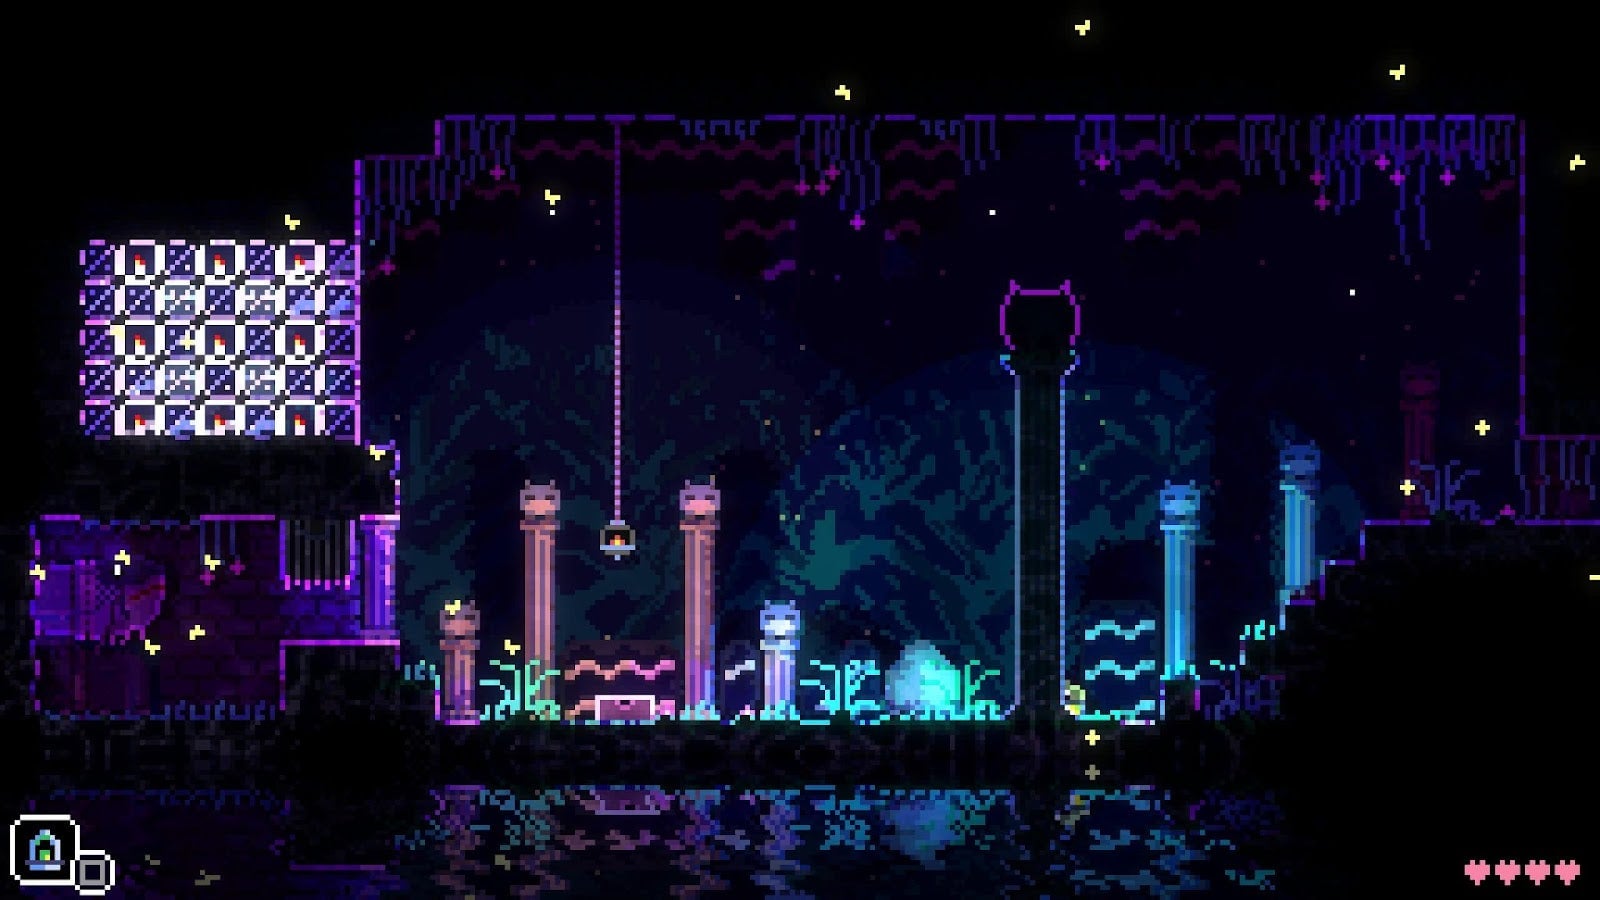
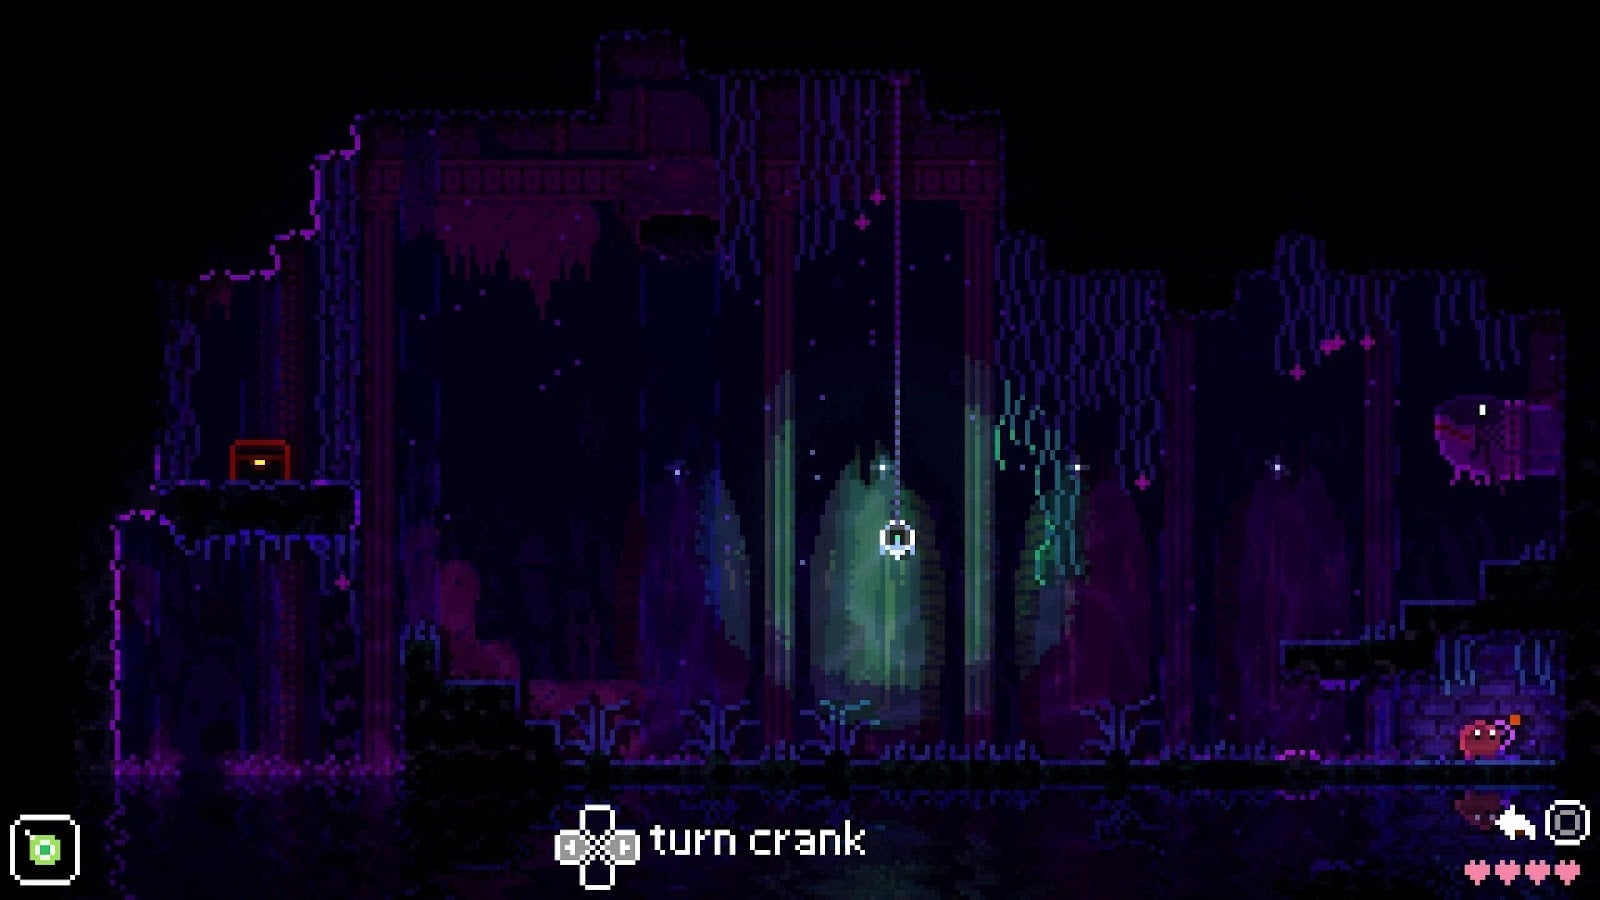
In the room you drop into, uncover a crank hidden in the right-hand corner and use it to reveal a treasure chest. This will net you your very own E Medal.
Where to use the E Medal in Animal Well
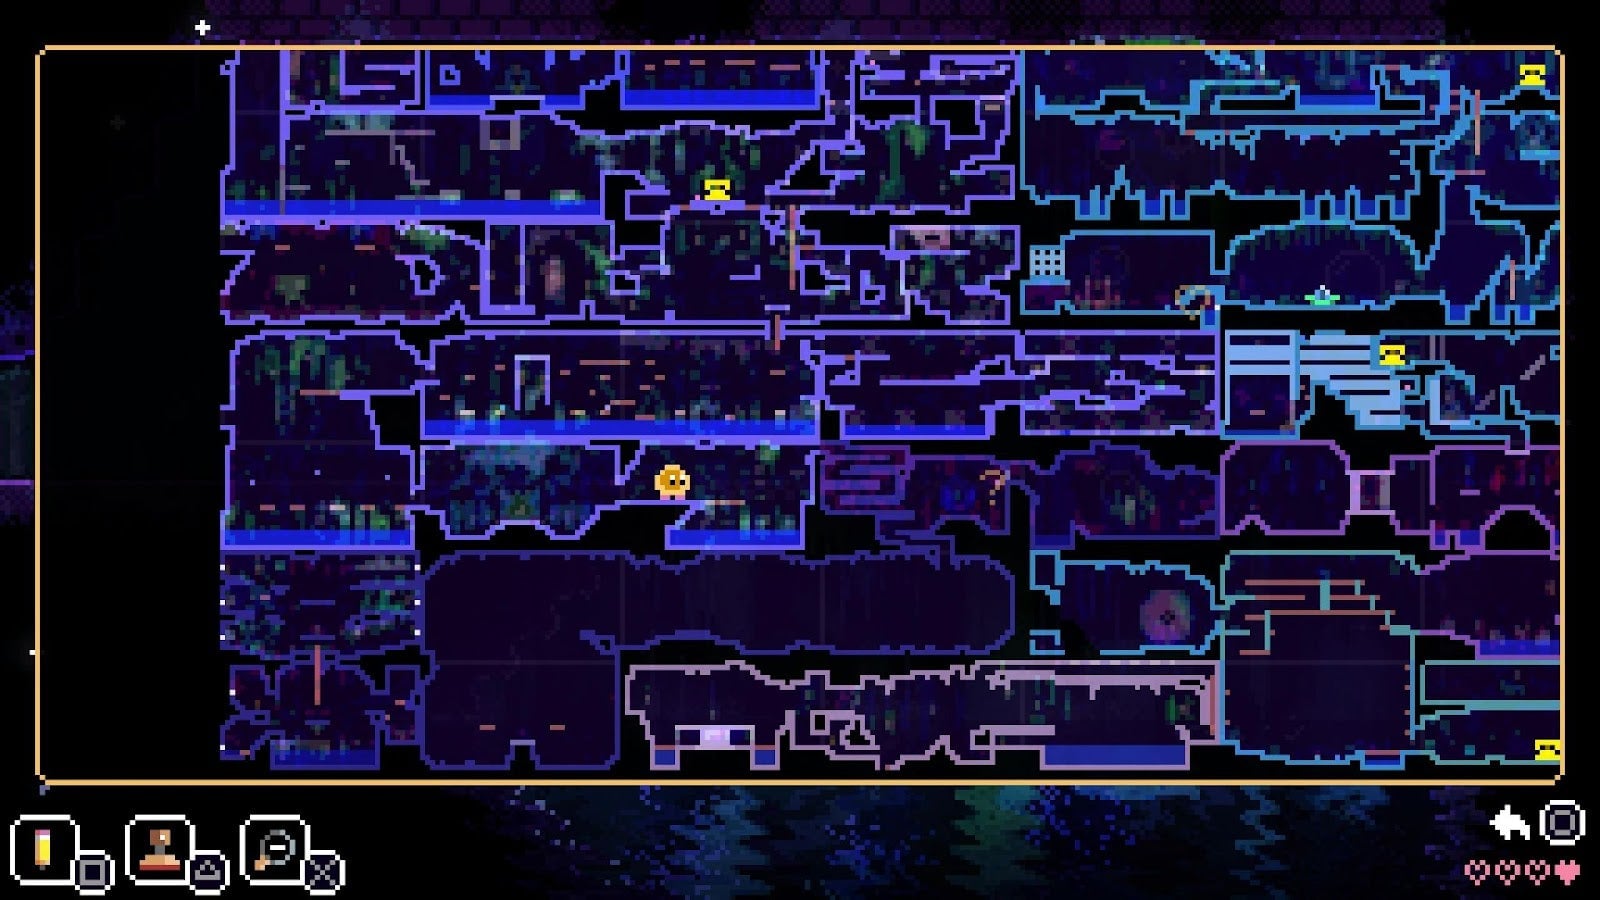
This Circular Recess is the hardest of the three to track down. If you jump to the left of the platform where the E Medal chest rests, you’ll actually see the room that hides this Circular Recess. Of course, a wall blocks you off from entering here directly, which means you’ll need to do some backtracking. See the map above for where you’ll need to go.
You’ll need the Top item to access this Circular Recess. You can earn this item by finding 32 eggs and returning to the egg room near the center of the map.
In short, you’ll need to make your way back to the Seahorse “boss” room in the bottom-left quadrant of the map. From here, move two screens to the right, past where you got the Flame and into the room with the fish head statues and rising bubbles. Instead of entering the fish’s mouth, you may notice that a path is hidden in the top-right corner of the room. Use the B. Wand to jump up to this location, taking care not to let the fish statue gobble up your bubbles.
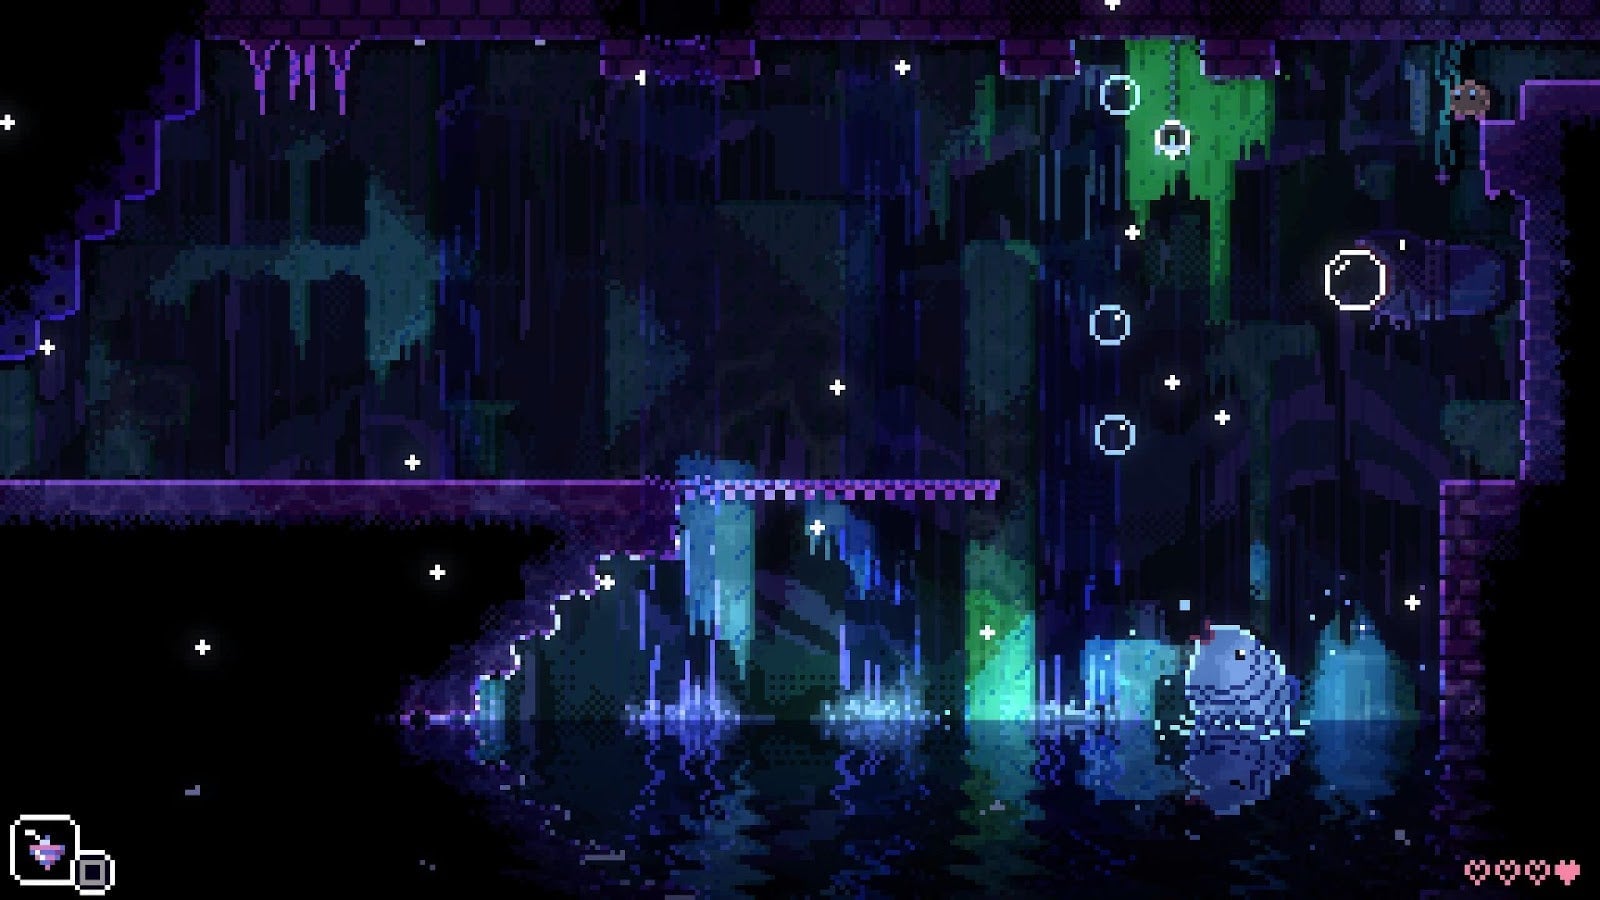
From here, it may seem like you’ve hit a dead end. However, if you use the Top, you’ll uncover a secret winding path that will take you to the Circular Recess. Beyond this point you’ll find another “boss” encounter and the powerful UV Lantern item.
Where to find the K Medal in Animal Well
The final medal in Animal Well requires you to go on a bit of a hunt. You’ve almost certainly been surprised by a Kangaroo at least once, but what you might not know is that you can fight back against this marsupial. By throwing a Firecracker at it, the Kangaroo will drop an item called K Shard. After collecting three K Shards, you’ll automatically obtain a completed K Medal.
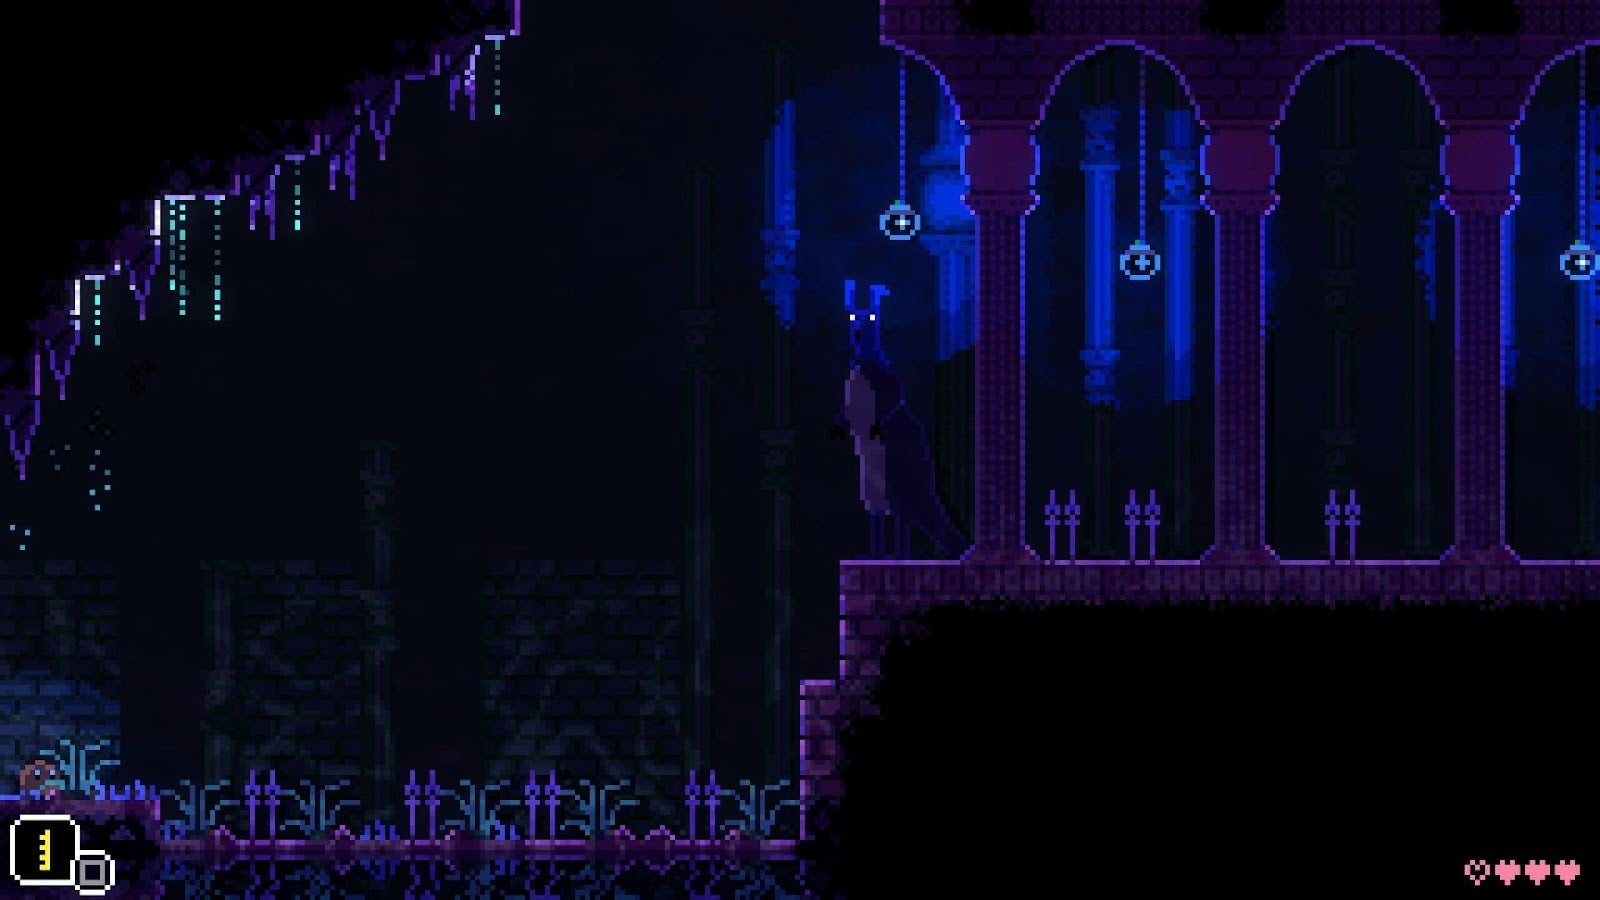
The Kangaroo will travel around the map, appearing at one of five set locations after you encounter it. For more details, check out our dedicated Kangaroo hunting guide here
Where to use the K Medal in Animal Well
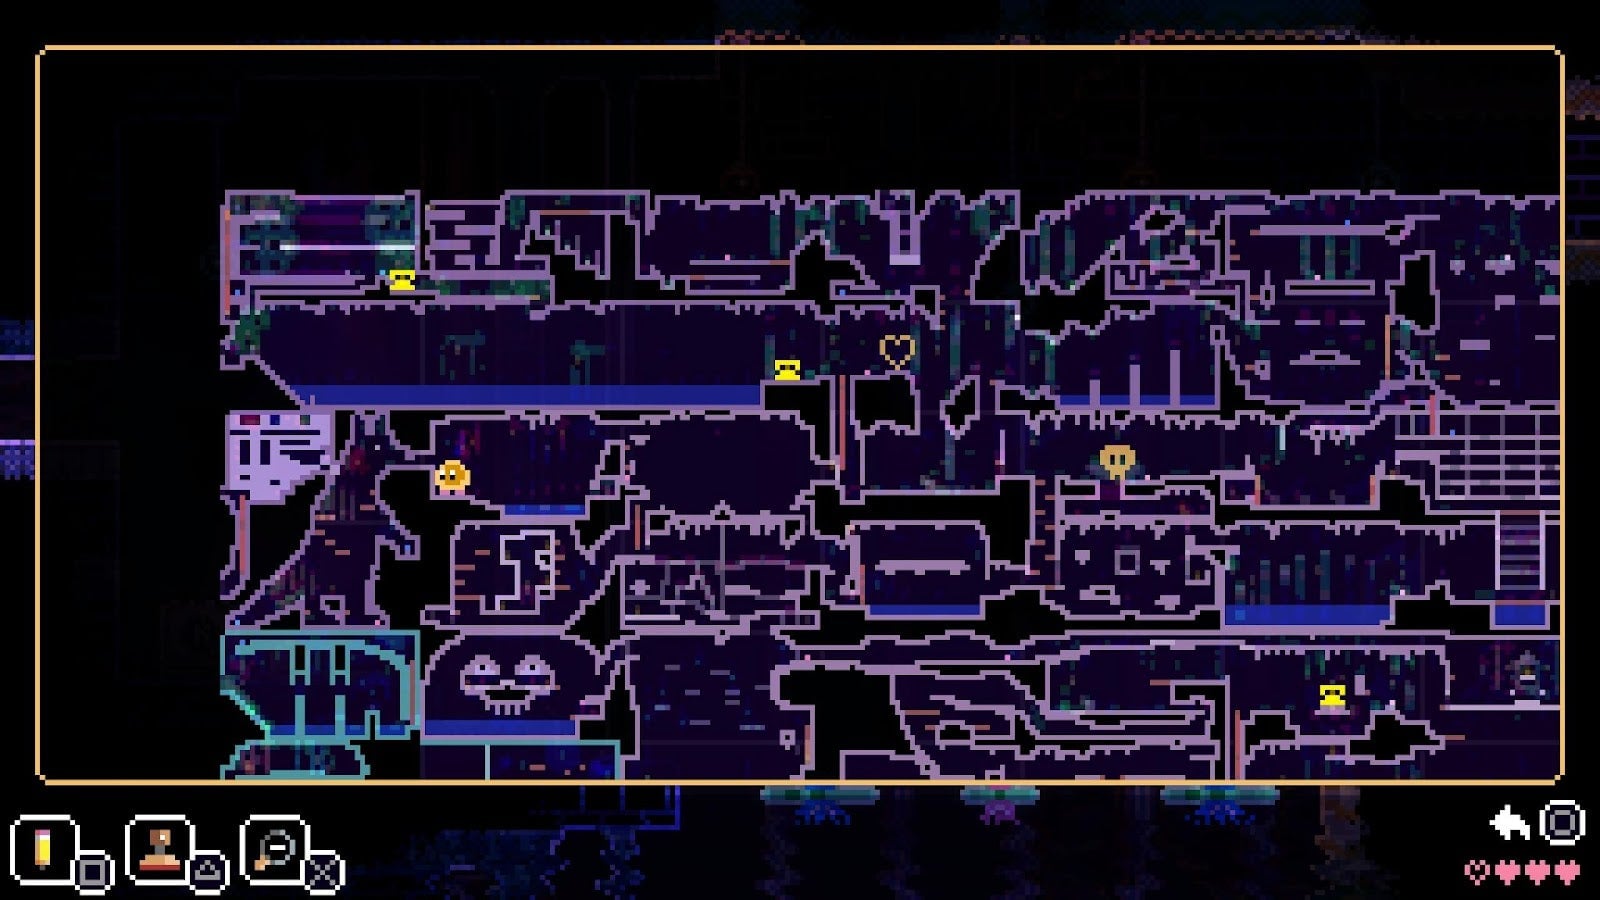
To get to the K Medal’s corresponding Circular Recess, you’ll need to go on a bit of a hike. It’s located in the top-left quadrant of the map, which you can access via the top-left head in the fast travel room. You’re looking for the room to the left of the dark room where the giant bat lurks, which you can find by following the path downwards from the room with the grass bowl. Once again, see the map above for the specific location you’re looking for.
If you get stuck on the giant bat, you can shoo it away by throwing firecrackers.
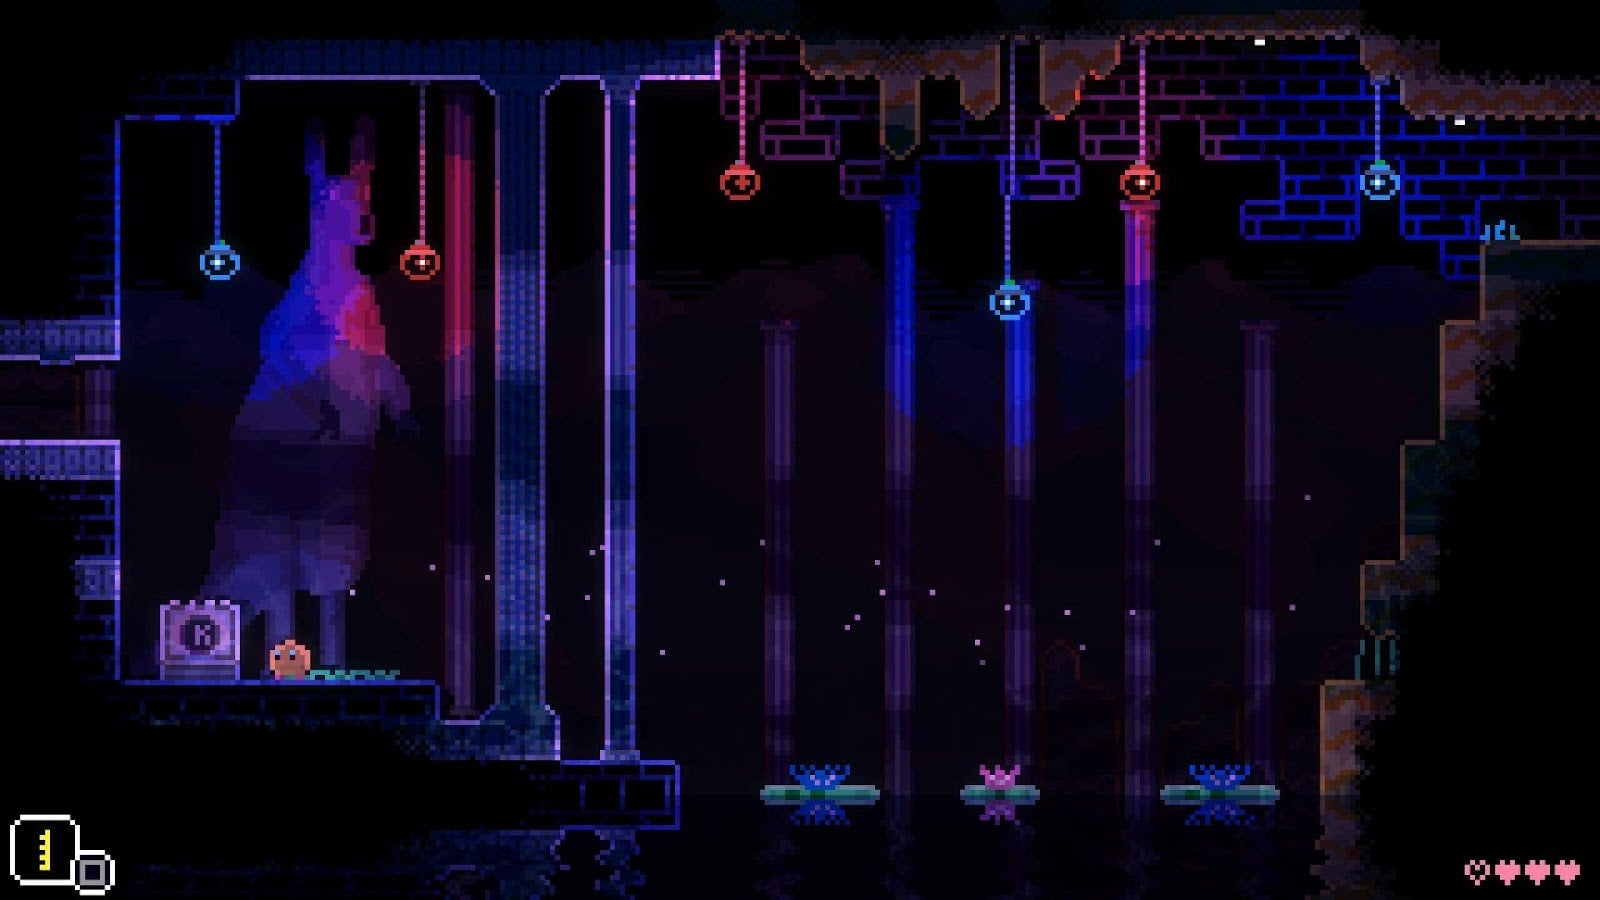
Fortunately, thanks to the giant Kangaroo in this room, you can’t miss the Circular Recess once you’re here. Use the K Medal to unlock the Kangaroo-shaped secret area, and you’ll find the B. Ball item ahead.

