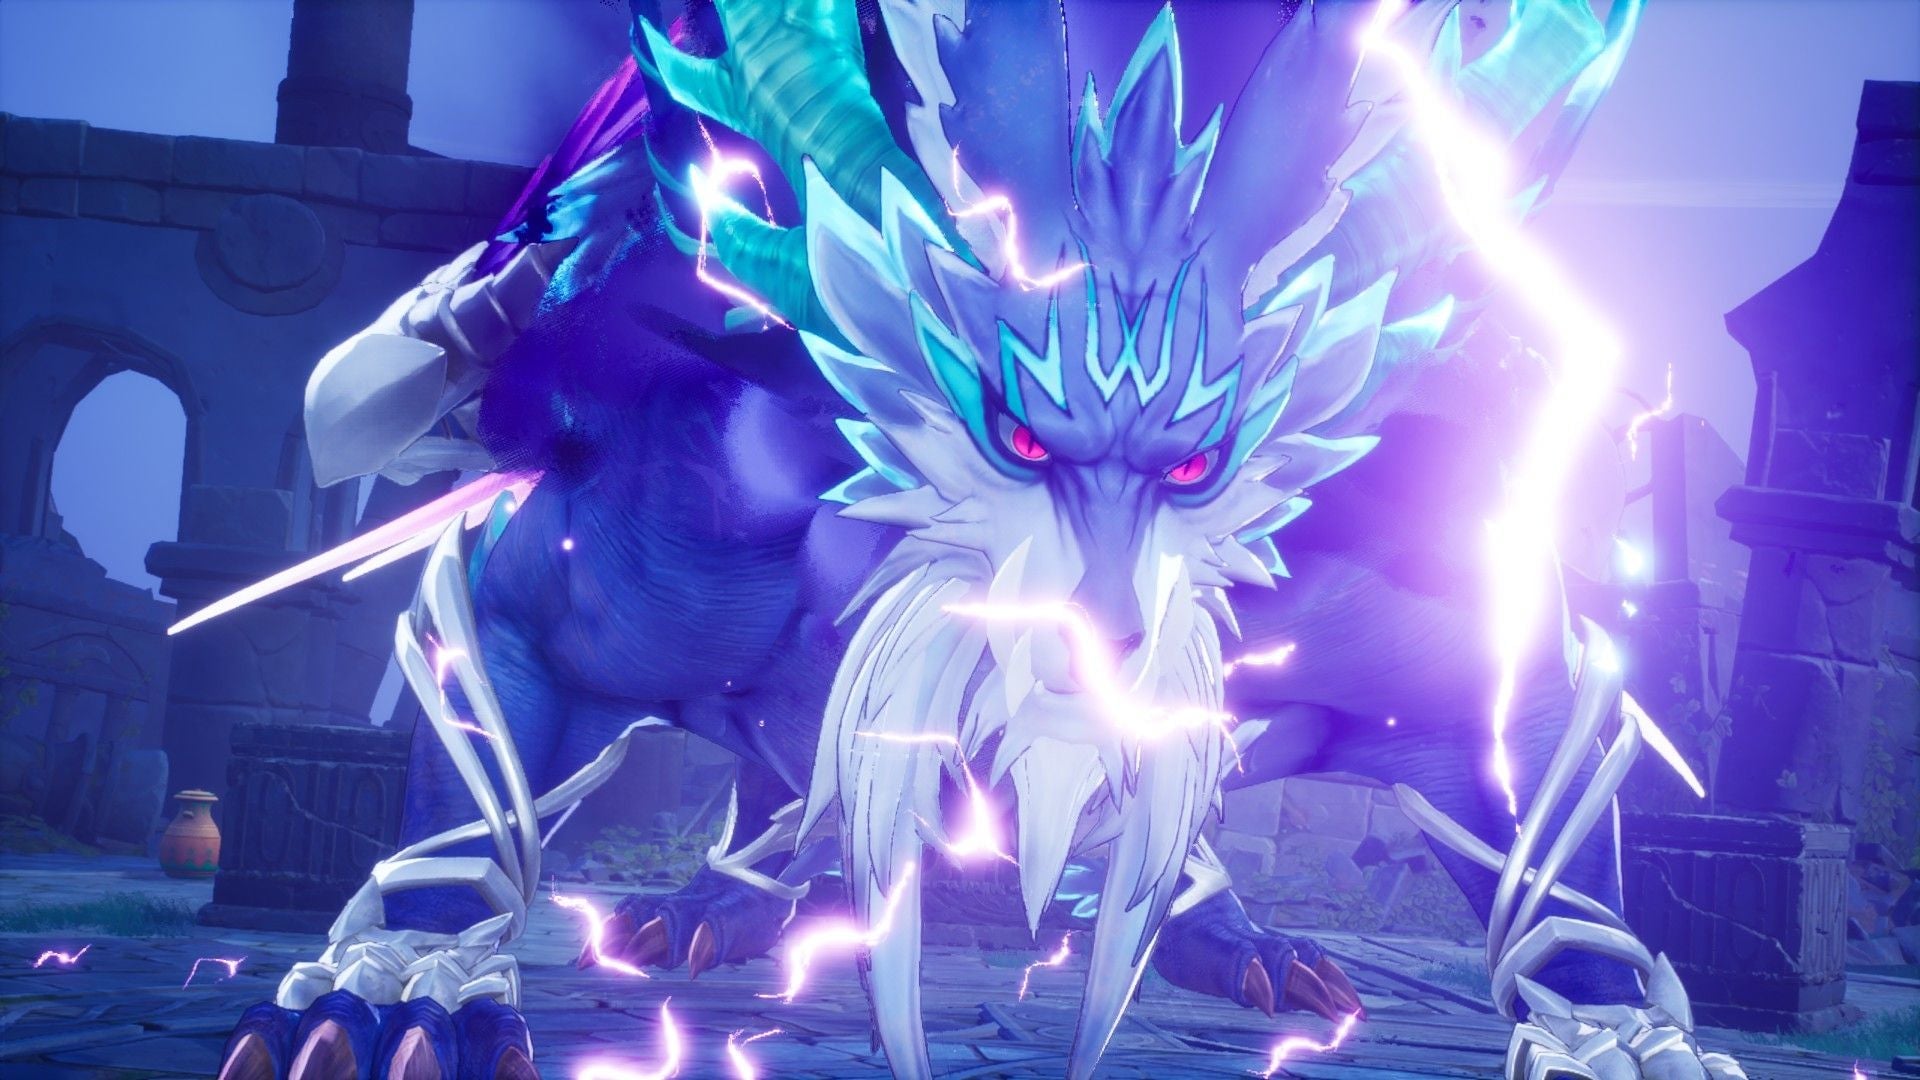
Visions of Mana is a predominantly linear game, but Chapter Seven throws a curveball. With three boss fights against the Benevodons down and only five to go, you can choose to take on the next four elemental demons in any order you like. It’s a vaguely Mega Man style structure, since each boss will unlock valuable upgrades for your party that will help subsequent bosses go down easier. But that’s information you’d only know after fighting these bosses. Is there a Benevodon you should target first?
There’s no wrong order to fight the Benevodons in. These bosses and their respective dungeons will scale in level with you, so you won’t get in over your head by picking the “wrong” Benevodon first. That said, you will be locked in to whichever Benevodon you choose until you defeat it, so you can’t change your mind and chase down another Benevodon if one dungeon is giving you trouble. While Chapter Seven is one of the longer chapters in the game, each of these dungeons isn’t terribly time consuming on its own. You’ll be back to riding on Flammie and picking your next opponent to fight before you know it.
That said, if you’re looking to optimize your progression, you should pick certain Benevodons to defeat over others. Read on for all the details explaining why that is.
Each Benevodon will unlock the next tier of each characters’ Elemental Plots
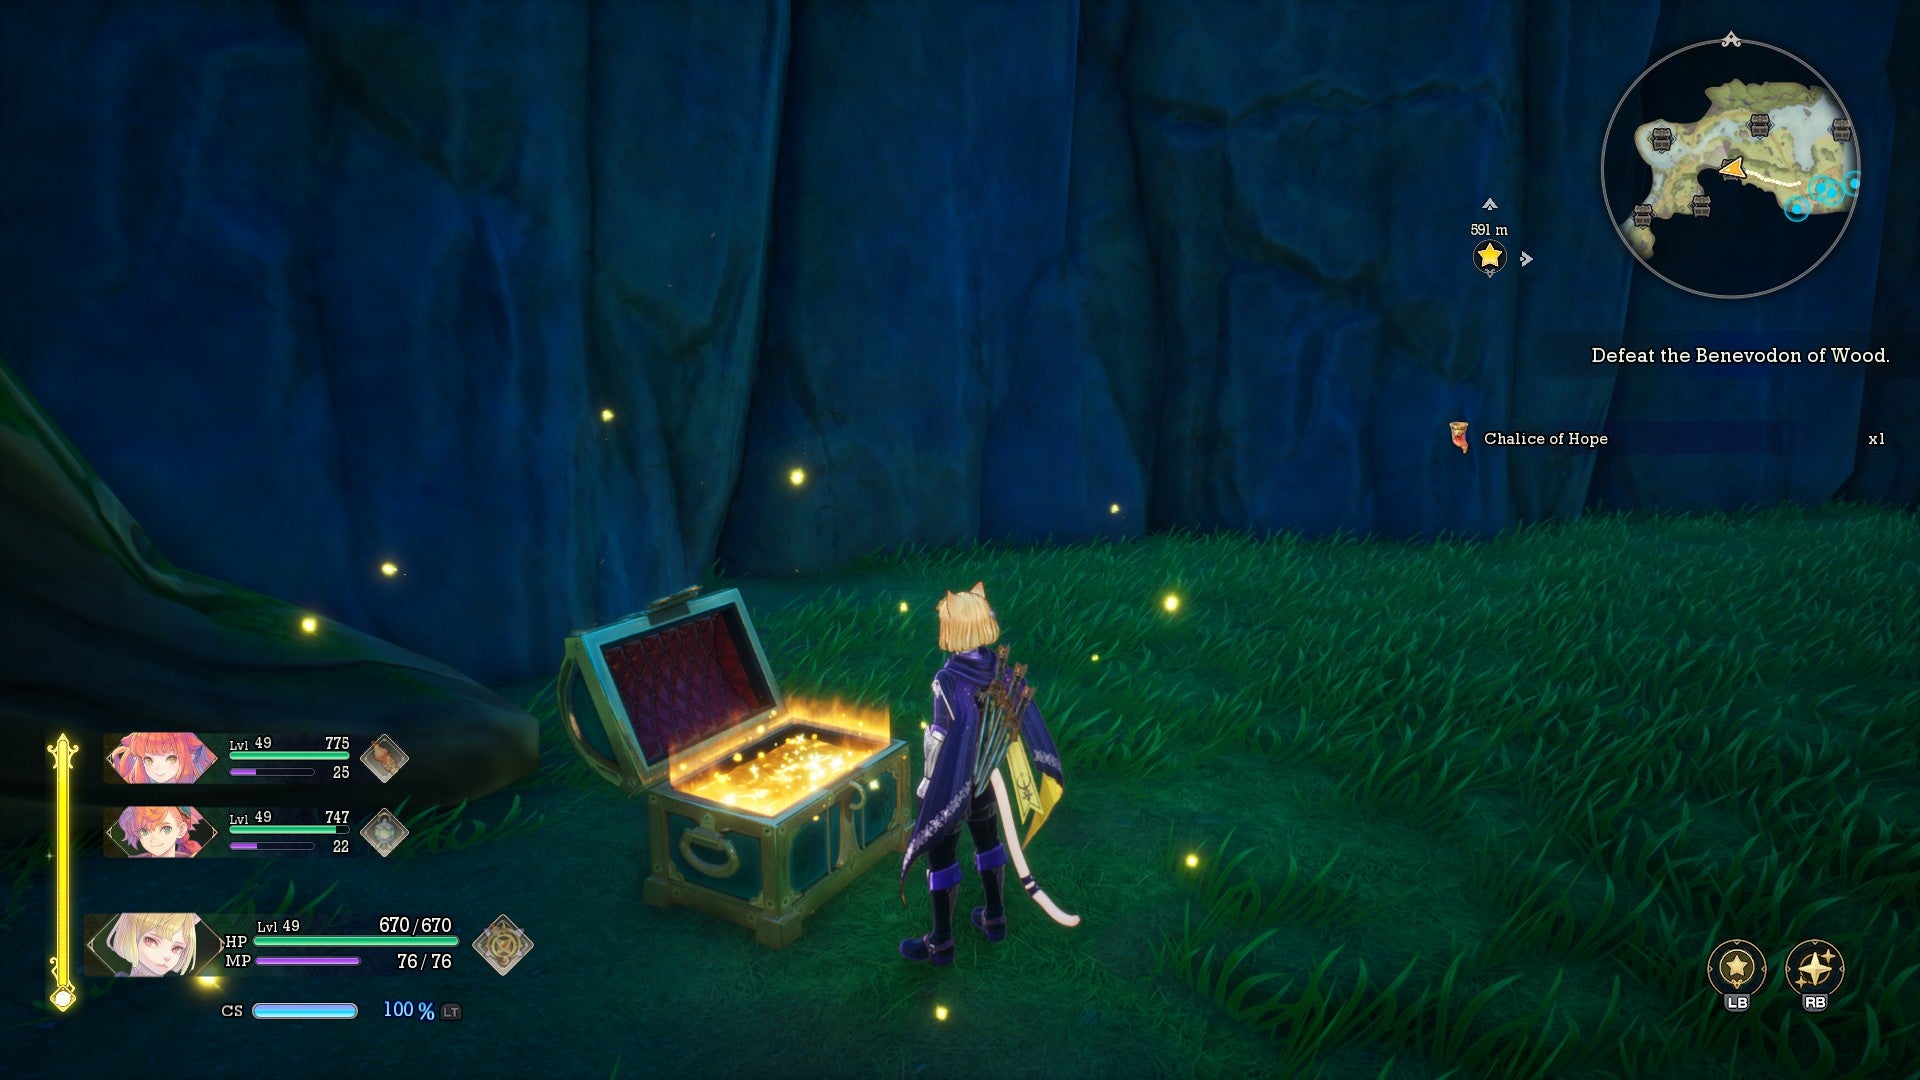
Looking at the four elemental Benevodons you can pick, you may have noticed that your choices all correspond to the places where you first encountered each of your party members. This is no coincidence. Once you pick a Benevodon, you’ll also see the resolution of that corresponding character’s personal story arc. Additionally, upon defeating the Benevodon, you’ll receive a valuable Tonic that unlocks that character’s third tier of their Elemental Plot. You’ll also find a Chalice to increase how many Ability Seeds that character can equip.
To say the obvious, this means you’ll want to prioritize whichever character you use the most. Here’s where you’ll want to go to upgrade each character:
Careena – Longren, the Vale of Wind
Morley – Etaern, the Moonlit Parish
Palamena – Illystana, Capital of the Deep
Julei – Sanctuary of Mana
Don’t worry, Val doesn’t get left out of this equation. His story comes after all the above story arcs have been resolved. He’ll also receive his Tonic before you clear Chapter Seven.
There are a few other factors that might influence your first Benevodon, too.
You presumably use at least two of the four characters listed above, but are there any other factors to help narrow down your choice? Yes, in fact! Here are a few observations I recorded throughout Chapter Seven.
1: After completing the story arc in Etaern, you’ll unlock a new suite of shop vendors. Here you can purchase some new weapons and armor, all of which will help you throughout the rest of Chapter Seven. Morley is arguably the strongest character in the game thanks to the sheer power of his Nightblade class, so I’d rank this as the best starting point overall.
2: In the Sanctuary of Mana, you’ll find chalices for both Julei and Val, granting both characters extra Ability Seed slots. If you’re using both Julei and Val, make this your first or second stop. If you don’t use Julei but still use Val, you should probably make this the third stop on your list.
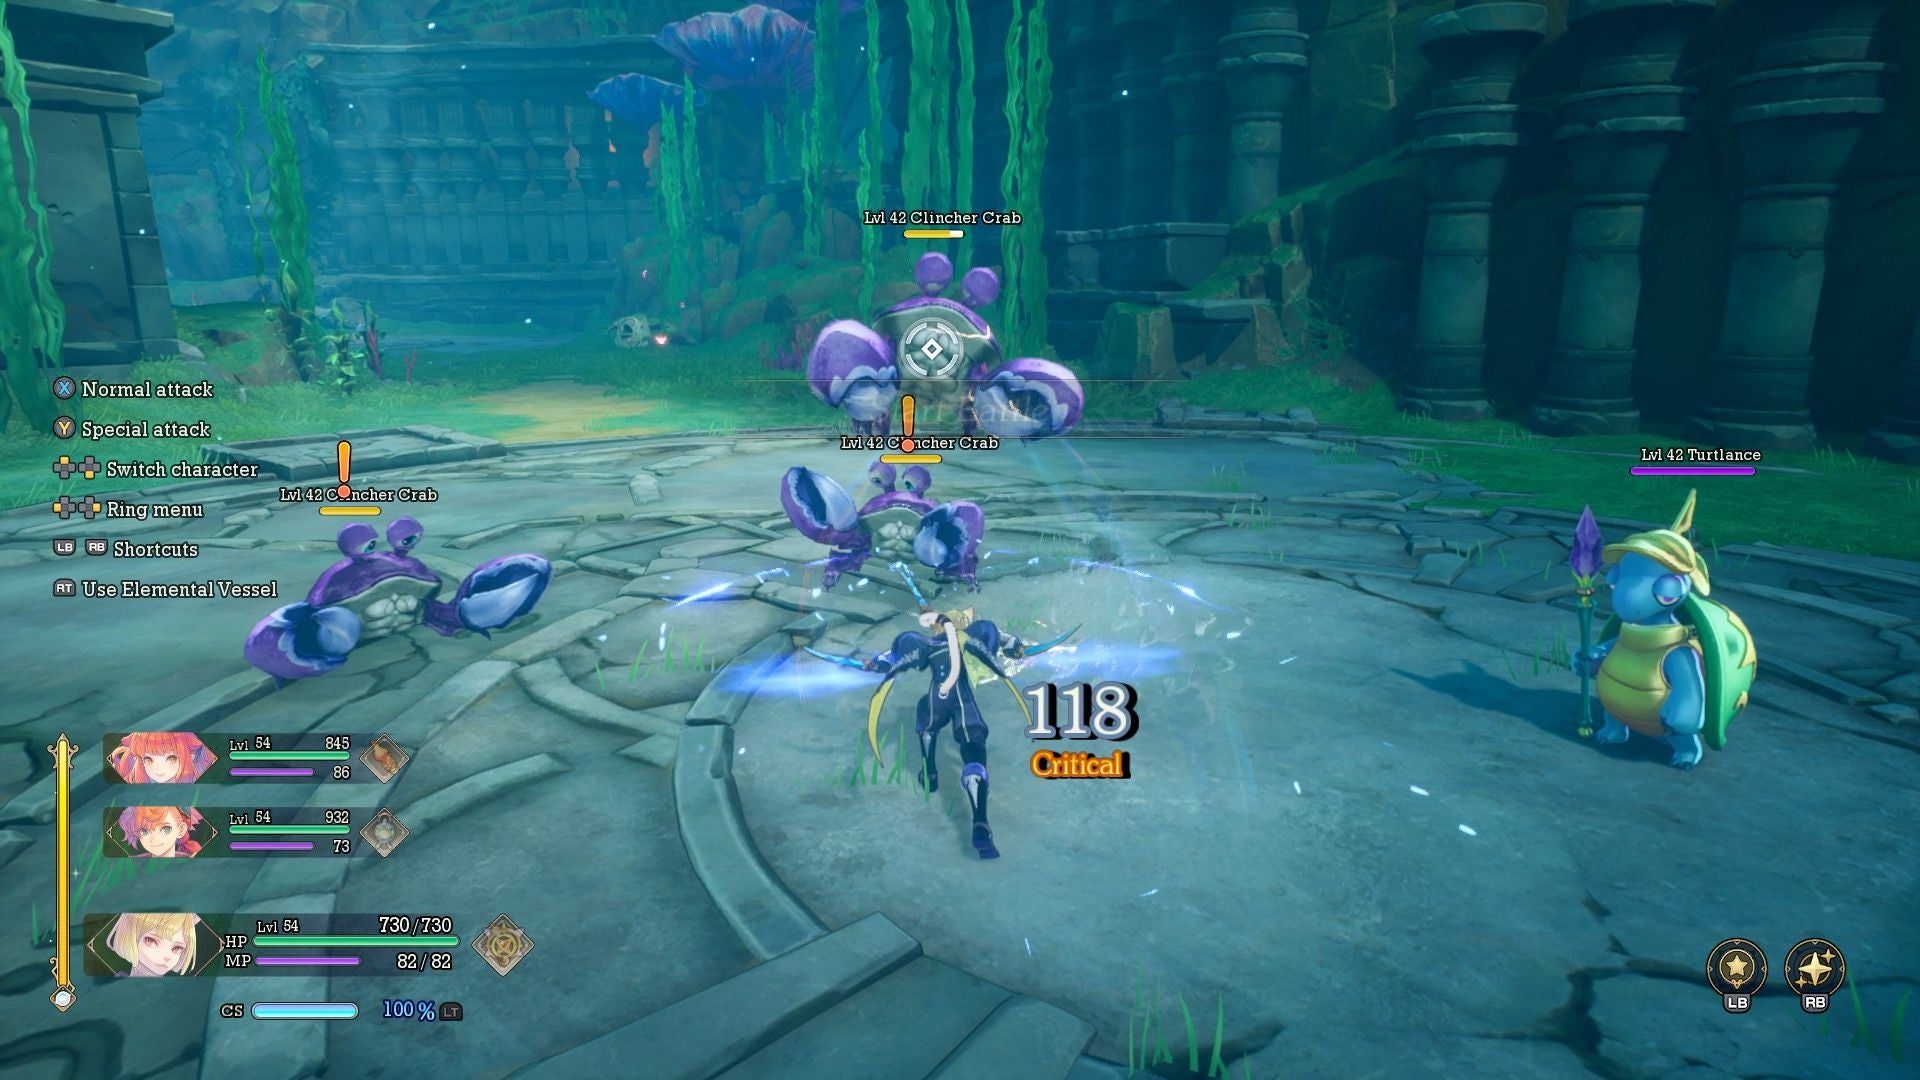
3: When visiting Illystana, one battle arena in this section’s corresponding dungeon did not level scale up for me when I encountered it. This frankly could be a glitch, but if not, this location may be slightly easier if you save it for later. I hardly think this should matter in your decision making process, but I’m not here to withhold information from you!
Again, there’s no real wrong order to complete Chapter Seven in—you’ll hit all these locations before the end of it. It’s all about finding the right order that works best for you, and the party you’re using.
