A good mechanical keyboard can make any computer setup really click, but with so many different layouts, mechanical switch types and extra features to choose from, finding a good starter board can be a daunting tasks. We’re here to help.
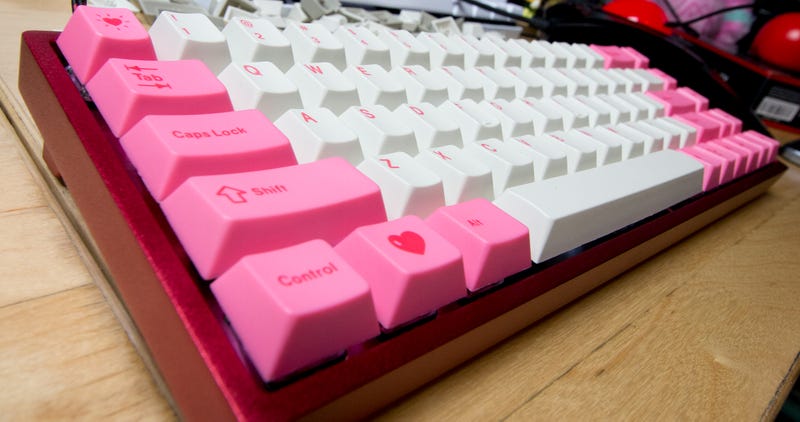
We’re not going to talk about building a keyboard or decorating it with multicolor orcustom-printed keycaps, and we won’t touch on some of the more creative layouts created by the mechanical keyboard community. There’ll be plenty of time to look into those once you’ve gotten your fingers on something good and basic.
Instead, we’re focusing on the basics—size, switches, style and price. Let’s go.
Size Matters
The easiest decision to make when choosing a keyboard is the size. When choosing between a full-size, standard layout keyboard and something more compact, it generally comes down to what you’re going to use the keyboard for versus how much space you have to play with.
The Full-Size, Because You Need Both Sets Of Numbers
A full-size keyboard features either 104 (ANSI) or 105 (ISO) keys, standard layouts for the U.S. and most of the rest of the world respectively. These generally feature three distinct sections. There’s the main cluster of keys, with all of the letters, numbers and function keys. To the right of that are the navigation (arrow) keys and more functions. And on the right side we’ve got the number pad, arranged in calculator fashion for quickly entering numbers and performing mathematical functions.
How much do you need that number pad? If it’s an everyday element of your keyboard use, you’ll probably want to stick with it. If you want to go smaller, however, many companies sell excellent standalone numeric keypads you can connect or disconnect as you see fit.
Perfect For: Accountants, players of demanding keyboard-based games, people who want as many buttons on hand as possible.
Not Great For: People with limited desk space, people confused by the “Numlock” key, folks who think one set of numbers is enough.
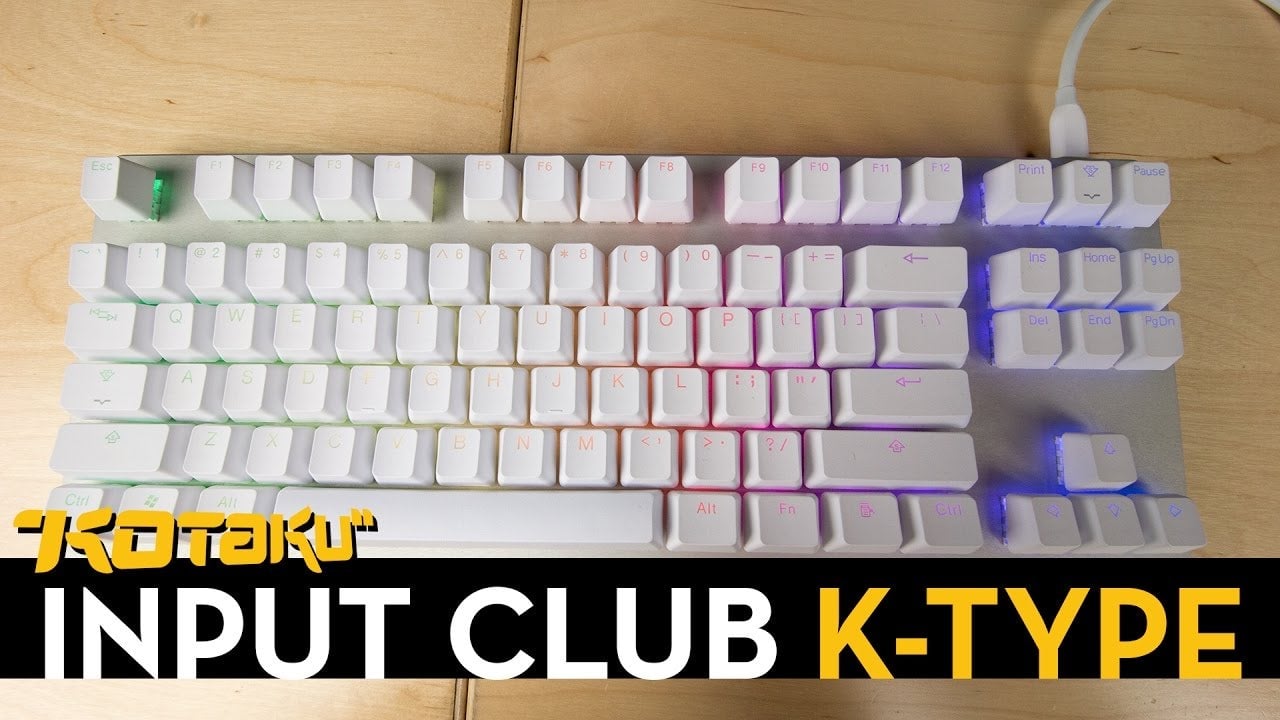
Tenkeyless, Though Technically 14-Keyless
The easiest way to trim down the length of a keyboard is to hack off that number pad, creating an 87 or 88-key layout, commonly referred to as tenkeyless.
For most keyboard users, the tenkeyless is the sweet spot. The layout features all of the functionality of a full-size keyboard, without the optional extra set of numbers and calculator functions. If you bristled when you read “optional,” then you’ll probably want a full-size board. For everybody else, or at least everybody else just getting started with mechanical keyboards, tenkeyless is the perfect choice.
Perfect For: Most people. No, really. You can let go of the number pad.
Not Great For: Accountants, people with very large desks with very few things on them, those that need dedicated multimedia keys as there’s no room for those here.
75 Percent, Because Some People Hate Wasted Space
A design often seen on laptop computers, the 75 percent layout has been gaining popularity lately as a more compact alternative to the tenkeyless. Shortening the right shift key and compressing most of the functions that normally appear above the arrow keys, the 75 percent keyboard is efficient and nearly as functional as a larger board.
The 75 percent board also presents a beginners lesson in function layers, a feature that factors heavily into the smaller boards in this list. The print screen, scroll lock, pause and insert keys on the Vortex Race 3 (pictured above) are accessed by pressing a regular key along with a function (Fn) key. It’s really no different than holding CTRL or Alt, basic keyboard shortcuts.
Perfect For: People who can’t stand wasted space, those looking for something a little different without sacrificing functionality.
Not Great For: Fumbly fingers with a tendency towards pressing more than one key at a time, touch typists who use traditional keyboard spacing to navigate (though it can be learned).
60 Percent Keyboards, AKA Travel Buddies
If you’re new to mechanical keyboards, the 60 percent is as tiny as you’ll want to go. The smaller they get, the more complicated it is accessing all of the normal functions. Lacking function and arrow keys, a 60 percent board will put your ability to memorize shortcuts to the test.
Mass market 60 percent boards, like the crappy but lovable Anne Pro or Vortex’s popular P3ker, come with special keycaps with sub-legends to help users figure out which combination of keys to press to get functions like print screen working. There are also 65 percent boards, like my beloved Saber 68, that manage to squeeze in the arrow keys, for those who can’t do without.
The main benefit of a 60 percent board is, of course, how small they are. They are excellent travel companions, easily tucked into luggage or a backpack. I travel with a laptop for writing, but every chance I get I hook up a smaller mechanical to it, because I like to feel when I type.
Perfect For: Frequent fliers, show-offs, people with their computers set up in tiny closests.
Not Great For: People with trouble remembering keyboard shortcuts.
Should You Go Ergonomic?
Standard layouts are nice, but what about something a little more posture and wrist-health friendly, like this?
Or maybe something split, allowing your arms to spread out farther and your shoulders to relax more?
Or maybe even a split keyboard with a layout that favors the thumbs over pinky fingers?
Ergonomic keyboards are great. I often have a split one hooked up when my desk space is uncluttered enough to let me to spread my impressive wingspan.
They can also be quite expensive. The Kinesis Freestyle Edge and X-Bows boards pictured above run around $200. The Ergodox is around $300. If you’re just getting into mechanical keyboards, that’s a bit of an investment, especially considering it’s not easy to get your hands on one for testing before buying. I’d suggest starting simple and working your way up.
The Clickety-Clack
Once you’ve got a form factor figured out, it’s time to select which keyboard switches you want to spend the next couple of years typing on. The type of mechanical switch your keyboard uses determines the sound it makes and the way it feels. This is the most important decision to make when selecting a mechanical keyboard.
It’s also the most difficult decision to make. Unless you have a row of keyboards in front of you, each outfitted with a different type of switch, there’s no easy way to know how your particular keyboard/switch combination will feel once it’s in your hands. With most of the better keyboards sold mainly over the internet, a leap of faith is often required.
There are ways to get a basic feel for a switch before buying a keyboard, which we’ll get into in a moment, but first, let’s go over the three basic types of switches.
Clicky, Like The Chittering Of Angry Insects
Light and crisp, the clicky keyboard switch is often recommended for gamers. Clicky switches are exactly what their name sounds like.
The most common/popular clicky keyboard switch is the Cherry MX Blue switch. Indeed, Cherry brand switches seem to be the baseline that most other switches are compared to, with companies like Gateron following similar color-coding (Gateron Blues are similar to MX Blues). Razer’s green switch is an other example.
Perfect For: People who want noise but not a whole lot of noise.
Tactile, AKA The Bump
Tactile switches are less about noise and more about feeling. Rather than a crisp click, pressing a tactile switch delivers more of a gradual bump. It’s a nice feeling, and not an unpleasant sound.
The Cherry MX Brown is your basic tactile switch. Razer’s version is orange, because Razer has to be different. The tactile switch is often recommended for people who type a lot. It’s the switch I recommend to my writing friends. It usually does the trick.
Perfect for: People who want to feel what they type, those who like thunks more than clicks.
Linear, Straight Down To The Bottom
Clicky and tactile keyboard switches are clicky or tactile because of the shape of a contact inside the switch that the stem rubs against as the key is depressed. Linear switches feature a straight contact. There’s no bump or click. That does not mean linear switches are quiet—they can actually be quite loud, as there’s no resistance keeping the keys from bottoming out. Check out the video below from Youtube’s Rhinofeedto see how loud they can get.
Cherry MX Reds are one of the most commonly-referenced linear switches. Many gamers really enjoy the responsiveness of linear switches, with their lack of resistance making it easier to perform double-tapping and other special keyboard maneuvers. That same lack of resistance can make them a little tricky for typing.
Perfect For: People who want their keyboards fast and loud.
That’s the basic three, and I’m sticking with those for the purposes of this guide, but there are many different degrees of each made by several prominent brands, each with their own group of fans who swear by them. Beyond the Cherry MX compatibles there are Matias (Alps) switches, and the lovely but contentiousTopre electrostatic capacitive switch. My suggestion would be to start off basic, see what you like and go from there.
If you need help making up your mind,inexpensive switch testersare readily available. Though they won’t give you the exact same experience as typing on a full-size board, they’re great for getting a general sense of what a switch feels like.
For an even better sense, grab a keyboard that allows switches to be swapped out. Team Wolf sellsa $60 mechanical keyboard that allows users to pull out the included switches and put in any MX compatible switch they desire. It’s not a great board, and it’s garish as hell (gold!), but it’s a relatively cheap way to test switches on a full-size keyboard.
Extra Features
Once you know your form factor and the switch type you prefer, it’s time for the bells and whistles. Here are a few common features that can help sway a keyboard buyer one way or the other.
Keycap Material: The two most common types of plastic used in keyboard caps today are acrylonitrile butadiene styrene (ABS) and polybutylene terephthalate (PBT). ABS is more common and easier to work with from a manufacturing standpoint, but it’s often thin and flimsy. PBT is thicker, sturdier and more resistant to shine (shine is when key texture is worn down, leaving the tops shiny). I prefer a nice thick PBT, where available.
Removable Cables: Some keyboards come with USB cables that can be detached from the main unit. Others do not. I can go either way, though when I display my keyboards I prefer detachable for obvious reasons.
Extra Keys: Do you need dedicated macro buttons? How about multimedia controls? Technically you don’t need either, but sometimes they’re nice to have.
Programmability: Does the keyboard you’re buying have everything you need right on the surface, or will you require layers of custom gaming or productivity macros?
Lighting: Rainbow colored LED lighting is silly, but sometimes you need silly. And with many gaming keyboard makers now building in the ability to program keyboard lighting to change and react on a per-game basis (red and blue flashes when cops are chasing you in Grand Theft Auto, for example), it can be a neat thing to have.
USB and Audio Pass-Through: Some keyboards also act as a USB hub, allowing users to plug in their mouse or other accessories, lessening the tangle of cables going to the back of their PC. Some also pass audio, allowing a chat headset to be plugged in. Convenience can be nice.
All of these things can be nice to have, though keep in mind, the more features included, the pricier the keyboard gets. Speaking of which…
Now How Much Would You Pay?
You don’t need to break the bank to get started with mechanical keyboards, but you might need to bend it a little to get started right. Doing a search for “Mechanical Keyboards” on Amazon and sorting by “price lowest to highest” will bring up boards as cheap as $35. But cheap keyboards often use cheap materials. Flimsy plastic, questionable no-name switches, thin keycaps—these don’t make for a good first impression.
For a good beginning board, I’d expect to spend somewhere between $75 and $100. Head to a site like MechanicalKeyboards.com (U.S.) or The Keyboard Company (based in the UK) and see what’s available. Then run the name of the keyboard that strikes your fancy through the search at mechanical keyboard community sitesGeekhackor r/MechanicalKeyboards and see what users there have to say.
Better yet, join those communities, find their “what keyboard should I buy?” posts and tell them what you’re looking for. Some of my favorite keyboards were recommendations from those communities that I would have never come across on my own. And really, the one of the best things about having a mechanical keyboard is sharing it with other mech lovers.


