True to its roots in the genre from which it takes its name, many of Cyberpunk 2077’s storylines task V with unraveling various schemes orchestrated by powerful people, known or unknown. While the main story has its share of corporate and political thrills, few capture the creepiness of powerful forces hiding just out of reach than this two-part questline featuring a political power couple who may be in way over their heads.
Sometime in Act Two, you’ll receive a call from Elizabeth Peralez for the side job “I Fought the Law,” and what follows is a thrilling plot that will leave you with quite a few intriguing questions. The mystery of the Peralez storyline has left many fans convinced that its plot was never actually finished. Recently, Cyberpunk’s lead quest director, Paweł Sasko, shed some light on the two-part questline’s conclusion, revealing that the mysterious nature of its denouement is as intended. Quest designer Patrick Mills, who specifically wrote the second of the two quests, “Dream On,” elaborated further in a tweet; the story certainly goes on, but our role in it as V is fully concluded in 2077. Our choices play out in the wider fiction of the world, we’re just seeing a slice of it.. So, that unsettled feeling you leave the Peralez storyline with? That’s no error.
https://twitter.com/embed/status/1441026008350539785
If indeed CDPR plans to revisit this storyline in the future, we’ll at least have to wait for 2077’s upcoming DLC expansion, Phantom Liberty or, more likely, the next Cyberpunk game for that to happen. Whether it ever continues or not, though, the Peralez storyline is one you absolutely must play.
It’s also one you might wish to avoid spoilers on. This guide covers all the details of the two quests involving the Peralezes; so if you want to unravel its twists and turns on your own, the first paragraphs of the following two sections are all you need to read to know what to do.
How to start the Peralez storyline with “I Fought the Law”
The Peralez storyline will get its hooks into you around Act Two, when Elizabeth Peralez gives you a call asking to meet. This is the start of “I Fought the Law.” On its own, this side job isn’t particularly memorable, but it will introduce you to River Ward. (You can romance him if you’re into cops. I won’t judge. Too much.) You need to complete “Life During Wartime” and must have a Street Cred of at least 13 to start the Peralez storyline.
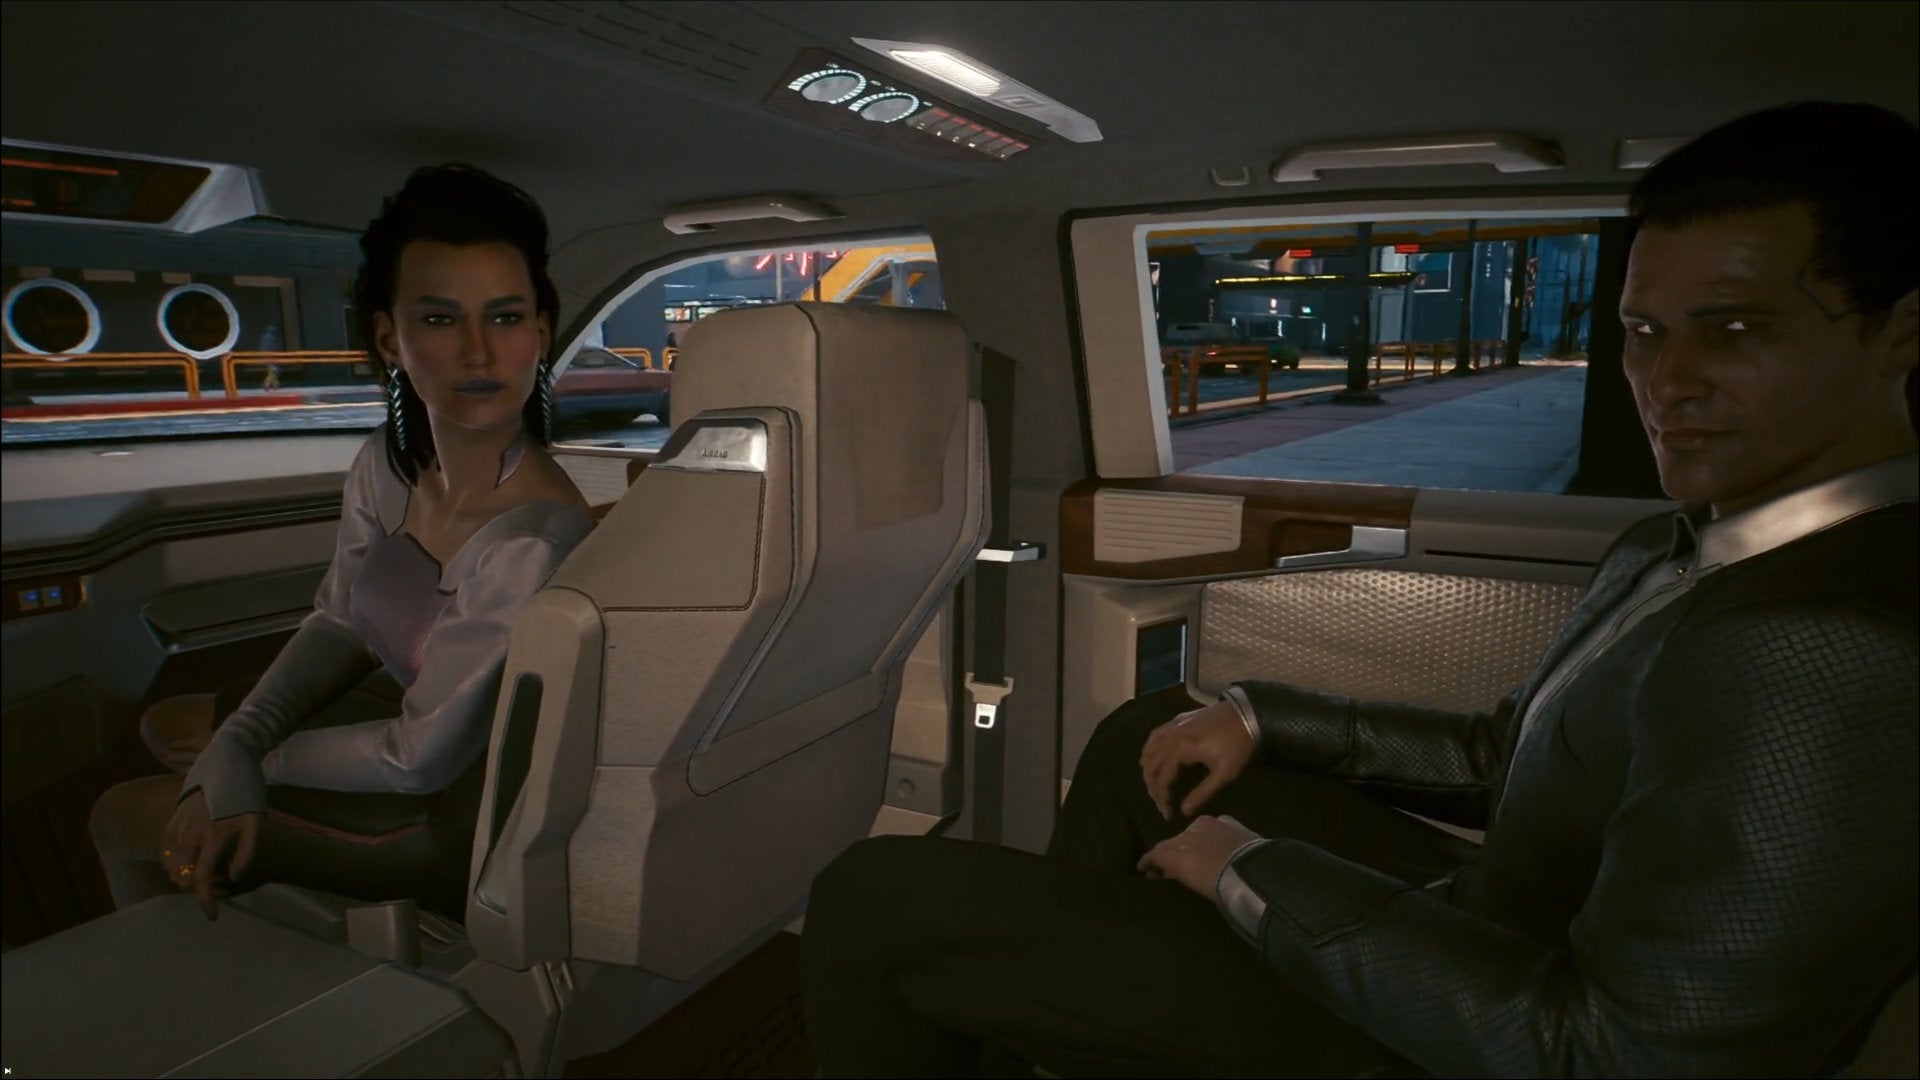
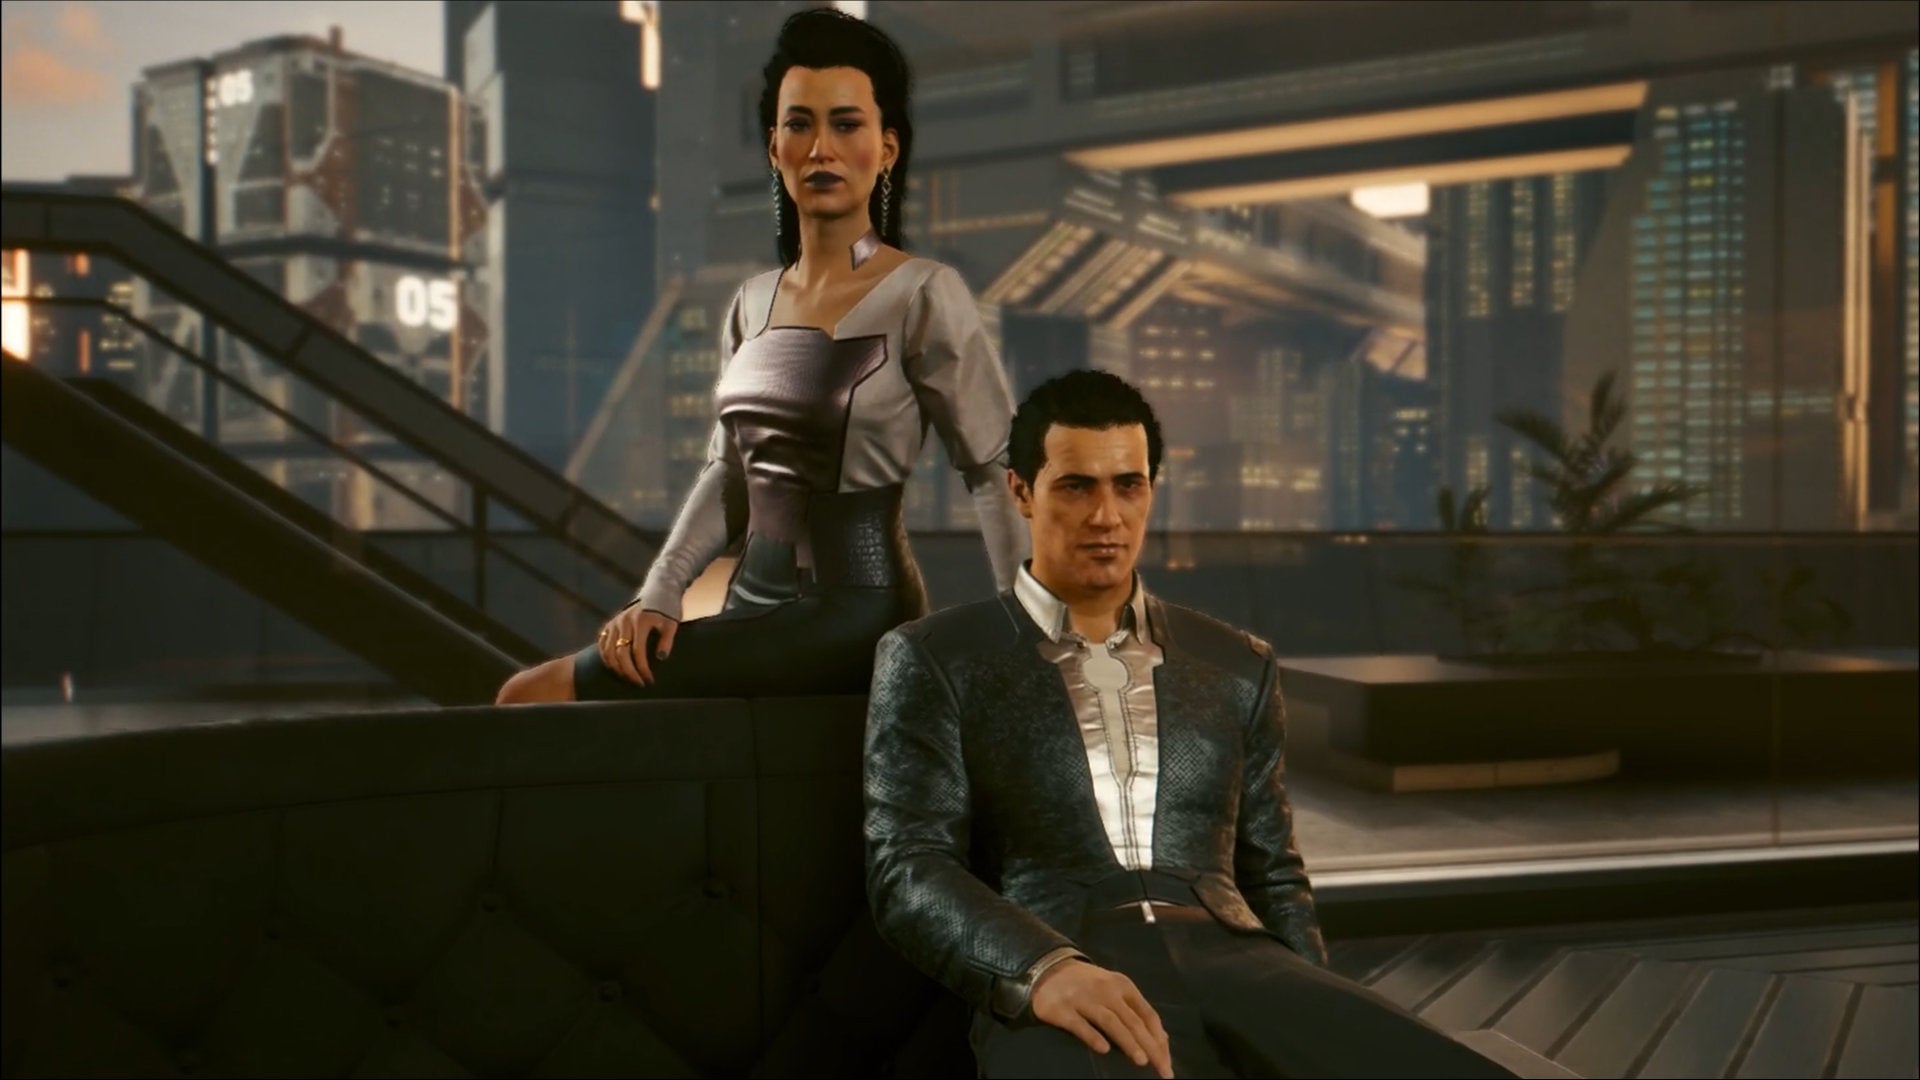
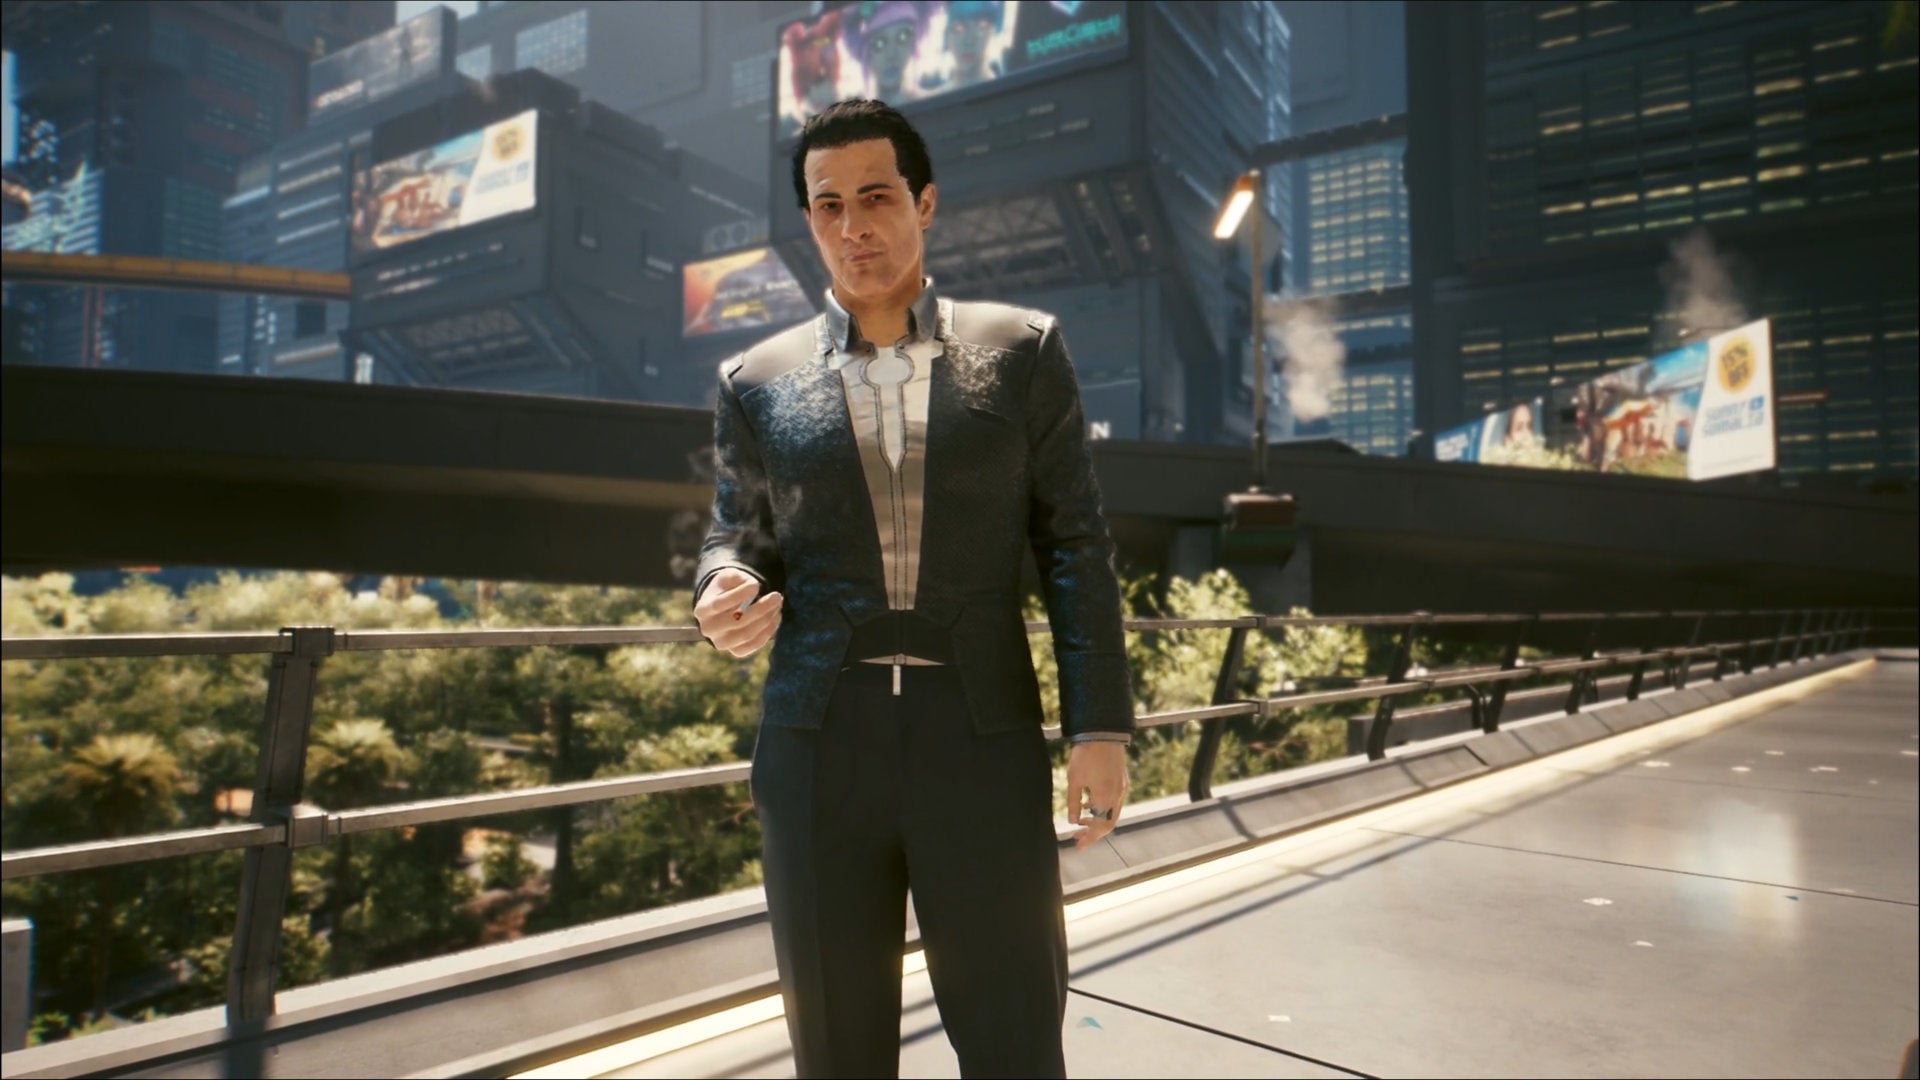
The first step in “I Fought the Law” is to meet with the Peralez political power couple. Find their car on the map and get in to meet mayoral candidate Jefferson Peralez and his wife Elizabeth for a brief chat. Your conversation choices here aren’t critical, so roleplay V as you’d like. The Peralezes believe that their political opponent was murdered, and they want you to figure out what happened. While it seems to be the case that their opponent, Mayor Lucius Rhyne, died from natural causes, a previous attempt on his life has the Peralezes wondering who might be looking to off the mayor.
You’ll be given a braindance in the car. This one will play back the earlier, attempted murder of Mayor Rhyne that has Elizabeth and Jefferson so concerned. At this point in the game, you’ve likely done one or two braindance scenarios already; this one’s no different. In the braindance, keep an eye on the timeline at the top of the HUD for notable clues on their respective layers and follow along to progress the story forward.
After the braindance, the Peralezes will take off in a fancy flying vehicle, leaving you to chat up the cop you saw on the BD: River Ward.
Give River a call and he’ll ask to meet at a burger place. Head on over there and roleplay your dialogue choices as you wish with River and his colleague Harold Han, who seems suspiciously dismissive of River’s interest in the death of Mayor Rhine. Conversational choices here won’t affect the outcome of the quest.
After chatting with River about the details of the case, he’ll take you along for a ride in his pickup truck where you’ll have the choice of two leads to follow up on. You can cut to the chase and meet up with a contact of River’s or you can take the optional path first to speak with the boss of the person who attempted to kill Mayor Rhyne. As this quest (and “Dream On”) is very narrative in nature, I suggest visiting the attempted murderer’s boss, Christine Markov. This will lead you to Japantown.
In Japantown, you and River will split up to find the attempted murderer’s boss. This isn’t particularly challenging. Wander around a bit, talk to some vendors, gaze up at the statue (that may or may not have something to do with a grand unsolved mystery in the game), and you’ll come across Markov in no time.
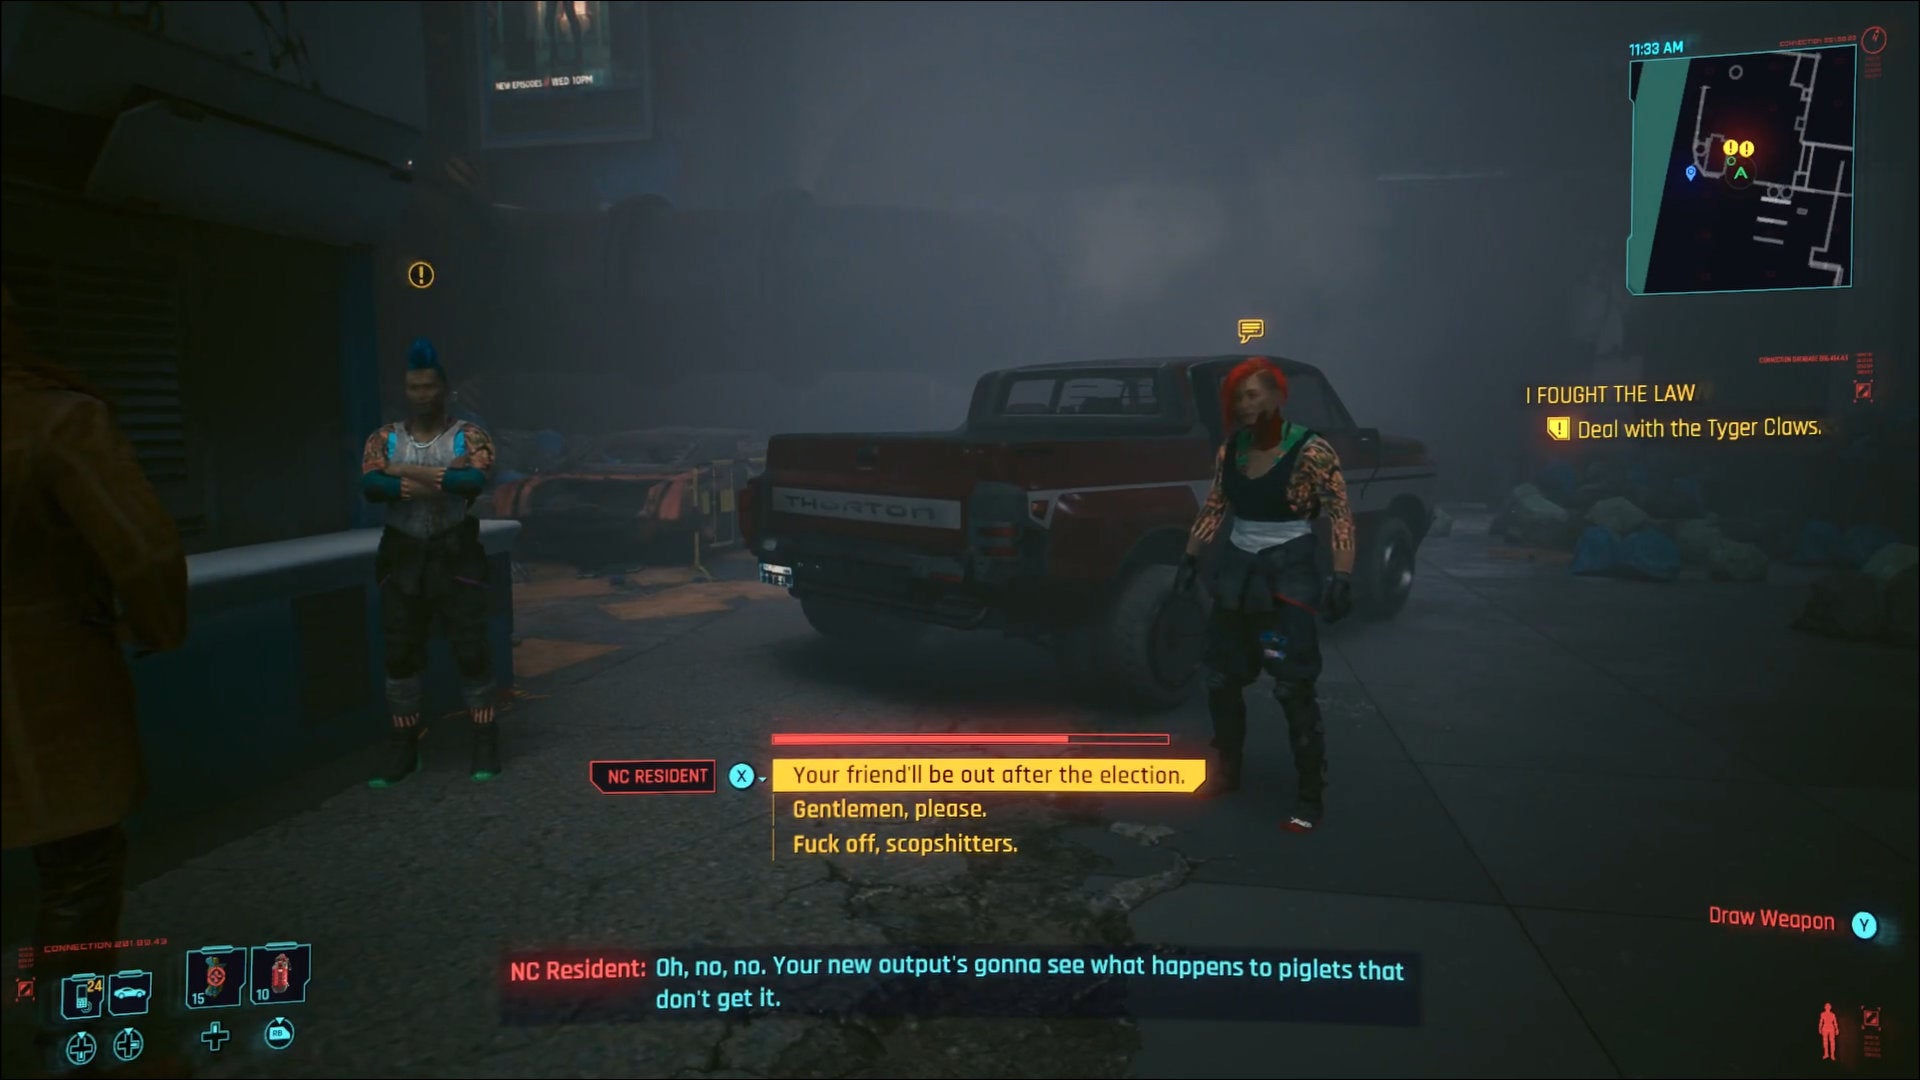
After chatting with Markov (once again, conversation choices here don’t affect the quest) and listening to River’s stupid detective logic (that he admits is entirely based on a fantasy in his head), you’ll hoof it back to River’s car to learn, surprise, surprise: people don’t like cops. Two Tyger gang members will be mocking River’s car, turning to threaten him as the two of you show up. If you keep quiet, the Tyger gang taking issue with River will wander off. You can also choose to speak, but you’ll likely end up putting your foot in your mouth if you try to intimidate them. If you chose the Street Kid lifepath, the more diplomatic “Your friend’ll be out after the election” dialogue option will see the gang members leave without incident.
Even if your V is a shoot-first-ask-questions later kinda gal, try to practice restraint with the Tygers. It’s easy to have the brawl spill out into collateral damage that will alert the cops. “But wait,” I hear you saying, “shouldn’t that not happen since we’re with River and he’s a cop?” Yes, but shh, don’t provoke the ludonarrative dissonance bear.
Once you’ve wrapped up your business in Japantown, you can choose to ride with River or go on your own to his contact, Neil, the owner of a sex shop in Vista Del Rey. If you didn’t get into a brawl with the Tyger Claws members, I suggest riding with River (in general it’s a good idea to take folks up on their offer to drive you somewhere. It saves you the effort and you might be treated to some dialogue.) After arriving at the sex shop, you can speak with Neil about the “Red Queen’s Race” braindance club.

Your conversation with Neil about the Red Queen’s Race won’t last long before he bolts. You can hop the counter to pursue him, but note that the door he dips behind will require a Body score of 6 to pry it open. However you give chase, you’ll eventually find Neil as he’s being interrogated by River—who not once lowers his weapon against an unarmed person. He must’ve learned that technique from special forces or something
Neil will hand over the information regardless of your dialogue choices. Equipped with the location of the Red Queen’s Race, you’ll have a choice of riding with River again or getting there on your own. Regardless of how you get there, on arrival you’ll be infiltrating a warehouse guarded by the Animals gang.
Unless you’re going in guns-blazing™, you might want to have the Ping and Reboot Optics quickhacks equipped. You can grab these from any netrunner vendor (though you will likely have one already from “The Gift”). Ping, as you may already know, will give you a sense of how many guards are in the area, which is handy as Watch Dogs-ing the cameras doesn’t show as many of the guards here. There are seven guards to keep an eye out for; five of them can be found surrounding the warehouse, while just two are inside.
Off to the left of the main gate, you can find a fence that’ll open up with a Technical Ability attribute score of 6. And, while I’ve yet to confirm if this is technically true, based on my time with the game, I suspect that Animals can break out of a chokehold faster than other enemies. A high Body score will help mitigate this (as it will with all enemy types). High Body scores can also help with stealth strategies as it’ll allow you access to doors otherwise unopenable if you’re not strong enough.
You’ll find the entrance to the Red Queen’s Race inside a shipping container in roughly the middle of the warehouse (again, mind the two guards inside). Once in, you’ll head down a set of stairs to find a hidden, ransacked club. Down here I recommend using the Ping quickhack again on the nearest enemy to get a sense of who is where down here. If you want to finish the optional task of interrogating the Animals’ boss, keep out of sight, use the Distract Enemies quickhack on various devices around the club, and take out sleeping Animals by putting them into a chokehold; it might take a second or two to find the right position, but you can put a sleeping enemy in a chokehold while they’re laying down. Just keep an eye out for the prompt when it comes up. There’s also a decent amount of money laying around the place, so don’t forget to do some looting while you’re down here.
You’re looking for a computer in the Red Queen’s Race. This can be found on the upper floor of the far end of the club. Exercise caution when moving about the place, as there are more Animals than you might realize. Once you enter the office with the computer in question, you can either interrogate or kill the Animals’ boss (assuming you haven’t alerted the guards to your presence and have thus possibly gunned this person down by now). You can gain some additional info on the case and why the Animals are even here to begin with by squeezing that out of the boss via a chokehold.
Once you get access to the computer, check the “Files” to observe a video recording of (I know, I’m just as shocked as you) River’s cop buddy Han covering up what really happened: A booby-trapped braindance did the mayor in. Completely flatlined him. You can choose to watch said braindance, which will result in you passing out and River coming to your aid. A regular knight in shini—oh wait, he’s a cop. Fuck ‘im.
With that out of the way, you have your answer as to what happened to the mayor. The Peralezes were right and will be eager to learn what you’ve found out.
Mosey on over to the Peralezes’ apartment to wrap this quest up. Once you’re in the elevator heading up to Elizabeth and Jefferson, our good buddy Johnny Silverhand will materialize to warn you to be cautious and stay out of this whole messy political affair.
Do you tell the Peralezes what you learned? Or do you follow Johnny’s advice? That choice is entirely up to you. There isn’t a right or wrong answer here and it doesn’t influence the outcome of the quest (or the one that follows).
Leave the apartment to end the quest. But don’t worry, we’ve just met the Peralezes. Things are about to get really interesting.
Concluding the Peralez storyline: “Dream On”
After “I Fought the Law,” you’ll need to wait about 48 hours in-game before Jefferson gives you a call. As with many quests in 2077 that require time to pass, you might find you’ll need to pick up a side quest or two (even after waiting) before the call comes through. Eventually, though, you’ll get a call from Jefferson Peralez asking you to revisit him and his wife.
Head on over to the Peralez residence. Elizabeth will be at the top of the elevator ride to greet you. You’ll be escorted in to talk with the couple about a concern of theirs: An intruder was seen in their apartment. Sadly, the stress of the election, or so Elizabeth claims, has everyone on edge and the details are fuzzy.
You’ll now have the option to take a trip around the apartment looking for clues. Take your time with this, as there are a lot of clues, both direct and indirect, hanging around the apartment. For example, you can scan the Peralezes’ wedding photo in the couple’s bedroom. Elizabeth will misremember a key detail: the color of the roses. Interesting.
Also be sure to dig through any of the computers in the apartment and read all of the emails and messages. You’ll come to find out that Jefferson is having some memory issues.
Continue to scan around the apartment via quickscan. This will easily identify any possible clues. Some, like leftover pizza, will lead to some dialogue, while others, like a satellite dish you can find on the roof, will unravel some of the mystery as to what’s going on.
You’ll find some blood splatter on the second floor. Follow that to a room with a broken TV. Use quickscan to guide you if you’re lost. You can repair this if you have a Technical Ability score of 11, but it will give you a bit of shock (you’ll take no damage though). Scan around in this room and you’ll come across a hidden door which you can break open with a Body score of 7. If your score is too low, you can open it via the Local Network tab on the computer in the center of the apartment’s security office. . You’ll need the access code for it, which can be found in the messages section of the computer set up against the leftmost wall when entering the security office.
Once you’re inside the secret room, the Job Tracker should do a decent job of walking you through what you need to scan. You’re looking for a computer on the wall, as well as a set of cables running up to the roof. Don’t forget to read the message on the computer in the secret room as well. What’s going on may not be entirely clear, but you’re about to crack the case. Head on up to the roof to scan the satellite dish if you haven’t already. As it turns out, information is being beamed down to a van not too far from the apartment.
Inform Elizabeth as to what’s going on and then make your way back downstairs to check out this mysterious van. Once outside, Johnny will advise you to grab a vehicle in case the van takes off. His advice turns out to be prudent. Get in your car or motorcycle (preferably a model that’s got some speed) and see what’s going on with this van.
As rockerboy predicted, the mysterious van will take off and you’ll need to keep up with it. Don’t underestimate this part (and maybe save just before you see the van just in case). Once the van gets more than 125 meters from you, it’s very easy for it to completely lose you and the mission will end prematurely. Stay on the van’s tail until it takes you to an area patrolled by hired Maelstrom members.
Entering this area can be tricky. The guards can certainly take you out if you’re not leveled up enough and there are a ton of cameras here. Whether you quietly take out the guards one by one, destroy them all in a blazing gun battle, or sneak in without touching a single person, you’ll need to get to the end of the lot where the van is parked to hack into it.
Once you’ve hacked into the van, get ready: As it turns out, the reason the Peralezes seem so spaced out and seemingly unable to recall simple personal information is because someone is hacking their freaking minds. Their personalities are slowly being overwritten. Head on out of here once you’ve gathered this intel and give Elizabeth a call.
Elizabeth will suggest you meet up at a ramen shop. Looking a little worse for wear, she’ll beg you not to tell Jefferson what’s going on. While she acknowledges what you’ve learned, that someone is hacking and replacing their minds, she doesn’t wish to cause her husband any stress, saying that he needs to focus on the upcoming election. You can tell her whatever you want, because at this point, the ball is in V’s court. And sadly, I can’t tell you what the right answer is.
After meeting with Elizabeth and discussing the messed-up shit you’ve stepped in with Johnny, you’ll meet with Jefferson. Shortly before talking with the mayoral candidate, you’ll receive a mysterious transmission from someone warning you about getting involved. You’ll then be able to meet up with Jefferson and, well, whether you tell him that hackers are slowly overwriting his consciousness or not is entirely up to you.
Might you be putting the Peralezes in danger if you tell Jefferson? Are you willingly participating in the scheme playing out in the shadows if you don’t? Is there any indication that Jefferson will even remember what you’re about to tell him?
These are the big mysteries “Dream On” will leave you with, and there’s no clear indication one way or another as to the right way to wrap this quest up. Either way, you’ll just be left knowing that somewhere out there in the net are folks secretly replacing the personalities of people, potentially powerful people, like Jefferson and Elizabeth Peralez.