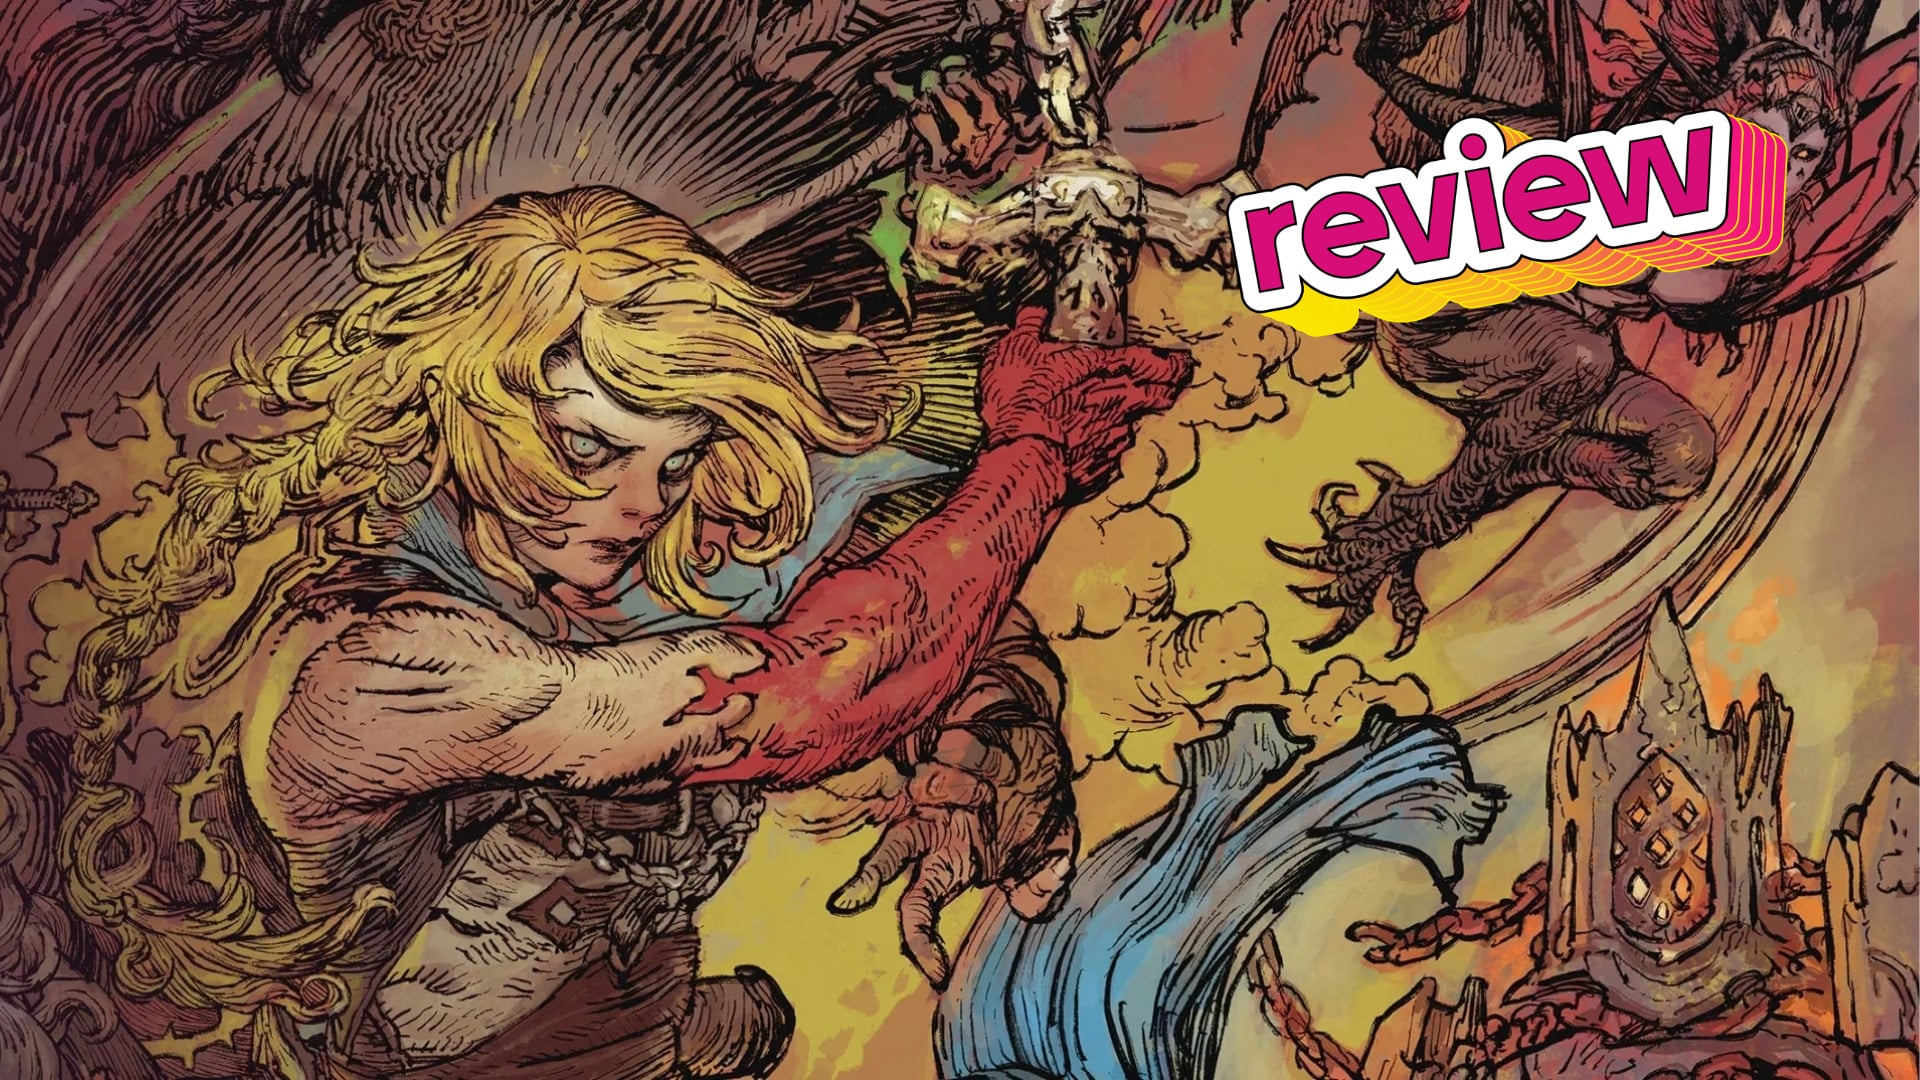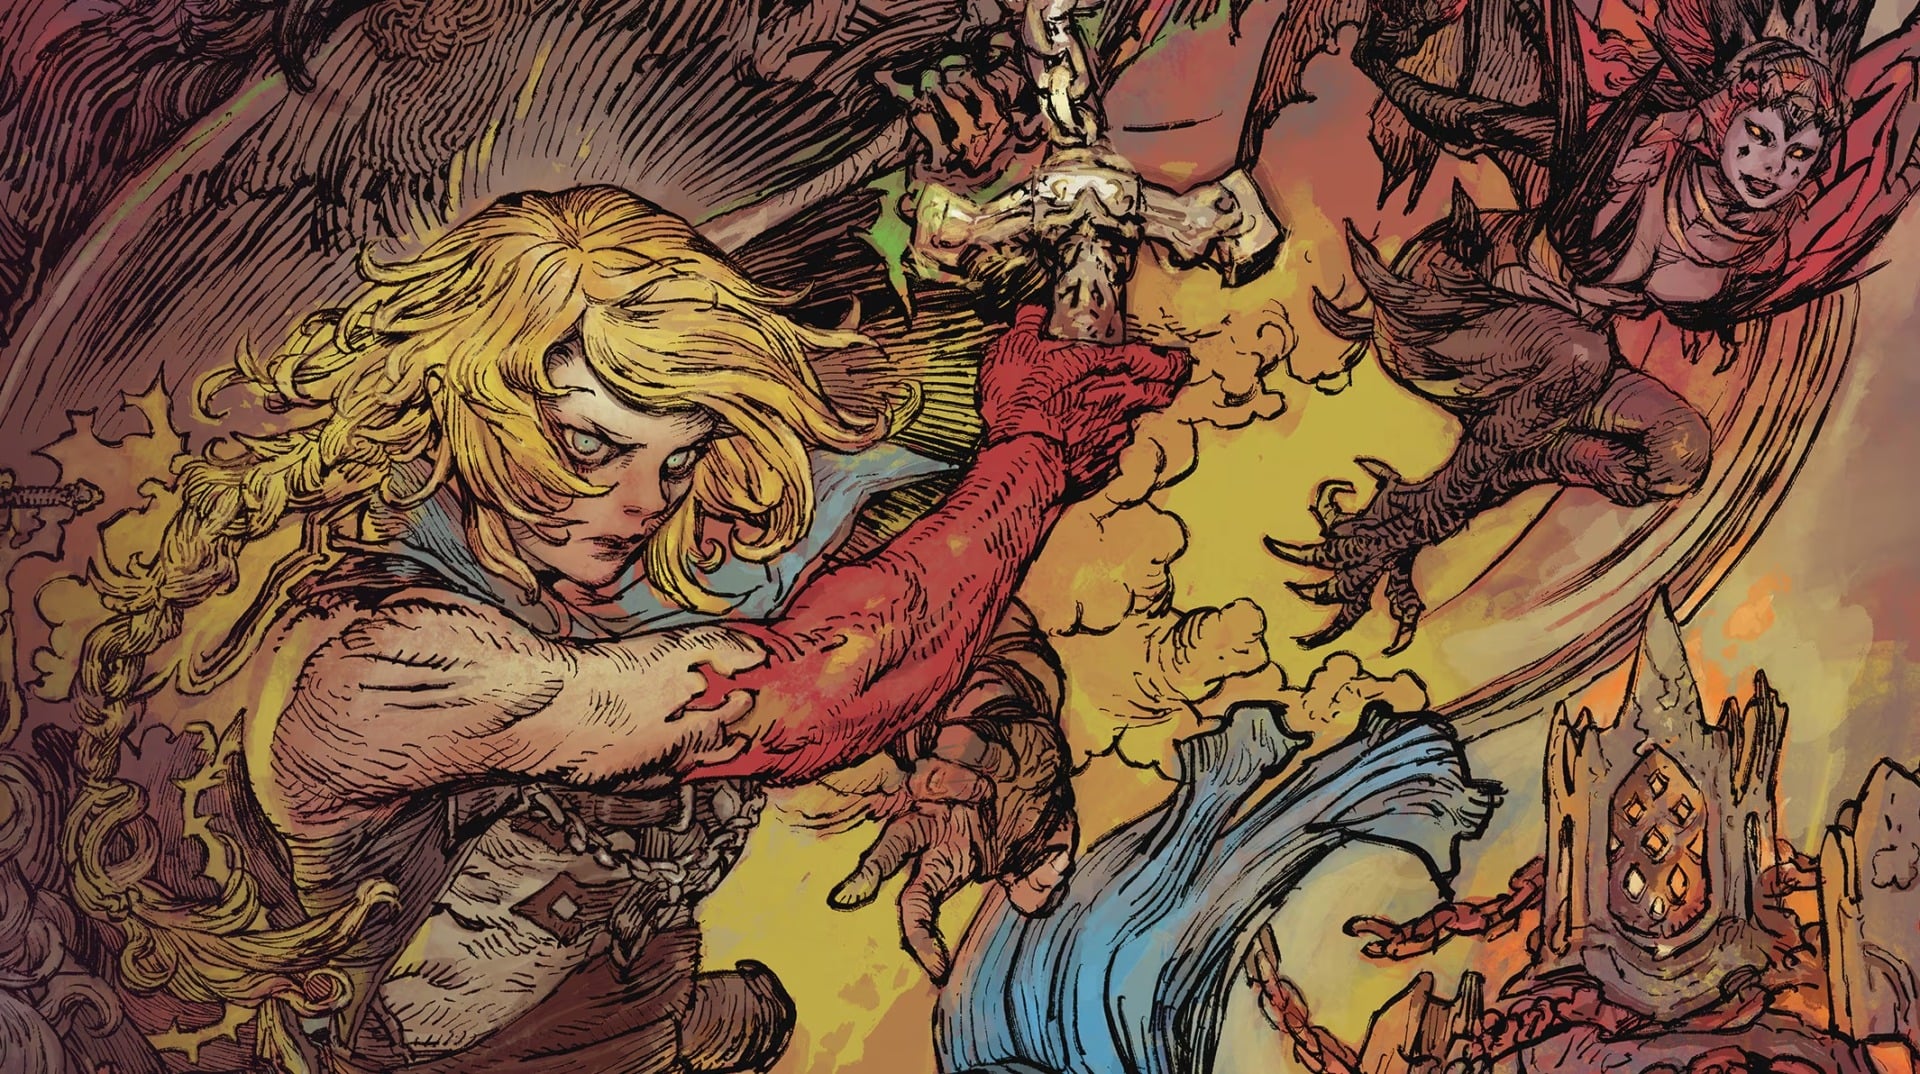
The great thing about Castlevania: Belmont’s Curse is that it’s a rat’s nest of puzzles, hidden rooms, and platforming challenges that’s actually enjoyable to sit down and untangle. There’s no puzzle or secret so esoteric as to be utterly confounding, but nor is it too simple. Pay enough attention, and you’ll never need a guide to get you through. However! We all could use a little help now and again to traverse the game’s rougher edges. I’ve got five tips for you that’ll make your time with Belmont’s Curse that much more enjoyable.
There’s No Shame In Using Gameplay Settings
Through gameplay settings, developer Evil Empire has built into the game the ability for anyone, regardless of skill level, to enjoy it. And while I understand that for a very specific kind of gamer, the use of such settings is anathema, they really can be a boon. You don’t have to simply turn off death—which you can do—you can also tweak how much damage Rose takes or deals out. Increasing Rose’s experience gains can make her get stronger, faster if combat is an issue. You can choose the option to respawn outside of a boss door to cut down on runback fatigue. If traps like spike pits are messing you up as you try to tackle the game’s tricky platforming challenges, you can adjust how much damage you take from them. Even adjusting your standard allotment of healing potions can be enough to offset any difficulties you might have without bruising the ego too much.
Use Your Map
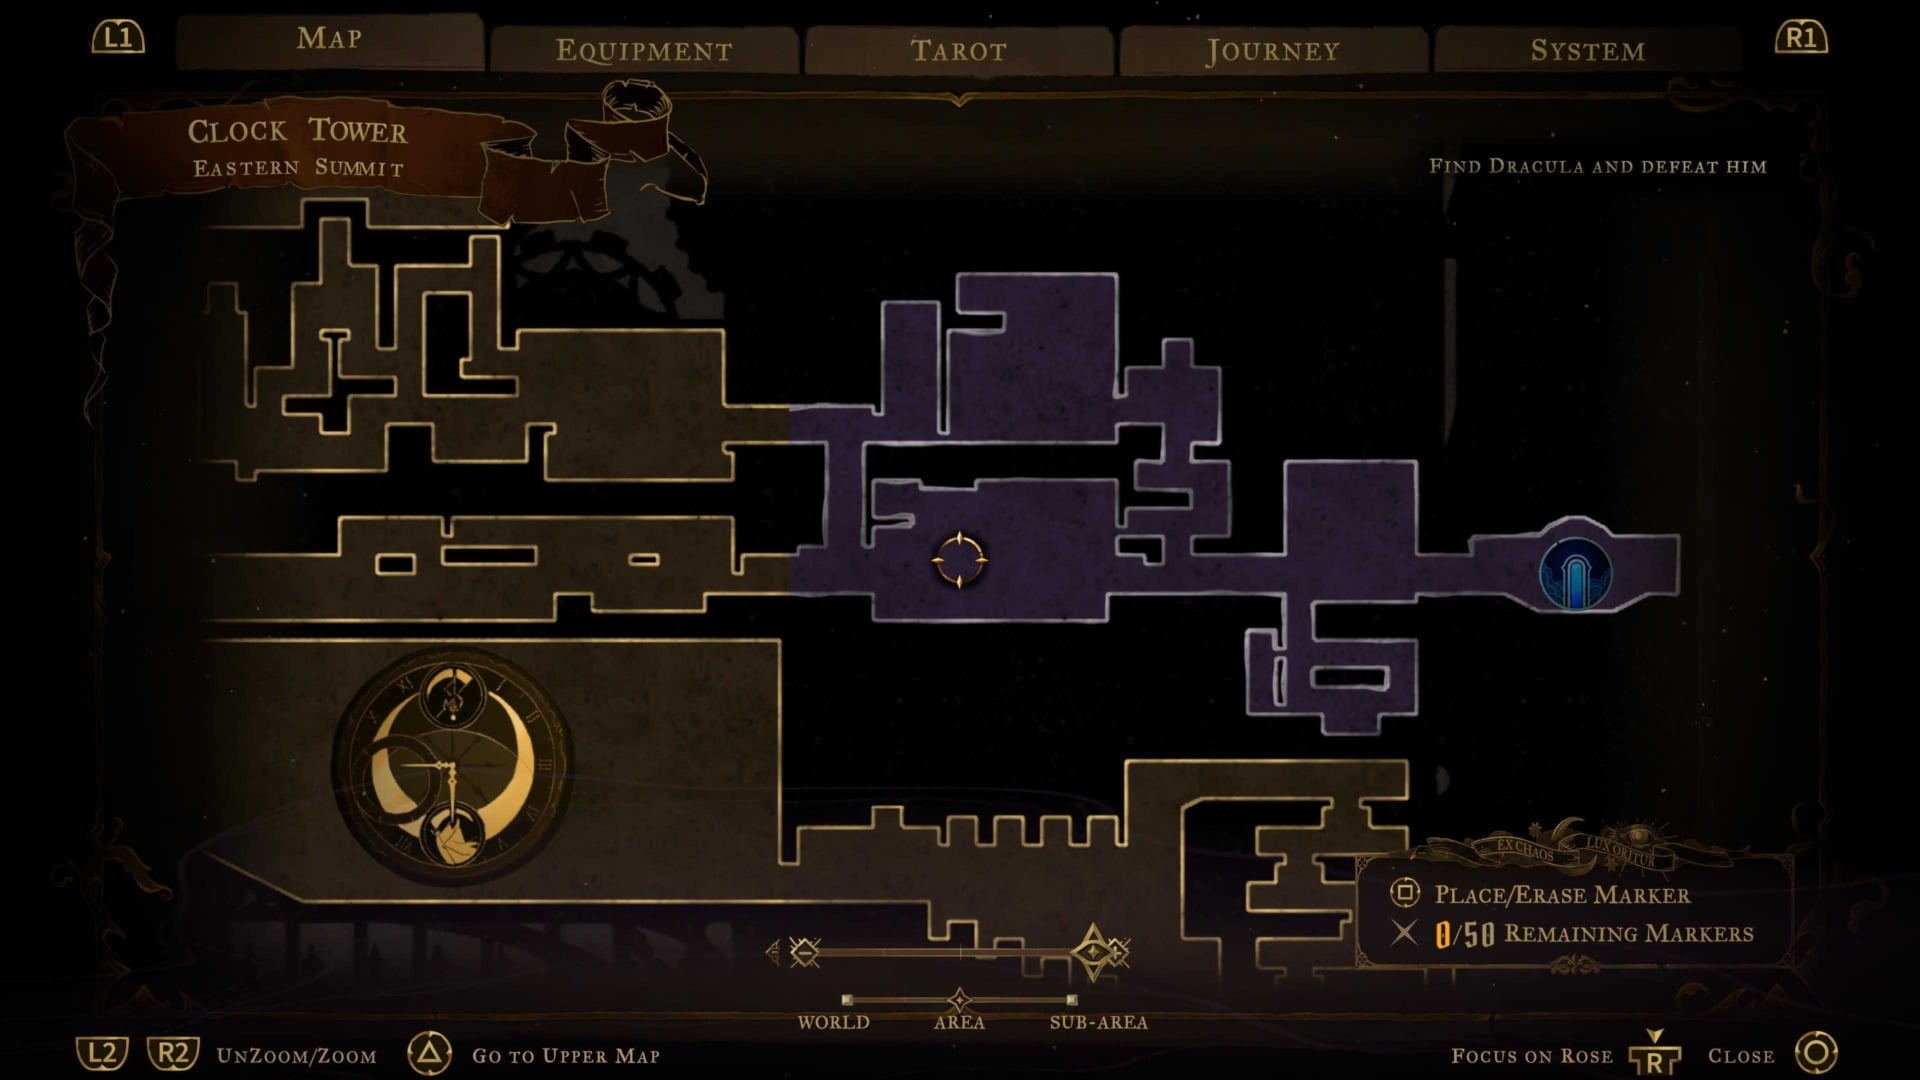
There is so much communicated with your map beyond simply where you are in the world. Paying attention to a room’s color can let you know if you’re missing a secret—a brown background represents a completed room, a purple one still has something not yet discovered. In places like Dracula’s Castle and Notre Dame, the map will render important rooms with specific detail and can provide puzzle hints if you pay close attention. For example, it’ll tell you how many chains you need to break for the Sage and the general direction of where to find them. Use those map markers, too. You get 50 of them to place anywhere you want to make it easy to backtrack or mark things you haven’t discovered a use for yet.
Perform Works of Mercy
Belmont’s Curse is stuffed with unique weapons, and among the seven types of armaments is bound to be one that’ll suit your play style. But while some of the weapons you find pack a decent punch, Rose’s tarot cards are where your true offensive and defensive capabilities are unlocked. Each boss you defeat grants you a new spell and, if you complete the little side-quests called Works of Mercy associated with each one, you can make them stronger. Upgrading your spells via Works of Mercy is akin to unlocking easy mode. The spells are so damn powerful that, when combined with a high-enough level for Rose, you can make many boss fights trivial. My favorite is the spell earned from the Brittle King. Fully upgrading it not only makes Rose nigh unkillable, it also adds a bit of extra damage oomph that has saved my ass in combat arenas more than once. And! A lot of the Works are simple enough to complete. Killing 25 haunted armor enemies is one Work of Mercy you can complete for the Brittle King, and you’ve already done that several times over in the time it takes to get to him.
Mirrors Are More Than Save Points
I’ve already mentioned this elsewhere, but the mirrors are more than just save points and the game isn’t the greatest about telling you that. This is another one of those “pay close attention for a neat reward” things, but kneeling in front of one (after unlocking Dracula’s Castle) will unlock fast travel. Kneeling teleports you to a hidden area home to (almost) all of the mirrors you’ve unlocked in an area. Pick where you want to go and the mirror will get you there. The mirror world itself is a puzzle to be solved so I won’t spoil more, but until you’ve solved it, fast travel only works within a zone. You’ll have to rely on the Ferryman to travel between them.
Rush The Boss Fight In Notre Dame
This one is highly specific, but it is helpful for the middle of the game. After unlocking Dracula’s Castle, the next area you’ll delve into is Notre Dame. There, the final boss room is blocked off by three different lasers that you shut down one by one. There are also tons of secrets and challenges that make use of the lasers to increase their difficulty. Instead of trying to juggle laser beams sniping at you as you go for a chest hidden at the end of a dangerous room, focus on defeating the boss as soon as possible, then go back and try the challenges you missed in the old church. Turning off the lasers guarding the boss door turns them off everywhere else, making a lot of Notre Dame’s platforming challenges much easier.