At first glance, Back 4 Blood might seem like a paint-by-numbers co-op shooter whose lineage traces back to Left 4 Dead. You might think you know the drill: point, shoot, pick up weapon, point, shoot again. Make it to the end of the level. Try not to die. But there’s a deceptive layer of complexity in this zombie game. Here are 13 tips and tricks I wish I knew before I started my first run.
Choose your cards carefully
Back 4 Blood might be a first-person shooter, but it has some undeniable roguelike elements. For instance, its card system—a randomized draw that provides gameplay-altering stat changes at the end of each level—may as well be lifted from, say, Slay the Spire or some other deck-building roguelike. Here’s how it works:
At the start of each run, you choose a handful of cards. The passive stat changes they grant last for the rest of your run.
At the end of each level, you get to pick one card from a hand of five. These changes also stick for the rest of the run.
If you get a game over, your deck resets.
Some cards offer stat buffs at the expense of debuffs. One might beef up your melee damage by 75 percent, which is enticing AF, but disable your sprint. Another might increase your ammo capacity but reduce your stamina. Make sure to take a second to read the whole card before leaping at one with an outsize stat bonus. If it seems too good to be true, it probably is.
Rename your decks
Back 4 Blood’s cards are organized into decks. Once you unlock new cards—by spending supply points in between runs—you’ll be able to add it to one of your decks, which are capped at 15 cards a piece. You can add a card to as many decks as you like, and as many decks as your heart desires.
These “decks” don’t give you stat boosts from the jump, but rather dictate which randomized cards will show up over the course of a run. Given the sheer numbers of cards and decks you’ll have, it’s all too easy to lose track of the various builds you’ve got going on, especially considering the default name of a deck is “Custom Deck #TK.” Instead, rename these decks in a manner that allows you to quickly remember and identify what each one is best suited for: “speed” for a stamina-heavy deck, “melee” for a punchy-focused one, and so on.
Heal via punching
Few cards are more helpful than the Battle Lust card, which restores 2HP for every melee kill. That might sound like pennies, but trust me, it adds up over time. Bonus: The Combat Knife card turns your base melee attack into a knife that kills cannon fodder zombies in one hit. Or, if you get a melee weapon—a machete, an axe, or a bat with some nails in it—those kills heal you a bit, too.
Pick up the Desert Eagle every time
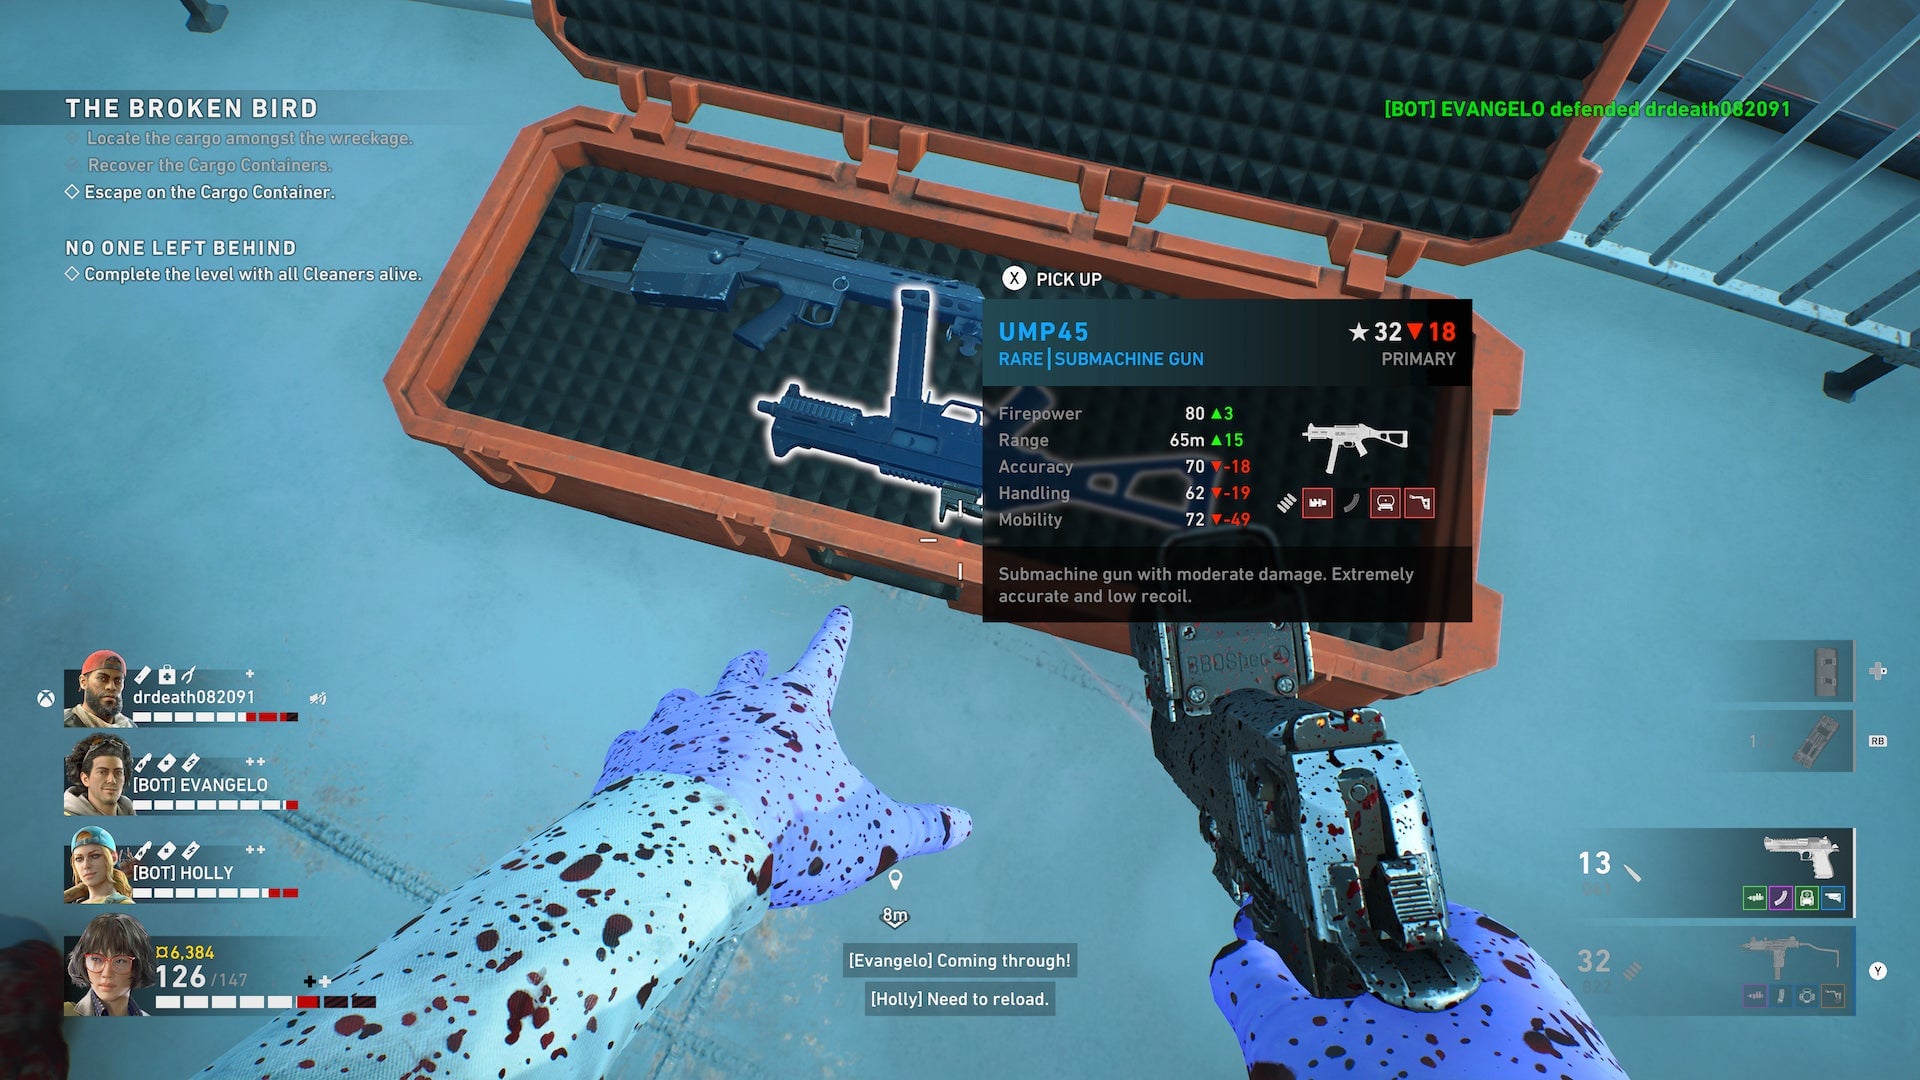
The Desert Eagle might fire slowly, with unclear iron sights, and also take forever to reload. But it also kills any rank-and-file zombie in one shot—no matter where you shoot them. Not too bad for a sidearm. You can just find attachments to compensate for its shortcomings.
Do not shoot the birds
Back 4 Blood has a mechanic called “the horde,” wherein dozens if not hundreds of zombies can swarm your position, regardless of whether or not you’ve cleared the area. Typically, the horde is alerted via obvious environmental hazards, like car alarms or door alarms or other alarms in a fictional universe that heavily features monsters explicitly tuned to piercing, high-pitched noises.
You can also trigger the horde by frightening birds. Birds will scatter in fear if you shoot at them, obviously, but they’ll do the same if you so much as walk near them. Every single time this happens, you’ll find yourself shortly overrun by approximately one thousand enemies. No, it’s never fully explained why every crow on the planet decided to roost wherever Back 4 Blood is set.
Your bullets can go through enemies
Sometimes, you don’t mean to scare the birds. Sometimes, Zack, you shoot a zombie and your Desert Eagle just has a really high bullet penetration stat and then hits the birds that were behind said zombie. Sometimes it’s not your fault, okay?

Red attachments are broken
Years of color-coded loot games have likely conditioned your brain to instantly perk up when you see yellow, purple, or red items. Yes, yellow and purple items are top-tier. Red, on the other hand, is useless, typically indicative of a broken weapon attachment. If you see a weapon saddled with red attachments, that means it comes with a bunch of stat reductions. Though you can swap out any existing attachments with attachments of the same type that you find while exploring, there’s no way to strip those attachments without having a replacement.
Please don’t dawdle
Poring over weapon stats and details makes sense for most loot shooters. In Back 4 Blood, it kind of breaks up the flow. Look: All guns shoot bullets. All bullets hurt zombies. Just grab the gun and go. Or leave it! But make your choice quickly, so as to not hold up any random players you may be partnered with. (There’s a selfish consideration here: If you abandon a teammate due to indecision over your arsenal, they’re more likely to die, creating a situation where they can’t revive you when you die.)
You can test out weapons in the practice range
The type of weapon you’re using is more important than the stats that come with it. For the most part, the cannon fodder zombies go down just as easily from a low-level MP5 as they do from a high-level MP5. At the camp, you can head into the practice range—located just outside the fencing—and test out every single weapon in the game. It’s worth taking a few minutes to acquaint yourself with the offerings. That way, when you come across guns in the middle of a run, you can make a snap decision over whether or not to pick it up.
If you’re moving slowly, it’s because you’re getting overwhelmed
For the most part, Back 4 Blood is a fast-moving game. Every now and then, though, you’ll find yourself bogged down without really knowing what’s happening. It’s one of the game’s subtle ways of telling you that you’re getting attacked from behind.

Take out the special zombies first
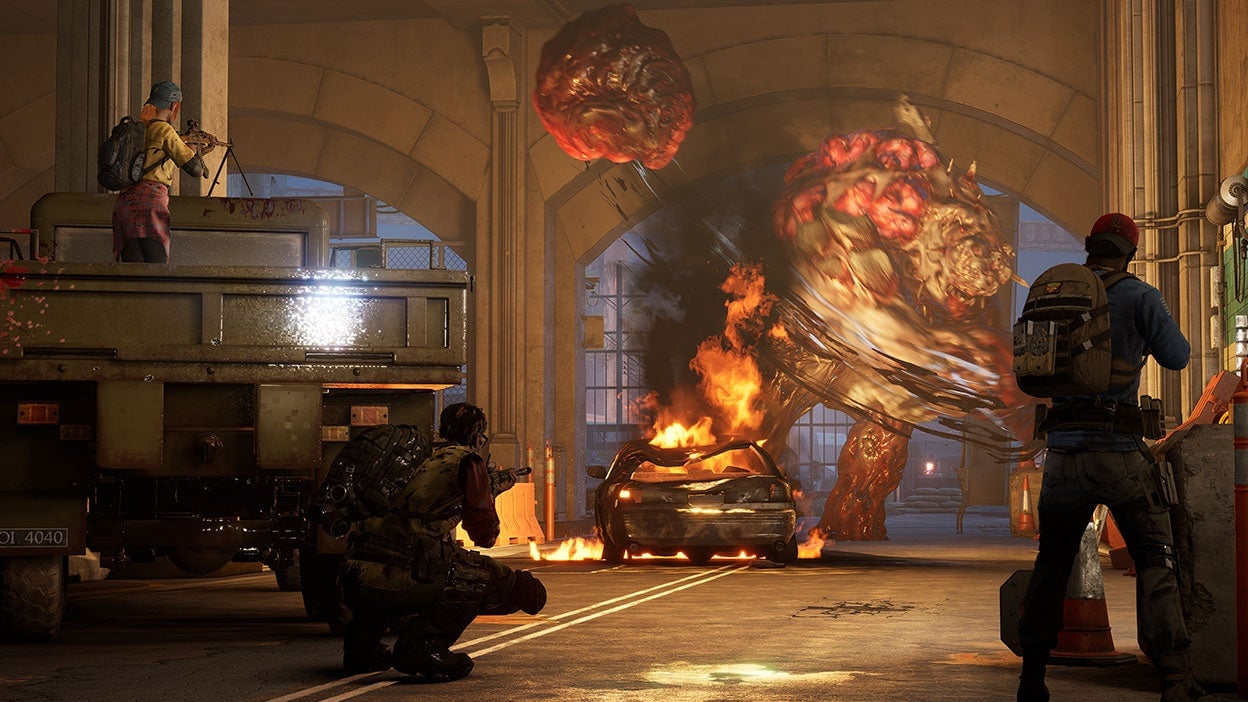
The cardinal rule of boss fights stipulates that you should take out the little enemies before focusing on the big bad. Not so for Back 4 Blood. When a mini-boss pops up—either a true building-sized monstrosity with a health bar or a smaller, but no less intimidating enemy with a skull over its head—focus all of your efforts on it. Otherwise, you’ll be forced to contend with seemingly endless waves of smaller enemies at the same time.
Shoot sleeper pods from afar
Like clockwork, every time you turn a corner in Back 4 Blood, you’ll see a pod that looks like half a walnut. Inside lives a sleeper zombie that will leap out of the wall, pin you to the ground (at which point a teammate needs to free you), and, who knows, maybe give you nightmares for the rest of forever. But if you spot these pods beforehand, you can empty a clip into them and kill the zombie before it can kill you.
Also, if a teammate is pinned down, don’t shoot them loose (even though that would technically work). Use a melee attack to free them, because…
There’s friendly fire on the higher two difficulty levels
Whoops. Sorry, teammates!


