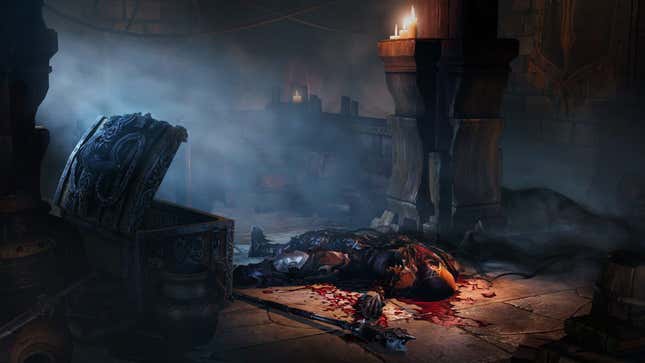
Screenshot: Credit: Lords of the Fallen: The Monk's Decipher
2 / 16
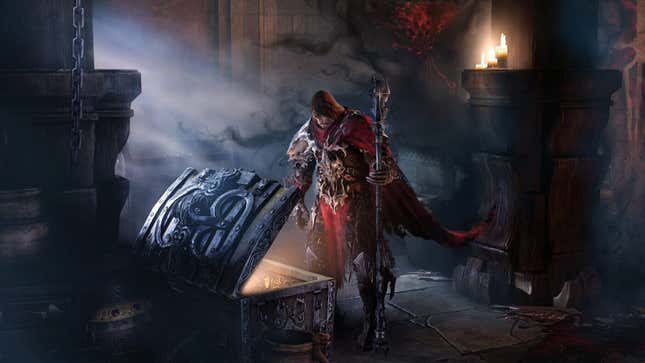
Lords of the Fallen: The Monk's Decipher screenshot 2
Lords of the Fallen: The Monk's Decipher screenshot 2
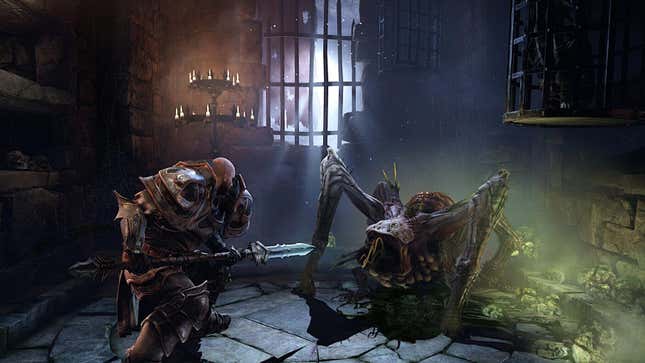
Screenshot: Credit: Lords of the Fallen: The Monk's Decipher
3 / 16
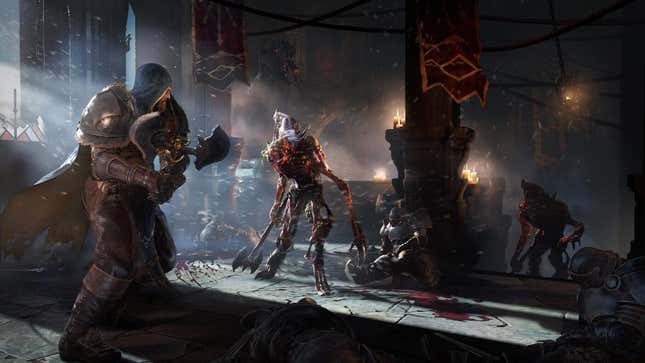
Lords of the Fallen: The Monk's Decipher screenshot 3
Lords of the Fallen: The Monk's Decipher screenshot 3
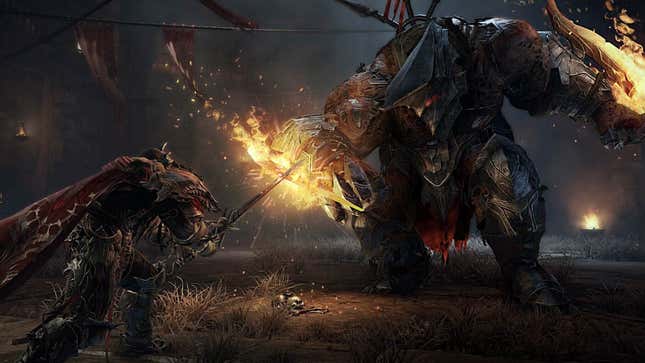
Screenshot: Credit: Lords of the Fallen: The Monk's Decipher
4 / 16
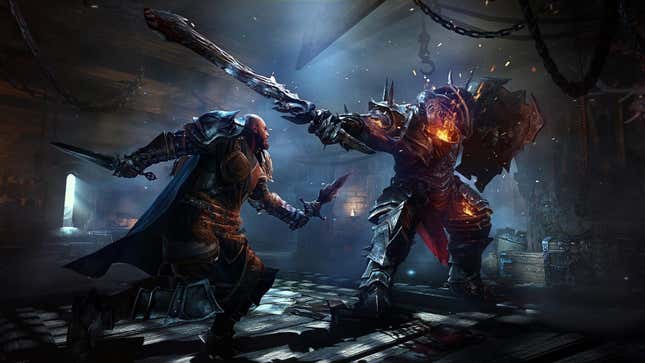
Lords of the Fallen: The Monk's Decipher screenshot 4
Lords of the Fallen: The Monk's Decipher screenshot 4
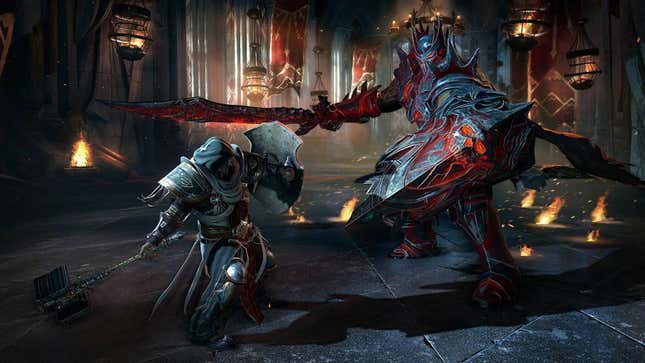
Screenshot: Credit: Lords of the Fallen: The Monk's Decipher
5 / 16
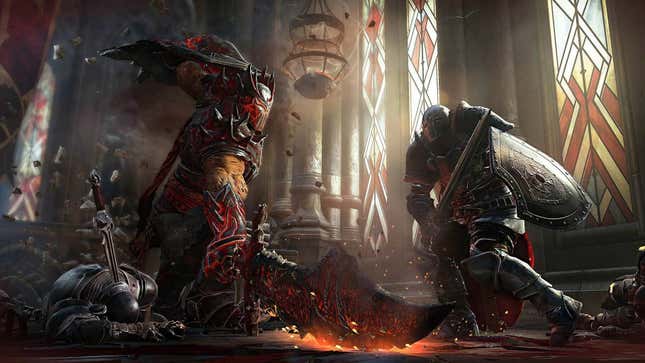
Lords of the Fallen: The Monk's Decipher screenshot 5
Lords of the Fallen: The Monk's Decipher screenshot 5
Screenshot: Credit: Lords of the Fallen: The Monk's Decipher
6 / 16
Lords of the Fallen: The Monk's Decipher screenshot 6
Lords of the Fallen: The Monk's Decipher screenshot 6
Screenshot: Credit: Lords of the Fallen: The Monk's Decipher
7 / 16
Lords of the Fallen: The Monk's Decipher screenshot 7
Lords of the Fallen: The Monk's Decipher screenshot 7
Screenshot: Credit: Lords of the Fallen: The Monk's Decipher
8 / 16
Lords of the Fallen: The Monk's Decipher screenshot 8
Lords of the Fallen: The Monk's Decipher screenshot 8
Screenshot: Credit: Lords of the Fallen: The Monk's Decipher
9 / 16
Lords of the Fallen: The Monk's Decipher screenshot 9
Lords of the Fallen: The Monk's Decipher screenshot 9
Screenshot: Credit: Lords of the Fallen: The Monk's Decipher
10 / 16
Lords of the Fallen: The Monk's Decipher screenshot 10
Lords of the Fallen: The Monk's Decipher screenshot 10
Screenshot: Credit: Lords of the Fallen: The Monk's Decipher
11 / 16
Lords of the Fallen: The Monk's Decipher screenshot 11
Lords of the Fallen: The Monk's Decipher screenshot 11
Screenshot: Credit: Lords of the Fallen: The Monk's Decipher
12 / 16
Lords of the Fallen: The Monk's Decipher screenshot 12
Lords of the Fallen: The Monk's Decipher screenshot 12
Screenshot: Credit: Lords of the Fallen: The Monk's Decipher
13 / 16
Lords of the Fallen: The Monk's Decipher screenshot 13
Lords of the Fallen: The Monk's Decipher screenshot 13
Screenshot: Credit: Lords of the Fallen: The Monk's Decipher
14 / 16
Lords of the Fallen: The Monk's Decipher screenshot 14
Lords of the Fallen: The Monk's Decipher screenshot 14
Screenshot: Credit: Lords of the Fallen: The Monk's Decipher
15 / 16
Lords of the Fallen: The Monk's Decipher screenshot 15
Lords of the Fallen: The Monk's Decipher screenshot 15
Screenshot: Credit: Lords of the Fallen: The Monk's Decipher