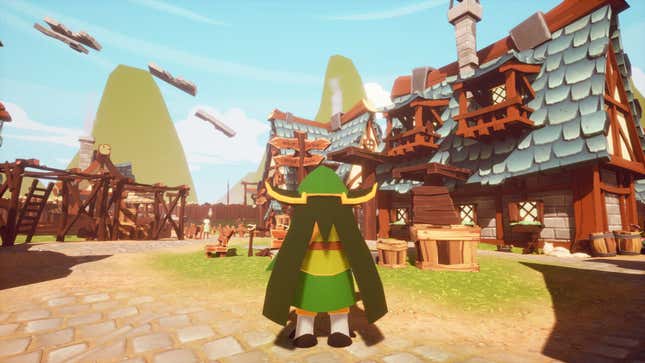
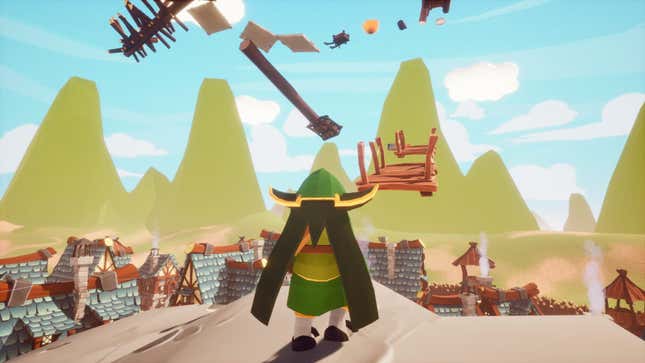
Screenshot: Credit: Journey to the Wand
2 / 7
Journey to the Wand screenshot 2
Journey to the Wand screenshot 2
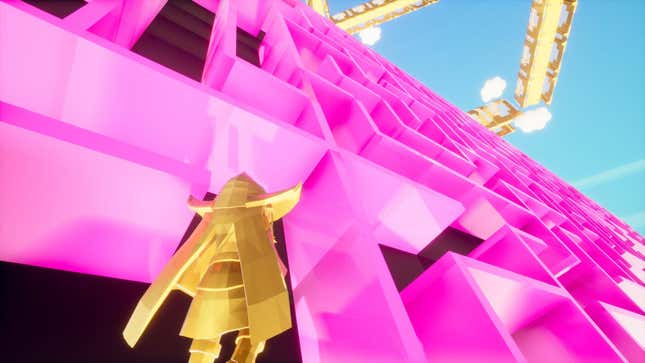
Screenshot: Credit: Journey to the Wand
3 / 7
Journey to the Wand screenshot 3
Journey to the Wand screenshot 3
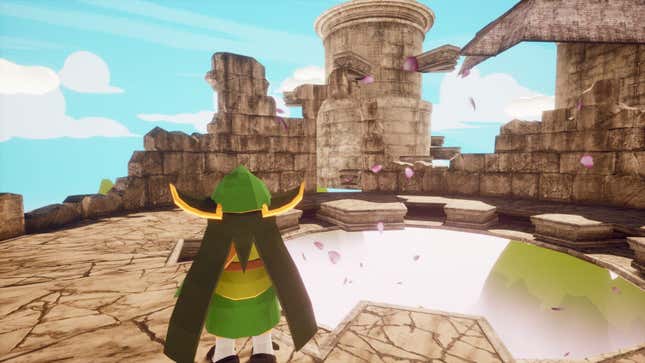
Screenshot: Credit: Journey to the Wand
4 / 7
Journey to the Wand screenshot 4
Journey to the Wand screenshot 4
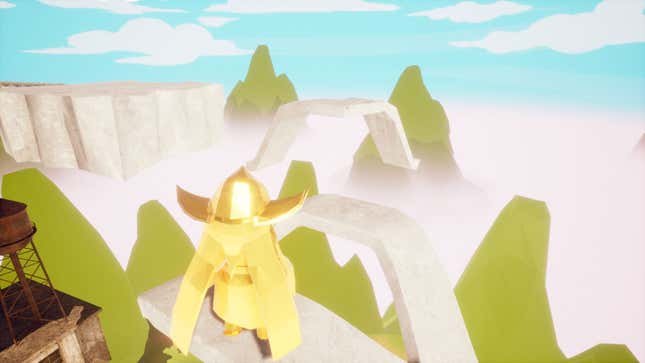
Screenshot: Credit: Journey to the Wand
5 / 7
Journey to the Wand screenshot 5
Journey to the Wand screenshot 5
Screenshot: Credit: Journey to the Wand
6 / 7
Journey to the Wand screenshot 6
Journey to the Wand screenshot 6
Screenshot: Credit: Journey to the Wand