Skip to content
Kotaku
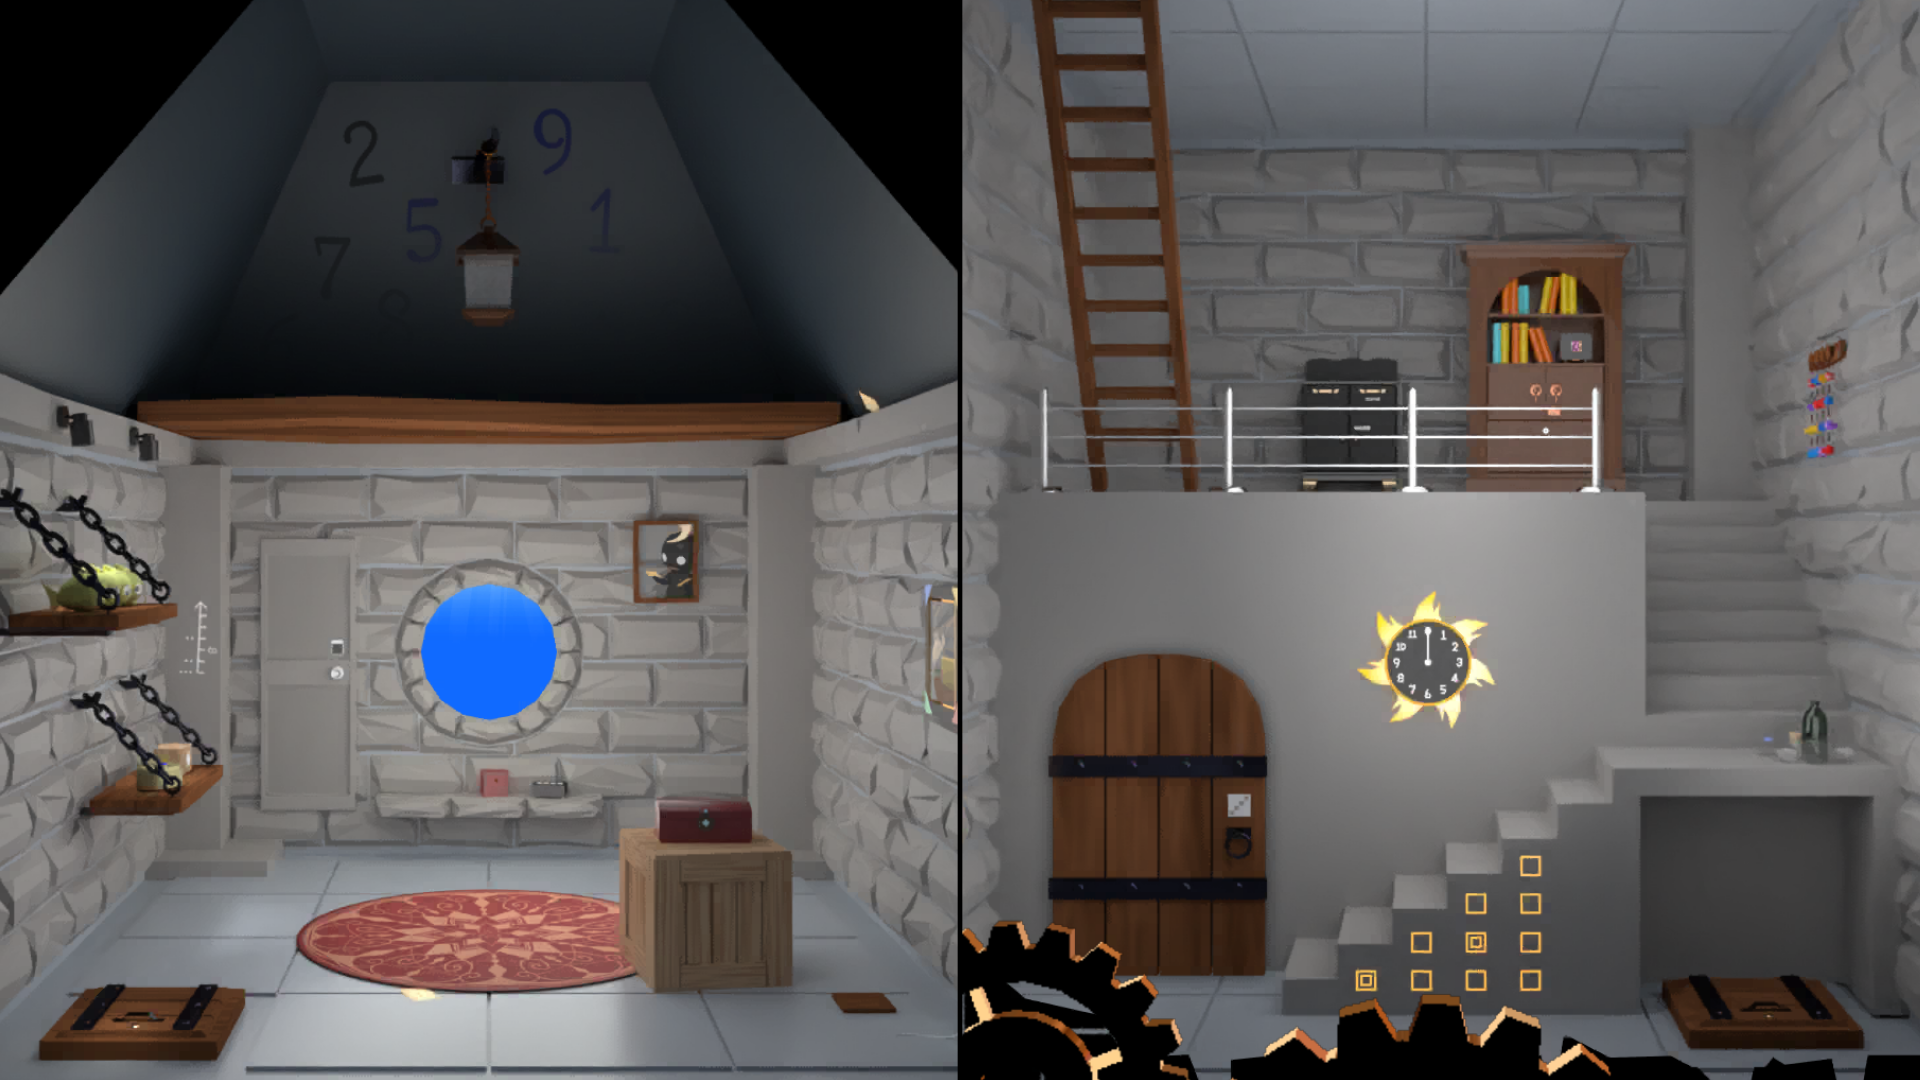
Escape Room Clock Tower
1 / 8
Escape Room Clock Tower Screenshot 1
Game Page
Next slide
Deals
Ausgabe DE
Edición ES
Édition FR
Mode
Follow us
𝕏
Latest
Entertainment
Reviews
News
Tips & Guides
Games
Downloads
Deals
Send us a Tip!
About Kotaku
Deals
Ausgabe DE
Edición ES
Édition FR
Mode
Follow us
𝕏
Cookies settings