Screenshot: Credit: The A-Team
2 / 23
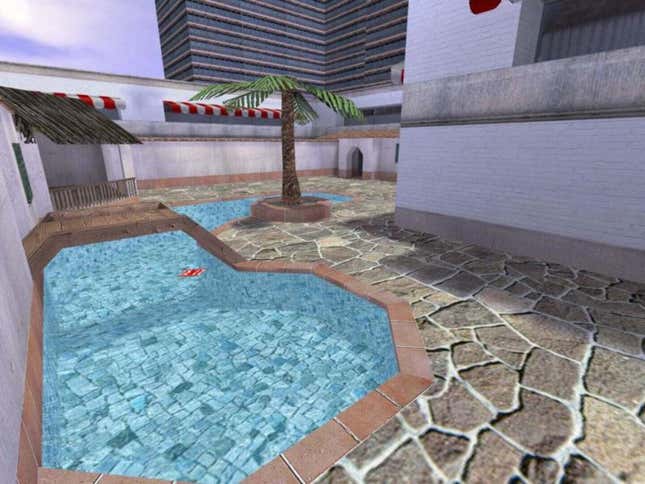
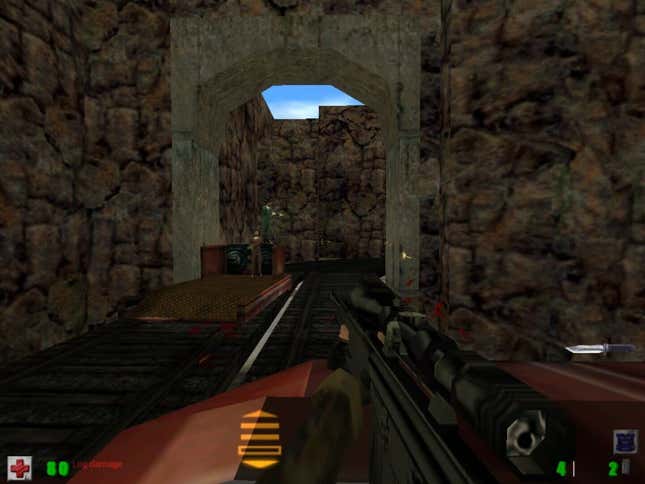
Action Half-Life screenshot 2
Action Half-Life screenshot 2
Screenshot: Credit: The A-Team
3 / 23
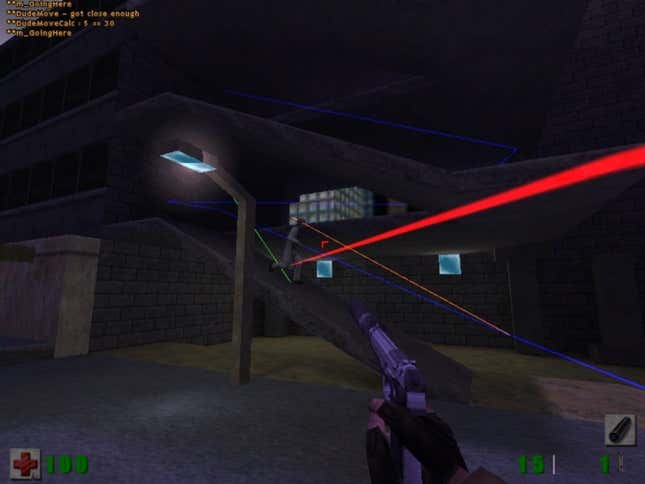
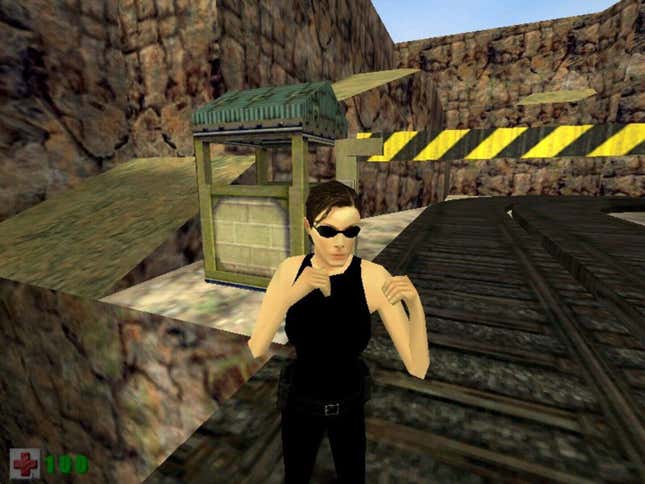
Action Half-Life screenshot 3
Action Half-Life screenshot 3
Screenshot: Credit: The A-Team
4 / 23
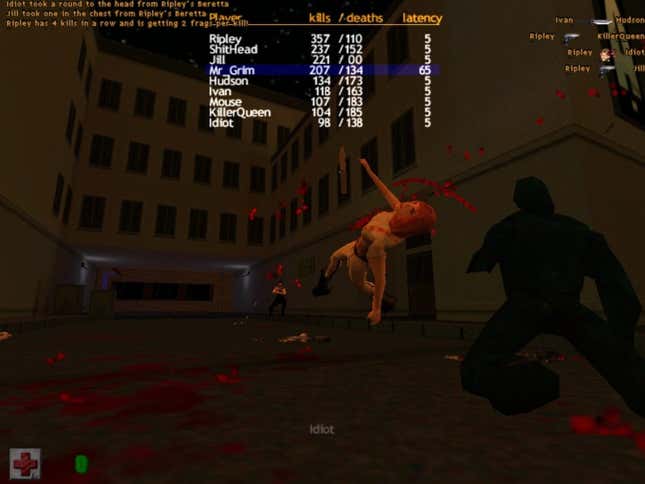
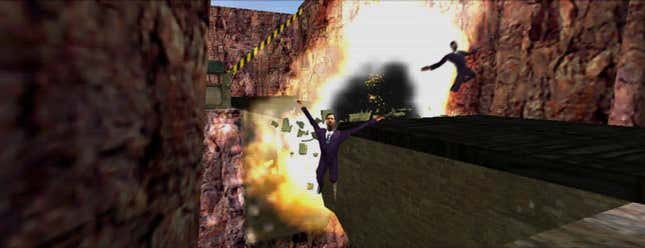
Action Half-Life screenshot 4
Action Half-Life screenshot 4
Screenshot: Credit: The A-Team
5 / 23
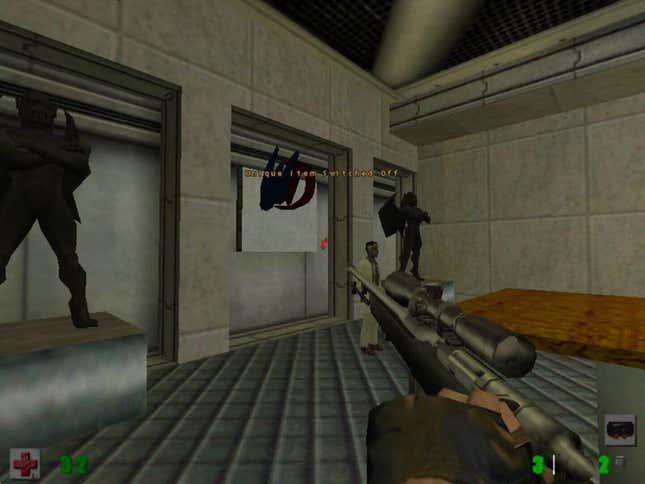
Action Half-Life screenshot 5
Action Half-Life screenshot 5
Screenshot: Credit: The A-Team
6 / 23
Action Half-Life screenshot 6
Action Half-Life screenshot 6
Screenshot: Credit: The A-Team
7 / 23
Action Half-Life screenshot 7
Action Half-Life screenshot 7
Screenshot: Credit: The A-Team
8 / 23
Action Half-Life screenshot 8
Action Half-Life screenshot 8
Screenshot: Credit: The A-Team
9 / 23
Action Half-Life screenshot 9
Action Half-Life screenshot 9
Screenshot: Credit: The A-Team
10 / 23
Action Half-Life screenshot 10
Action Half-Life screenshot 10
Screenshot: Credit: The A-Team
11 / 23
Action Half-Life screenshot 11
Action Half-Life screenshot 11
Screenshot: Credit: The A-Team
12 / 23
Action Half-Life screenshot 12
Action Half-Life screenshot 12
Screenshot: Credit: The A-Team
13 / 23
Action Half-Life screenshot 13
Action Half-Life screenshot 13
Screenshot: Credit: The A-Team
14 / 23
Action Half-Life screenshot 14
Action Half-Life screenshot 14
Screenshot: Credit: The A-Team
15 / 23
Action Half-Life screenshot 15
Action Half-Life screenshot 15
Screenshot: Credit: The A-Team
16 / 23
Action Half-Life screenshot 16
Action Half-Life screenshot 16
Screenshot: Credit: The A-Team
17 / 23
Action Half-Life screenshot 17
Action Half-Life screenshot 17
Screenshot: Credit: The A-Team
18 / 23
Action Half-Life screenshot 18
Action Half-Life screenshot 18
Screenshot: Credit: The A-Team
19 / 23
Action Half-Life screenshot 19
Action Half-Life screenshot 19
Screenshot: Credit: The A-Team
20 / 23
Action Half-Life screenshot 20
Action Half-Life screenshot 20
Screenshot: Credit: The A-Team
21 / 23
Action Half-Life screenshot 21
Action Half-Life screenshot 21
Screenshot: Credit: The A-Team